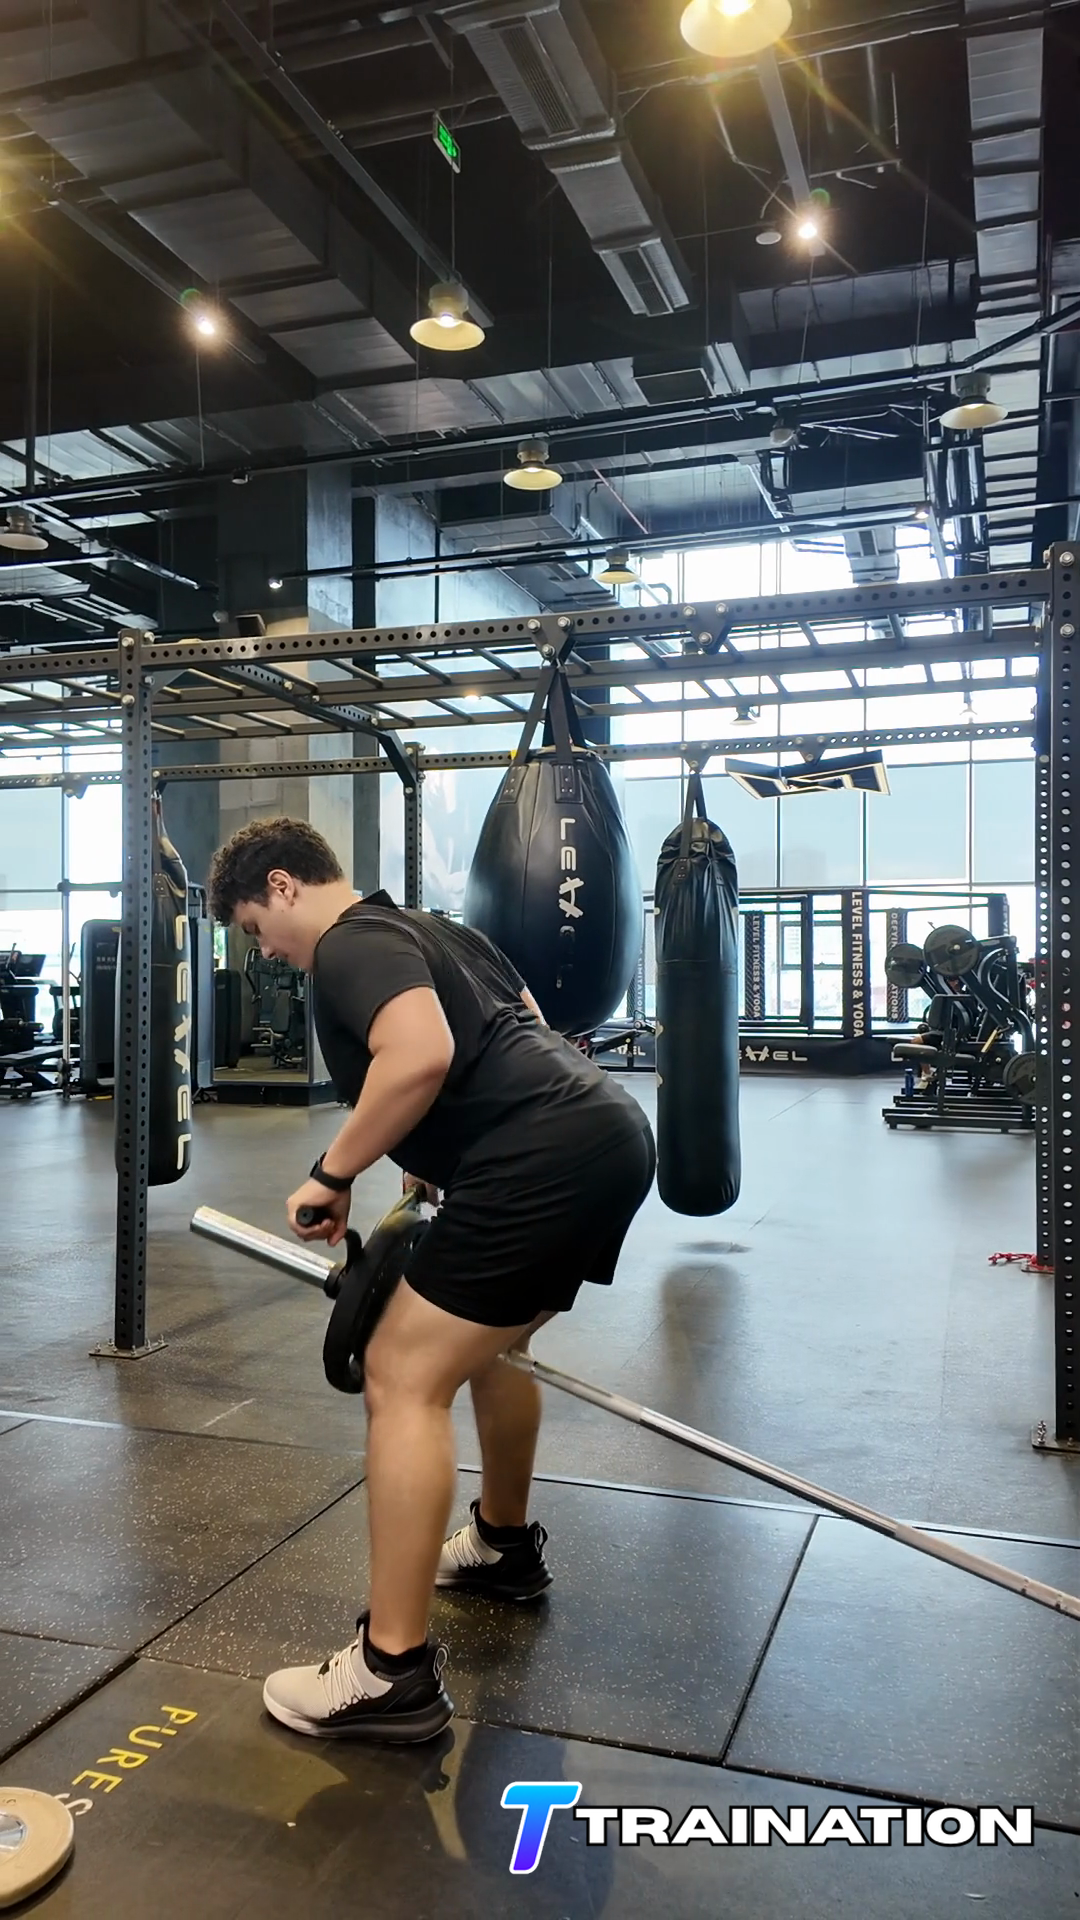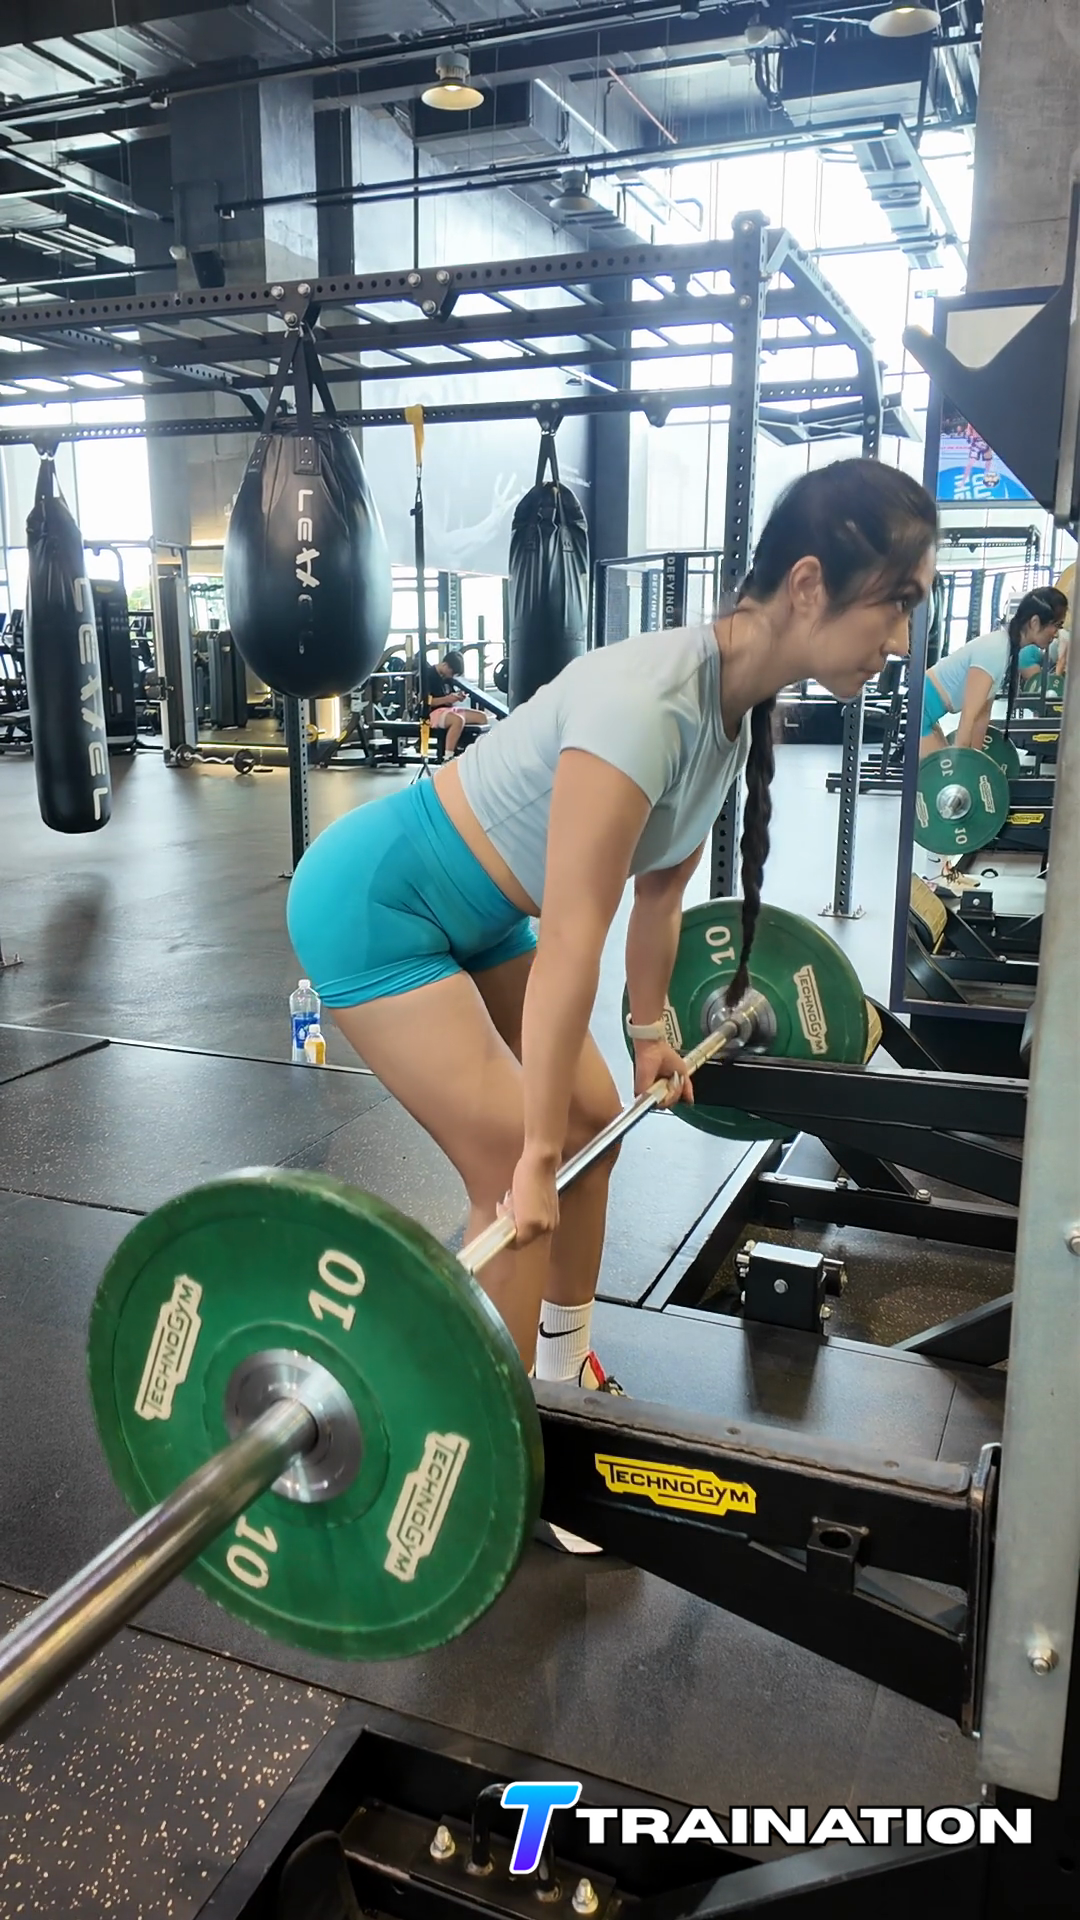
Rack Pull

Rack Pull trains the glutes, hamstrings, and back through a hip hinge with a controlled trunk position.

Primary muscle
Back

Primary musclesGluteus maximus, Hamstrings, Erector spinae

Secondary musclesHip adductors, Quadriceps, Latissimus dorsi, Forearms

Equipment
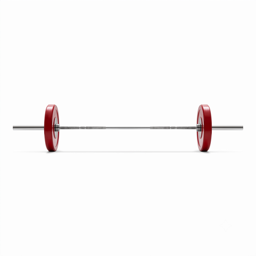
Barbell
← Back to exercise database

Set up for Rack Pull

Prepare the barbell

  • Load both sides of the bar evenly, add collars, and clear loose plates from the lifting area.
  • When using a rack, set the hooks so the bar can be unracked without tiptoeing and position the safety arms just below the planned range.

Position yourself for Rack Pull

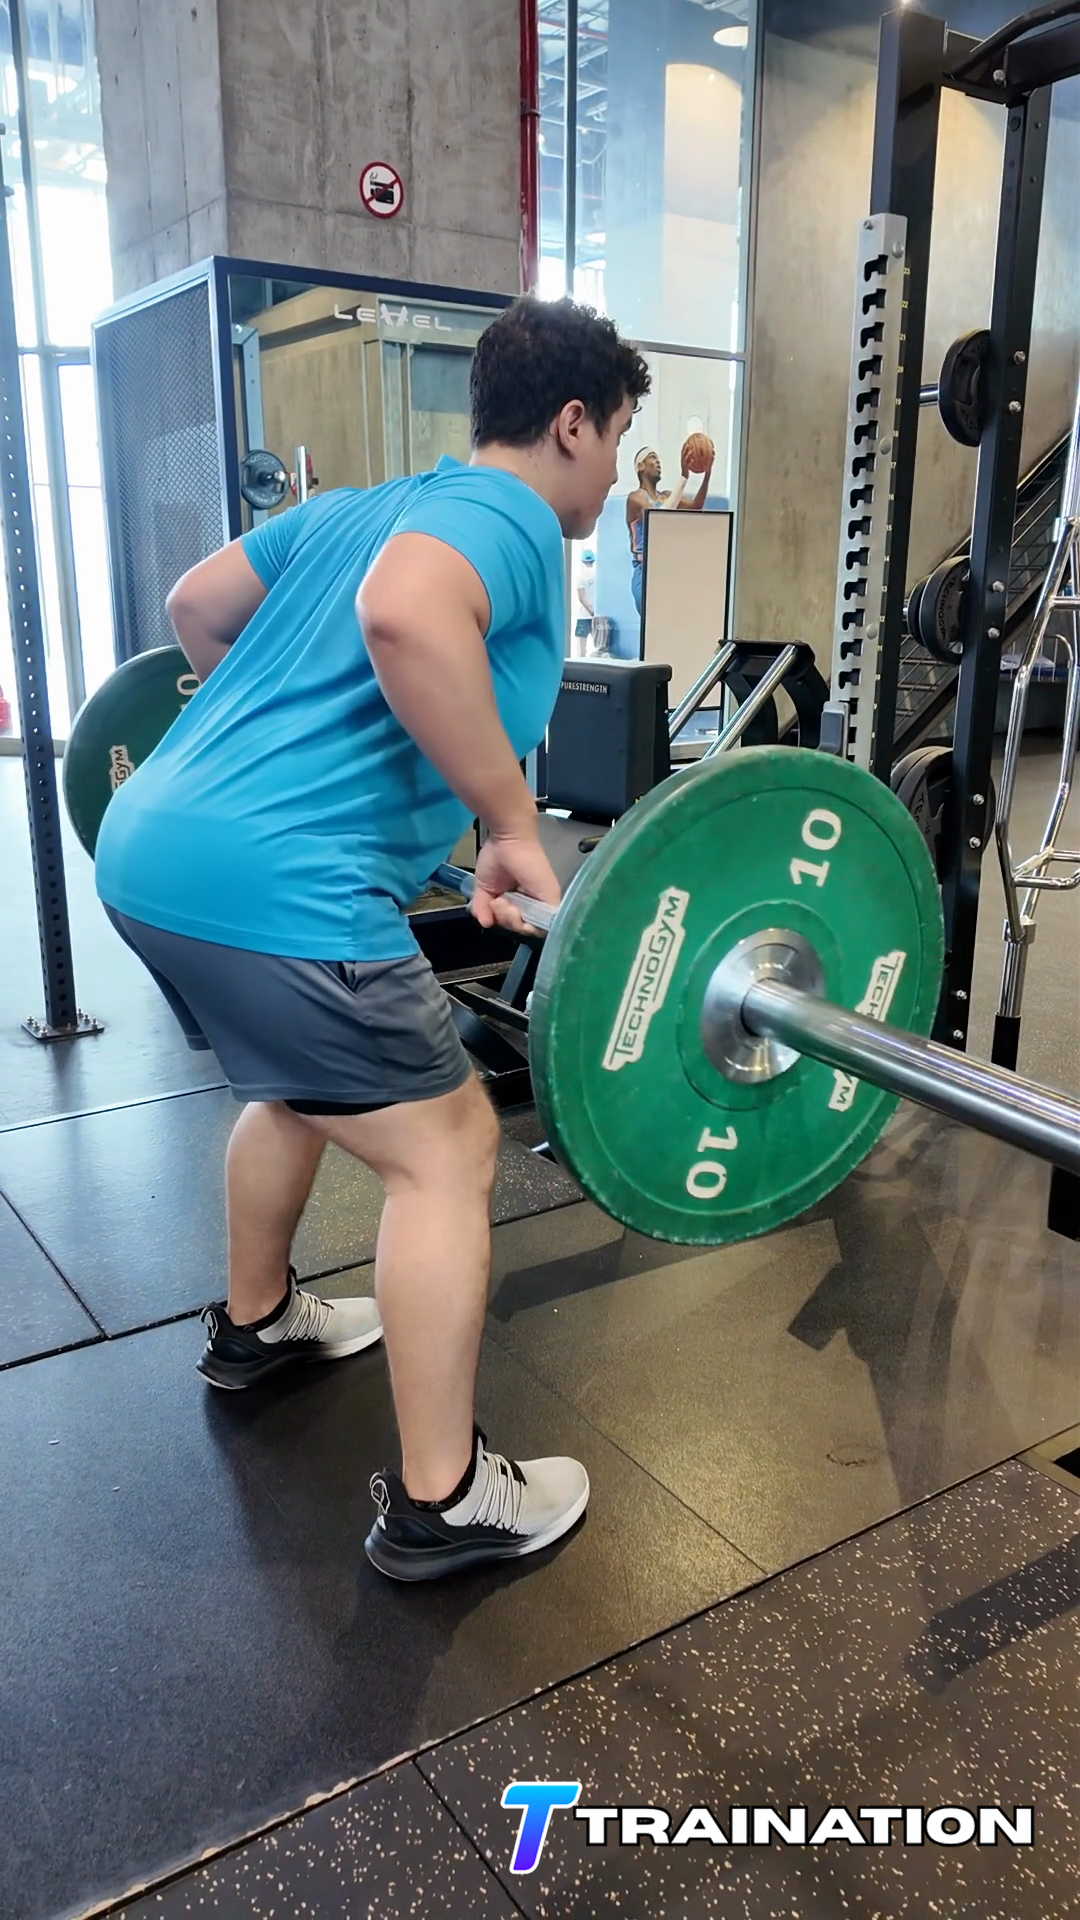
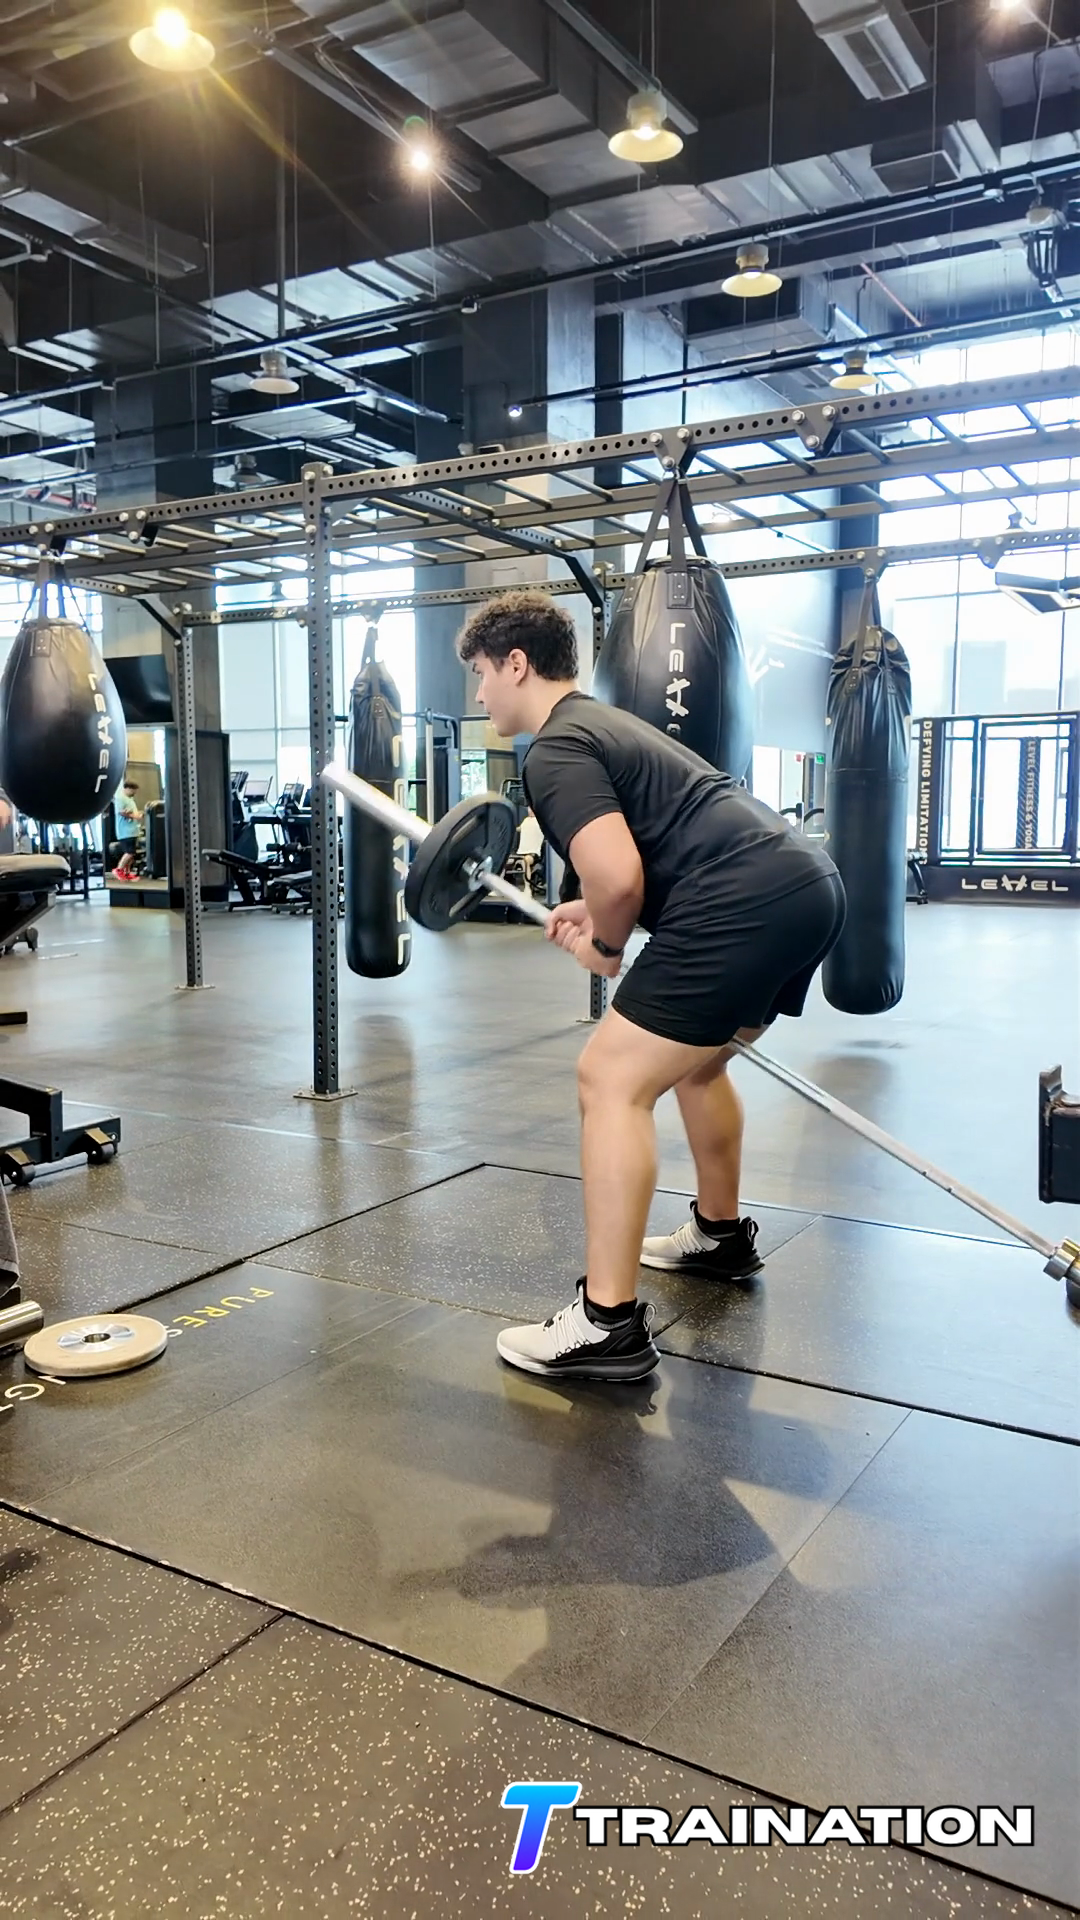
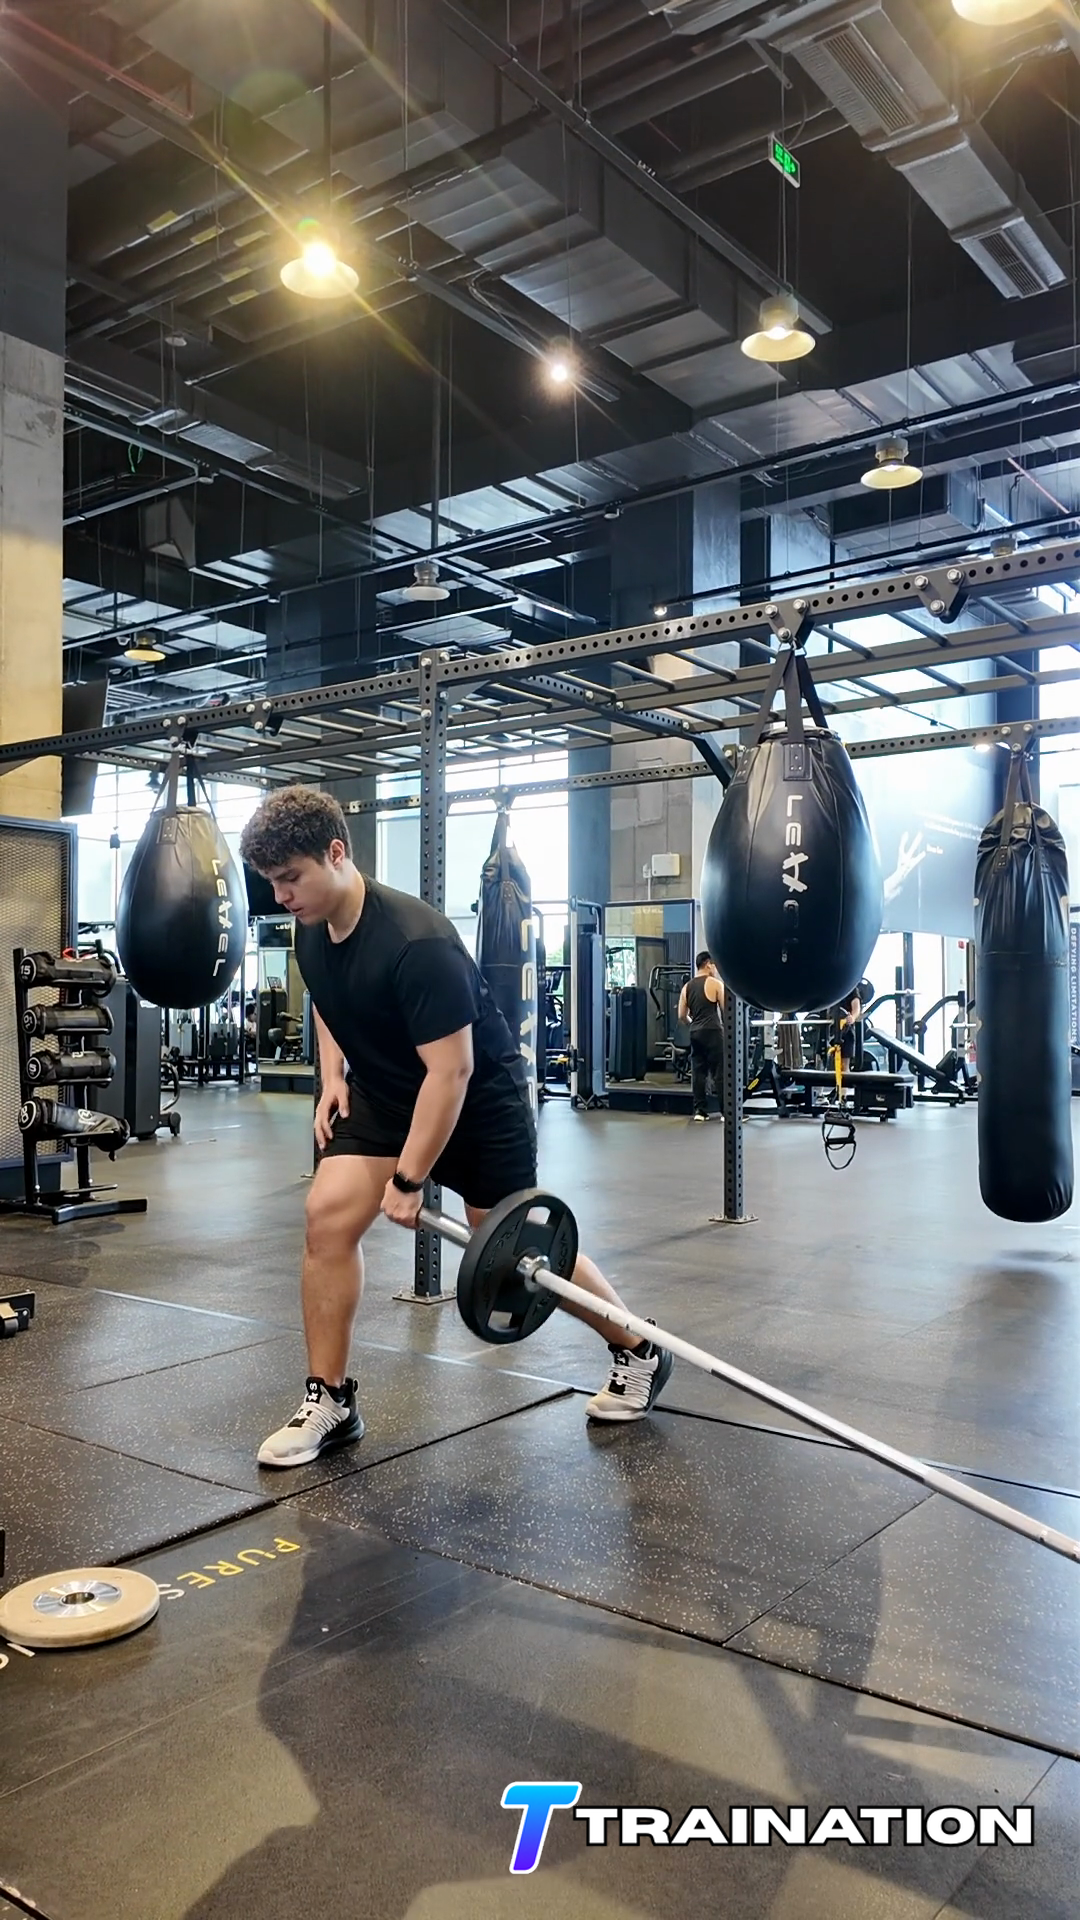
  • Set the bar on safety pins below knee height, stand with the bar over the middle of the feet, and take a grip just outside the legs.
  • Keep the head, ribs, and pelvis connected as one unit and arrange the load so it can remain close to the legs throughout the hinge.

Choose and verify the starting level

  • Use a conservative load for the first set of Rack Pull. You should be able to pause at the hardest position without changing the intended joint path.
  • Perform one slow rehearsal repetition and change the setup if the equipment shifts, the range causes pain, or the target position cannot be maintained.

How to perform Rack Pull

Follow the sequence in order, paying attention to the starting position, movement path, and finish described in each step.

  1. For Rack Pull, begin standing with the load against the thighs, feet about hip width, and knees softly bent.

  2. Brace around the trunk, set the shoulders, and keep the load close to the legs before initiating the hinge or floor pull.

  3. Push the hips backward while the knees remain softly bent and the torso tips as one controlled unit.

  4. Stop when hamstring tension would otherwise change the back position; do not reach the load toward an arbitrary depth.

  5. Drive through the floor and bring the hips forward to stand tall without leaning back, then reverse the path under control when the exercise begins from standing.

Common Rack Pull mistakes

These are the form changes most likely to move work away from the target muscles or make the repetition harder to control.

Rounding to gain range

Stop the hinge or floor pull before the spine rounds; more depth is not useful when position changes.

Load moving away

Keep the resistance close to the legs so the hips and posterior chain remain the focus.

Losing whole-foot pressure

Do not rock onto the toes or heels. Keep the load balanced over the middle of each foot.

Rushing the reversal

Control the transition and avoid bouncing out of the bottom or jerking the load from the floor.

When to modify or choose another exercise

  • Reduce the resistance, range, lever length, or balance demand if Rack Pull cannot be completed without compensation.
  • Stop when the exercise produces sharp, catching, radiating, or increasing joint pain rather than the expected muscular effort.
  • Use a supported or unloaded version when foot pressure, balance, or trunk position cannot remain consistent; seek individualized guidance when pain persists after those changes.

How to use Rack Pull in a training program

Use Rack Pull early in a session focused on back, or early in a full-body session, when it is a priority lift; place it later when it supports volume for another main movement.

01

Where it fits in a session

Use Rack Pull early in a workout focused on back, or early in a full-body workout, when strength or technical progress is the priority; place it later when it supplies secondary volume.

02

How often to use it

Use one to three times per week as part of training the relevant muscle groups at least twice weekly; the same exercise does not need to appear in every session.

Starting rep ranges by goal

GoalSetsReps or timeRestEffort and execution
Technique2–43–690–180 secLight to moderate; 3–5 reps in reserve
Strength2–43–62–4 minHeavy, usually 2–3 clean reps in reserve
Muscle growth2–46–1290–180 secUsually 1–3 clean reps in reserve

How to progress it

Use double progression: reach the top of the repetition range across all sets with the same technique, then add the smallest practical load and return to the lower end.

Pairing and sequencing

  • Pair with an opposing or low-skill accessory when the second exercise does not reduce safety or performance.
  • Count working sets toward total weekly volume for every major muscle group that contributes substantially.

Coach's notes

  • For general strength, start with 2–3 working sets of 4–8 repetitions and rest 2–3 minutes between demanding sets.
  • For muscle growth, use a moderate load for 6–12 controlled repetitions and count the sets toward weekly volume for the trained muscles.
  • Progress repetitions within the chosen range before adding a small amount of load, and record load, reps, range, and effort.

Regressions and progressions for Rack Pull

Start with an easier option

Dowel hip hinge

Keep a dowel in contact with the head, upper back, and pelvis while learning to send the hips backward.

Kettlebell deadlift from blocks

Raise a light kettlebell so the start can be reached without losing trunk position.

Progress when form is repeatable

Tempo Rack Pull

Lengthen the lowering phase to reinforce load control and a consistent stopping point.

Single-leg or offset hinge

Increase unilateral and anti-rotation demand only after the bilateral hinge is repeatable.

References
  1. American Council on ExerciseACE Exercise Library
  2. Mayo ClinicWeight Training: Do's and Don'ts of Proper Technique
  3. American College of Sports MedicineACSM Resistance Training Guidelines Update

Build client programs that drive retention and cut your weekly programming time in half.

Explore the workout builder →
Beta access

Become a Traination Beta User

Apply to become a beta user of the app for free in exchange for feedbacks and reviews. Your time is important! That's why we will reach out to you individually to make sure this is the right fit.