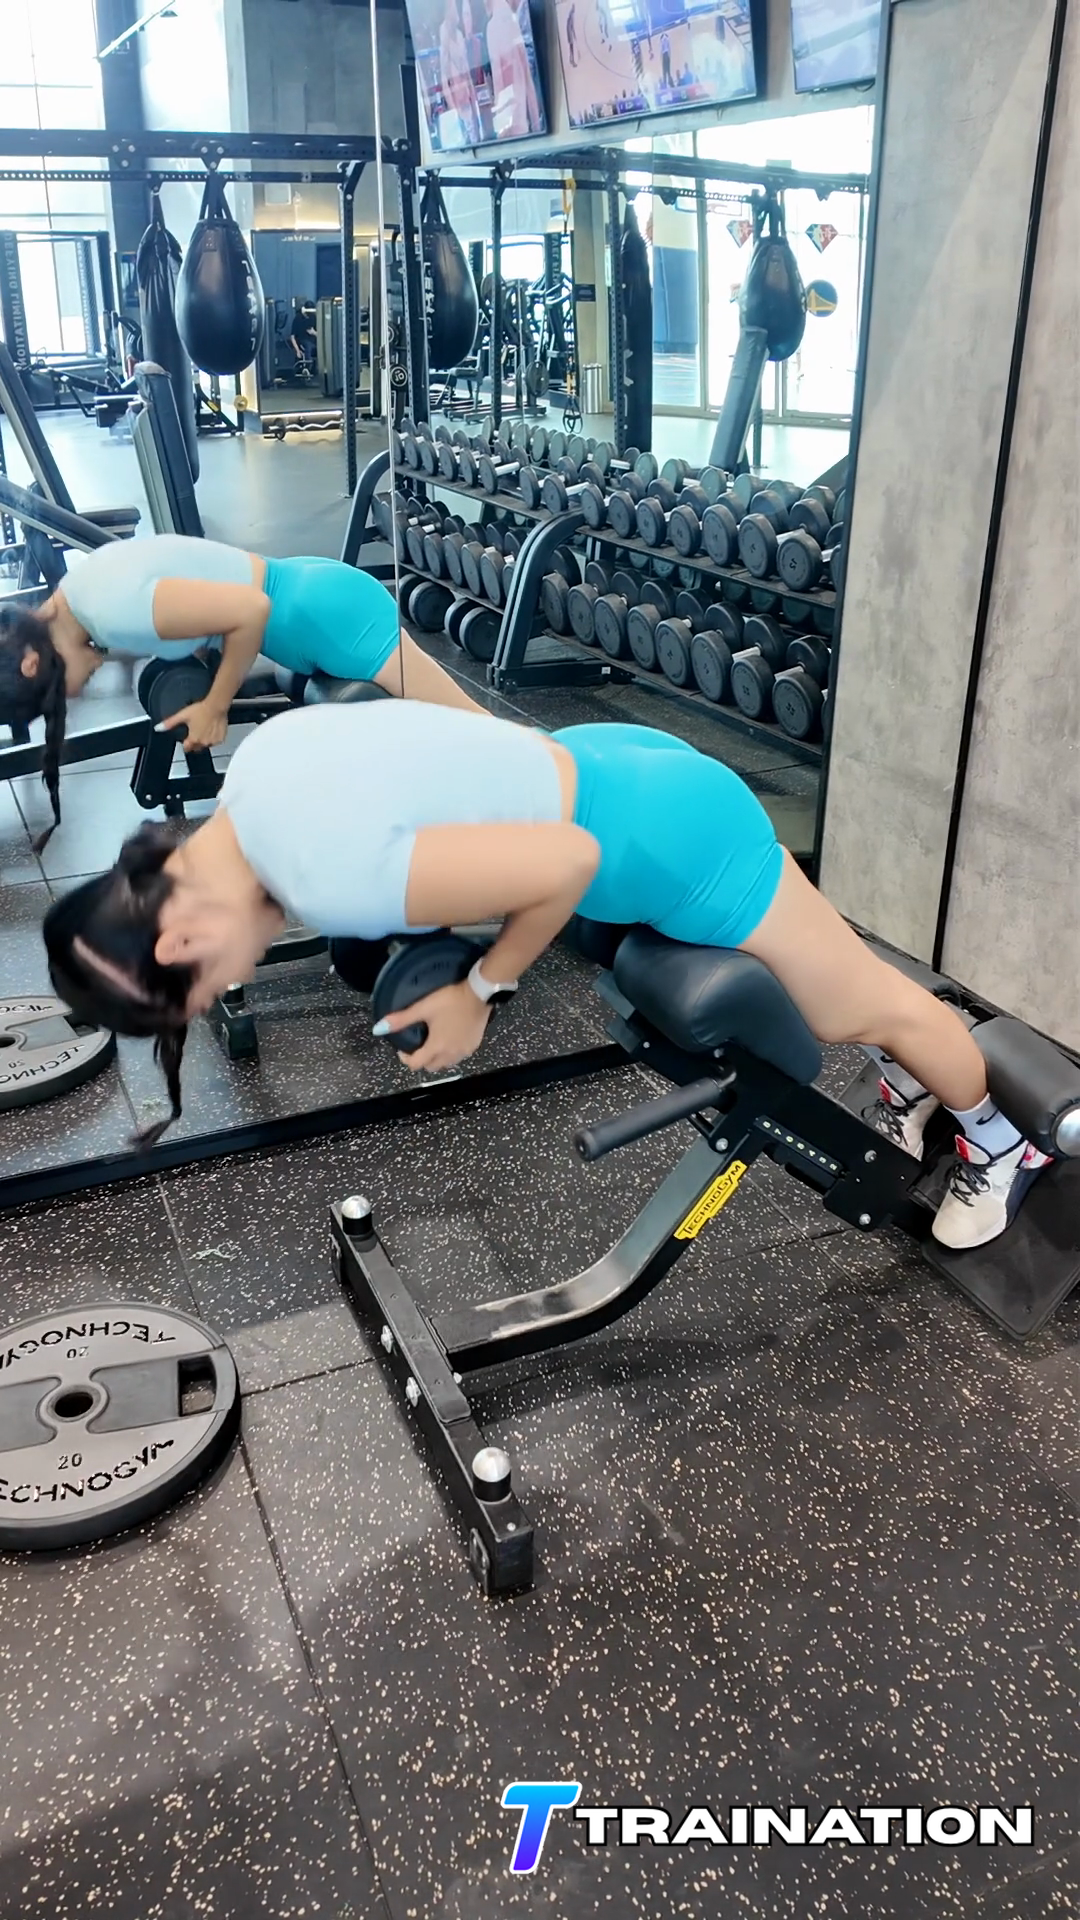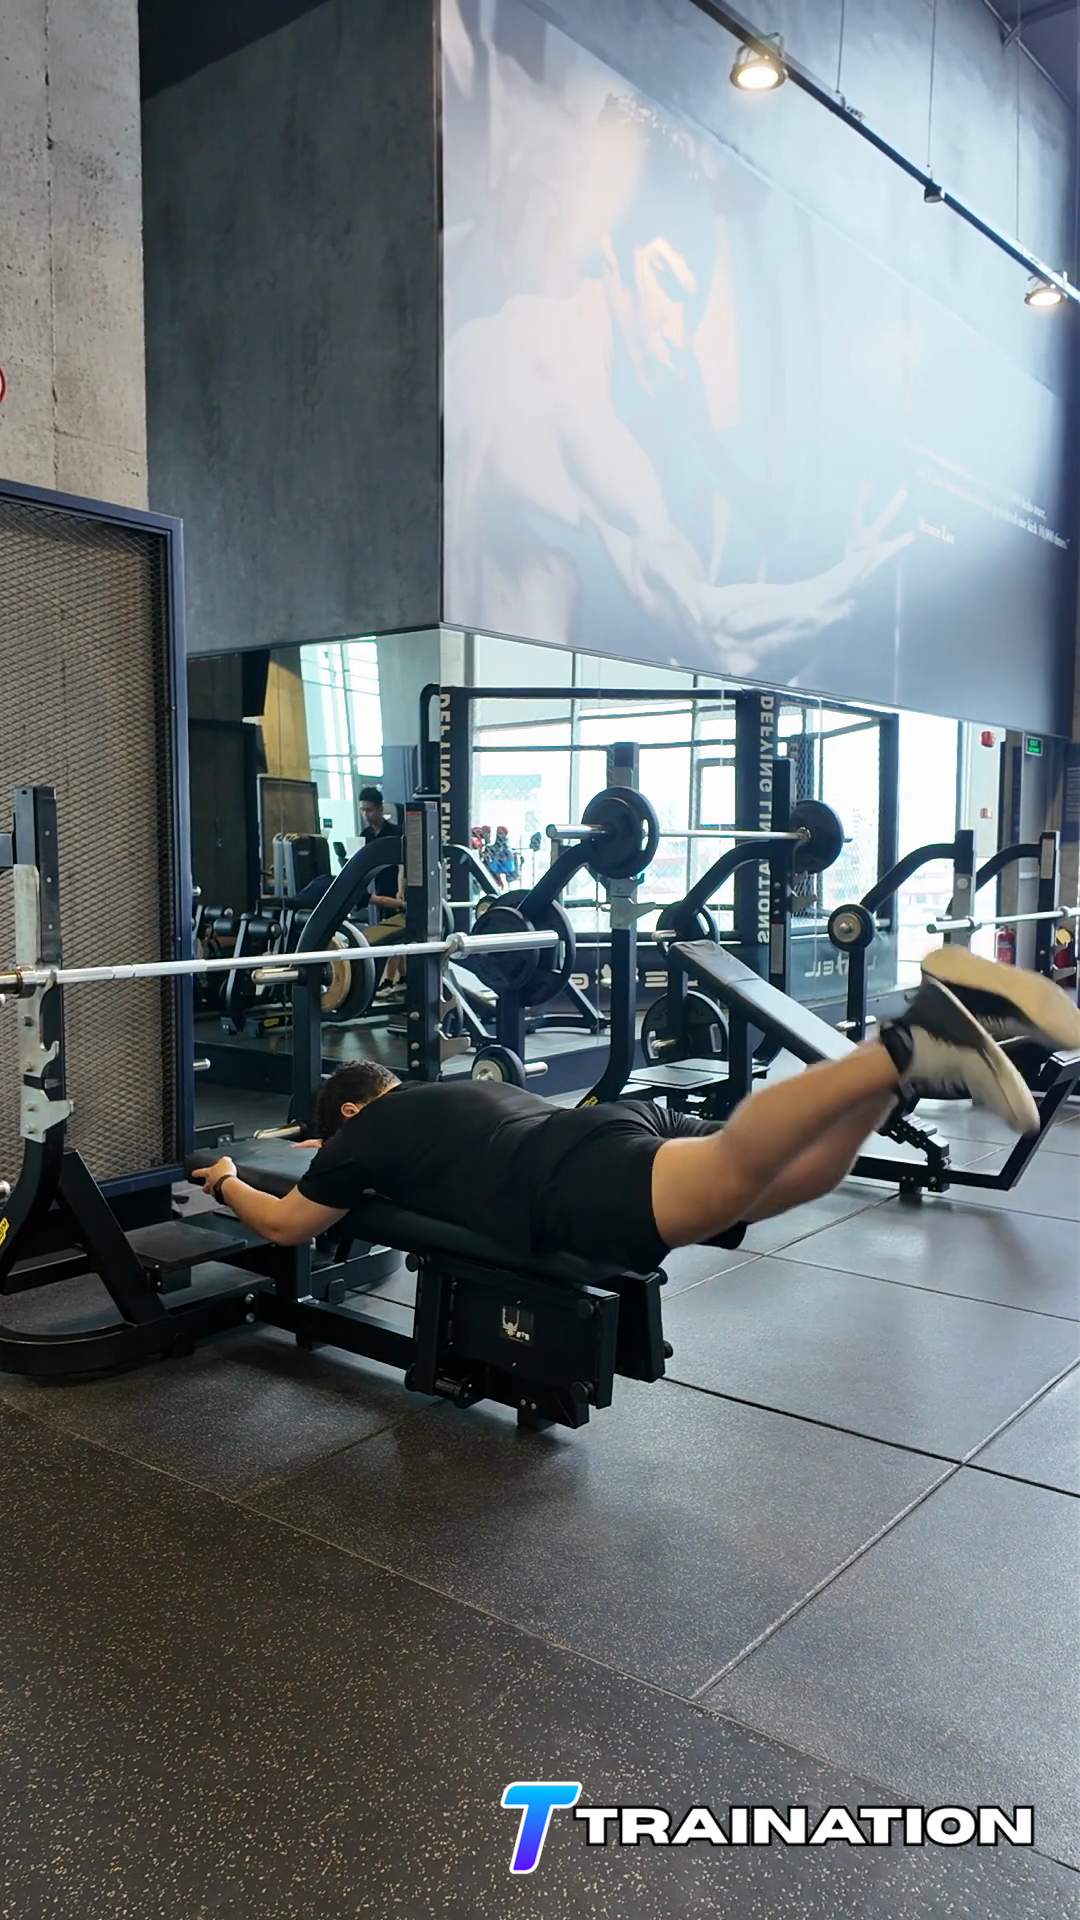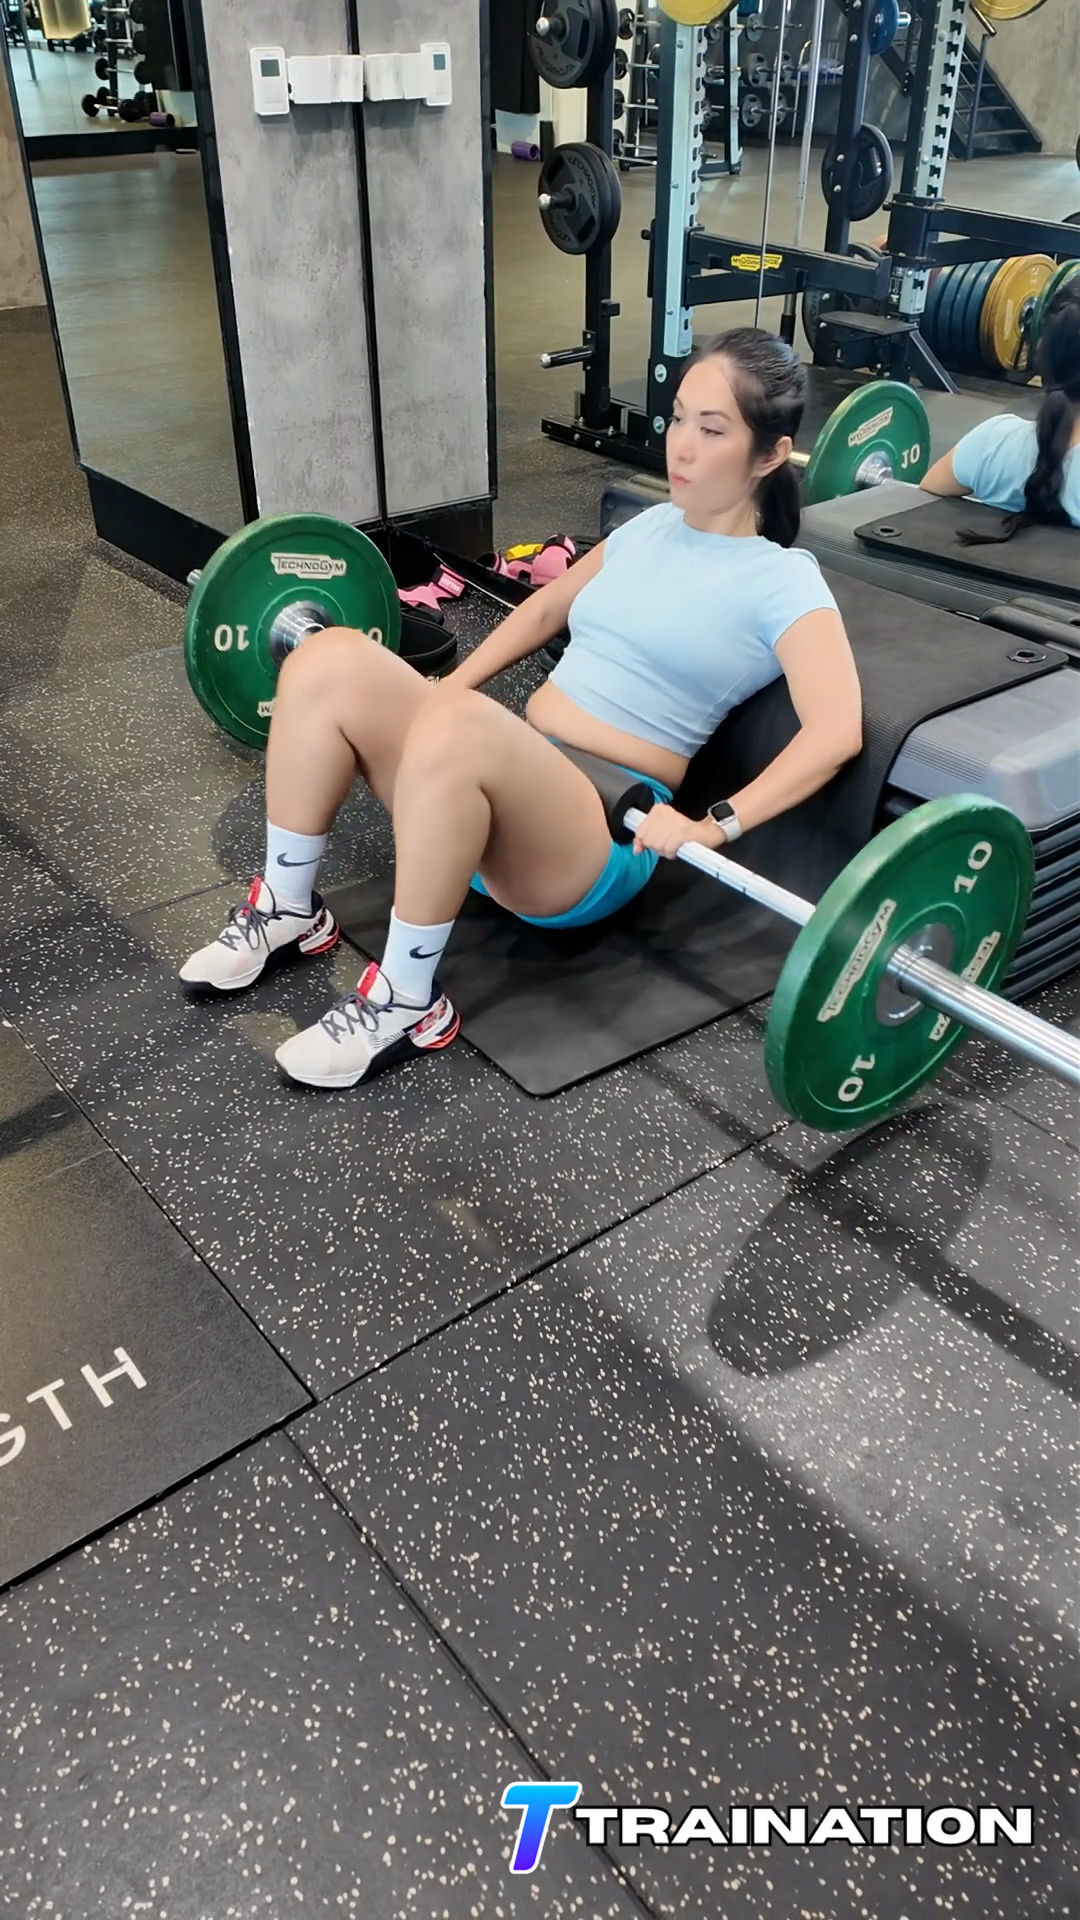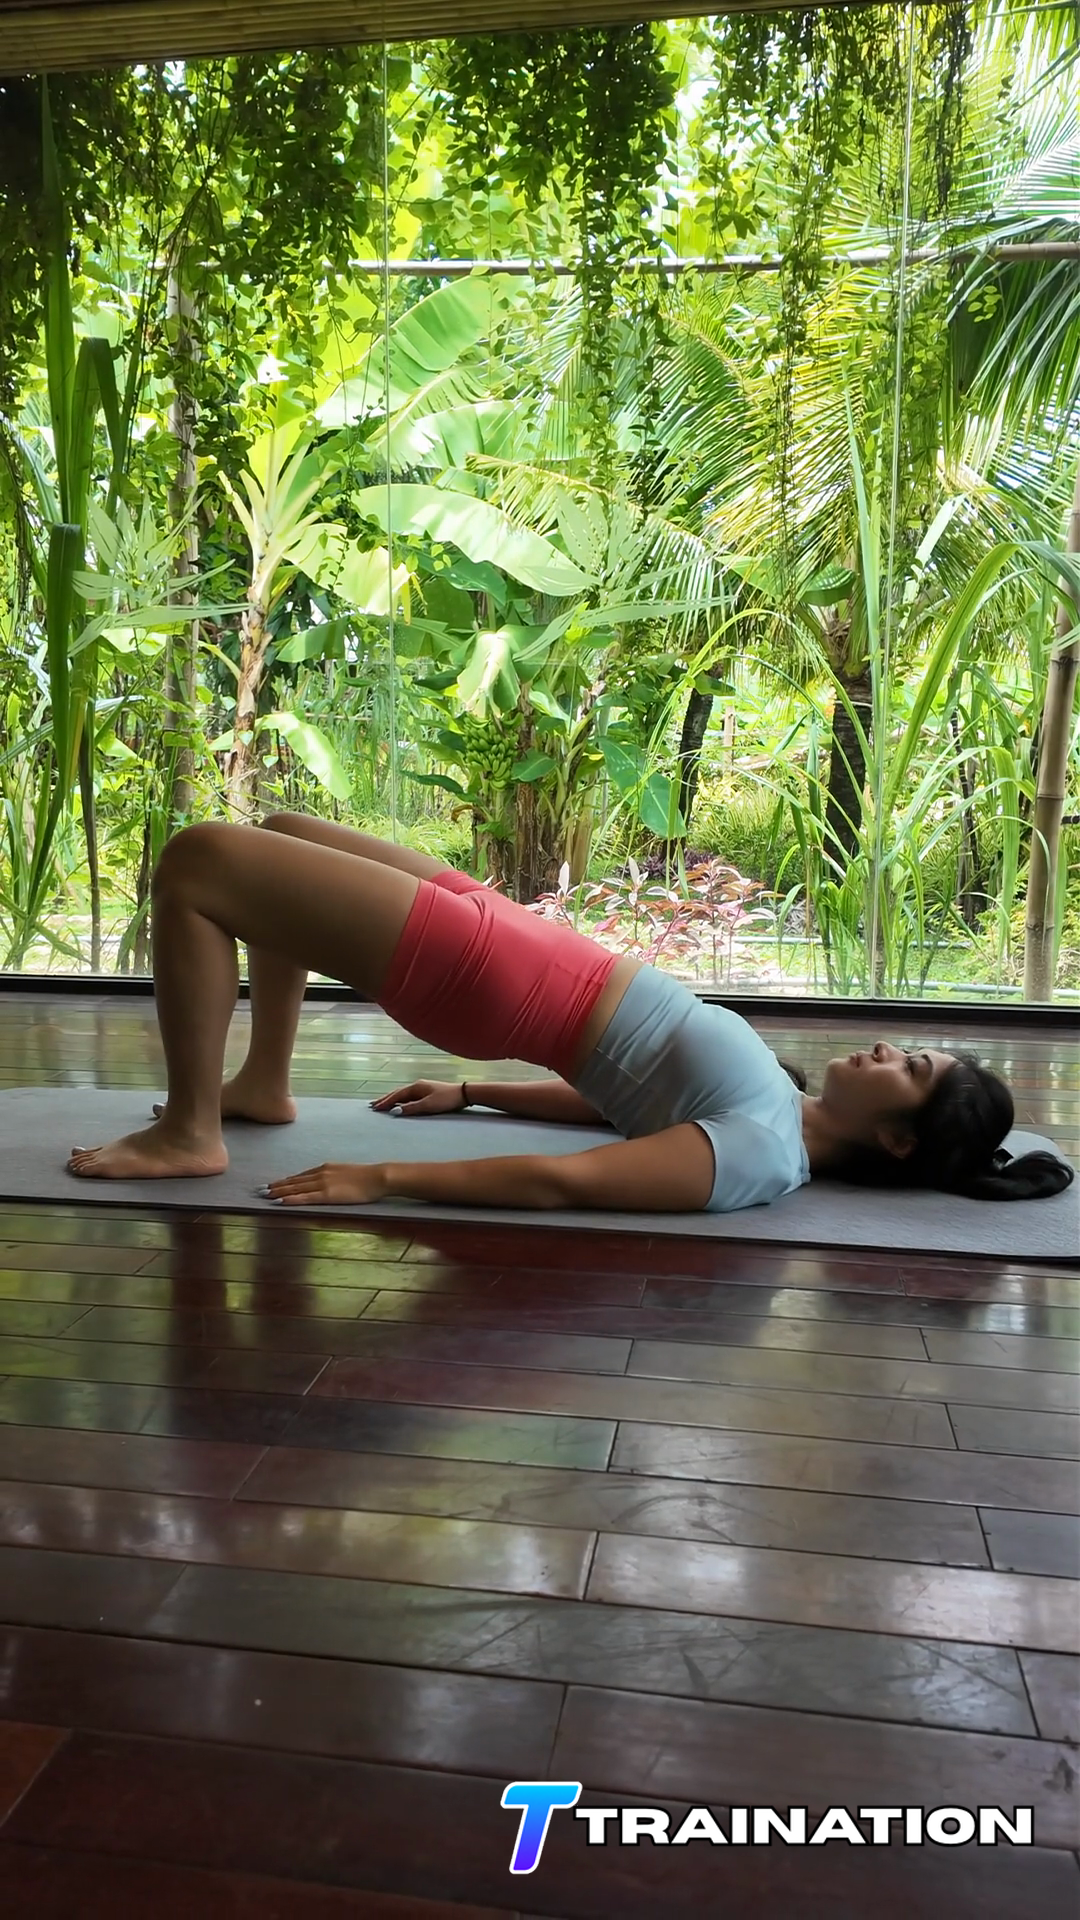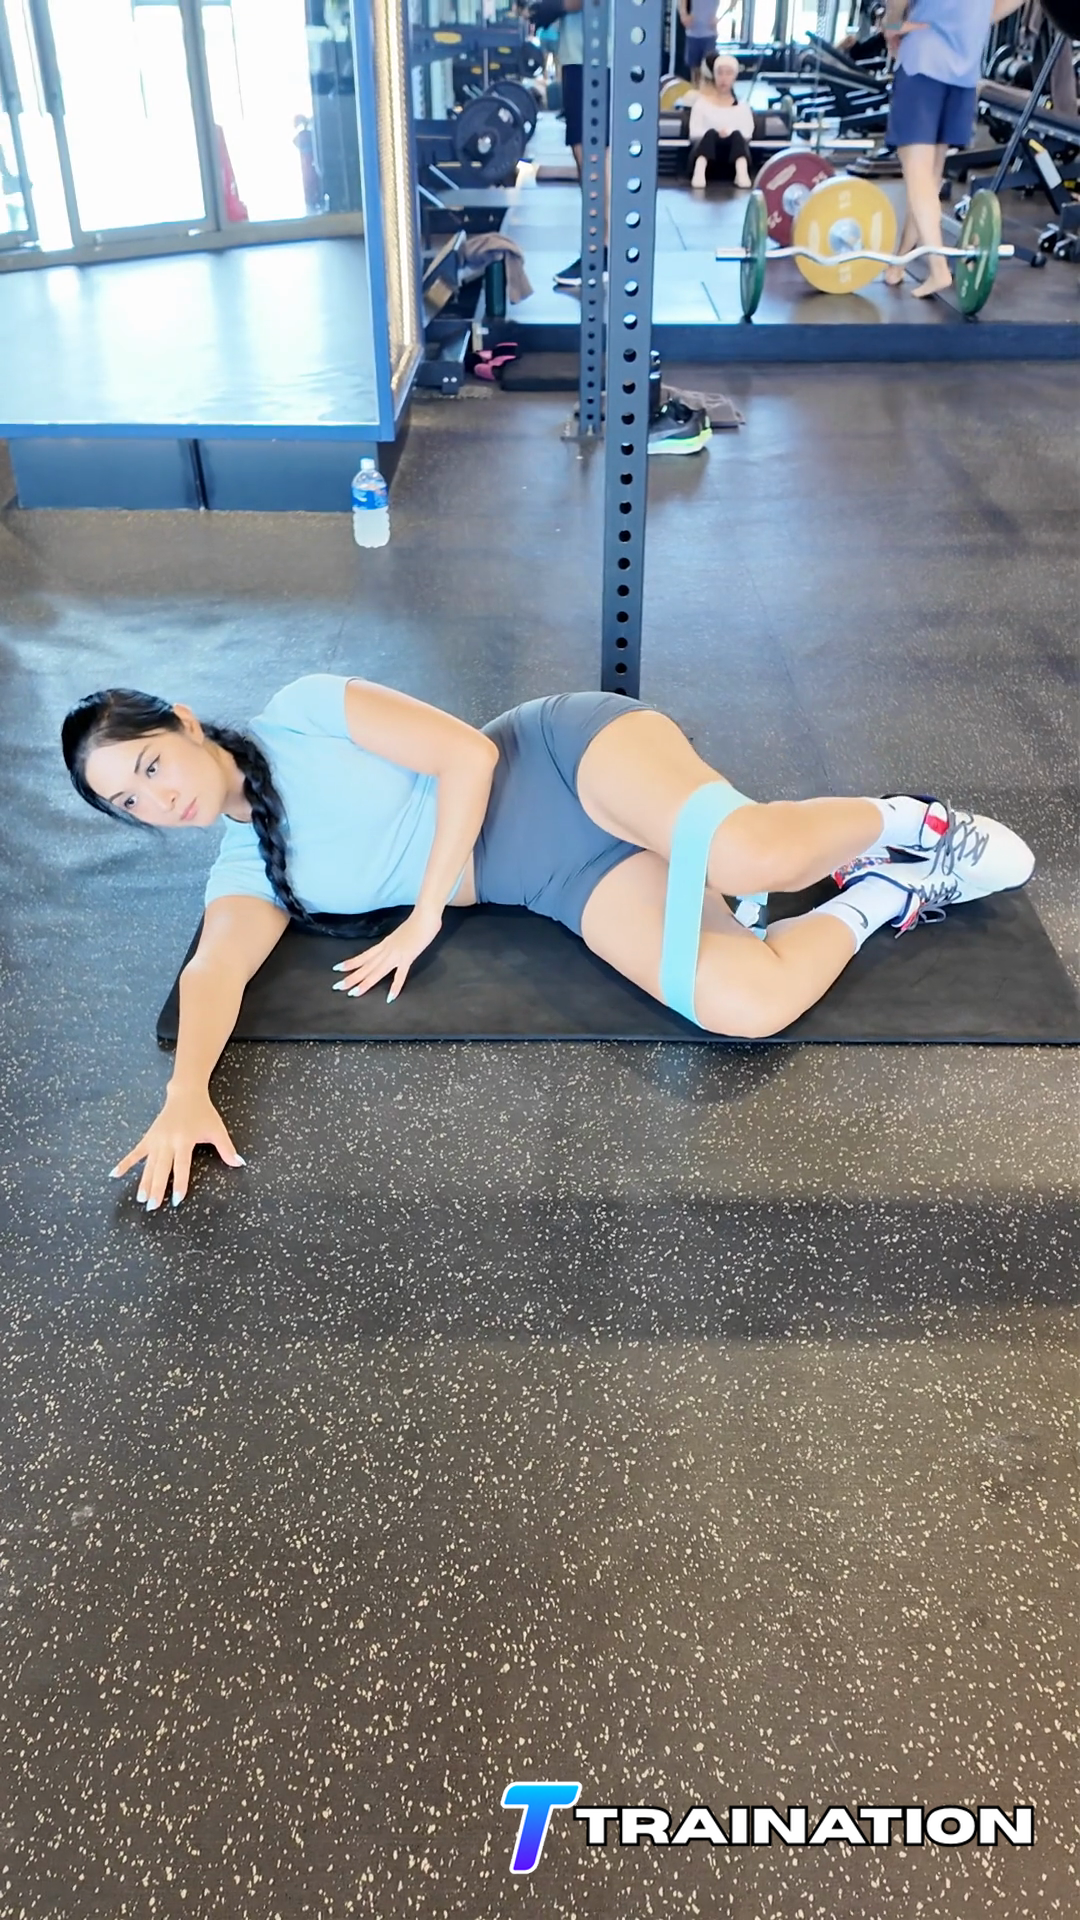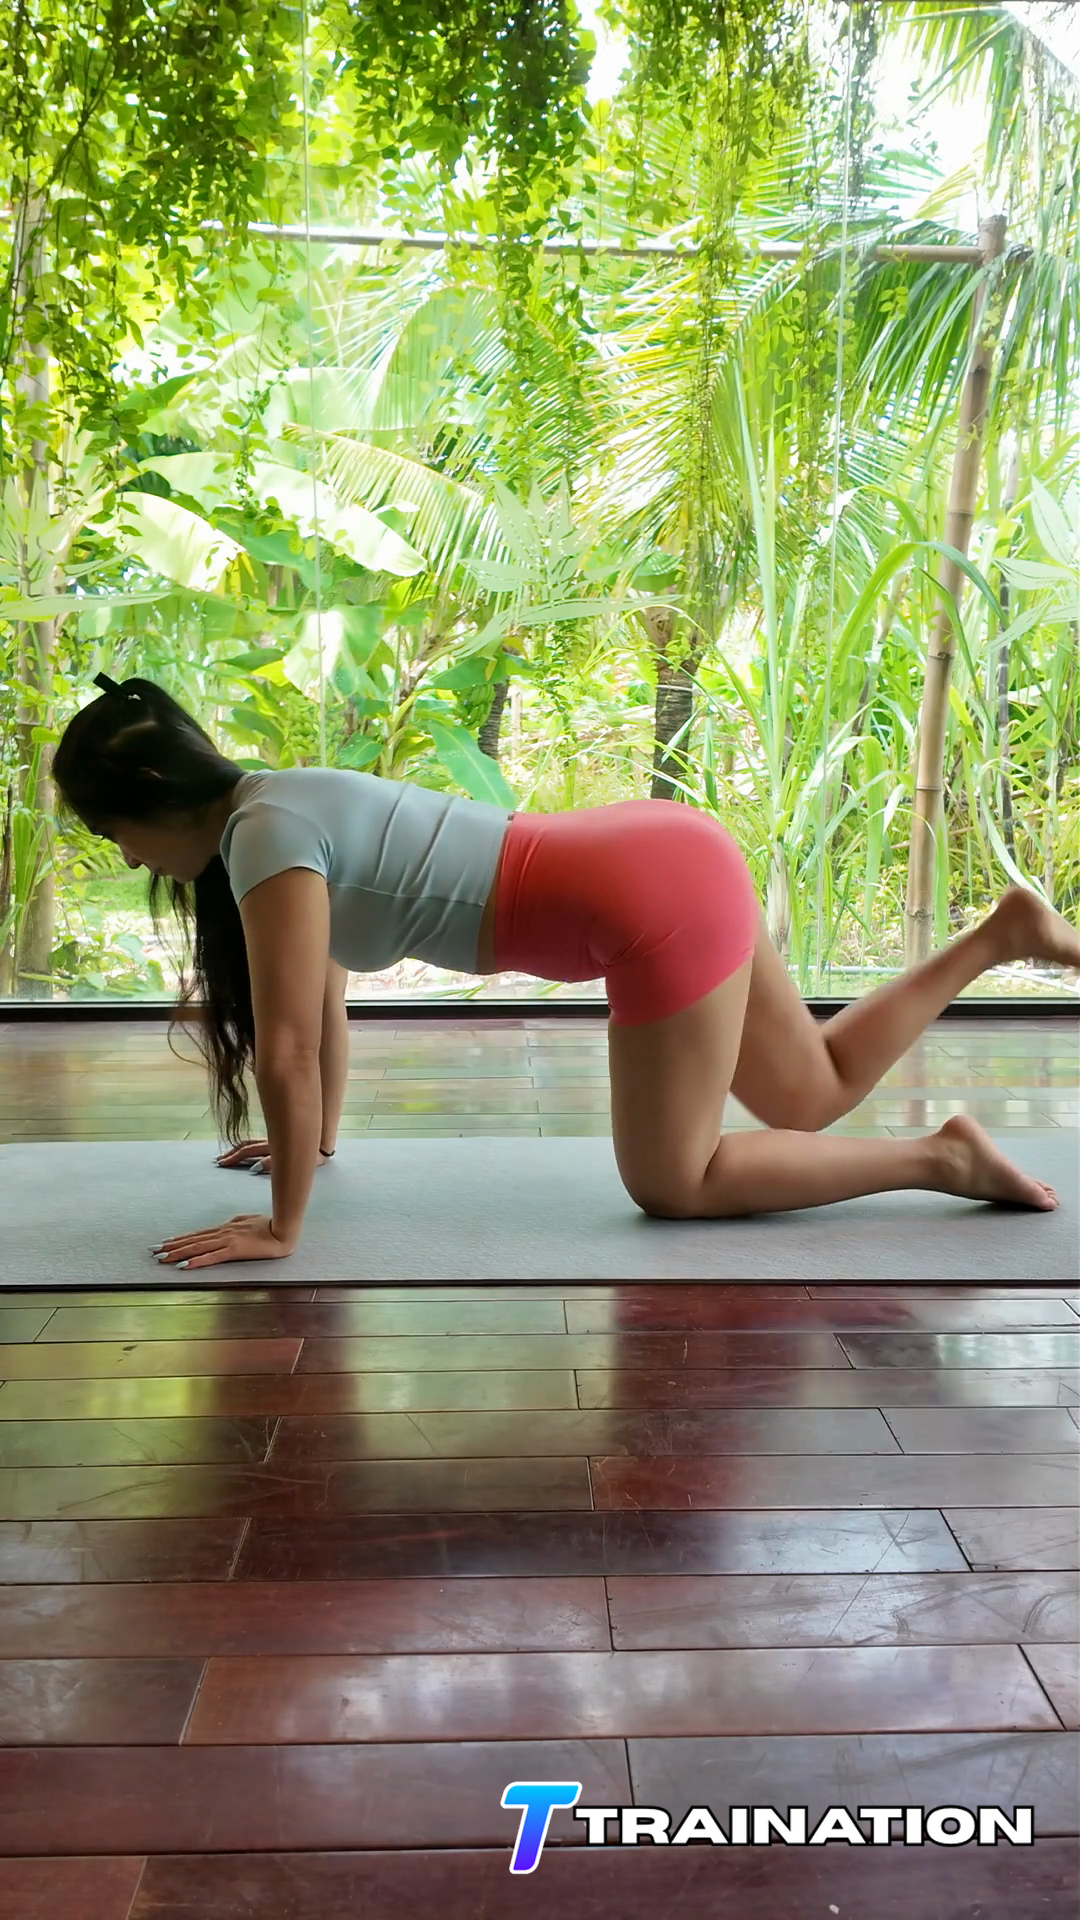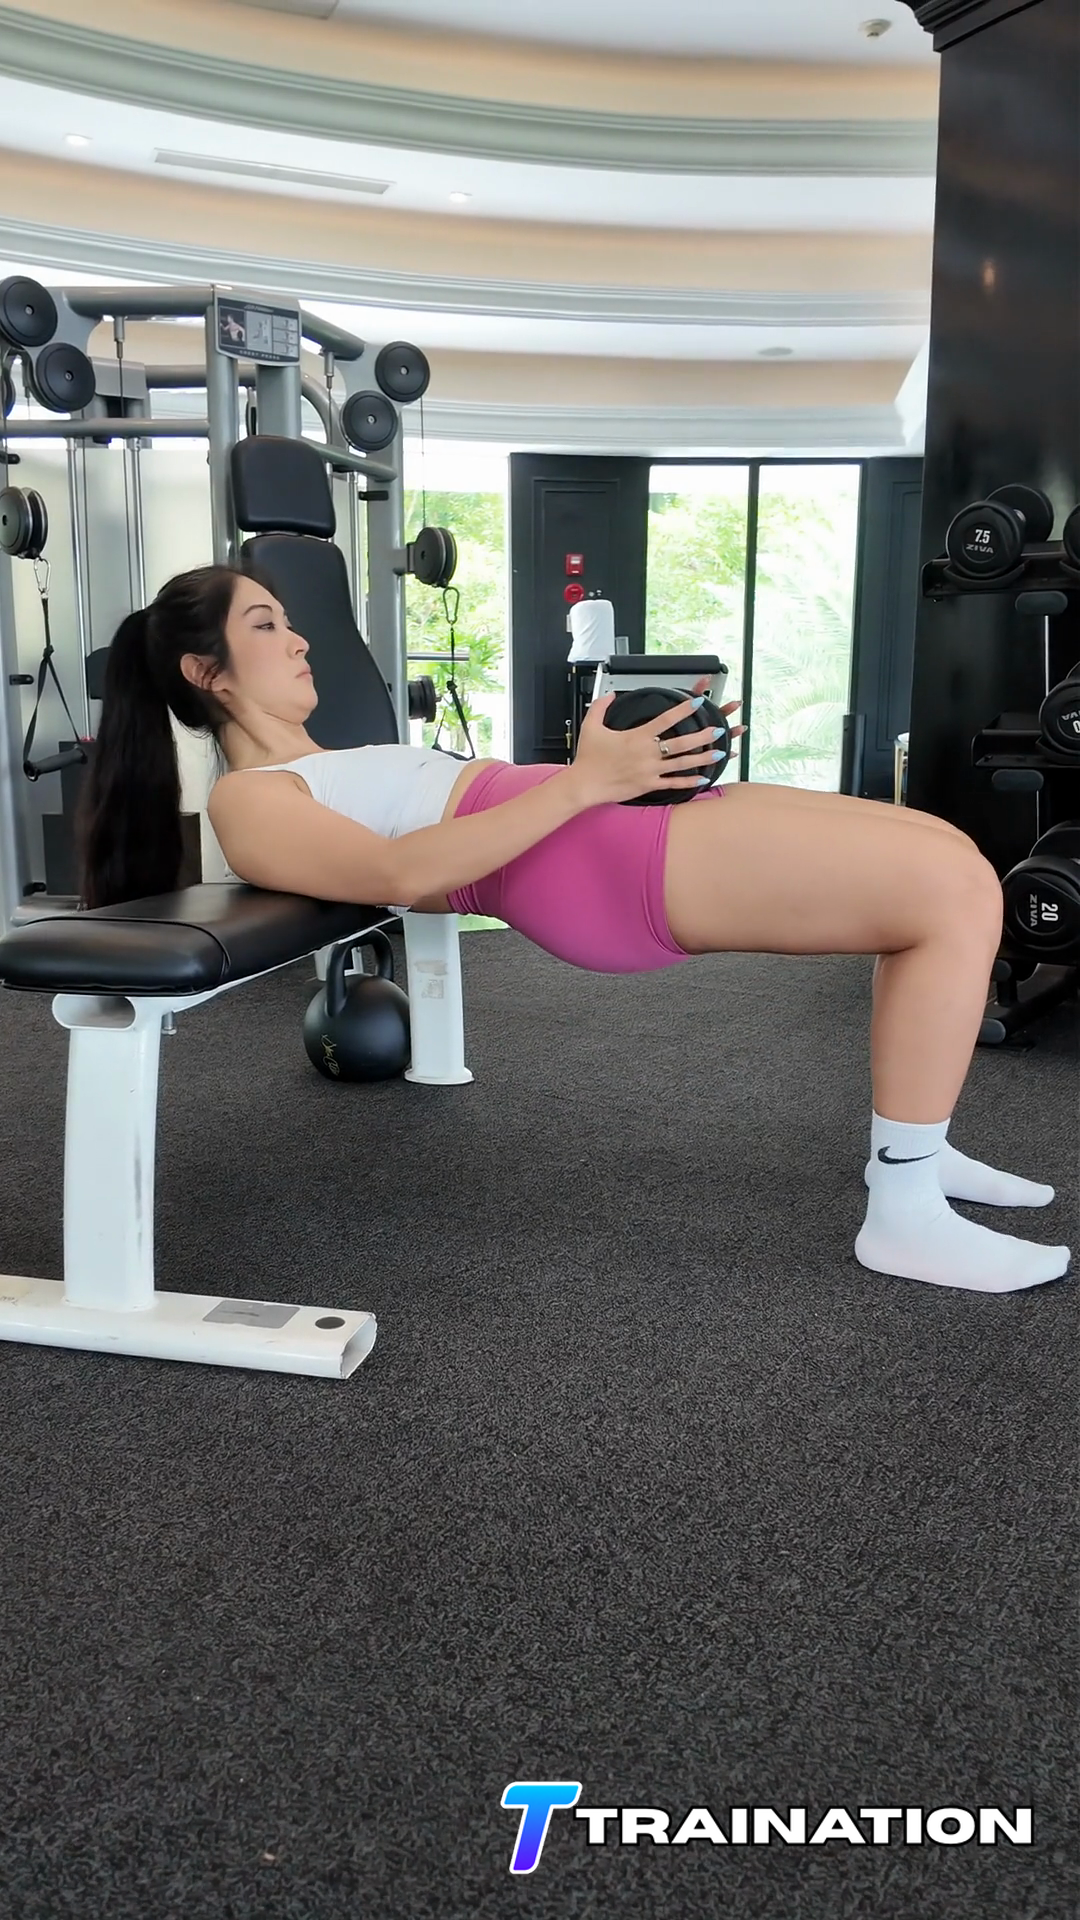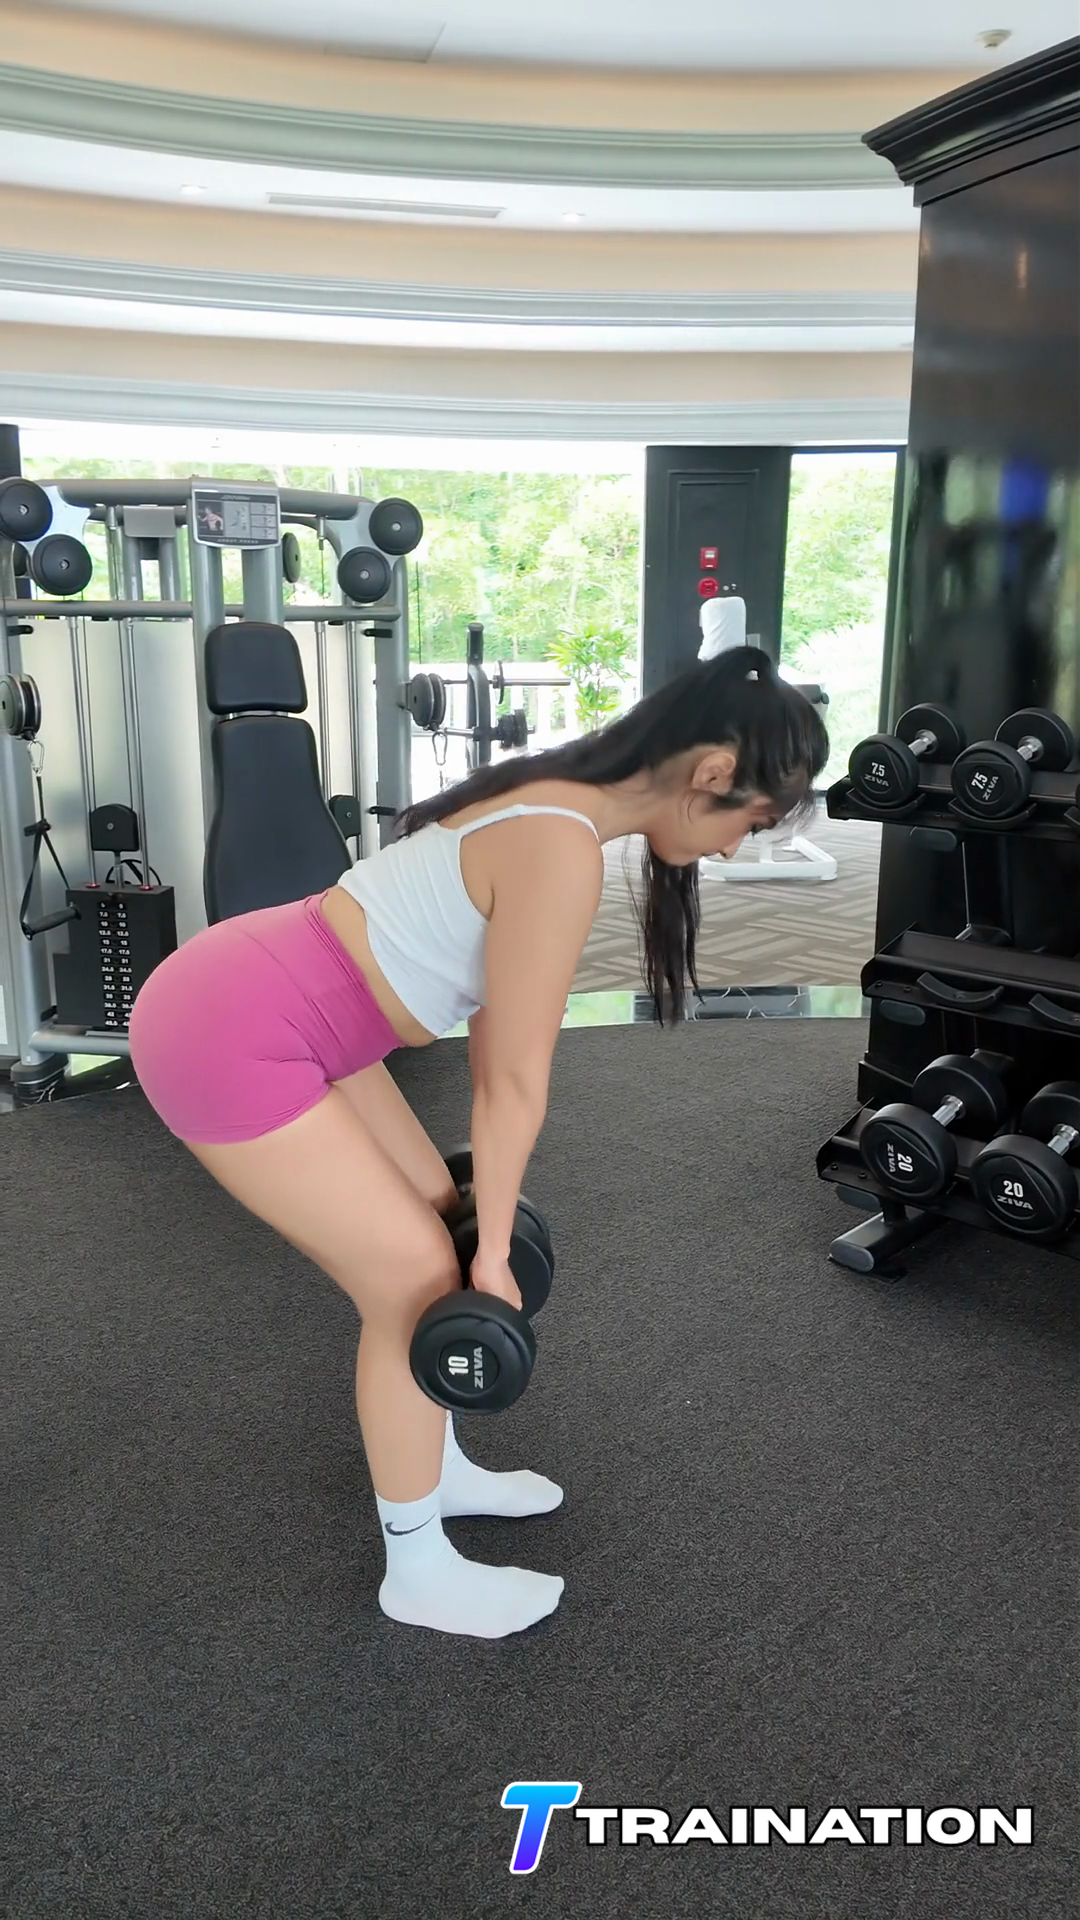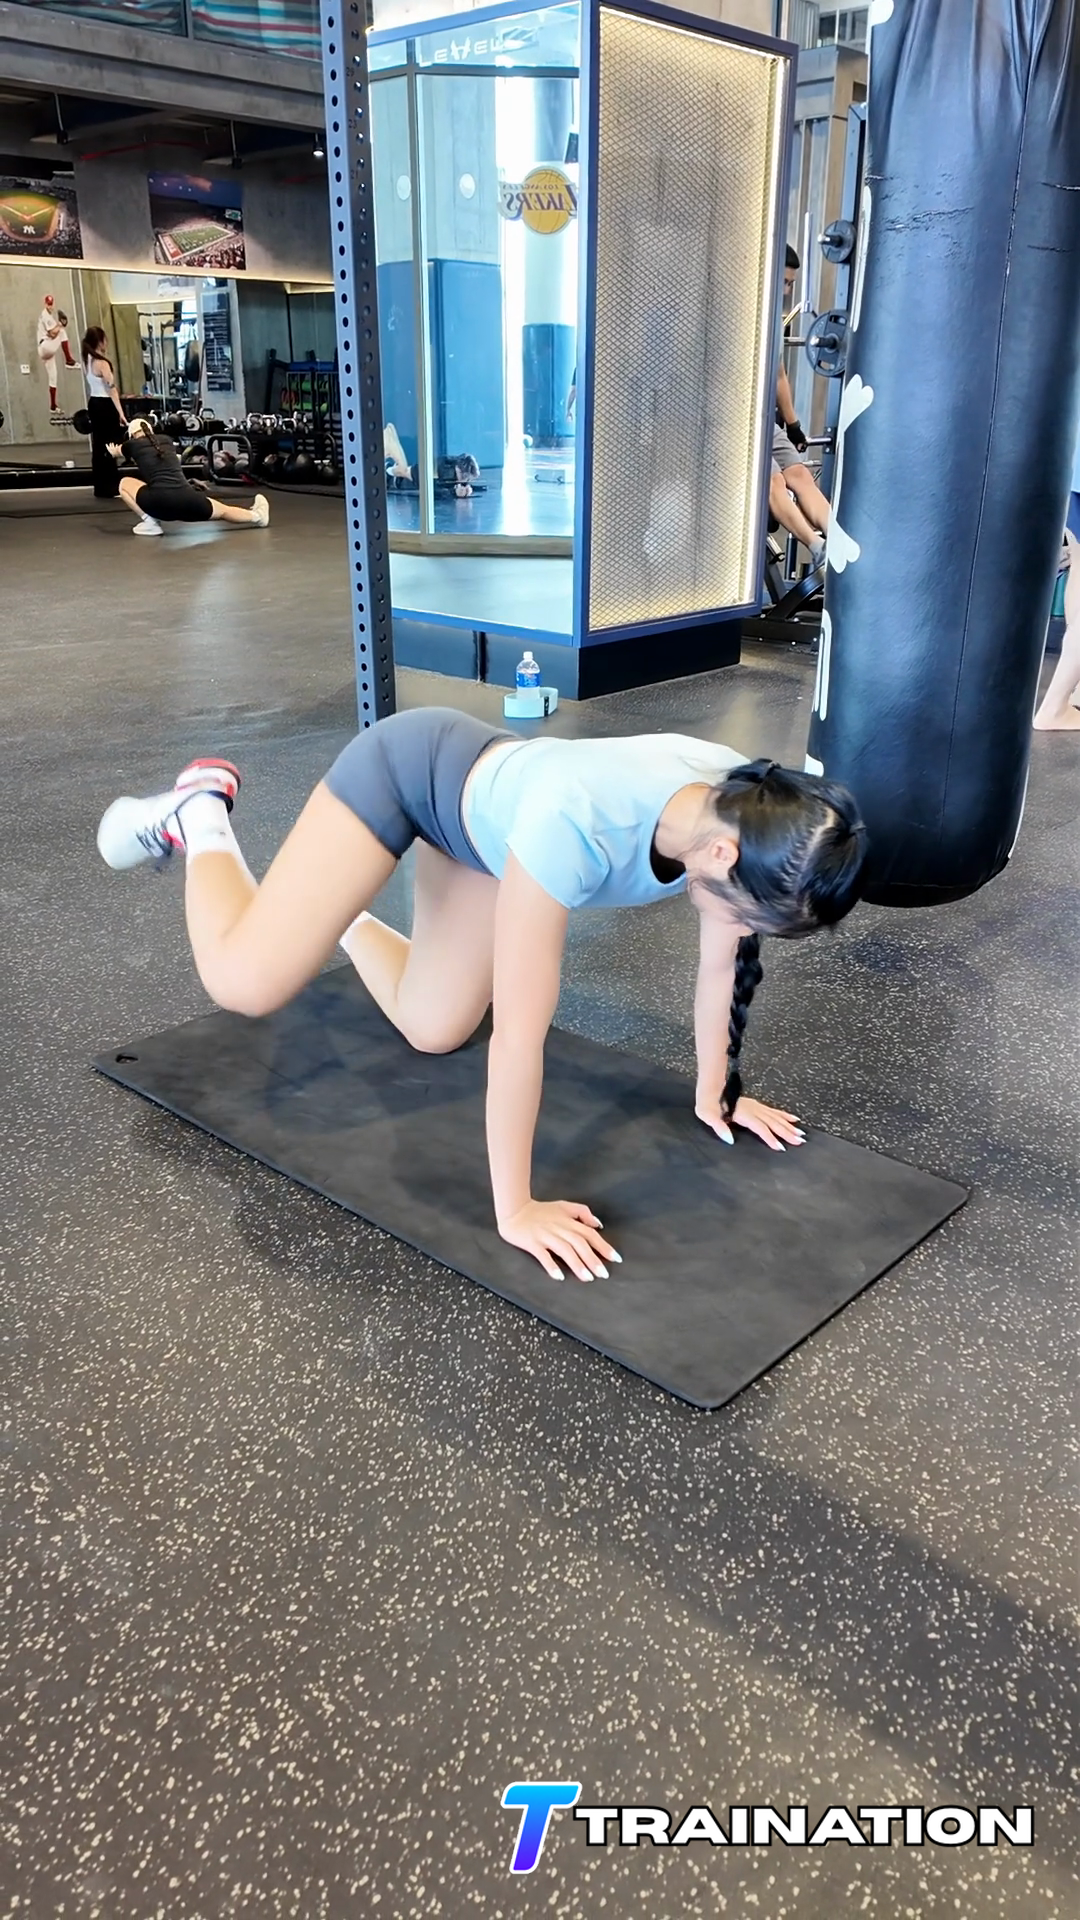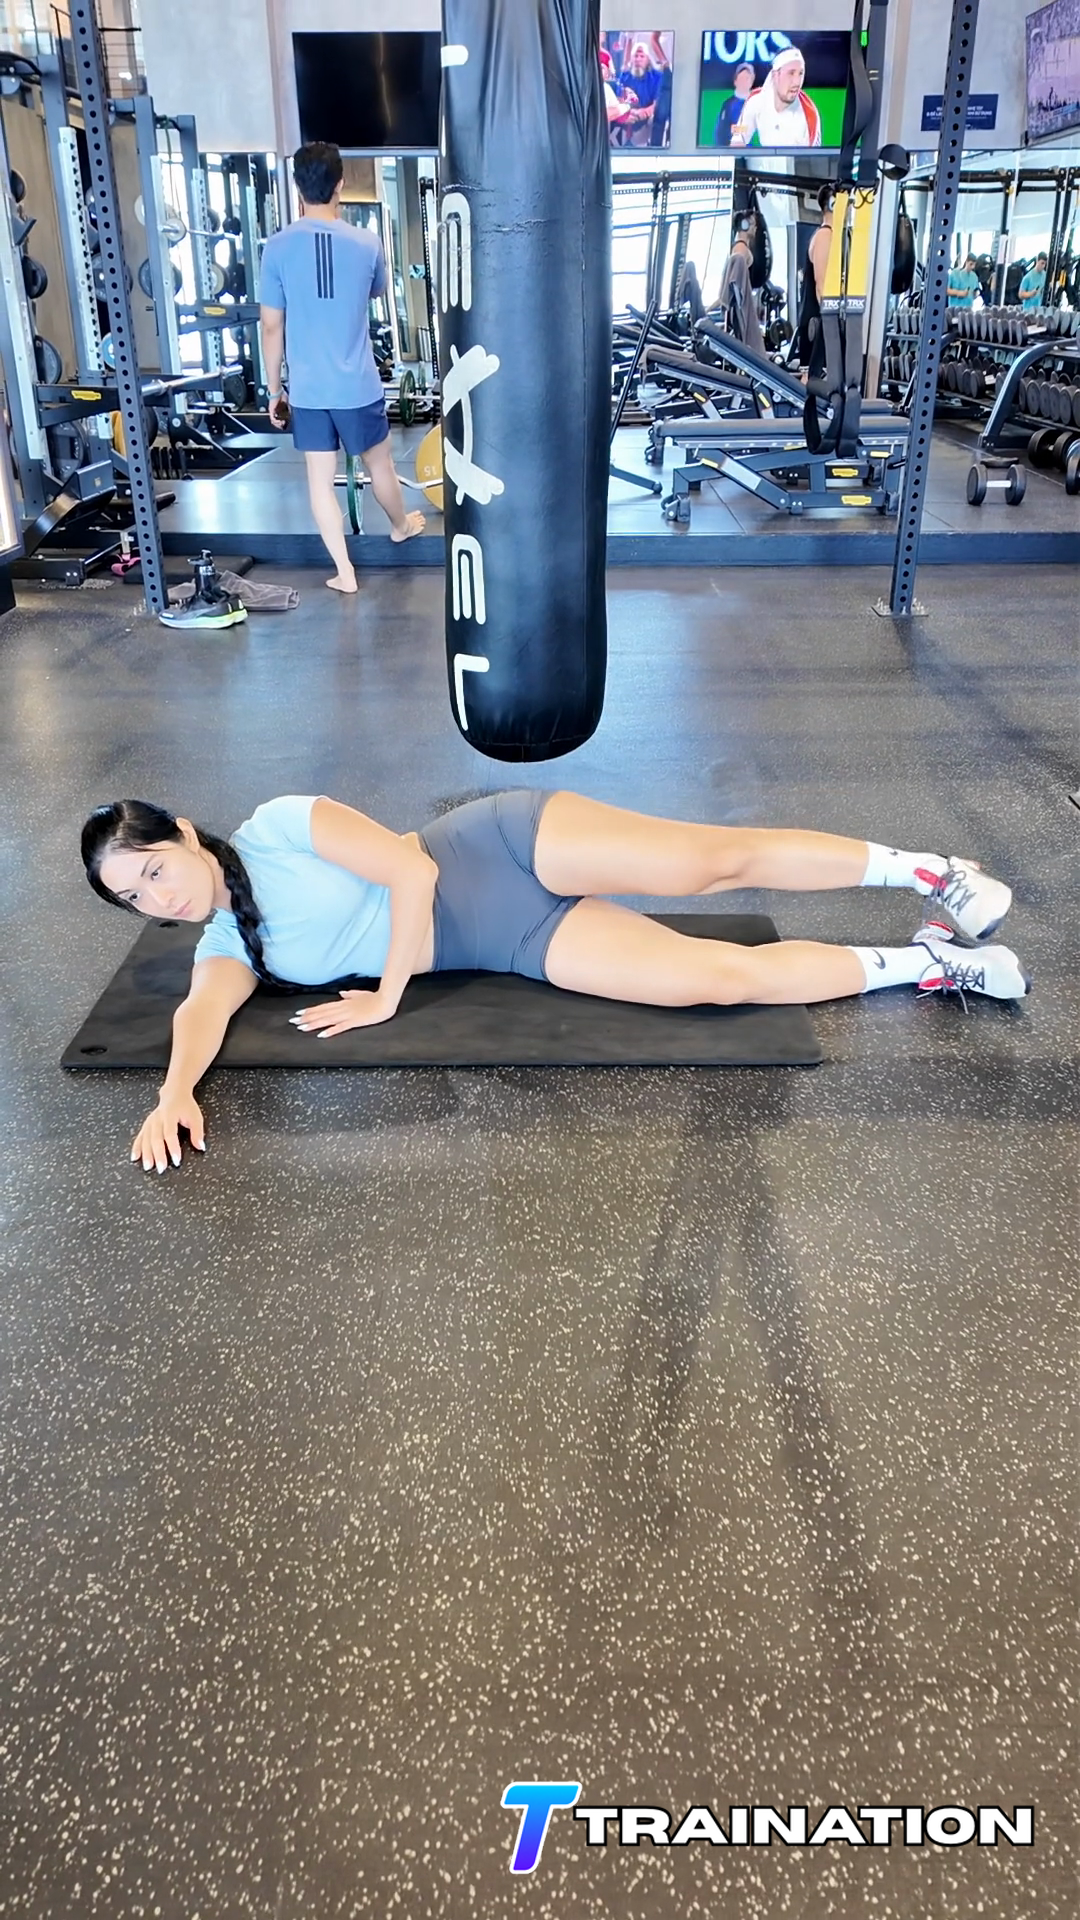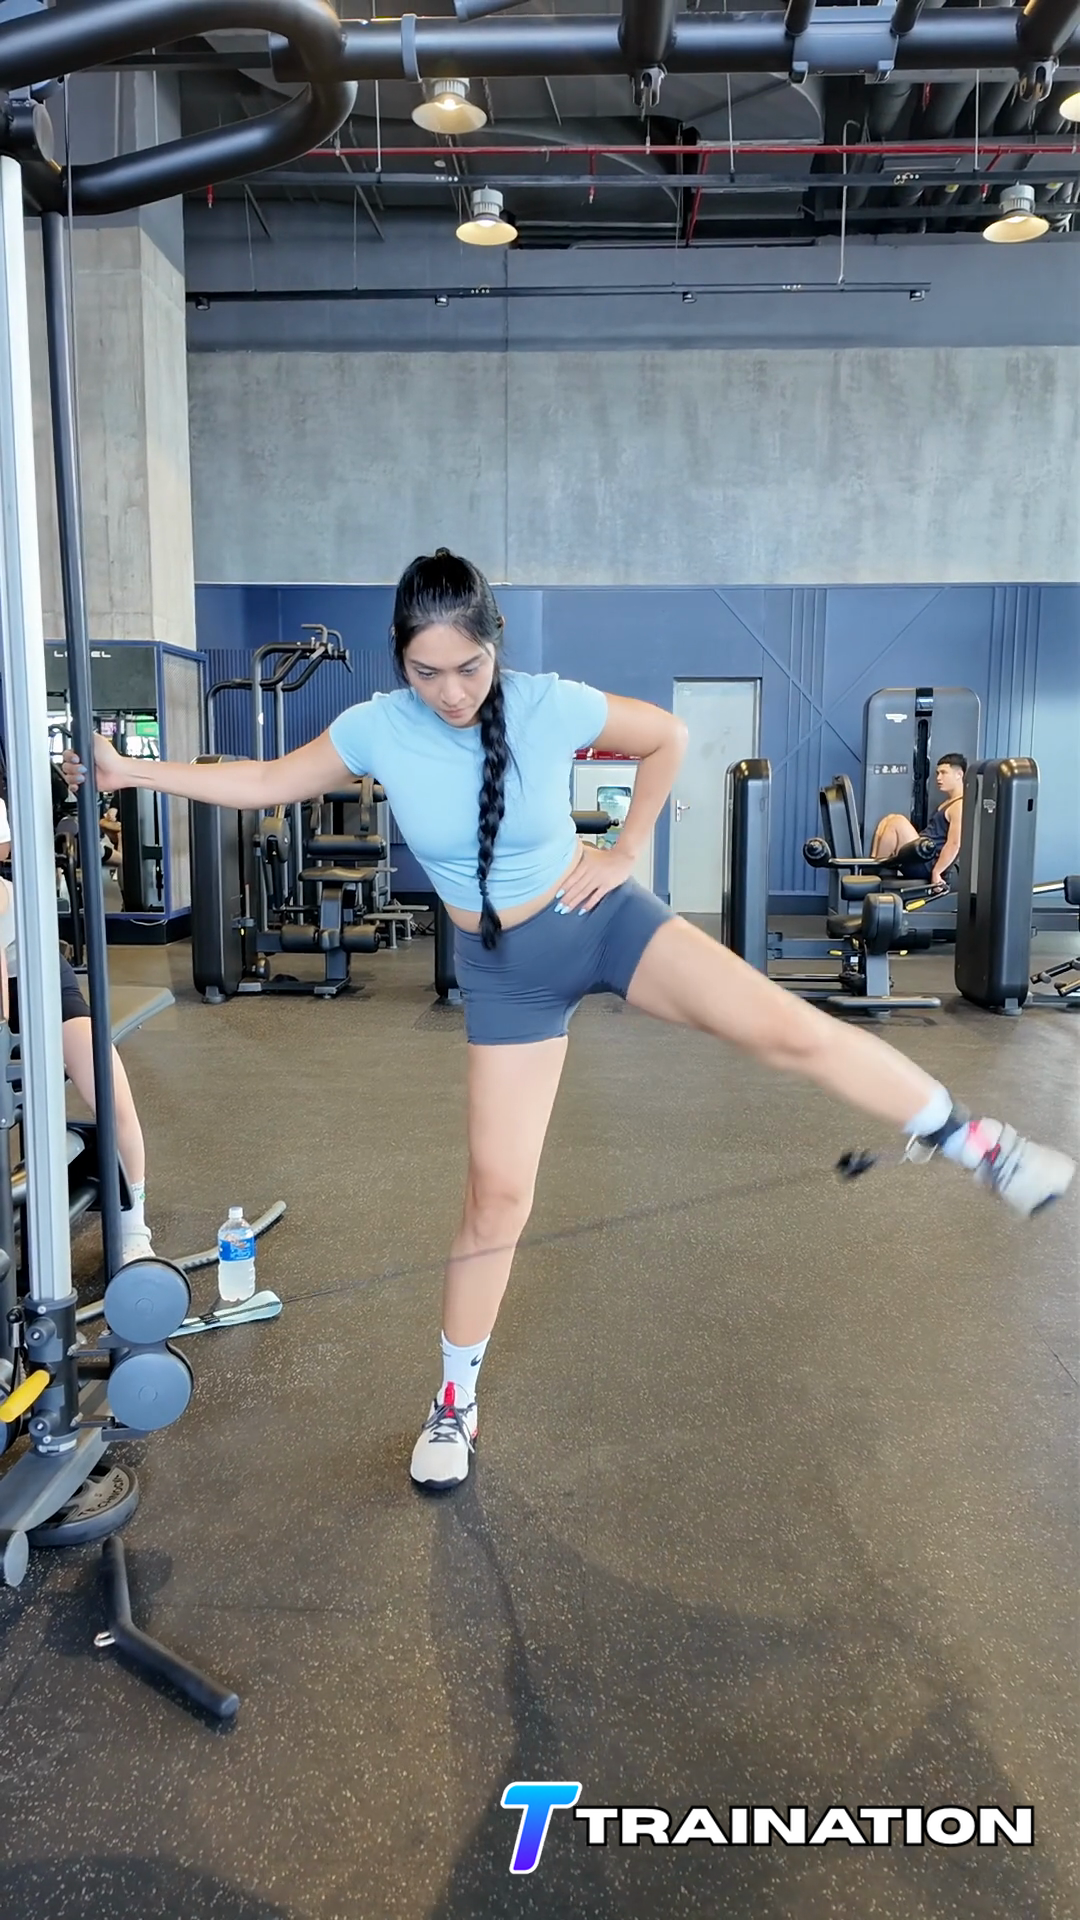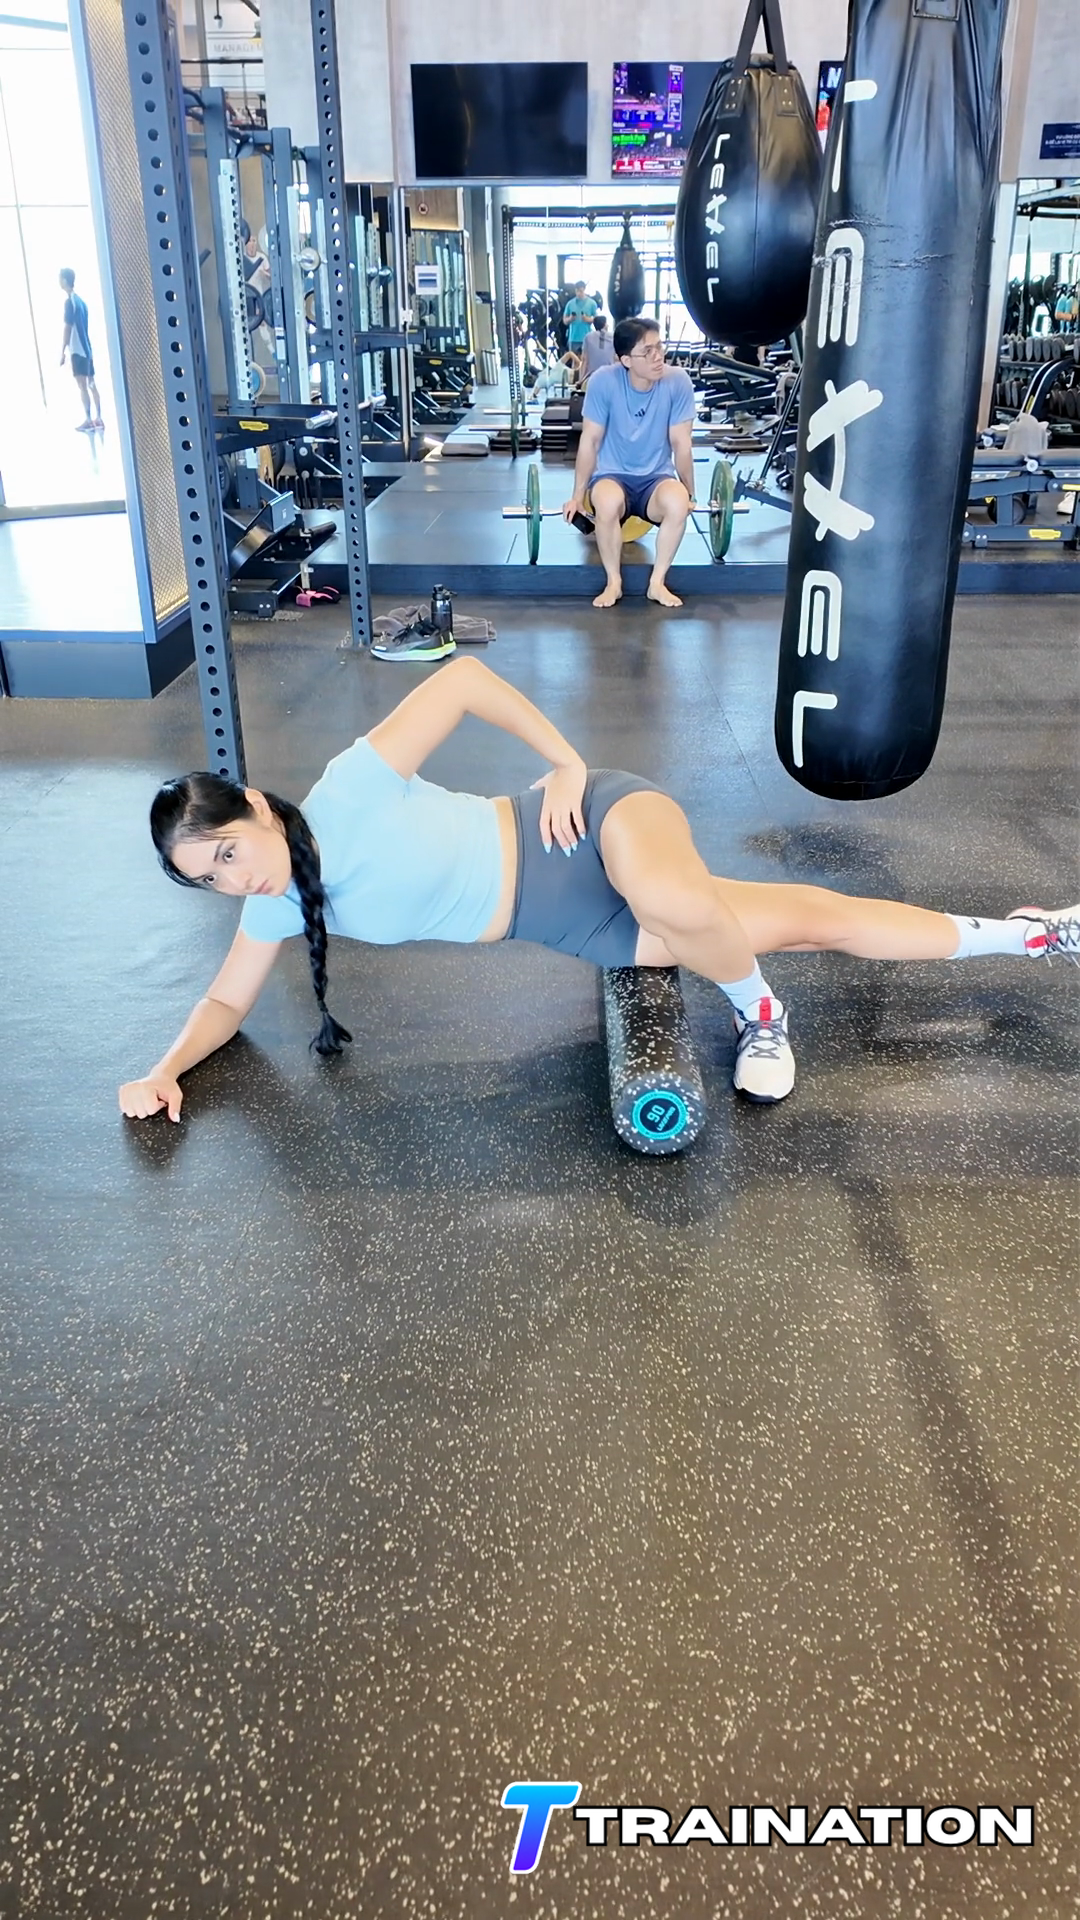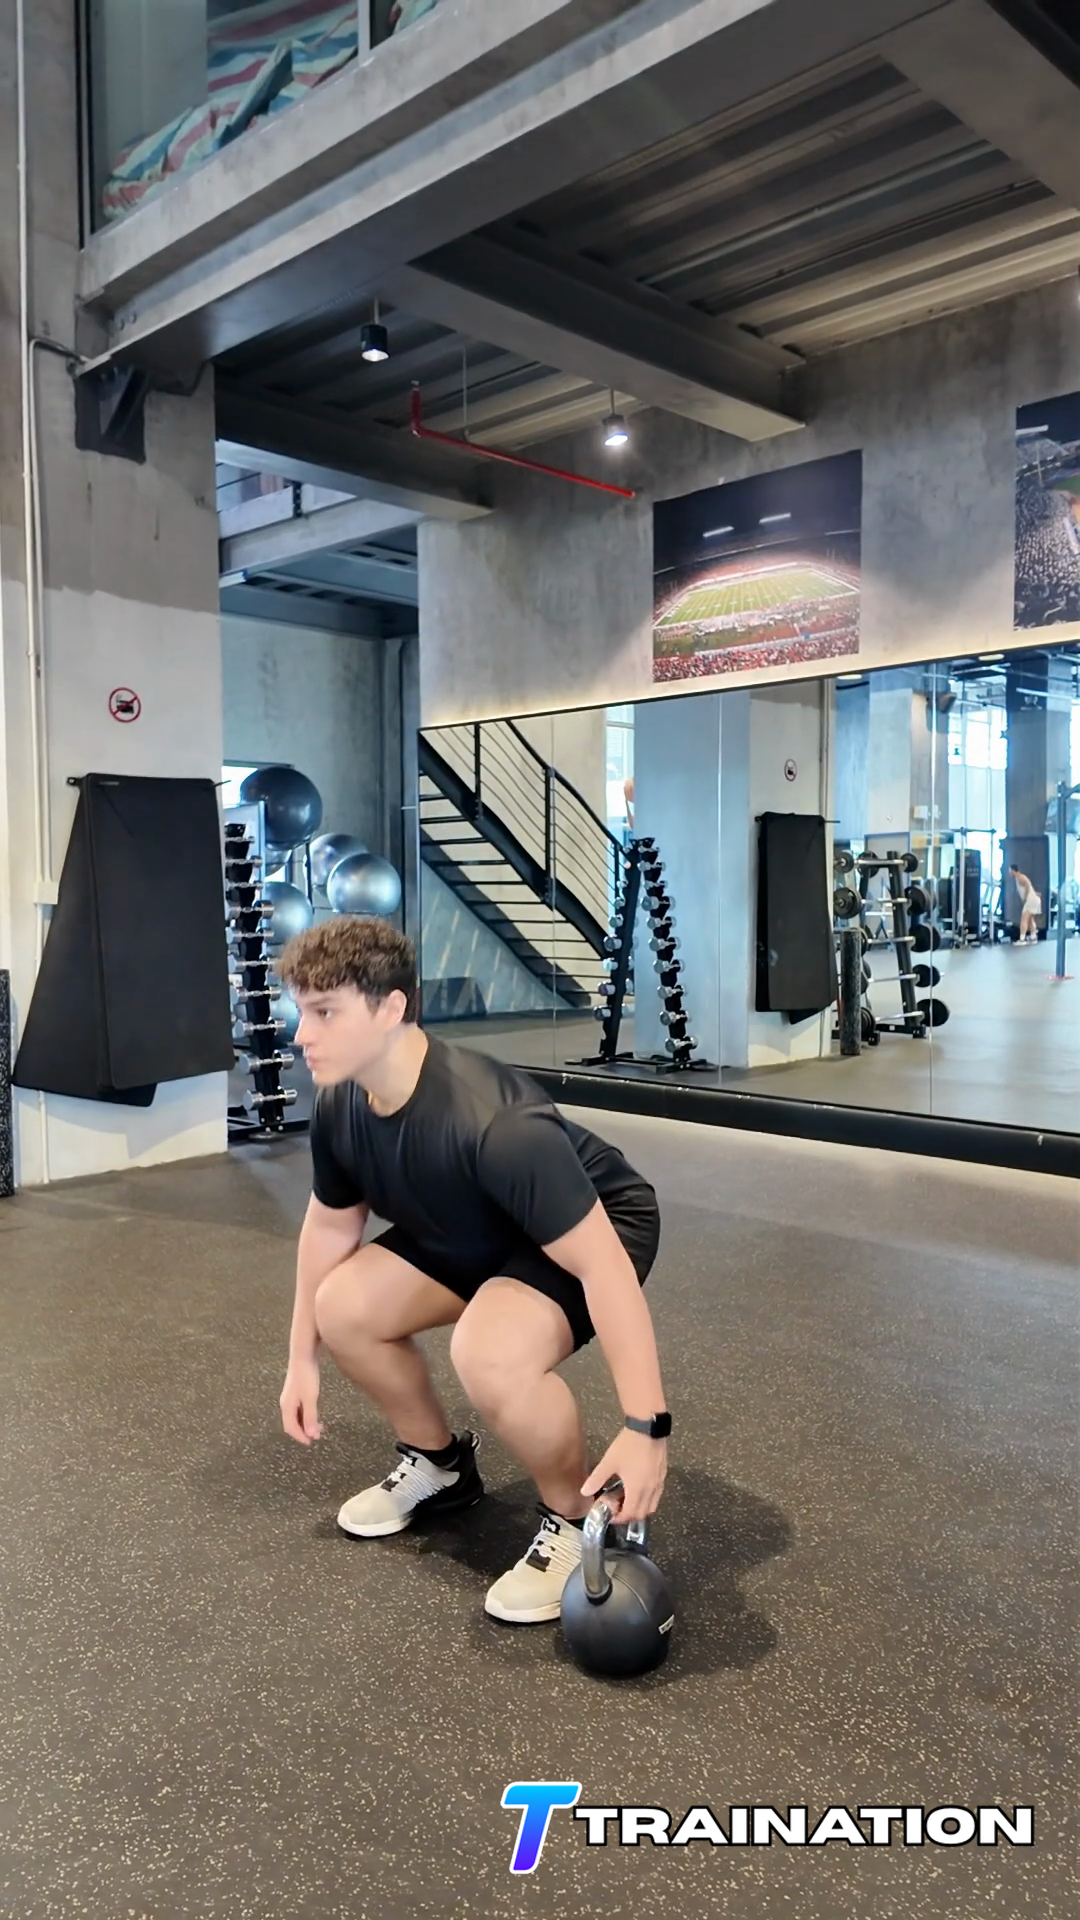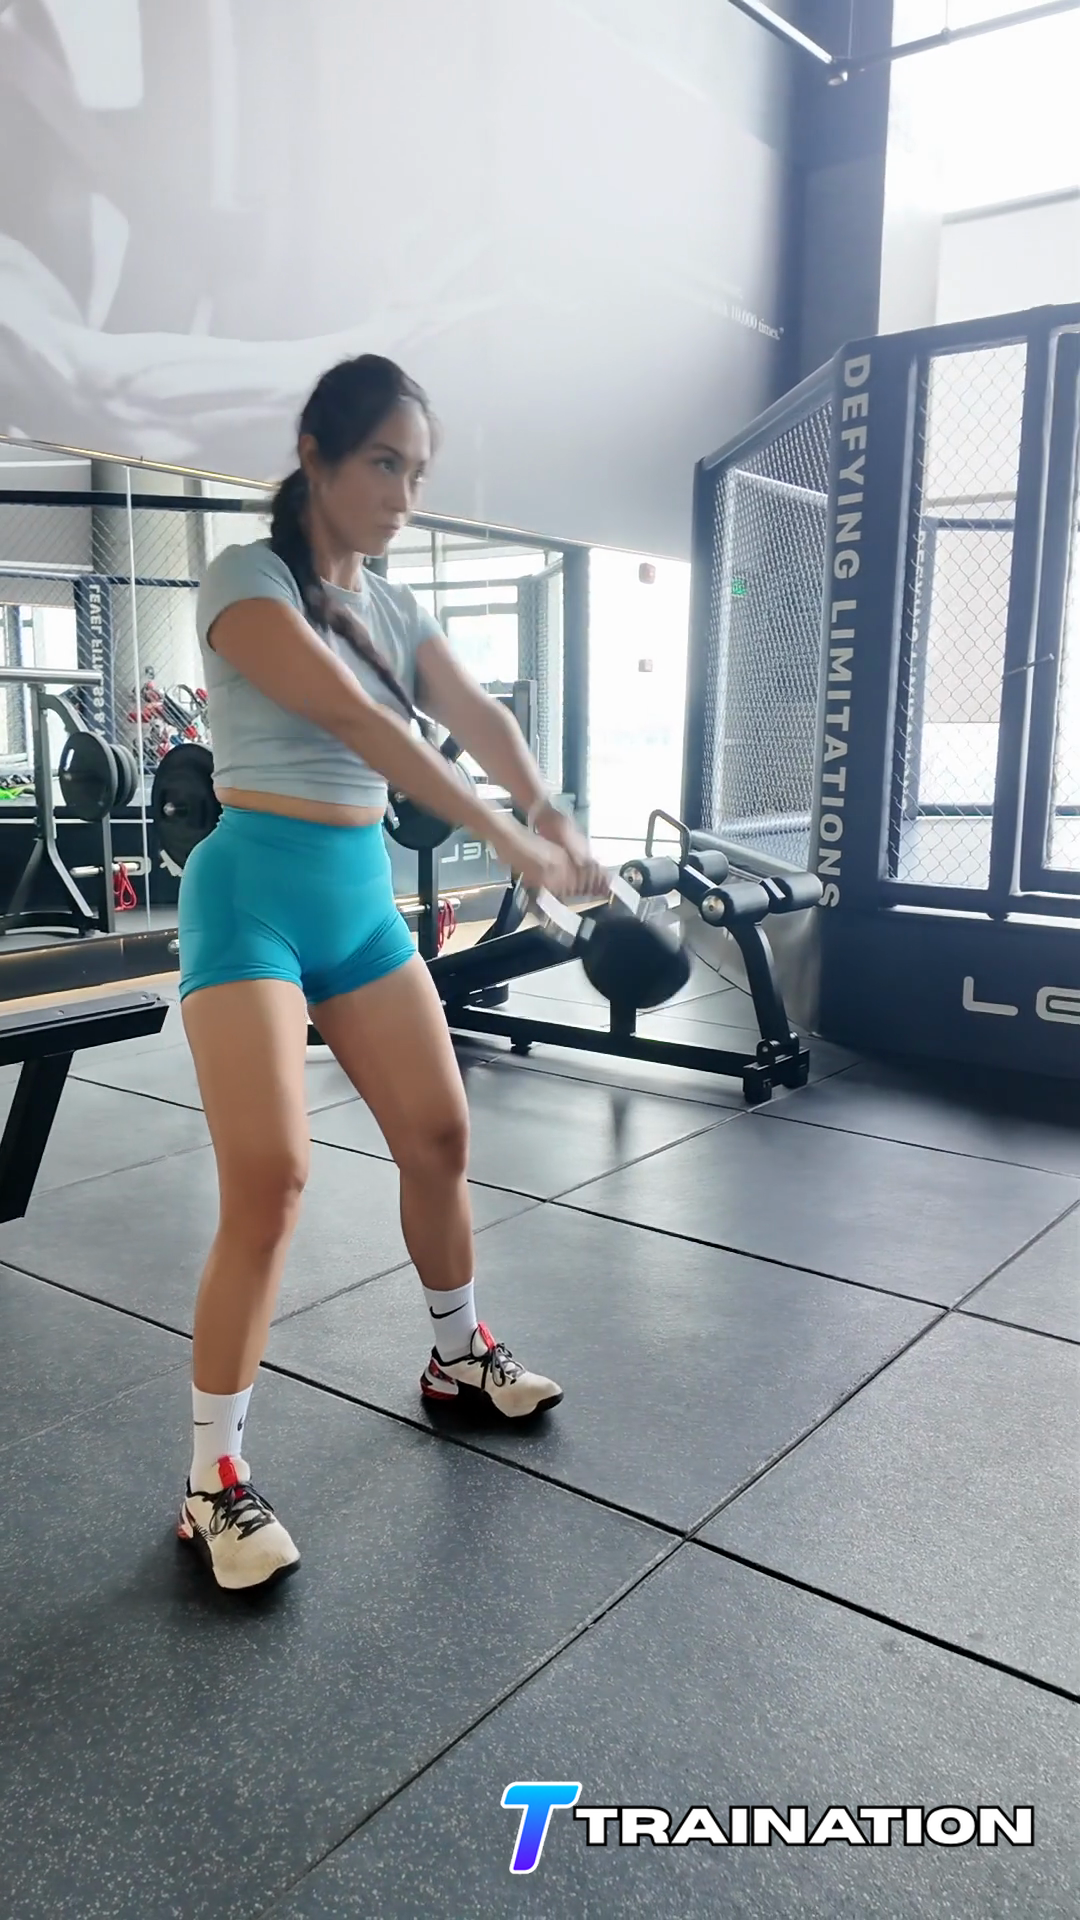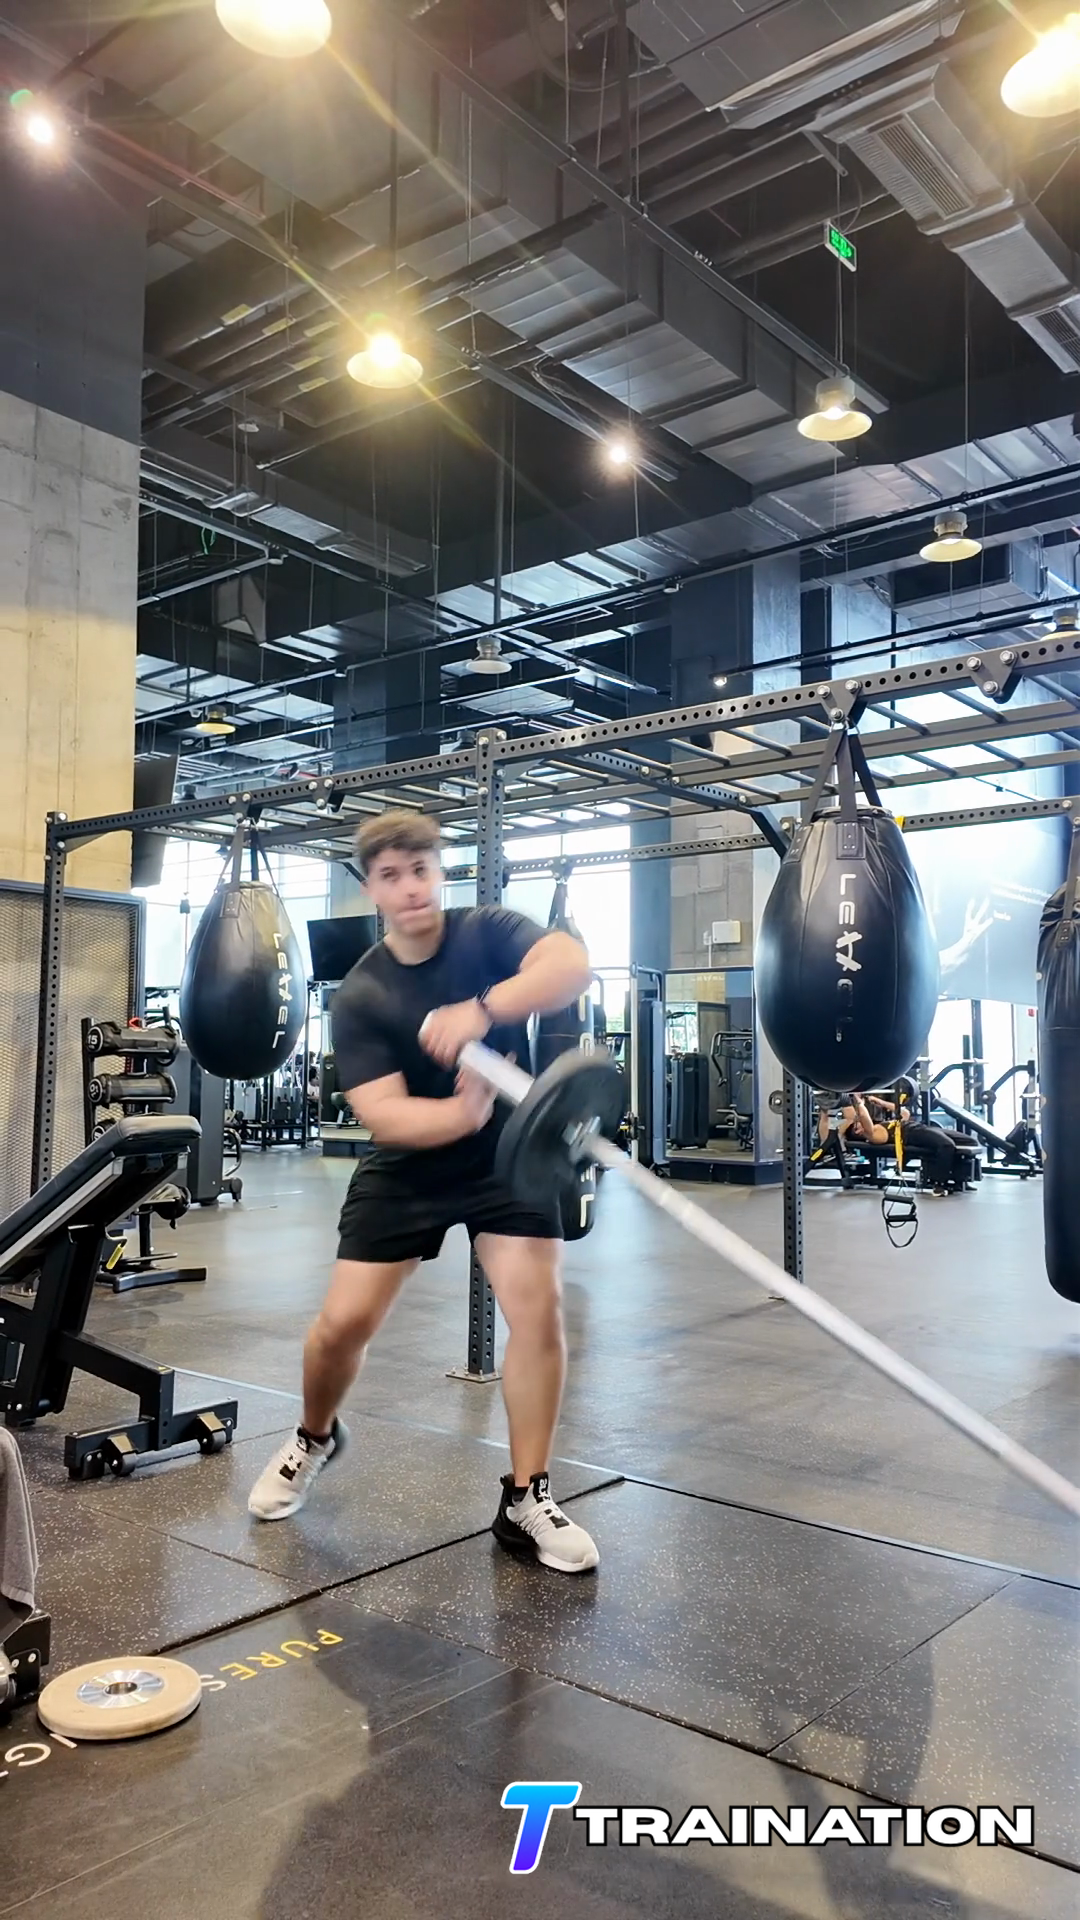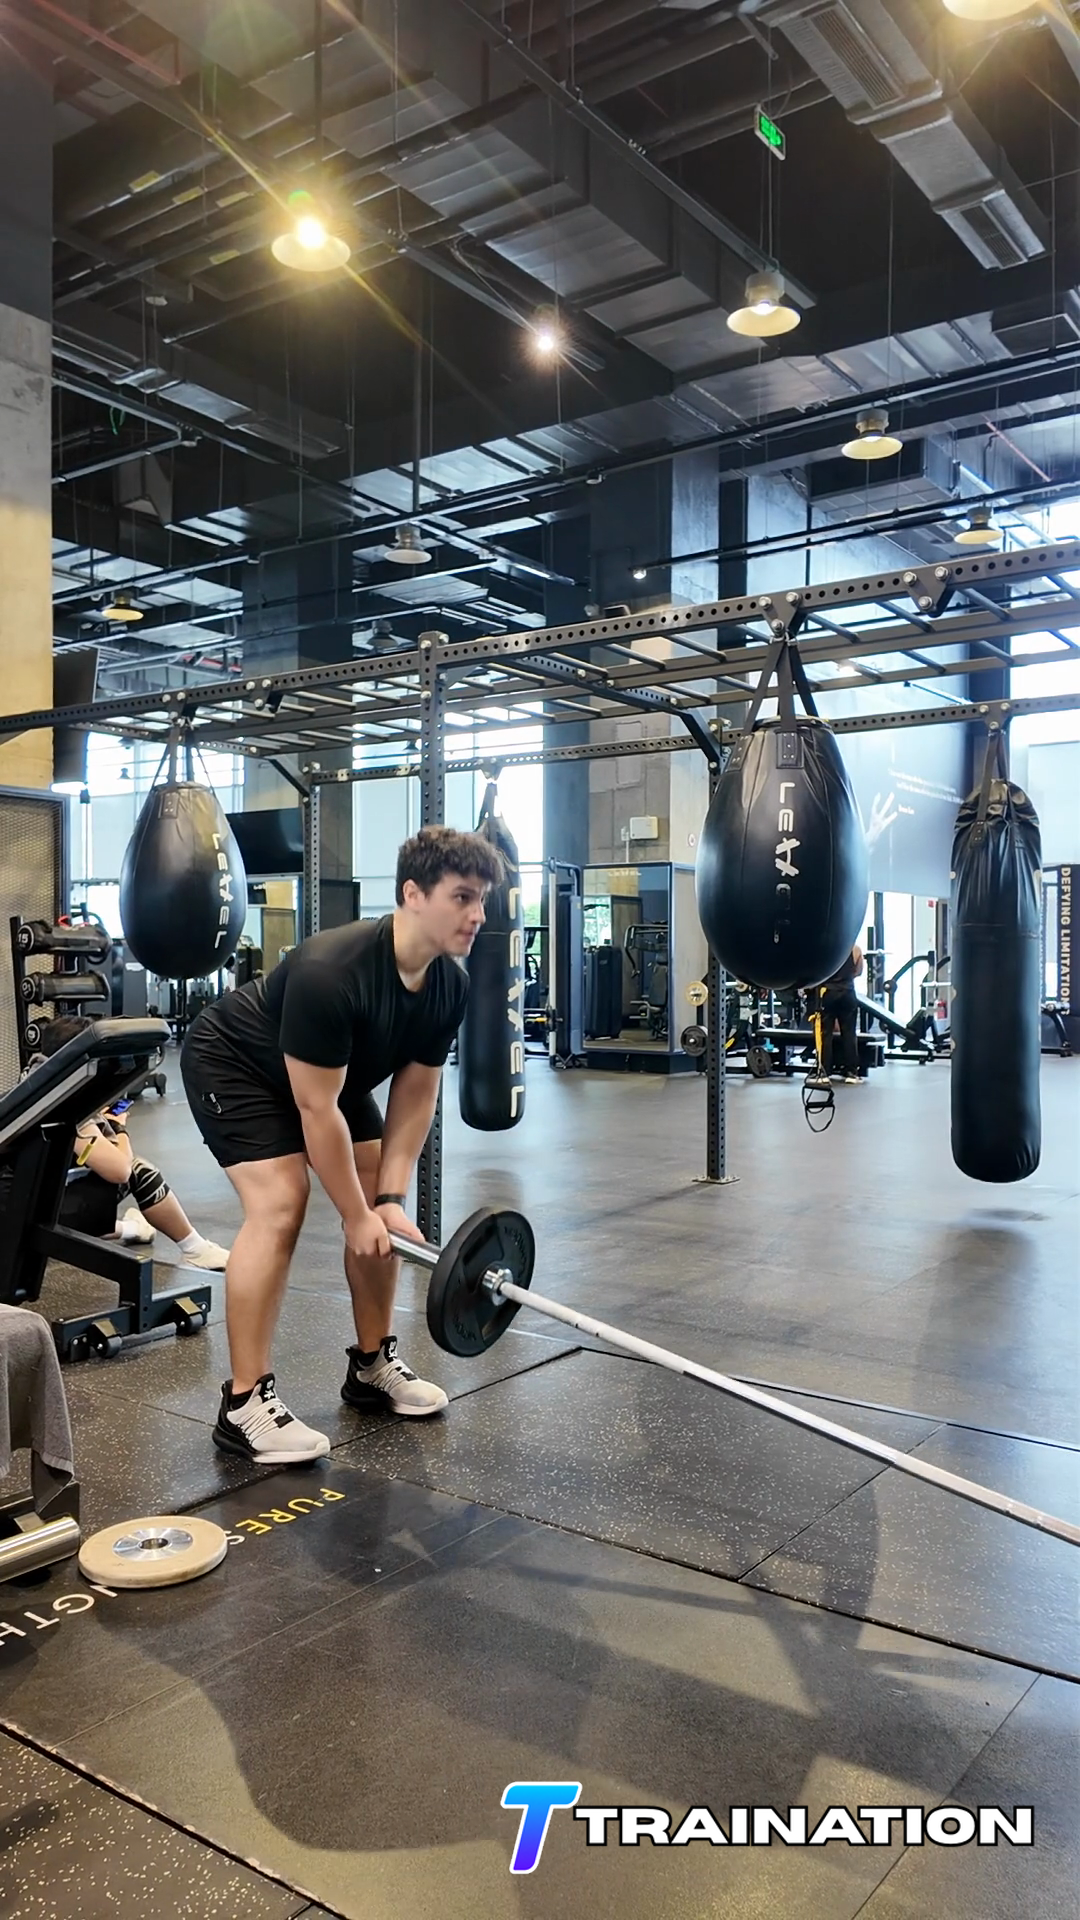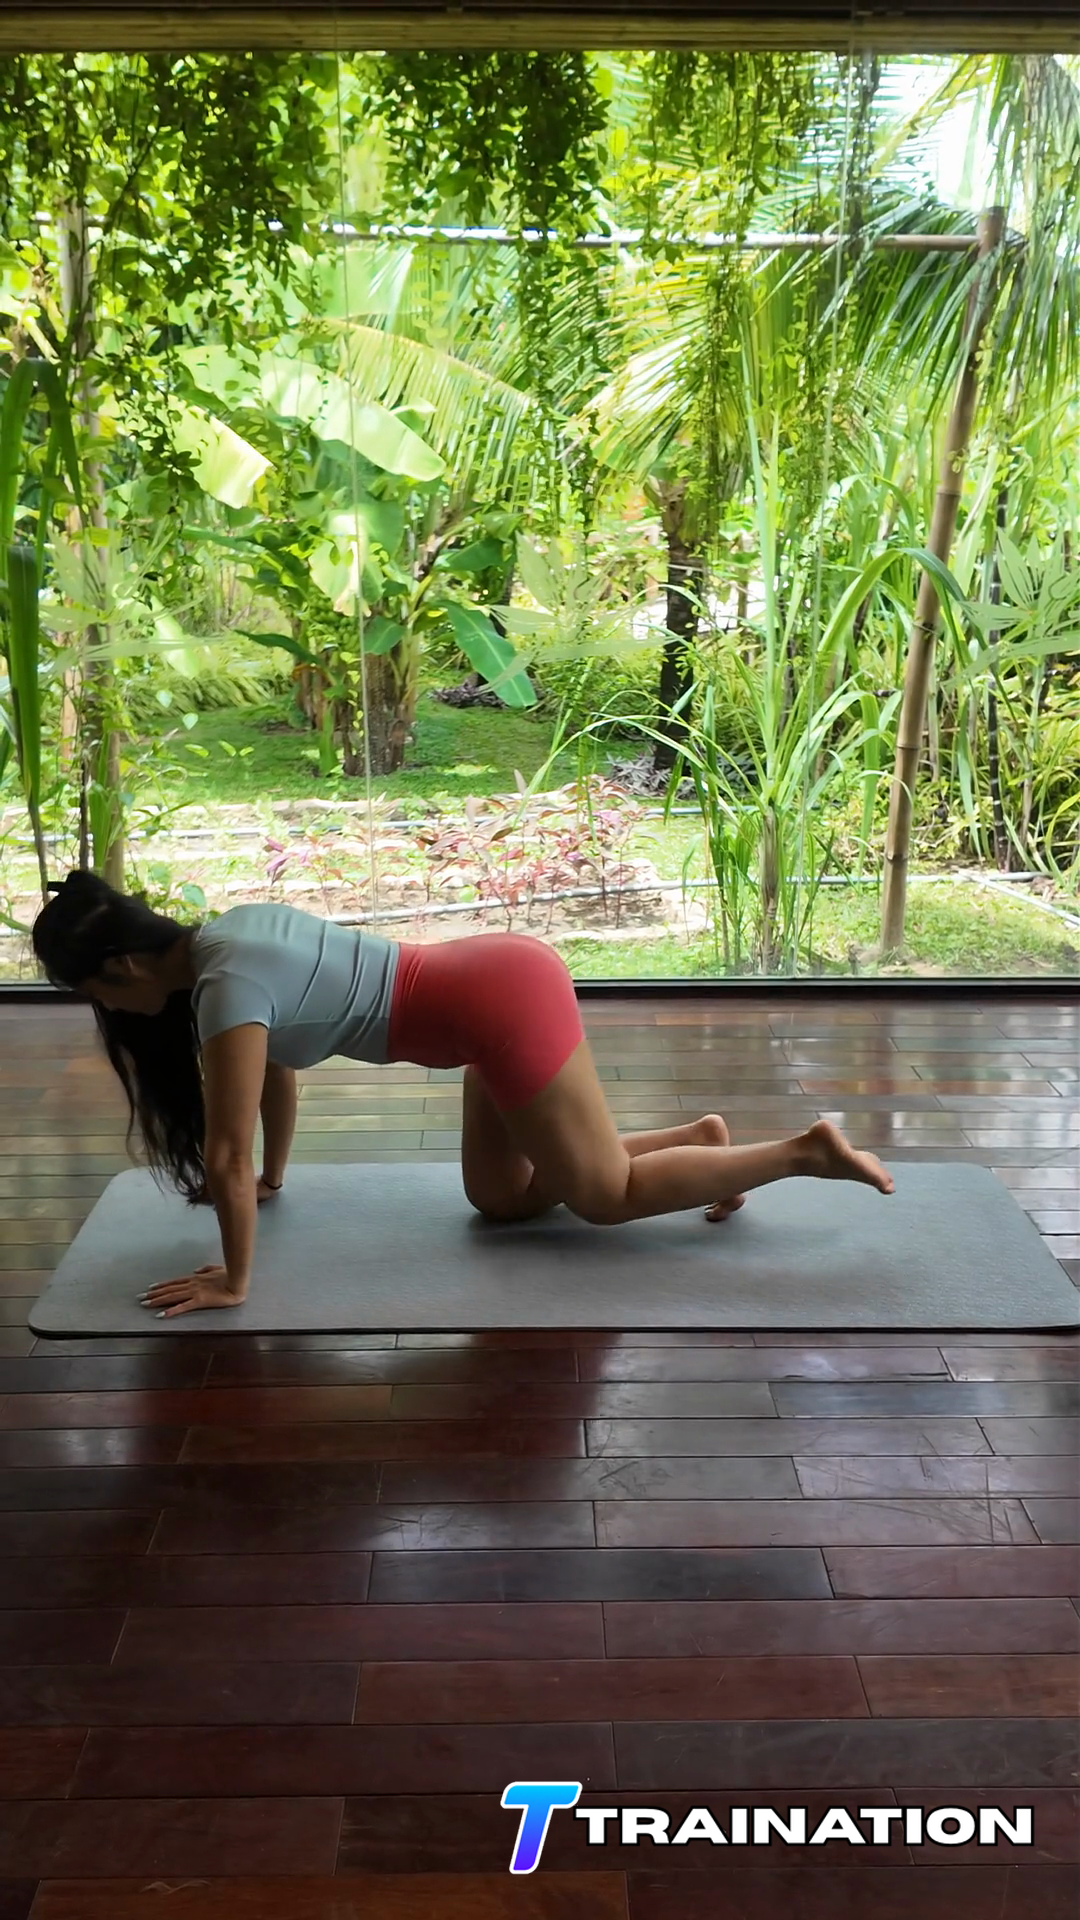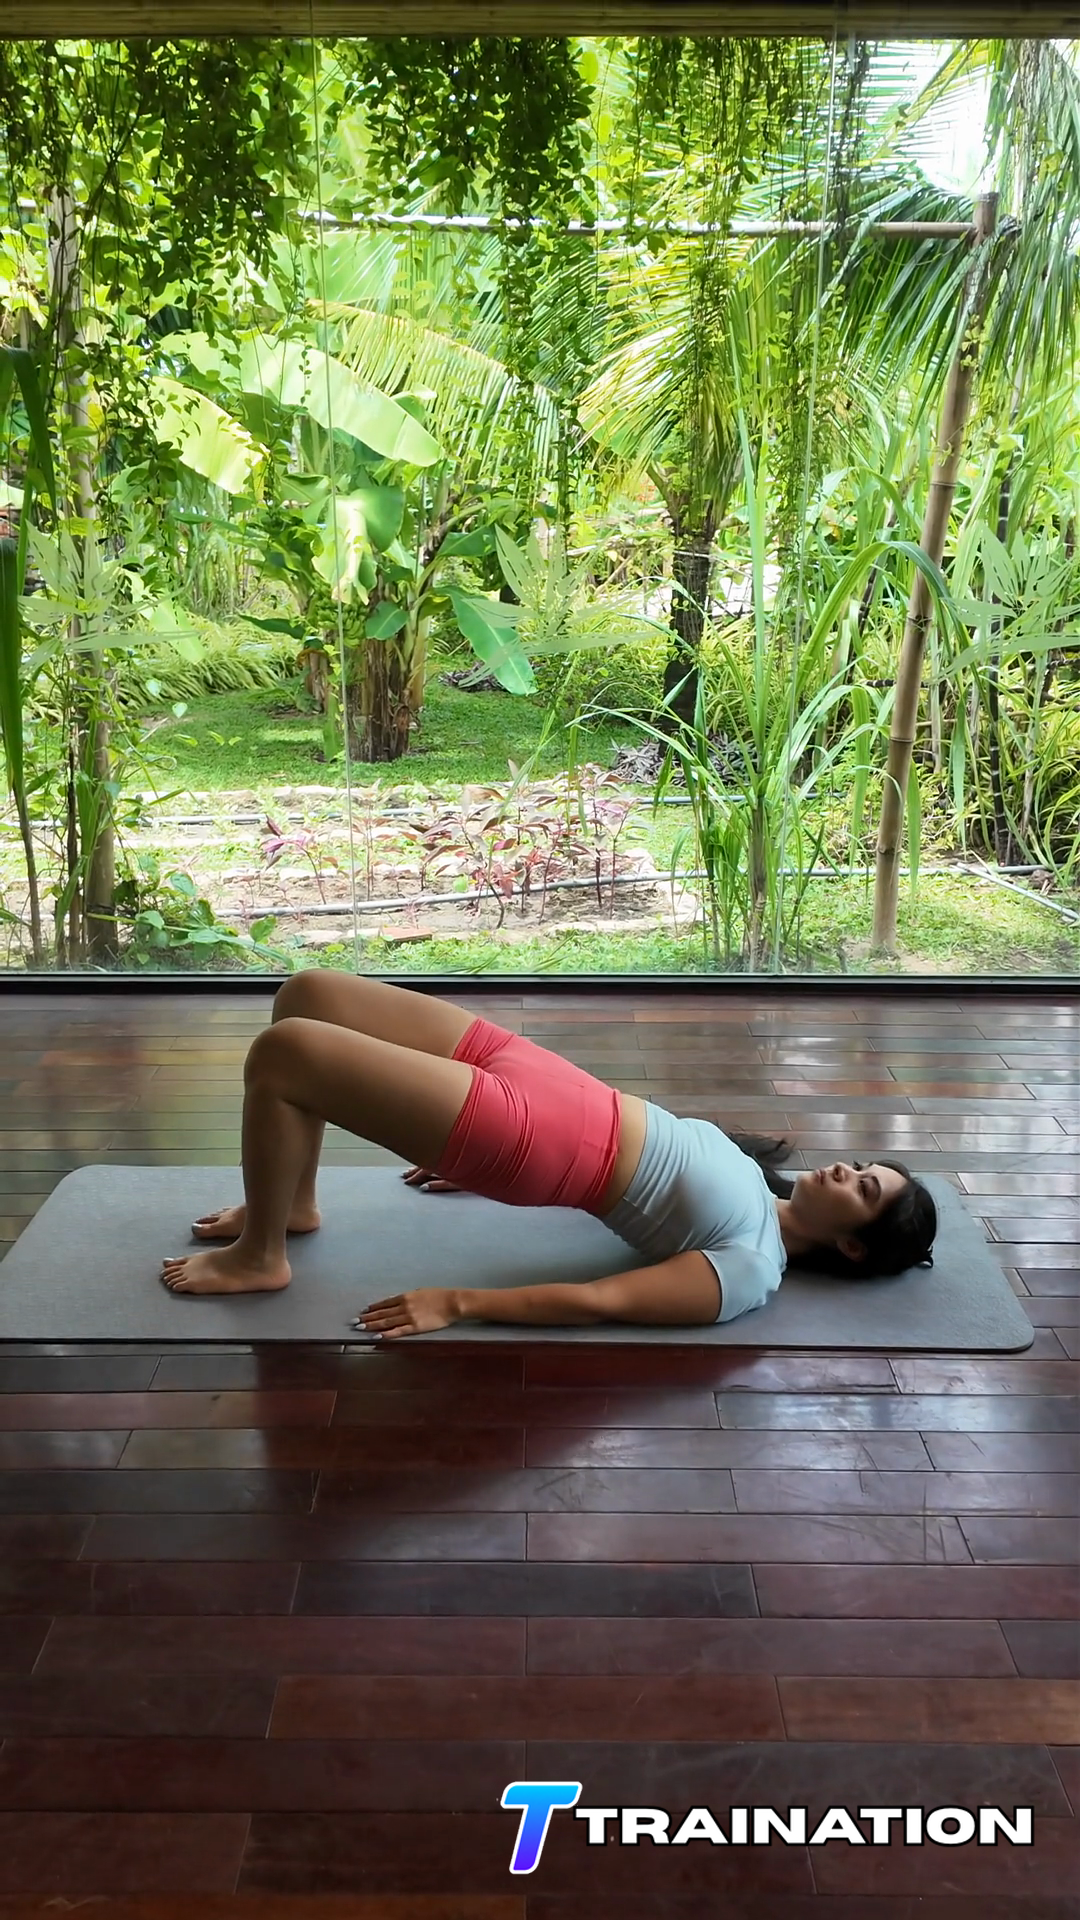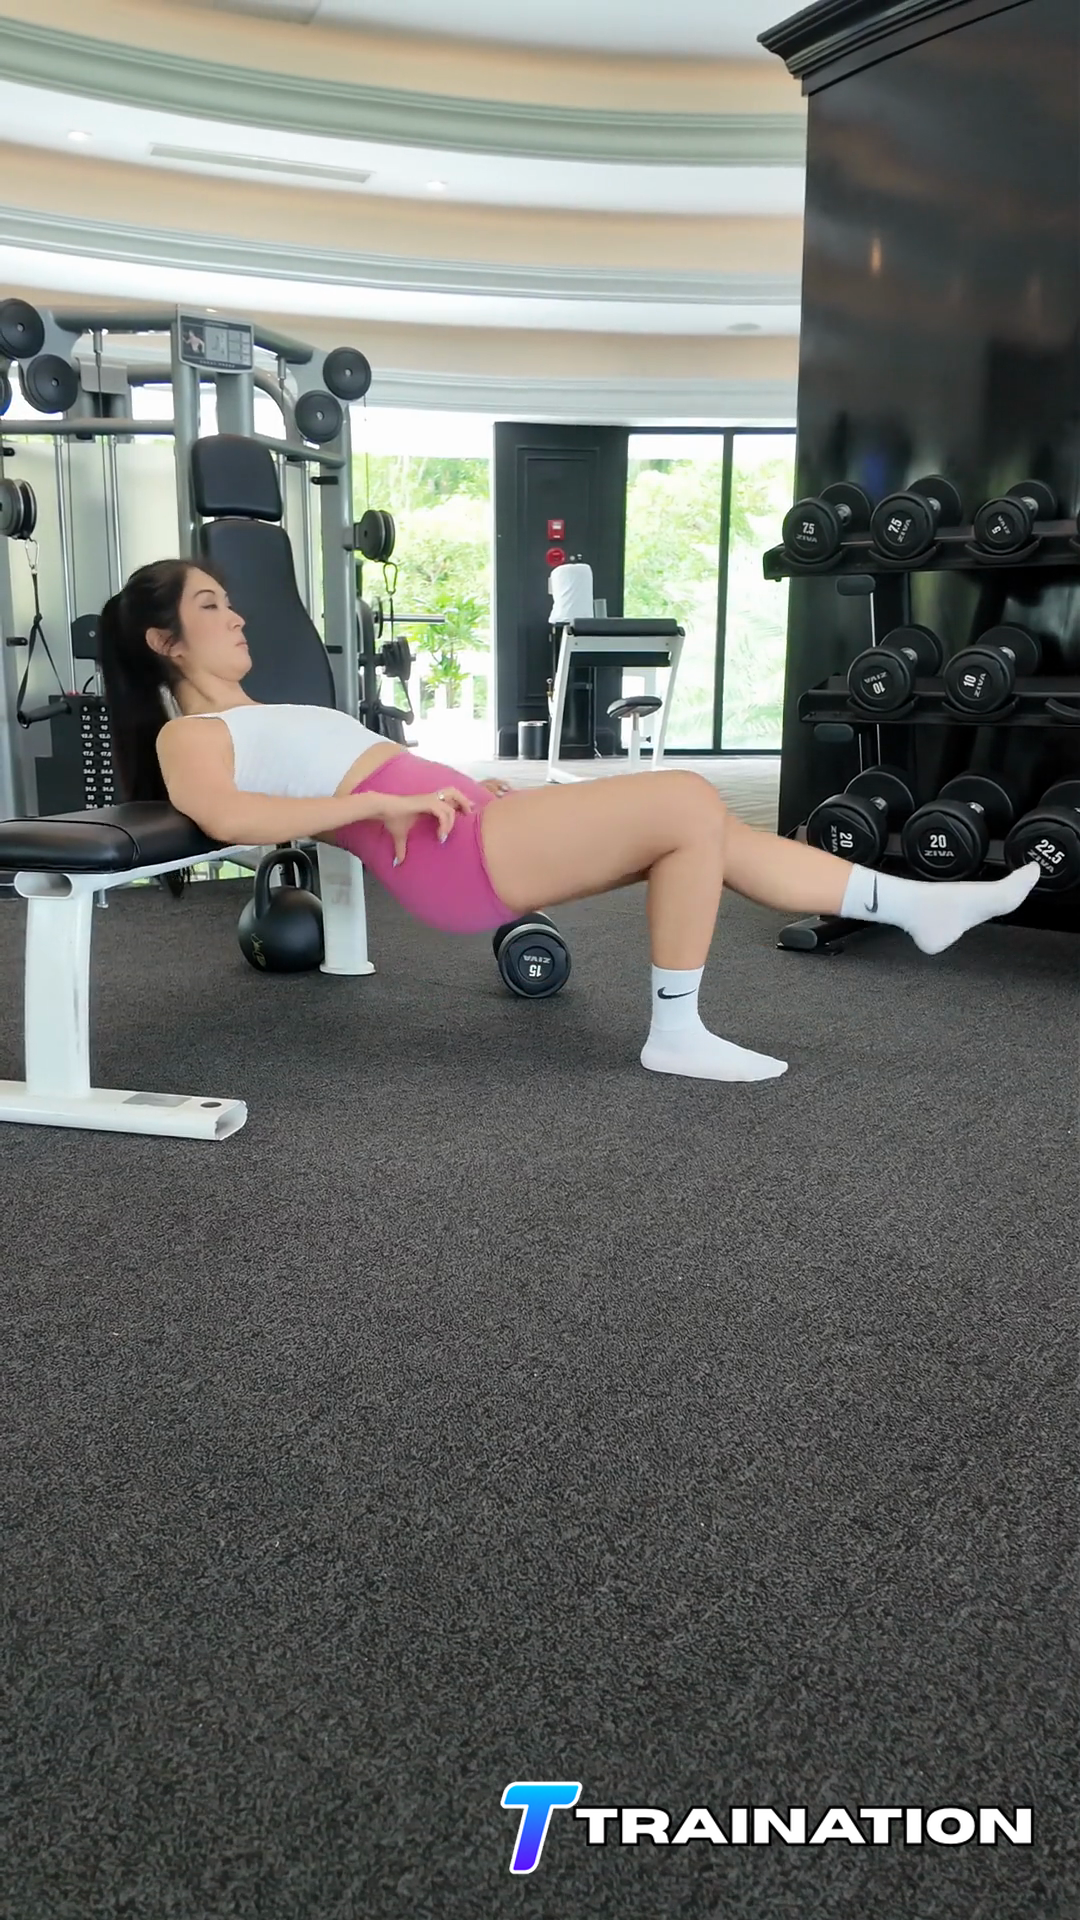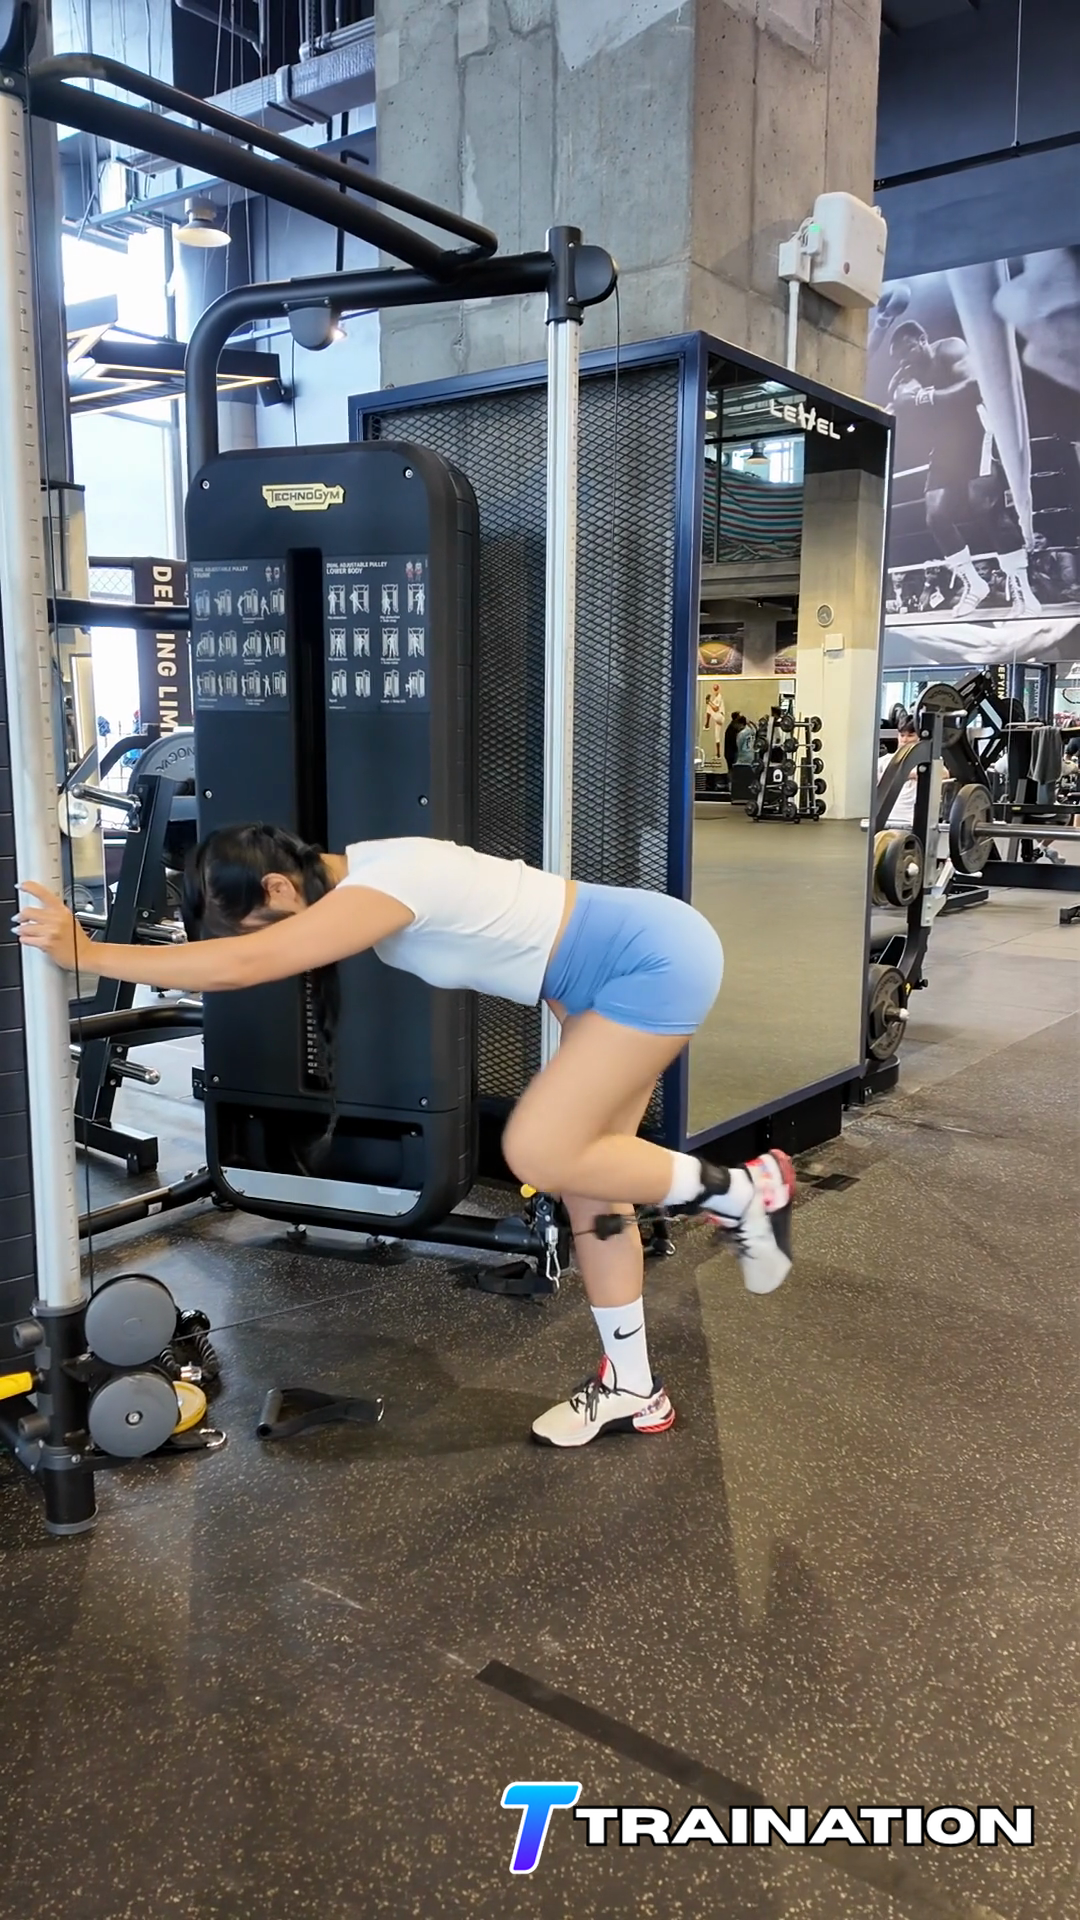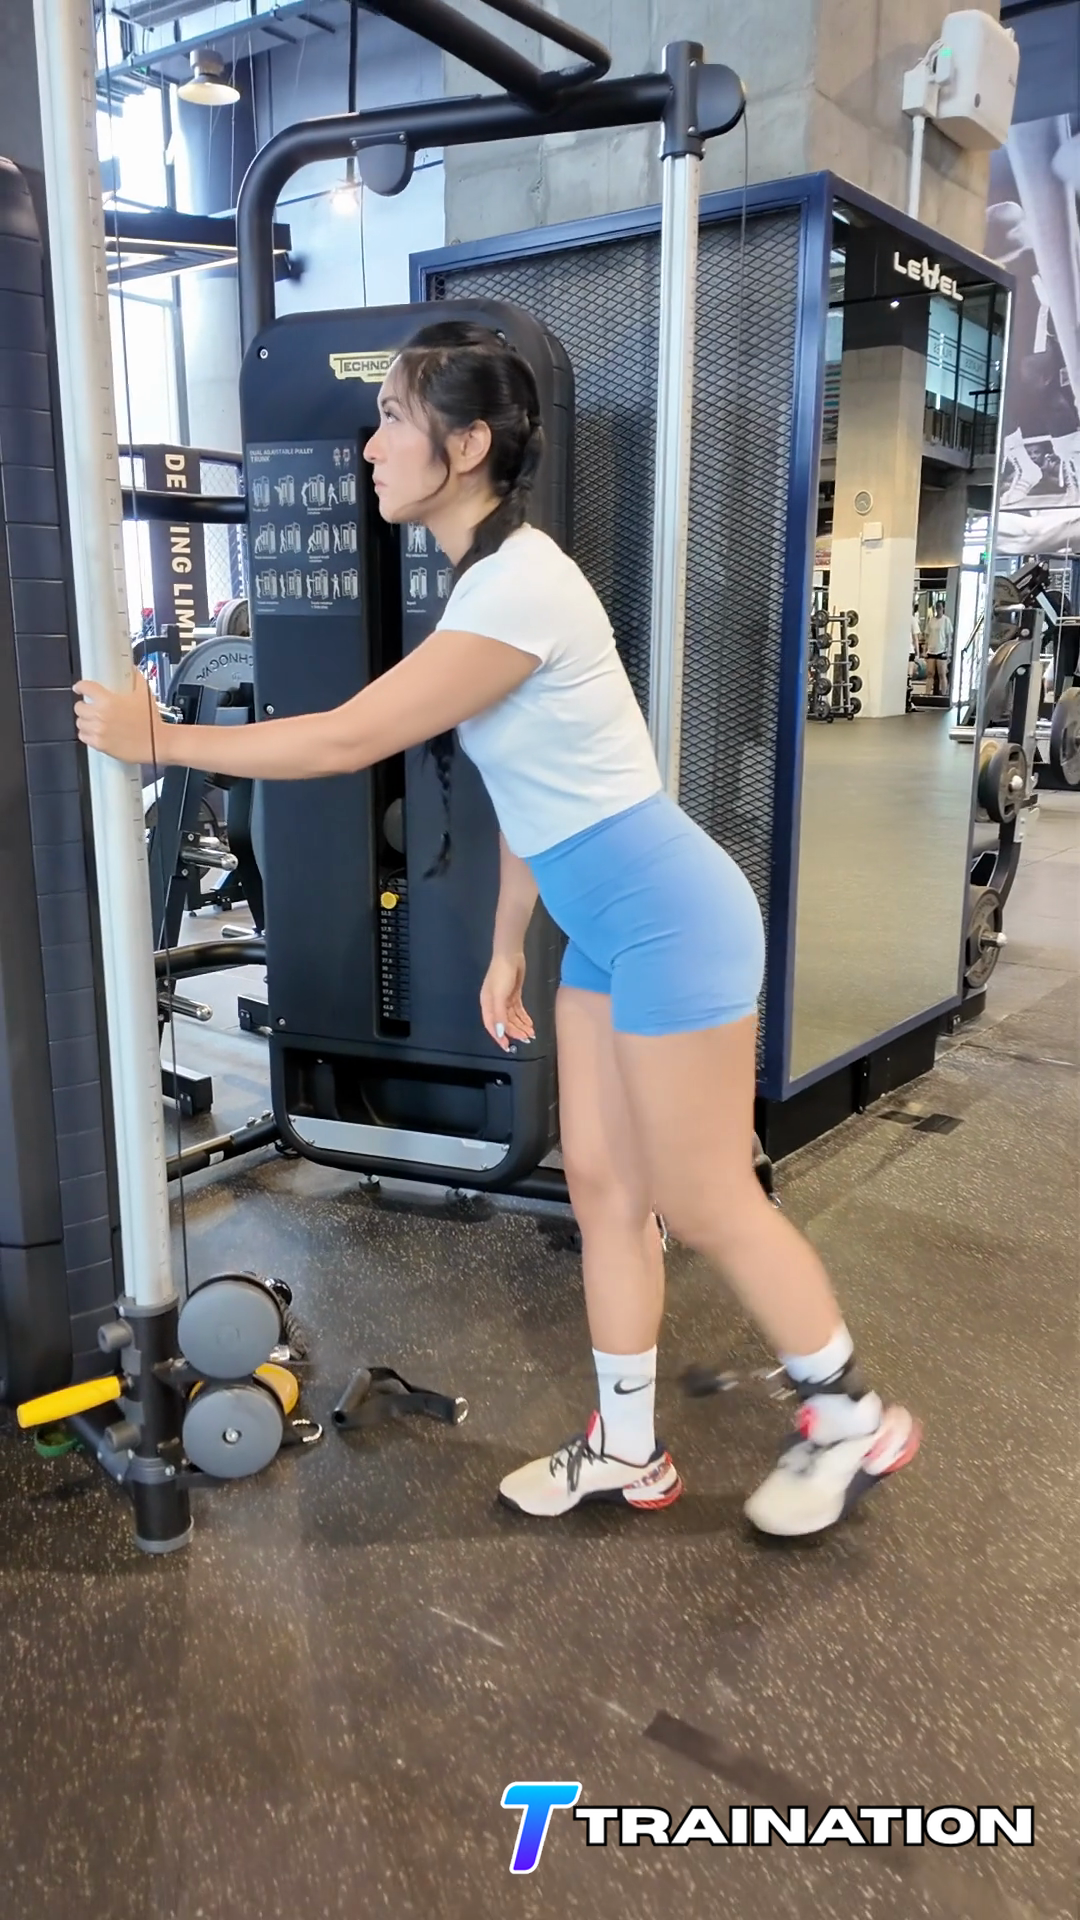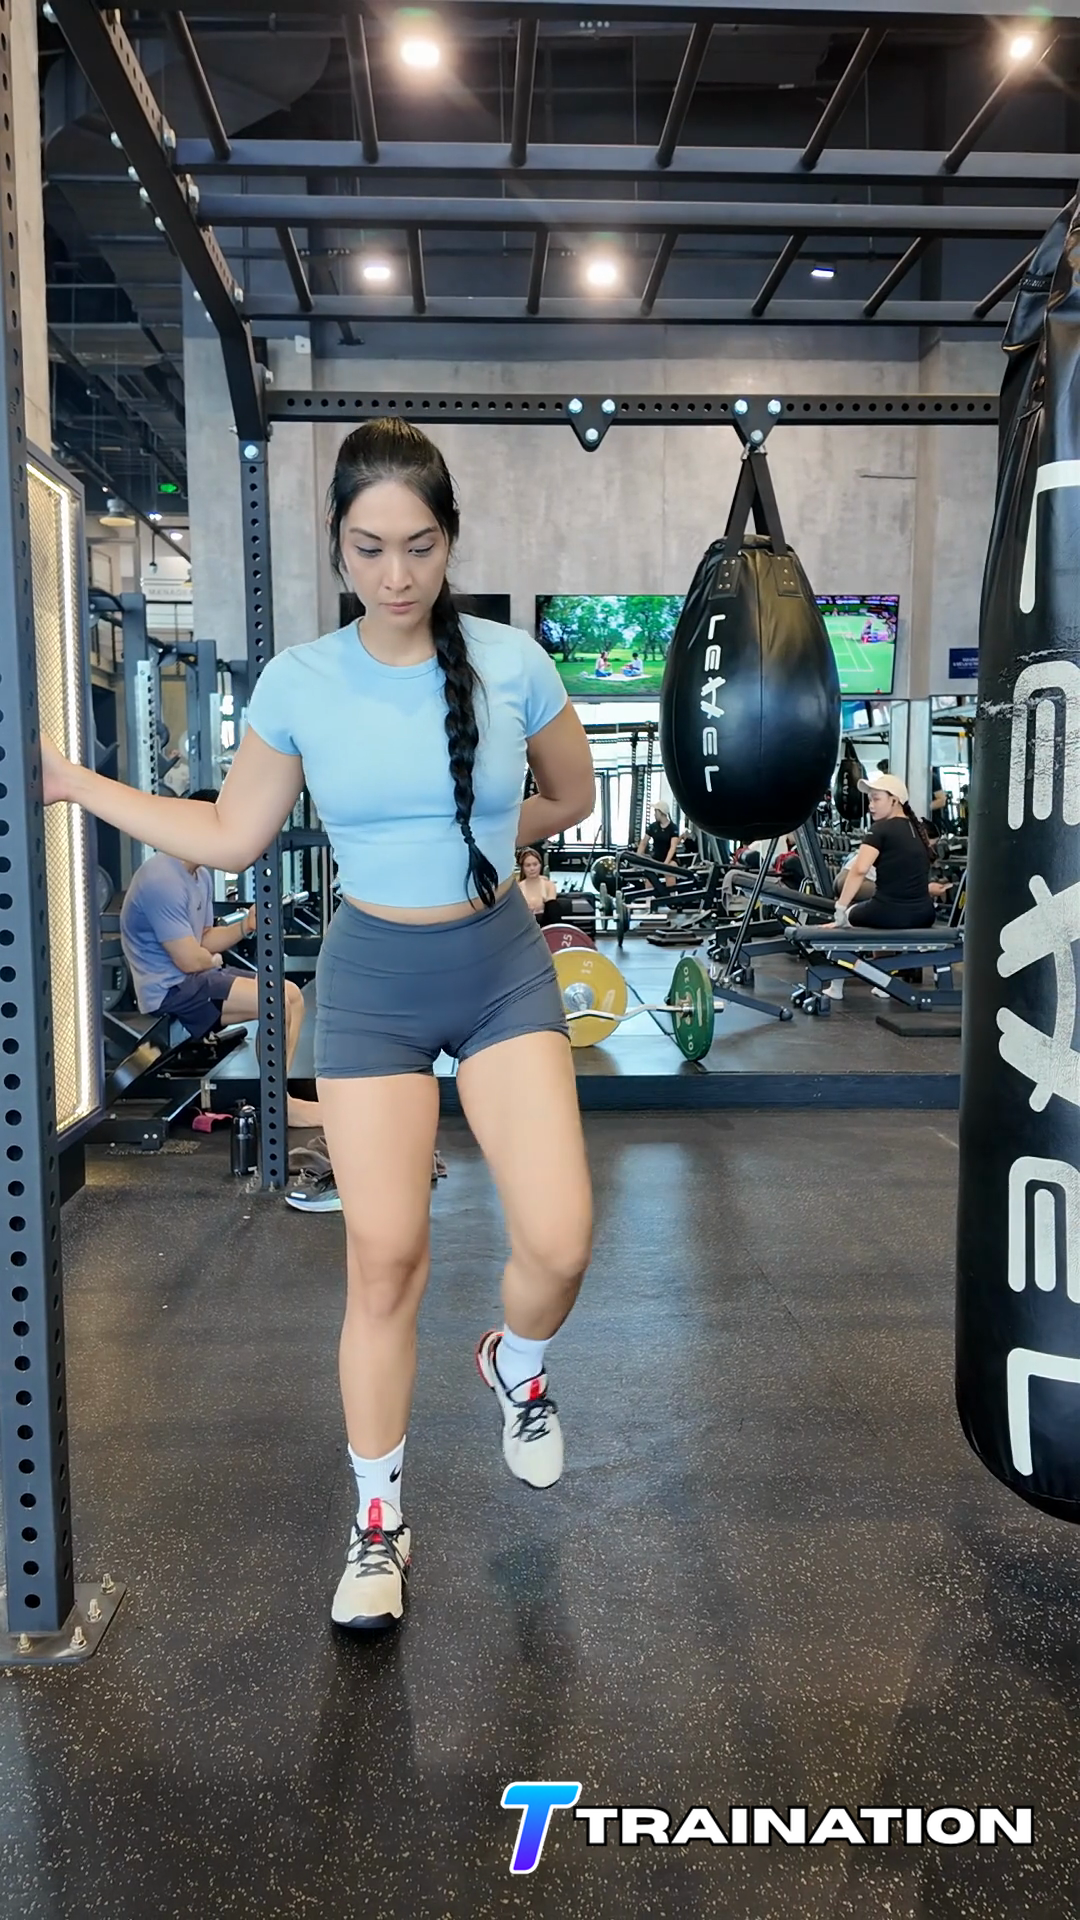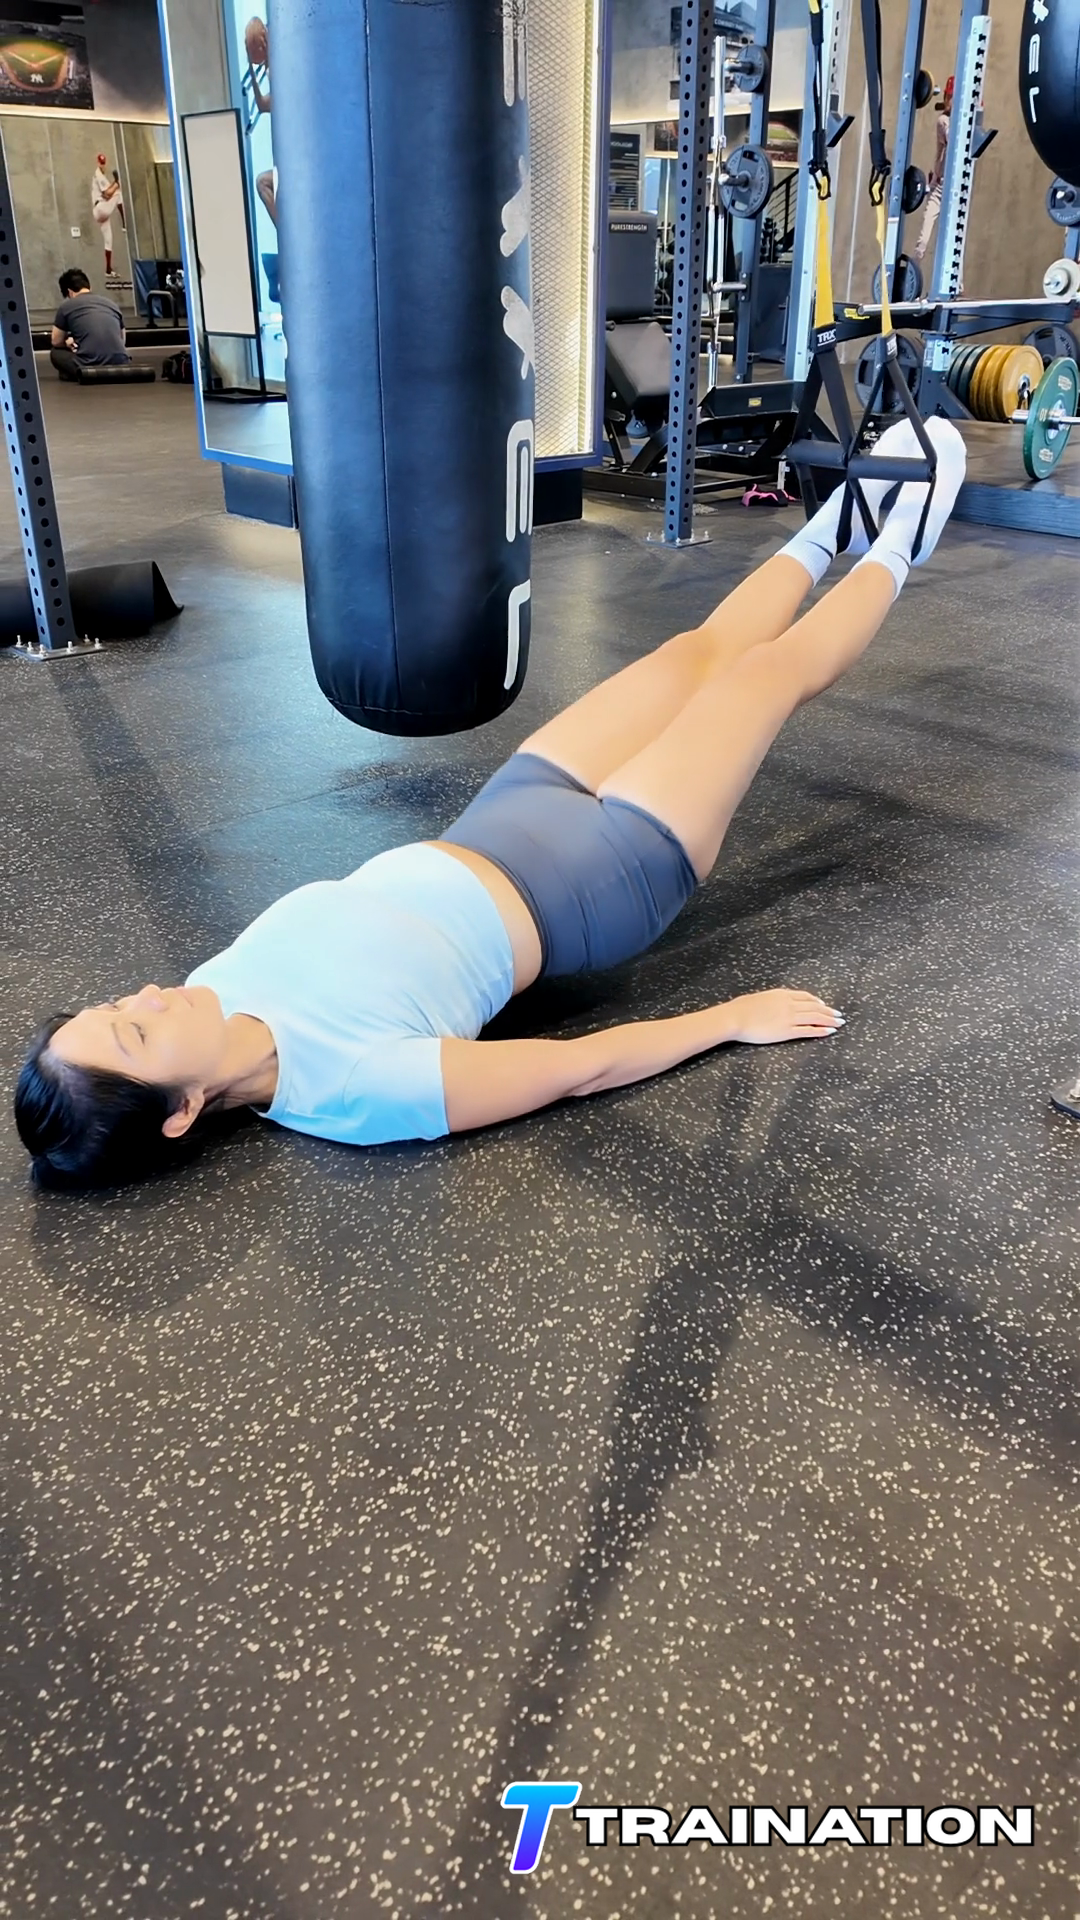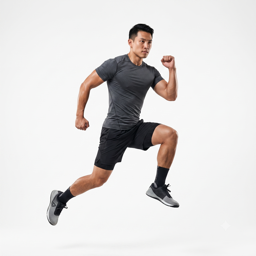
Prone Hip Circles

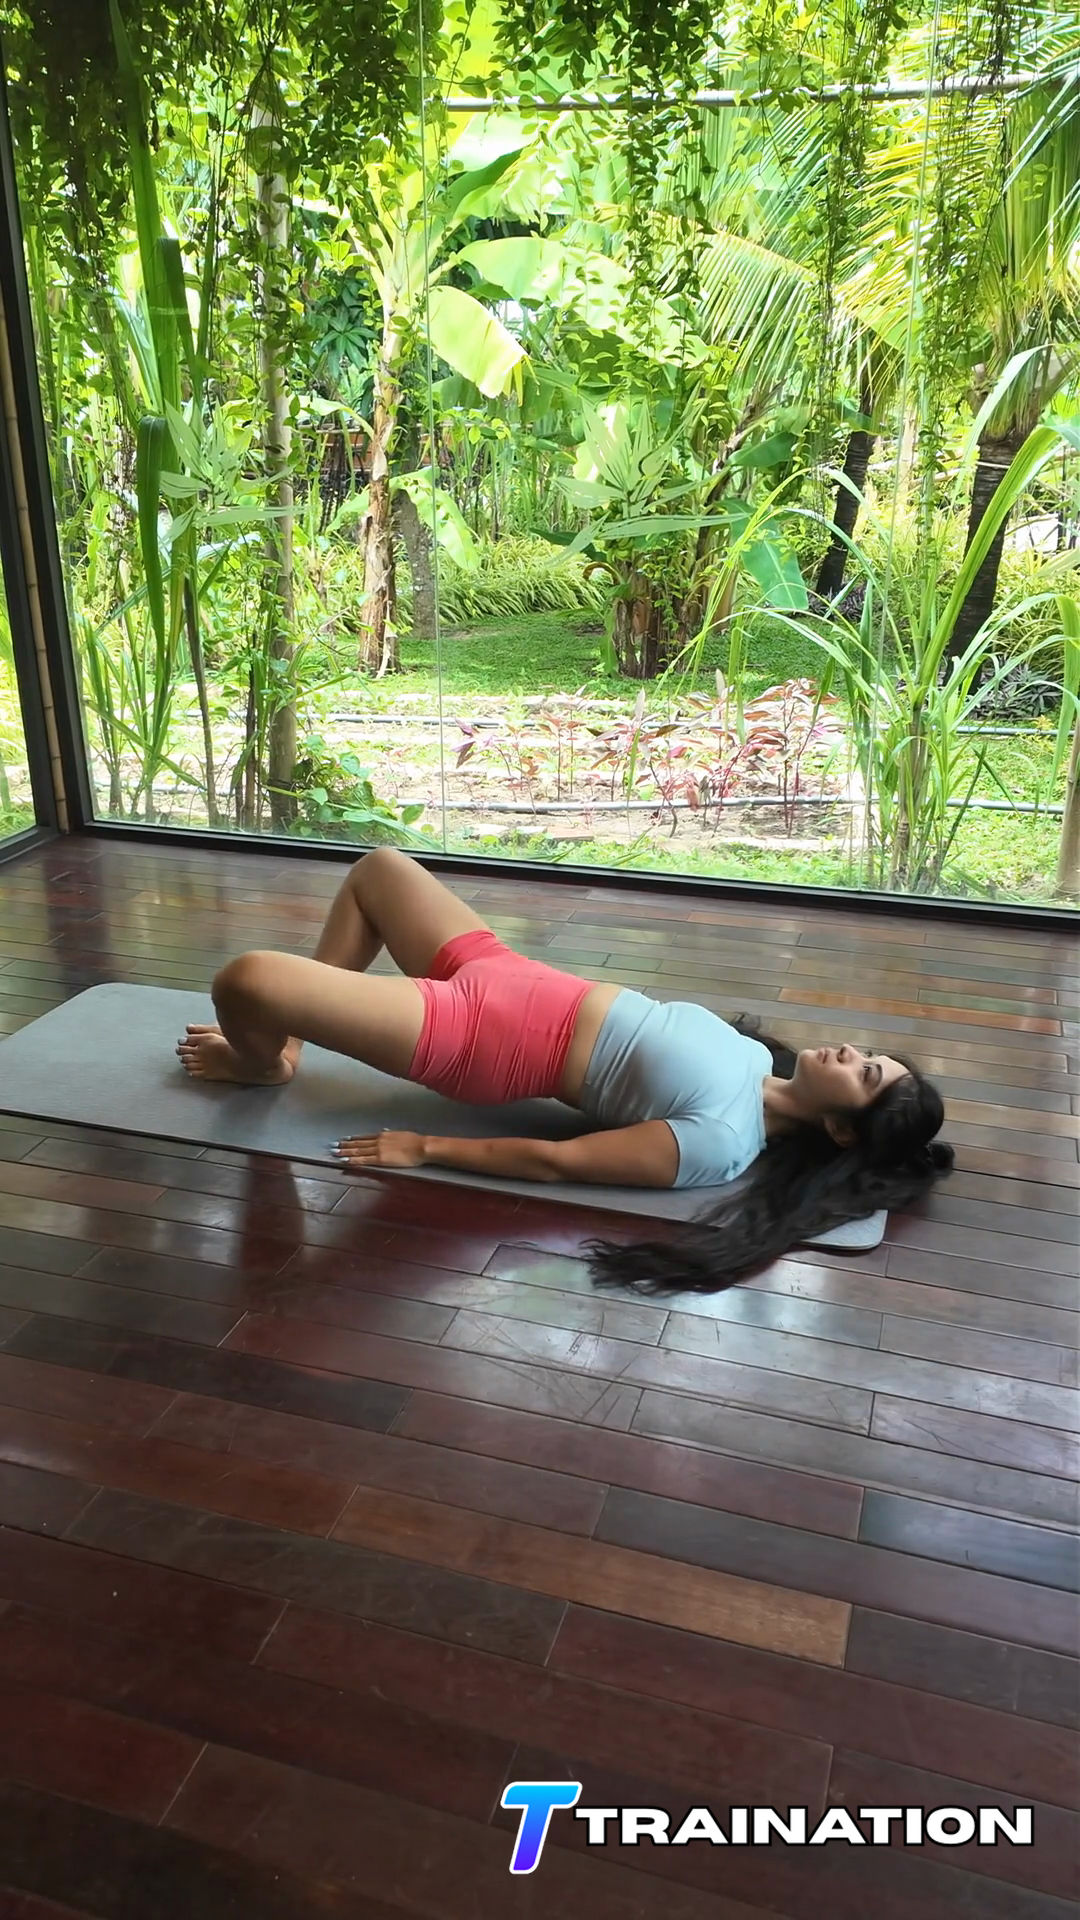
Prone Hip Circles is a controlled hip-mobility drill used to explore the available joint range without forcing the pelvis or lower back to compensate.

Primary muscle
Glutes

Primary musclesDeep hip rotators, Gluteus medius

Secondary musclesHip adductors, Iliopsoas, Gluteus maximus

Equipment
Bodyweight
← Back to exercise database

Set up for Prone Hip Circles

Prepare the training area

  • Use a level, non-slip surface and clear enough room for the complete movement.
  • Place any required mat, bench, or stable hand support before taking the starting position.

Position yourself for Prone Hip Circles

  • Establish the named start position for Prone Hip Circles, secure the training area, and rehearse the complete pain-free range before adding effort.
  • Use a stable support and choose a range that comes from the hip rather than movement through the pelvis or lower back.

Choose and verify the starting level

  • Choose the easiest Prone Hip Circles variation that preserves the required body line and full controlled range; use elevation, support, or assistance as needed.
  • Perform one slow rehearsal repetition and change the setup if the equipment shifts, the range causes pain, or the target position cannot be maintained.

How to perform Prone Hip Circles

Follow the sequence in order, paying attention to the starting position, movement path, and finish described in each step.

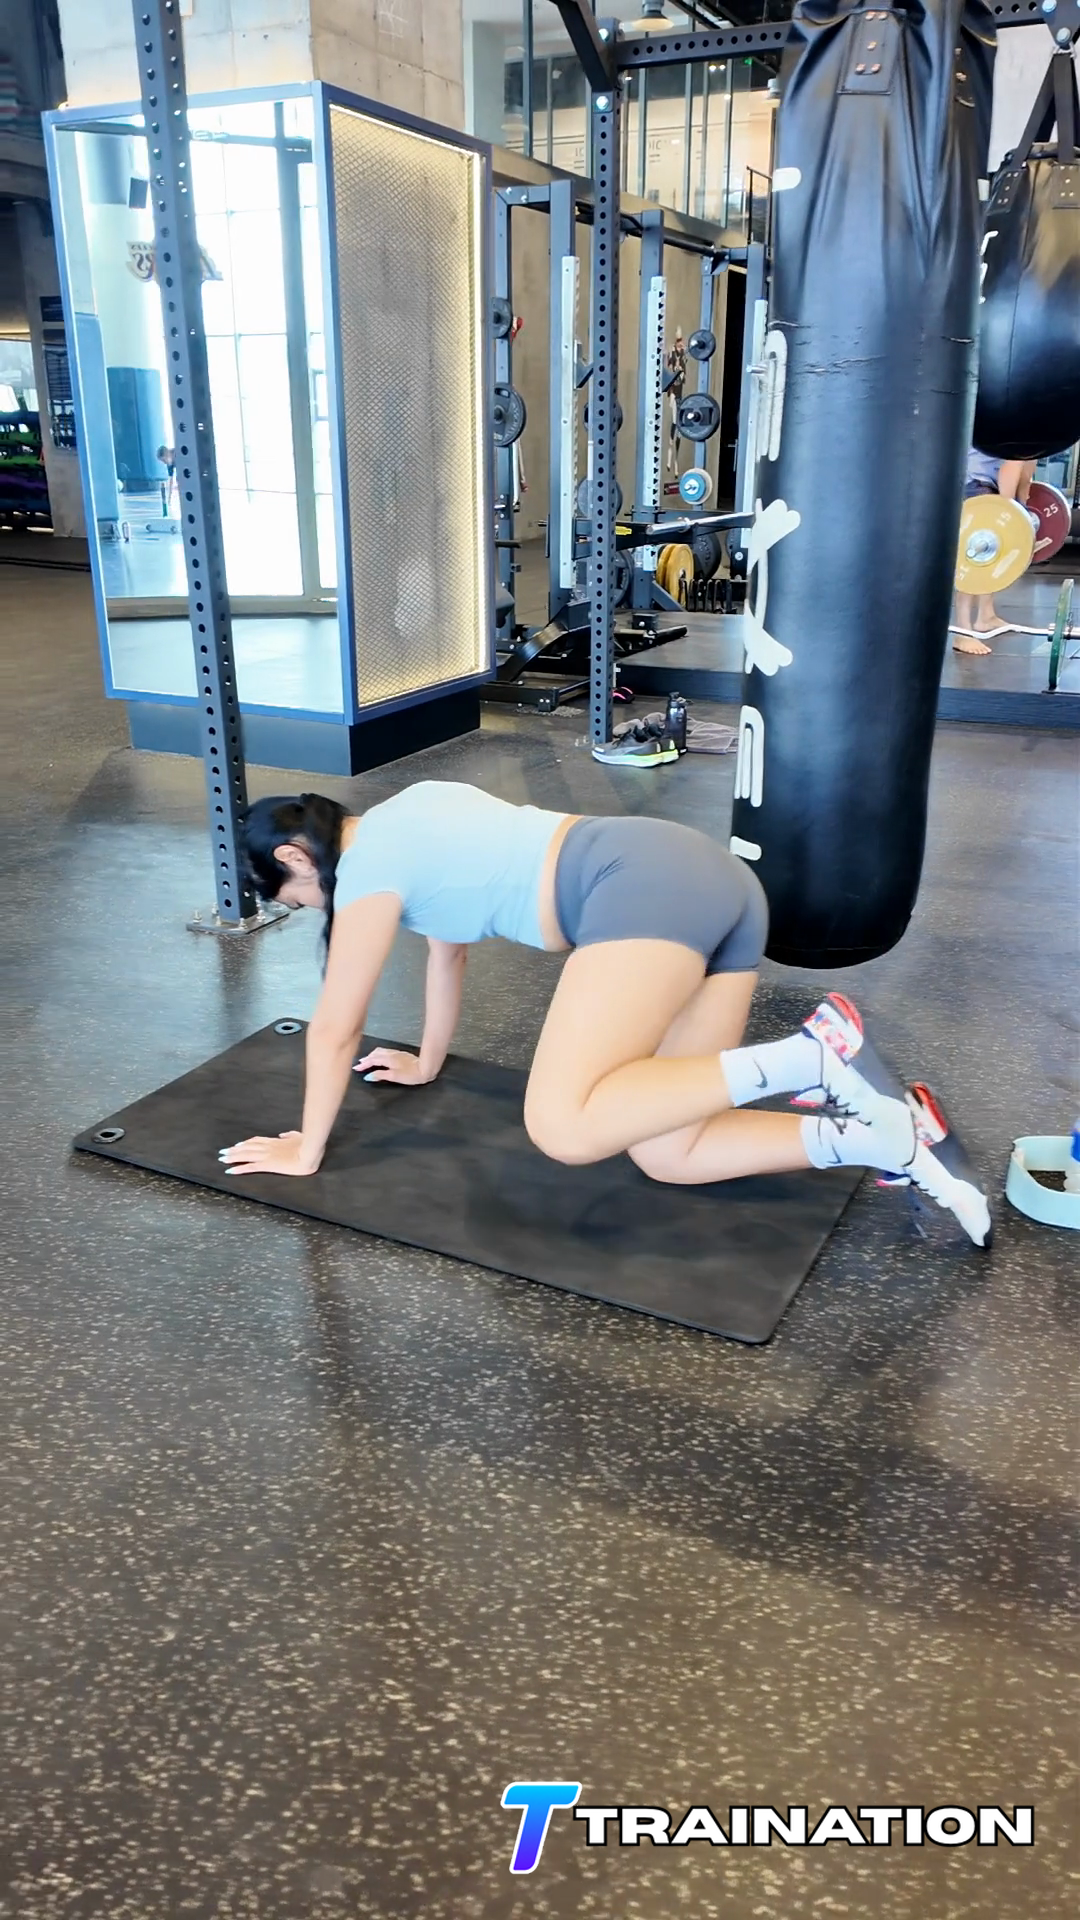
  1. For Prone Hip Circles, lie face down with the pelvis heavy on the floor and bend one knee so the hip can rotate without the lower back twisting.

  2. Trace a slow circle from the hip joint while keeping the ribs, pelvis, and support leg as still as possible.

  3. Use the largest range that remains smooth; a smaller controlled circle is more useful than a large circle created by trunk movement.

  4. Reverse the direction without forcing through pinching, catching, or sharp discomfort.

  5. Complete the planned circles at an unhurried pace, then change sides. Repeat without changing the established position.

Common Prone Hip Circles mistakes

These are the form changes most likely to move work away from the target muscles or make the repetition harder to control.

Moving the pelvis instead of the hip

Use a smaller circle and keep the ribs and pelvis as still as possible.

Forcing a pinch

Reduce the range or change direction if the front of the hip feels pinched or catches.

Rushing the circle

Move slowly enough to notice where control is lost.

Holding the breath

Breathe normally and keep unnecessary tension out of the neck and shoulders.

When to modify or choose another exercise

  • Reduce the resistance, range, lever length, or balance demand if Prone Hip Circles cannot be completed without compensation.
  • Stop when the exercise produces sharp, catching, radiating, or increasing joint pain rather than the expected muscular effort.
  • Choose a stable supported alternative when fatigue, balance, equipment fit, or a current medical restriction prevents repeatable technique.

How to use Prone Hip Circles in a training program

Place Prone Hip Circles where its skill and fatigue demands best support the session goal, after the athlete has completed a relevant warm-up.

01

Where it fits in a session

Use Prone Hip Circles during movement preparation when it immediately improves comfort or control, or after training as a low-intensity cooldown drill.

02

How often to use it

Use it as needed rather than chasing a fixed weekly volume. Keep it only when it produces a useful, repeatable effect.

Starting rep ranges by goal

GoalSetsReps or timeRestEffort and execution
Movement preparation1–23–6 slow circlesAs neededEasy, tolerable pressure or range
Cooldown / recovery1–25–8 slow circlesAs neededRelaxed breathing; no forcing

How to progress it

Progress control and comfort before adding pressure or range. Discontinue the drill if it causes numbness, radiating symptoms, or a consistent loss of motion.

Pairing and sequencing

  • Pair before the related strength pattern to check whether movement quality improves.
  • Avoid using it as a substitute for assessment or treatment of persistent pain.

Coach's notes

  • Begin with 2–3 sets of 8–12 controlled repetitions and keep several technically sound repetitions in reserve.
  • Rest long enough to reproduce the intended range and posture on the next set.
  • Progress one variable at a time and record repetitions, resistance, range, and coaching notes.

Regressions and progressions for Prone Hip Circles

Start with an easier option

Supported Prone Hip Circles

Add external support or reduce the balance demand while learning the exact joint path.

Reduced-range Prone Hip Circles

Use a shorter pain-free range and expand it only as control improves.

Progress when form is repeatable

Tempo Prone Hip Circles

Slow the lowering phase without changing the start, finish, or joint alignment.

Paused Prone Hip Circles

Add a brief pause at the hardest controlled position before increasing load.

References
  1. American Council on ExerciseACE Exercise Library
  2. Mayo ClinicWeight Training: Do's and Don'ts of Proper Technique
  3. American College of Sports MedicineACSM Resistance Training Guidelines Update
  4. NHSHow to improve your strength and flexibility

Build client programs that drive retention and cut your weekly programming time in half.

Explore the workout builder →
Beta access

Become a Traination Beta User
Apply to become a beta user of the app for free in exchange for feedbacks and reviews. Your time is important! That's why we will reach out to you individually to make sure this is the right fit.