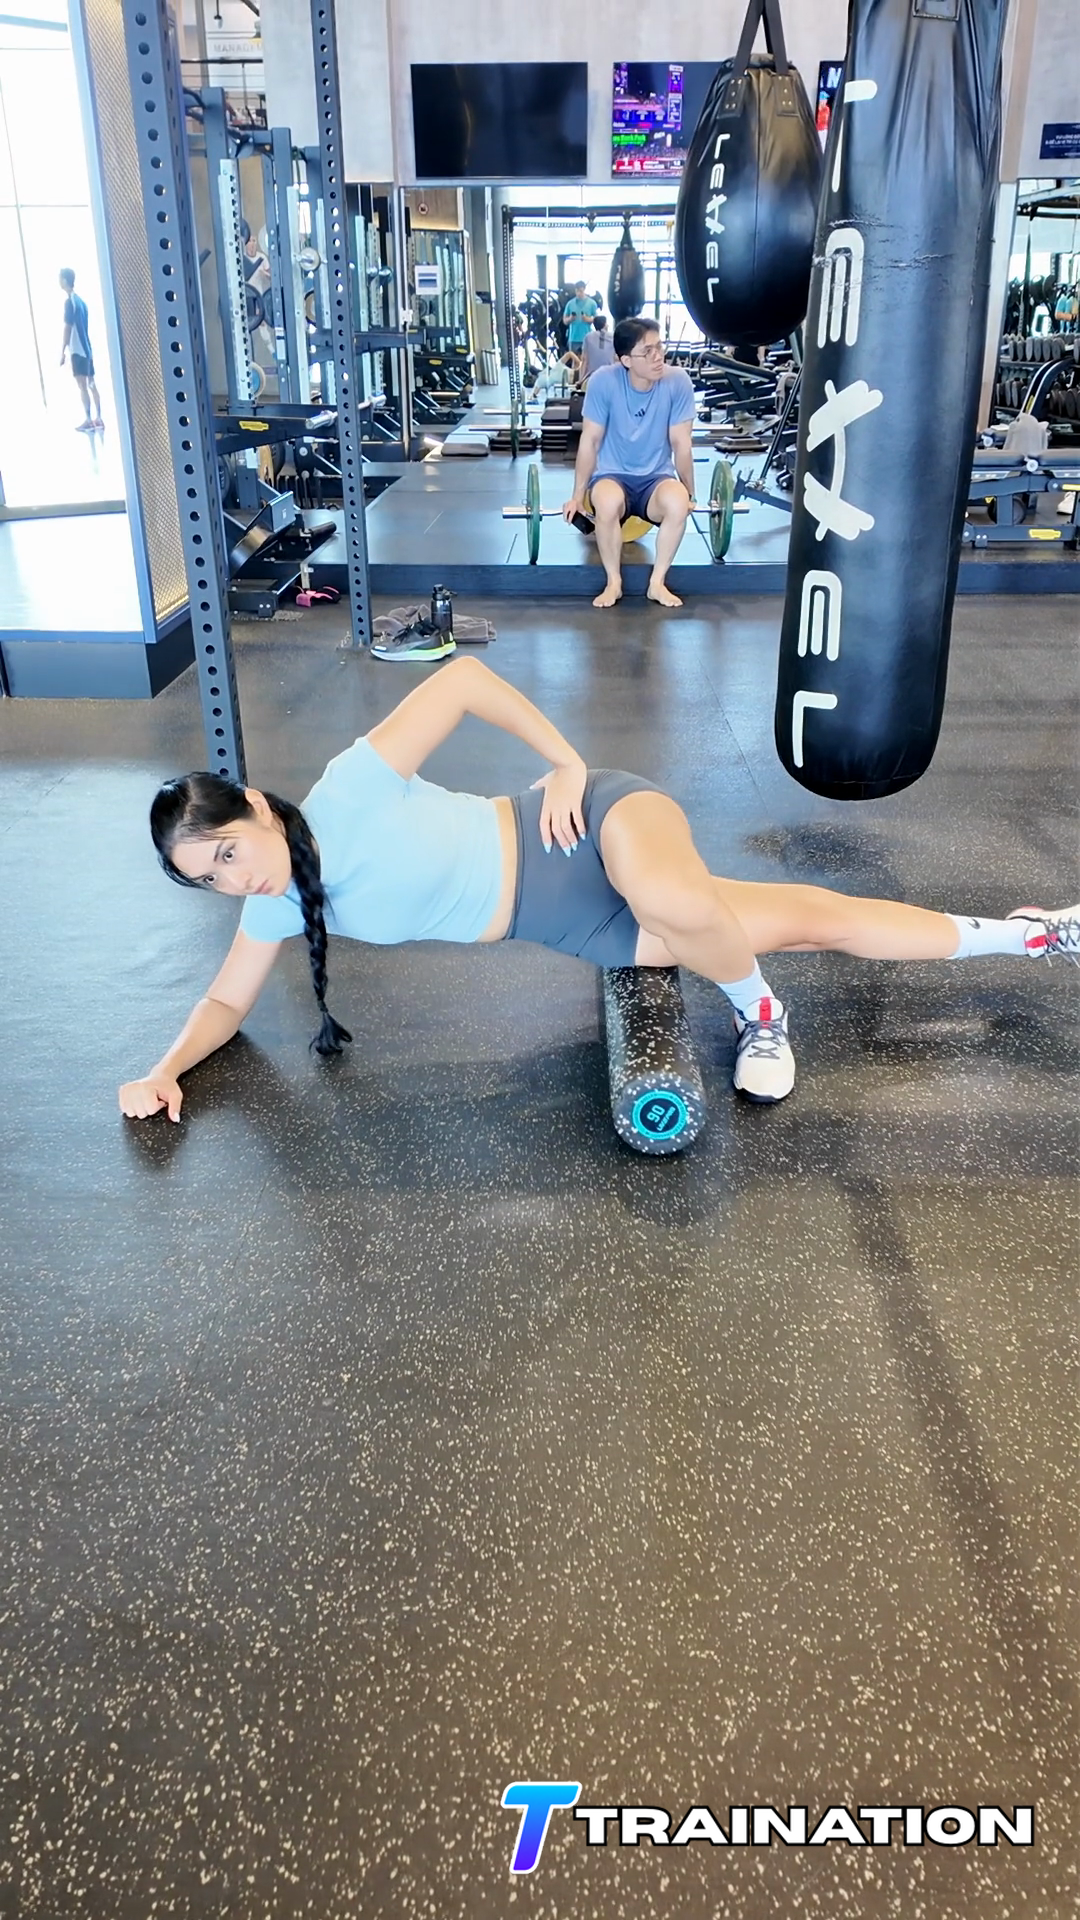
Rolling over the knee
Keep the roller on the soft tissue of the outer thigh rather than crossing the outside of the knee.
Iliotibial Band Self-Myofascial Release is a self-myofascial release drill used to apply controlled pressure and explore tolerable areas of tension.
Primary musclesLateral hip and thigh tissues
Secondary musclesGluteal muscles, Quadriceps
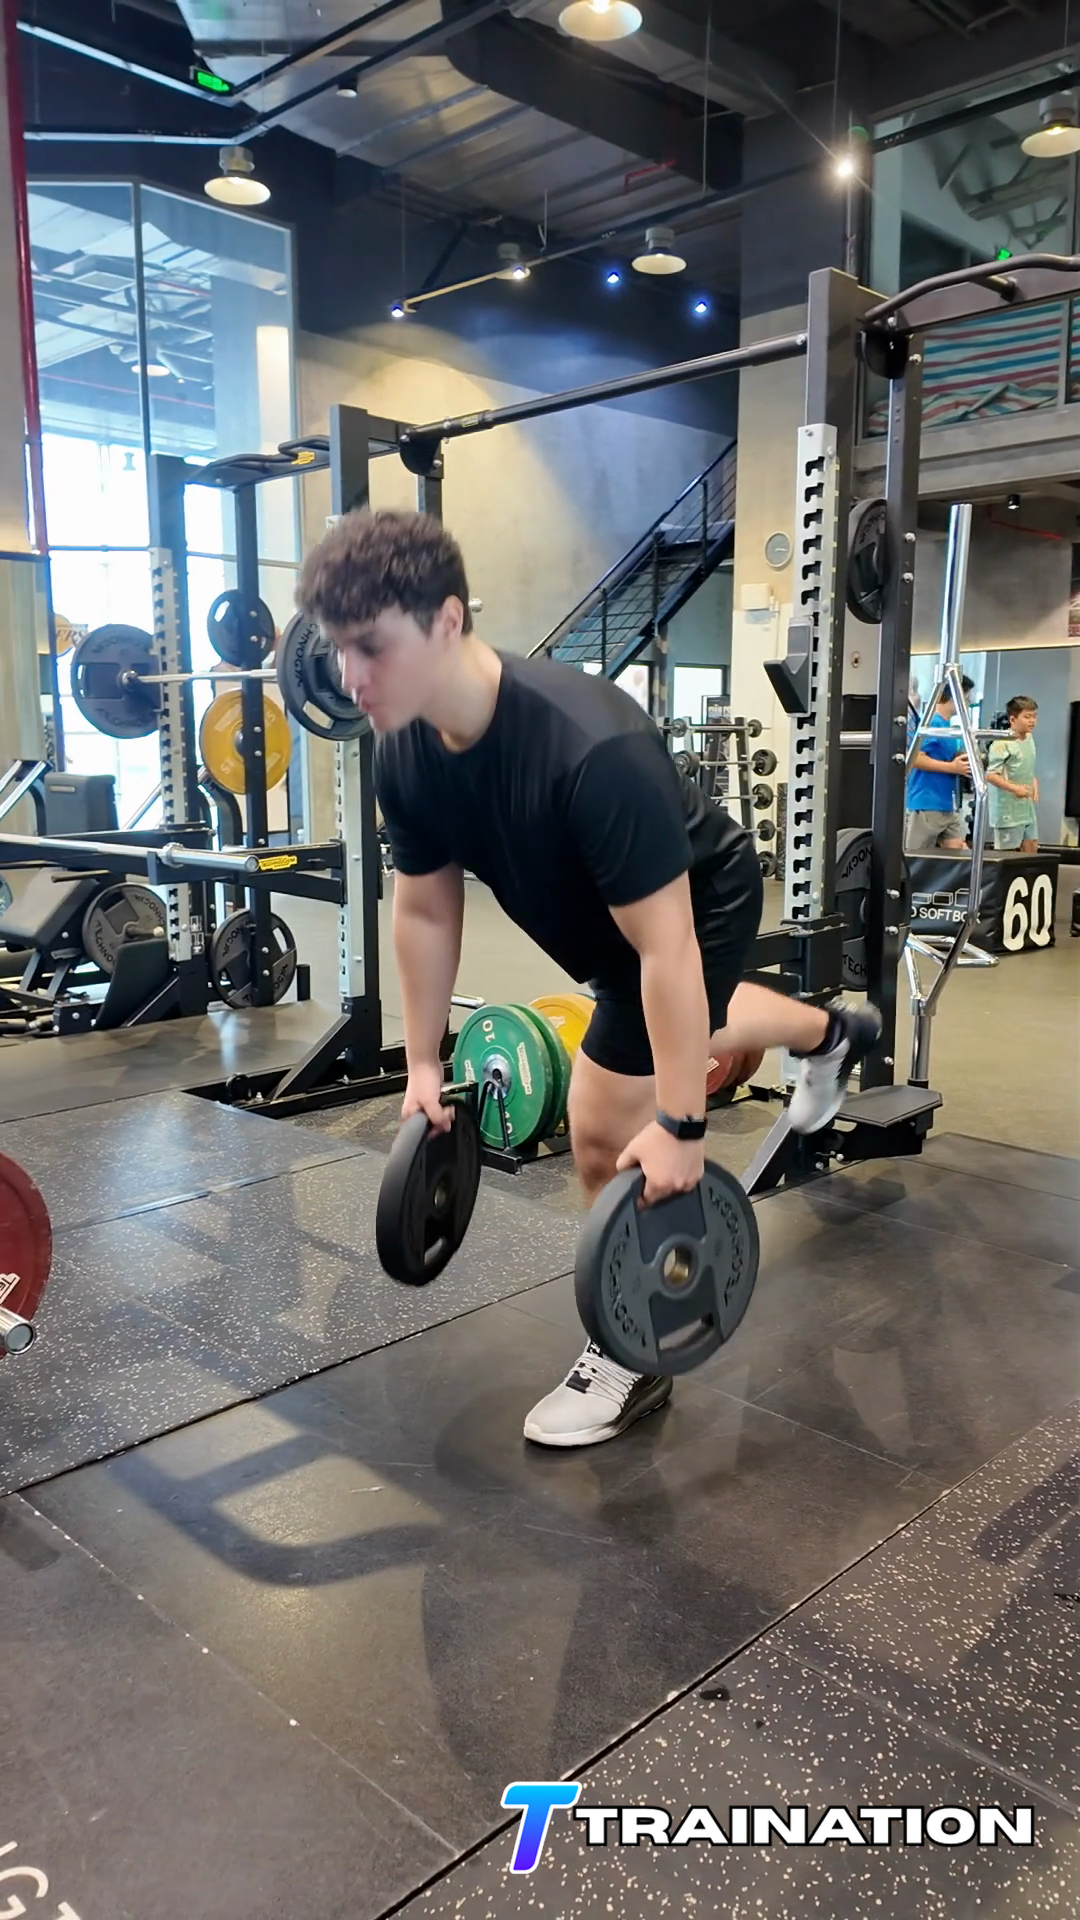
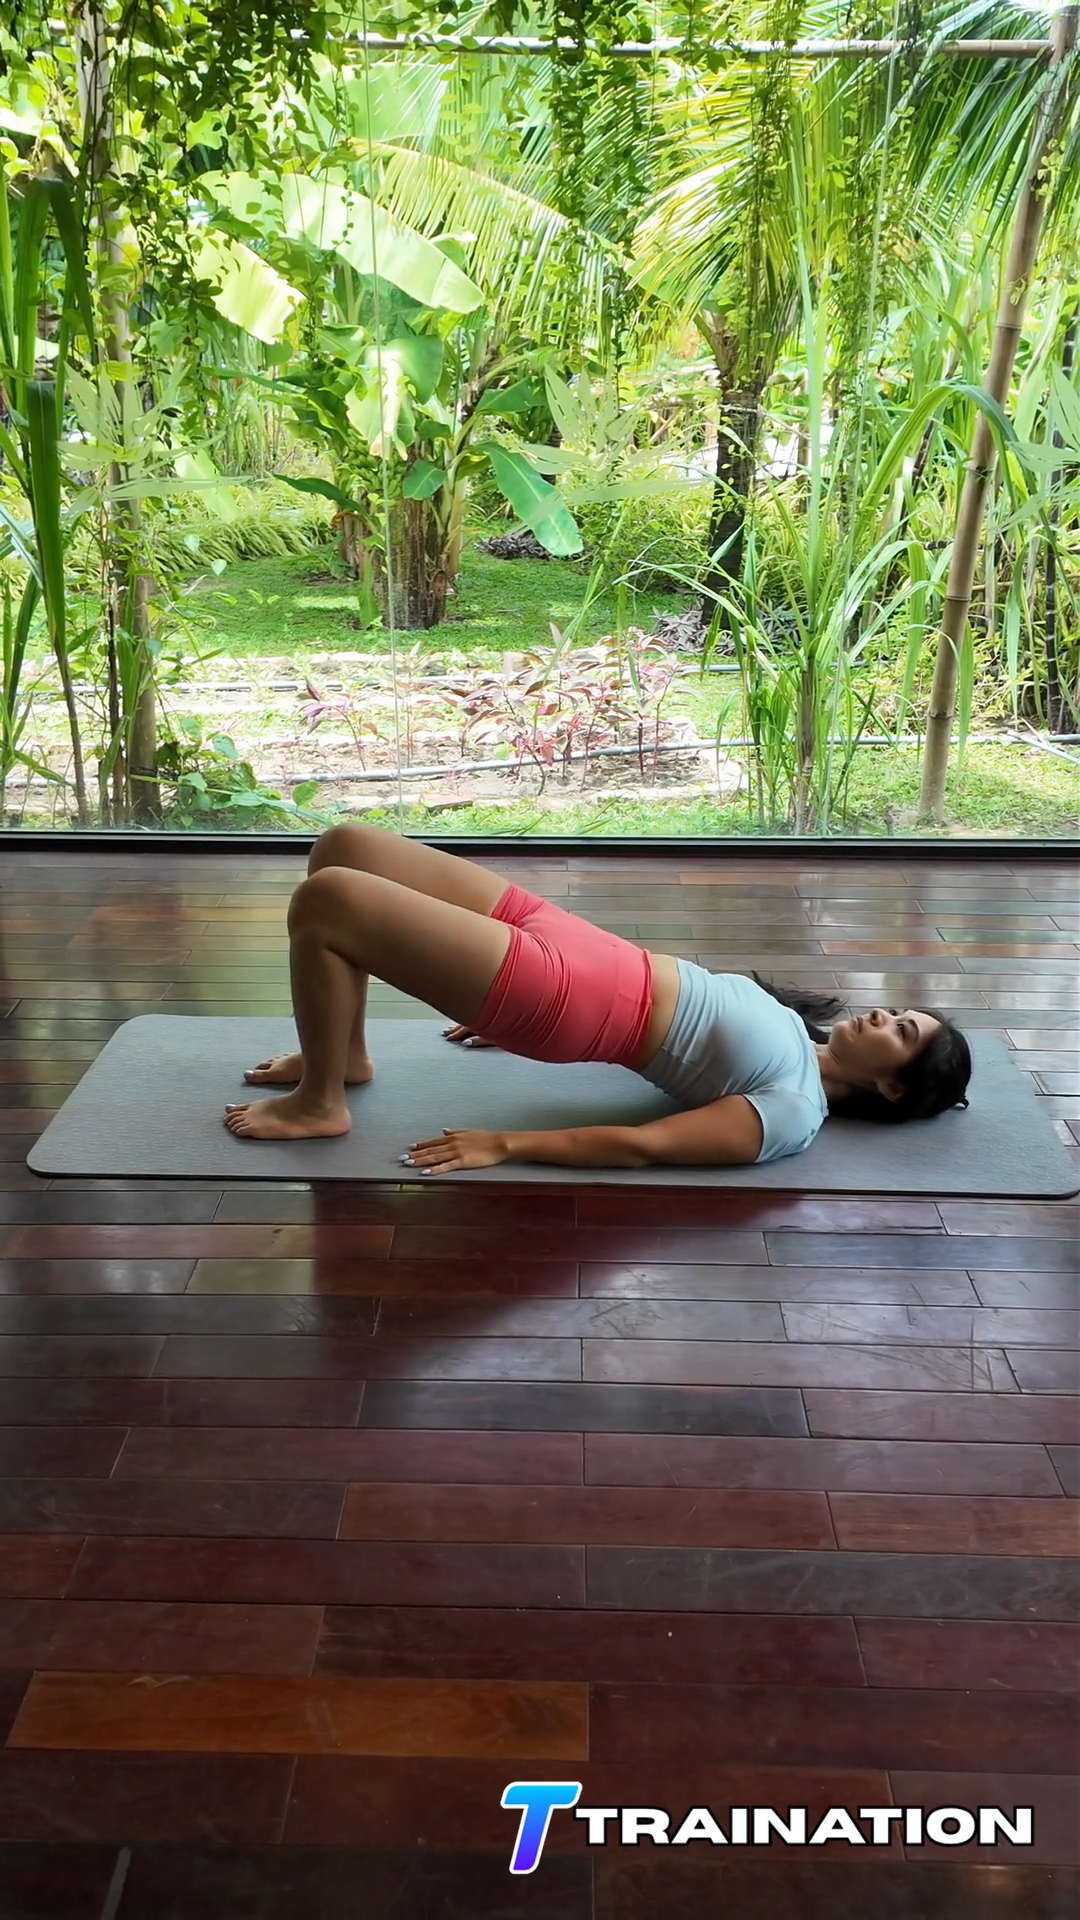
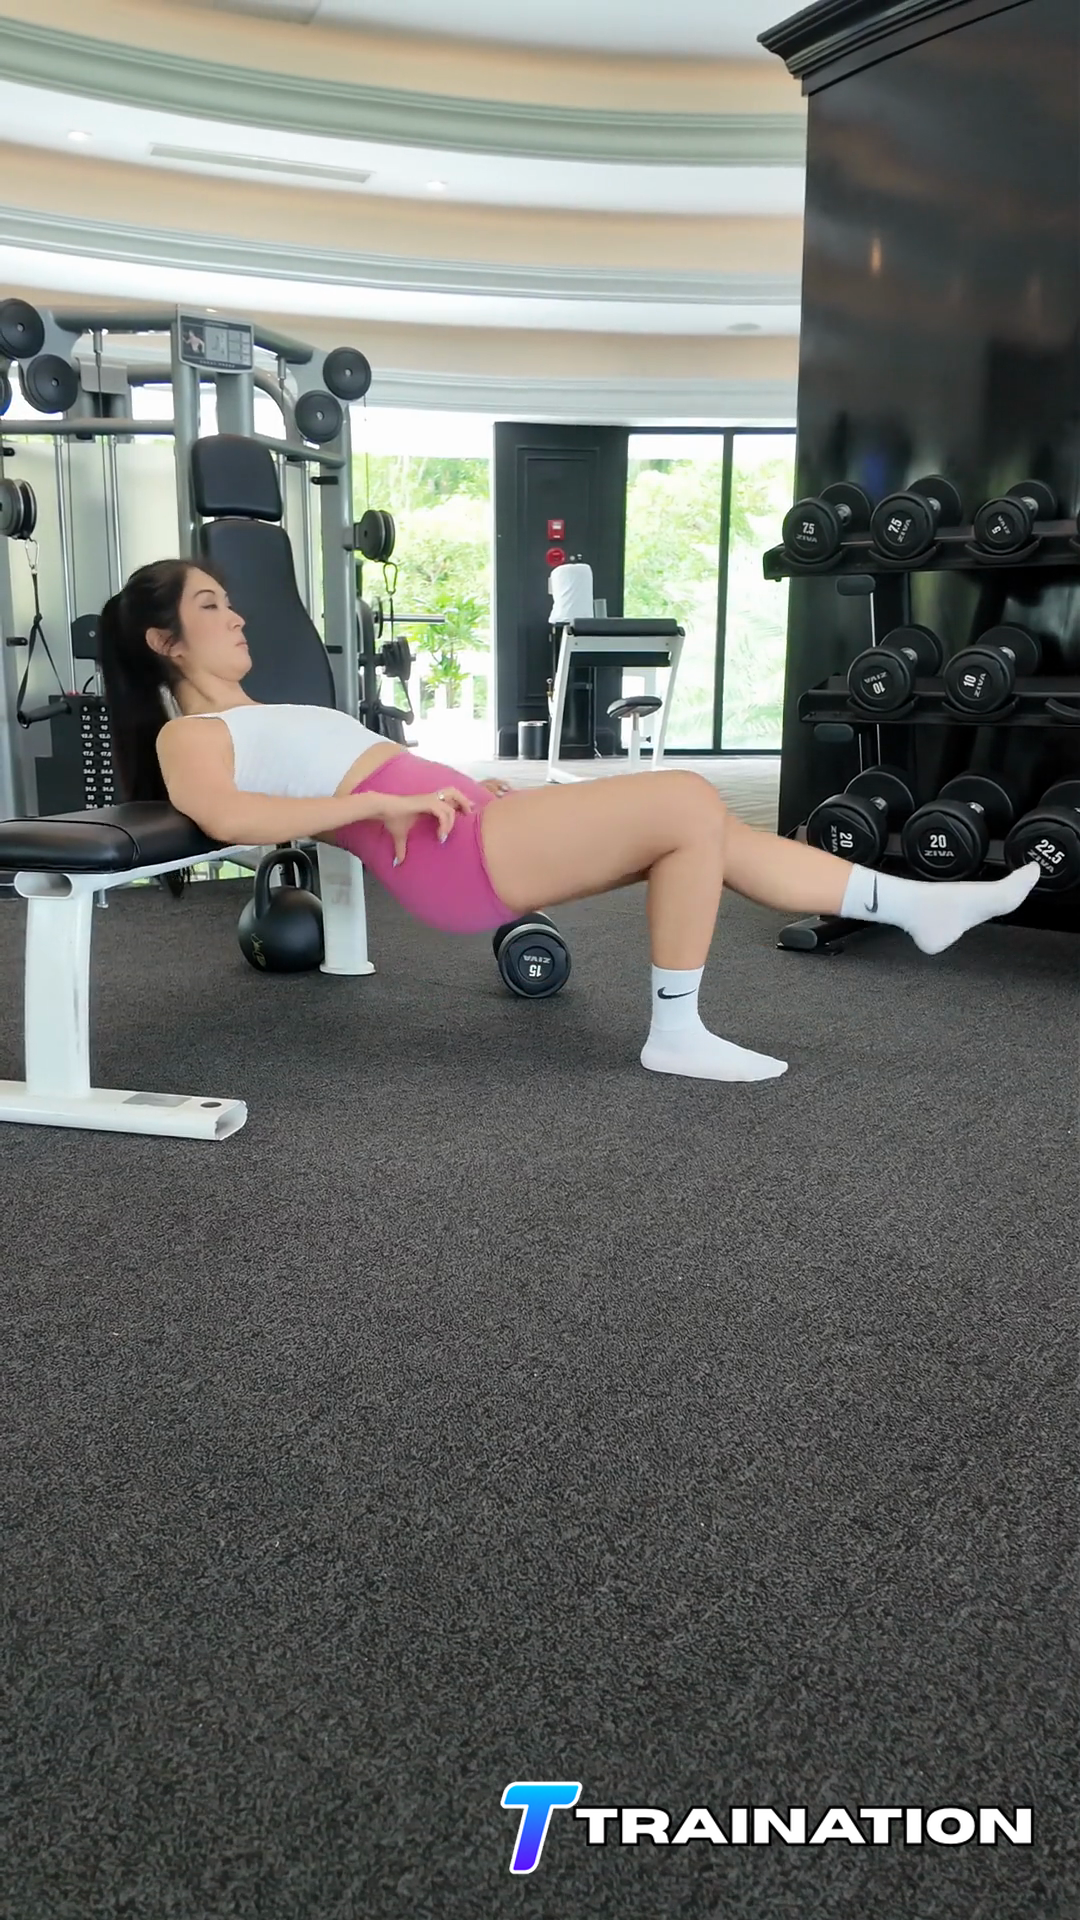
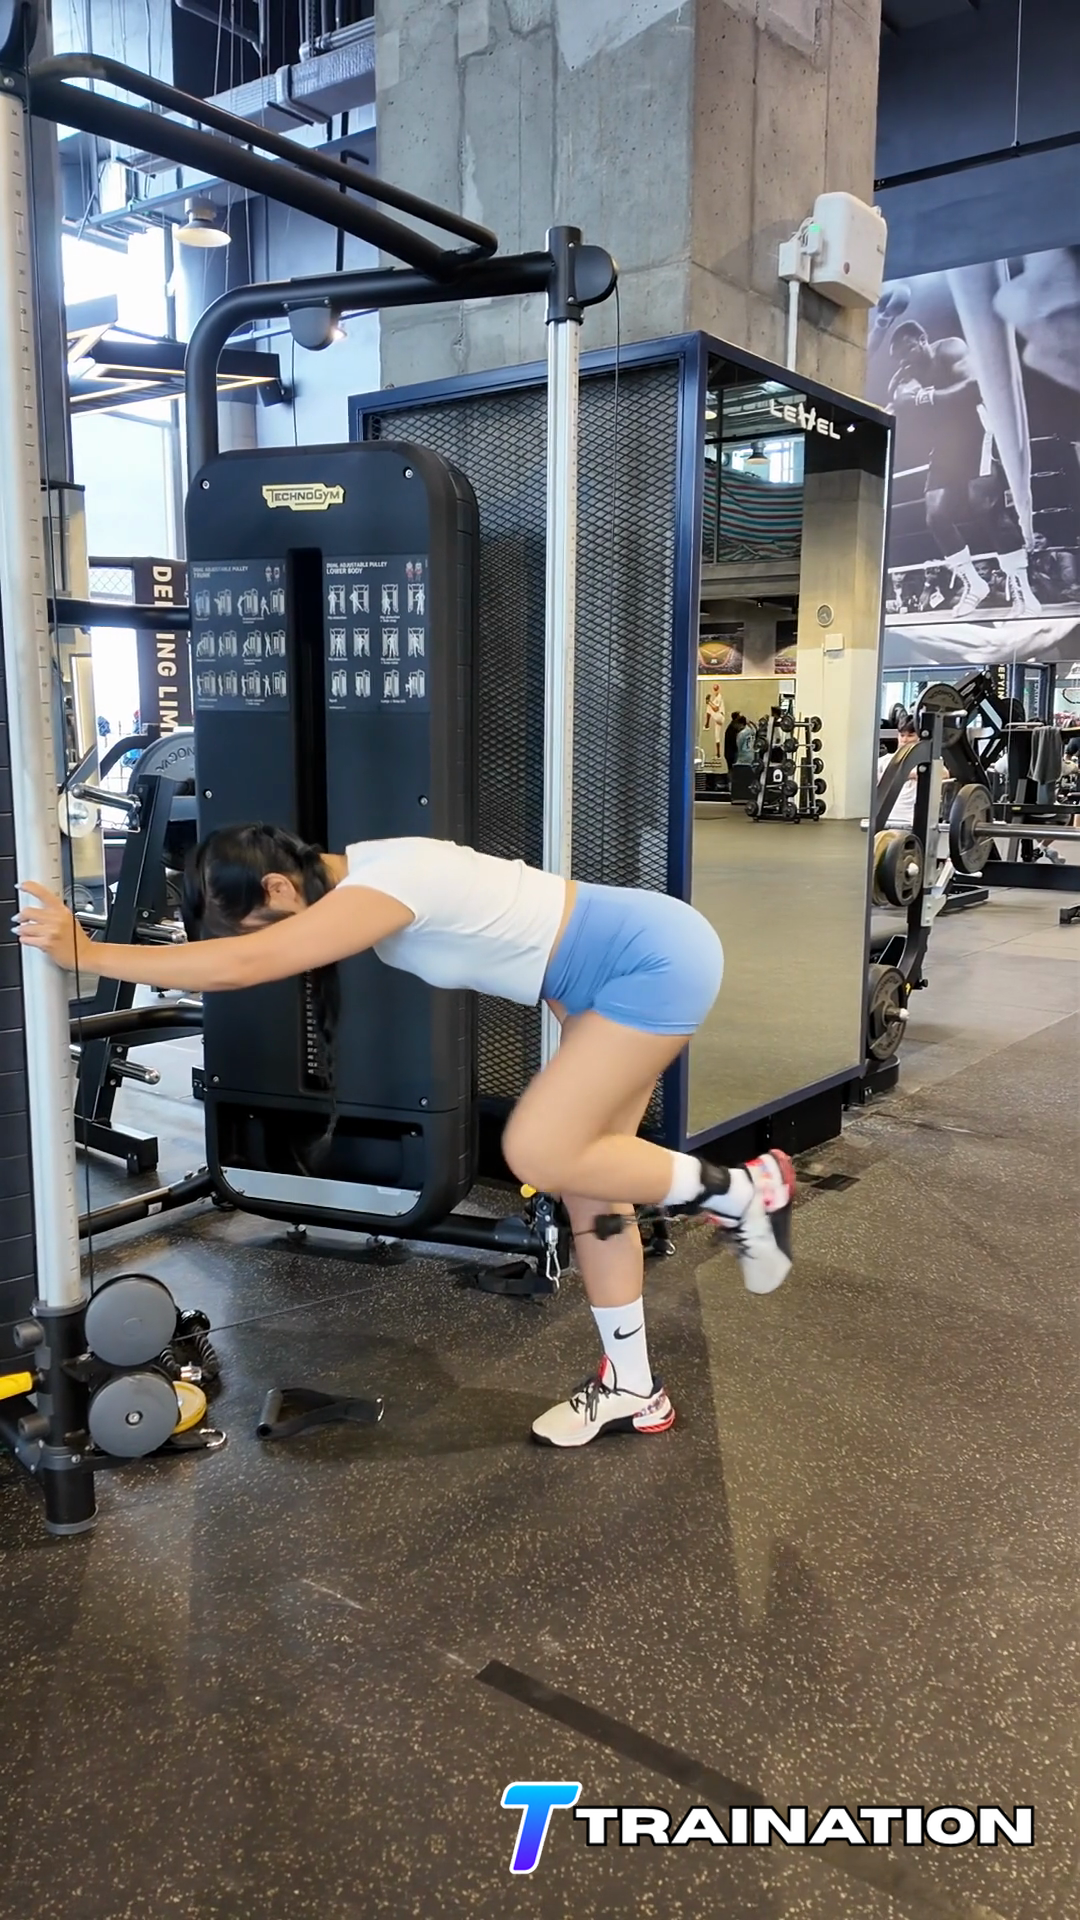
Follow the sequence in order, paying attention to the starting position, movement path, and finish described in each step.
For Iliotibial Band Self-Myofascial Release, place the foam roller beneath the outside of one thigh and support enough body weight through both hands and the opposite leg to control the pressure.
Move slowly across a small area instead of rolling quickly from joint to joint.
Pause on a tolerable tender area and breathe normally; do not force pressure into sharp, burning, or radiating pain.
Keep the pressure on soft tissue rather than rolling directly over the outside of the knee or another bony joint.
Shift off the roller before changing position, then repeat the same controlled sequence on the outside of the opposite thigh.
Keep the roller on the soft tissue of the outer thigh rather than crossing the outside of the knee.
Support more body weight with the hands and top foot if pressure becomes sharp, burning, or radiating.
Move slowly across a small area so pressure remains controlled.
Stop when symptoms increase or travel; self-release work should not replace assessment of persistent pain.
Use Iliotibial Band Self-Myofascial Release during movement preparation when it immediately improves comfort or control, or after training as a low-intensity cooldown drill.
Use it as needed rather than chasing a fixed weekly volume. Keep it only when it produces a useful, repeatable effect.
| Goal | Sets | Reps or time | Rest | Effort and execution |
|---|---|---|---|---|
| Movement preparation | 1–2 | 30–60 sec | As needed | Easy, tolerable pressure or range |
| Cooldown / recovery | 1–2 | 45–90 sec | As needed | Relaxed breathing; no forcing |
Scale the movement
Keep more body weight in the hands and top foot to reduce pressure on the roller.
Explore a smaller area with tolerable pressure rather than rolling the entire thigh.
Add a little time only while pressure remains comfortable and symptoms do not travel down the leg.
Pause briefly on a tolerable soft-tissue area while breathing; do not add aggressive pressure.
Turn Iliotibial Band Self-Myofascial Release and the rest of your exercise library into repeatable client programs.
Explore the workout builder