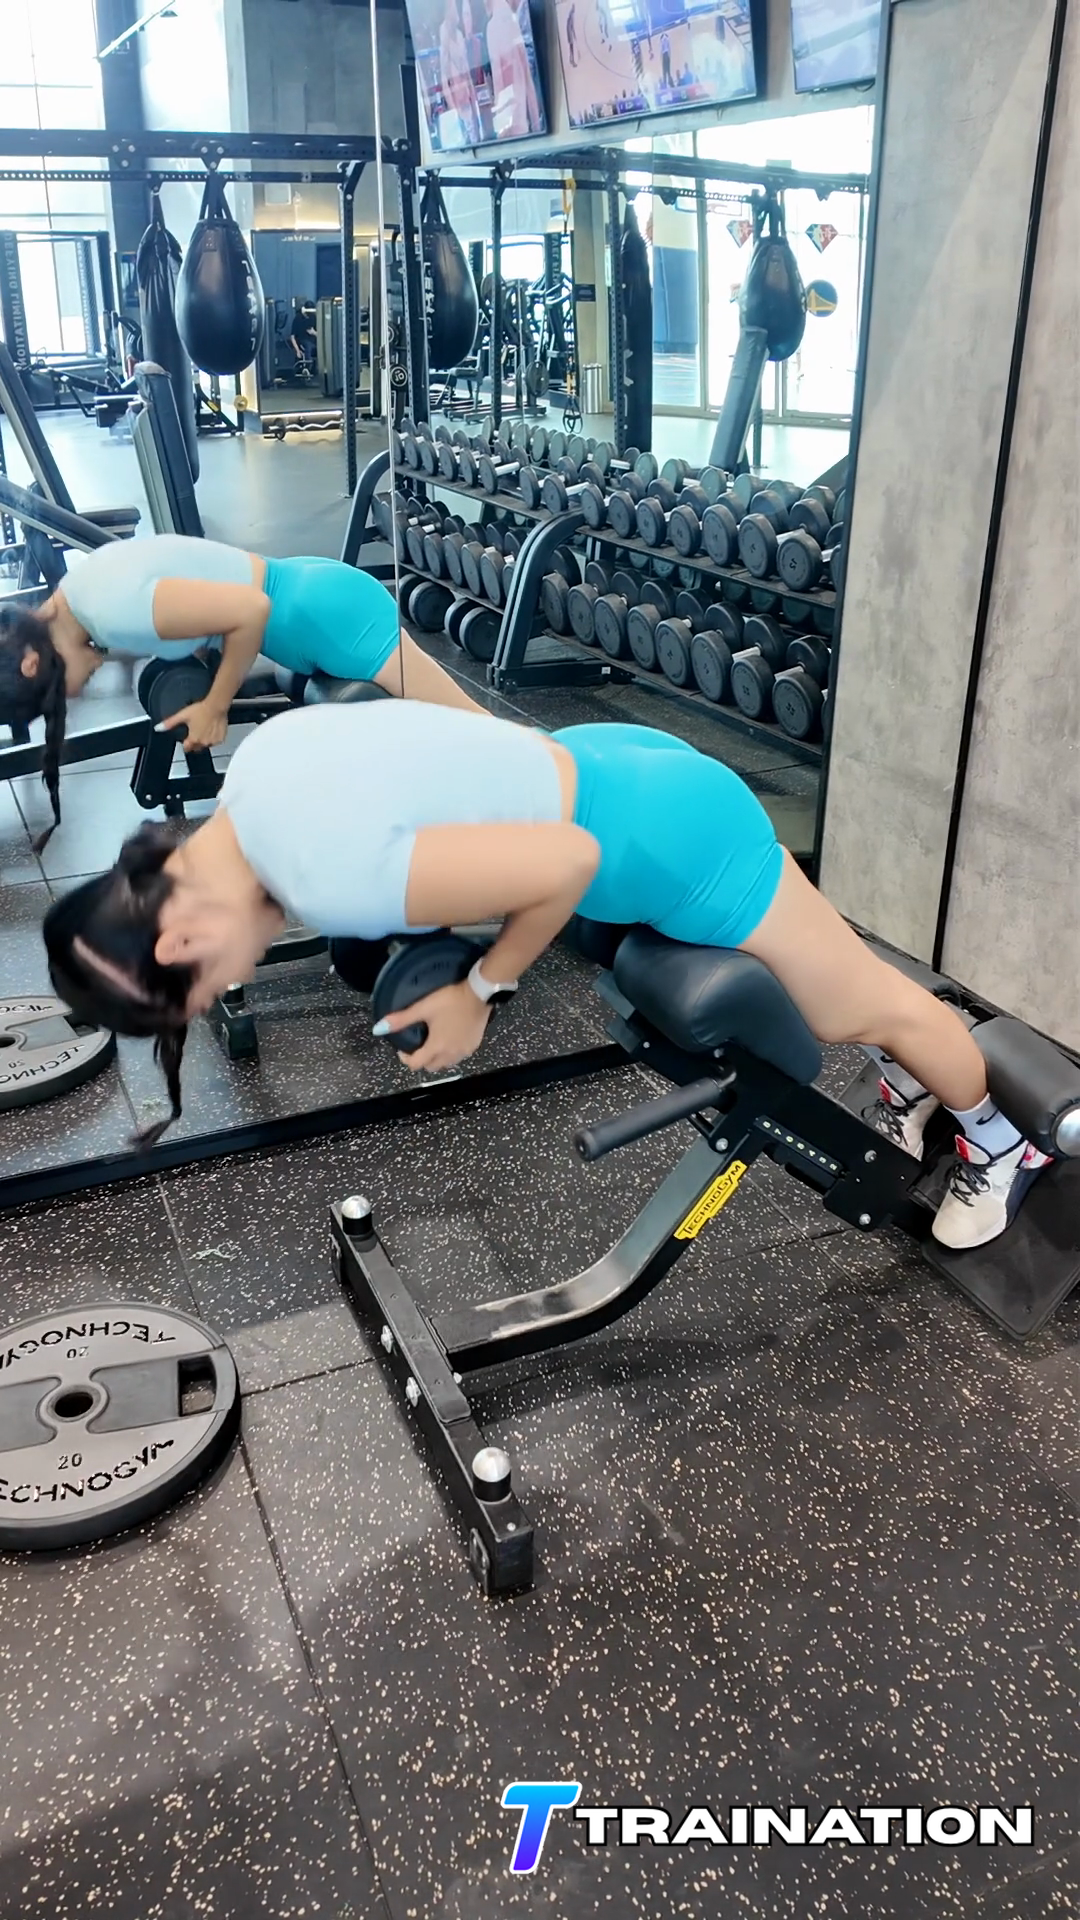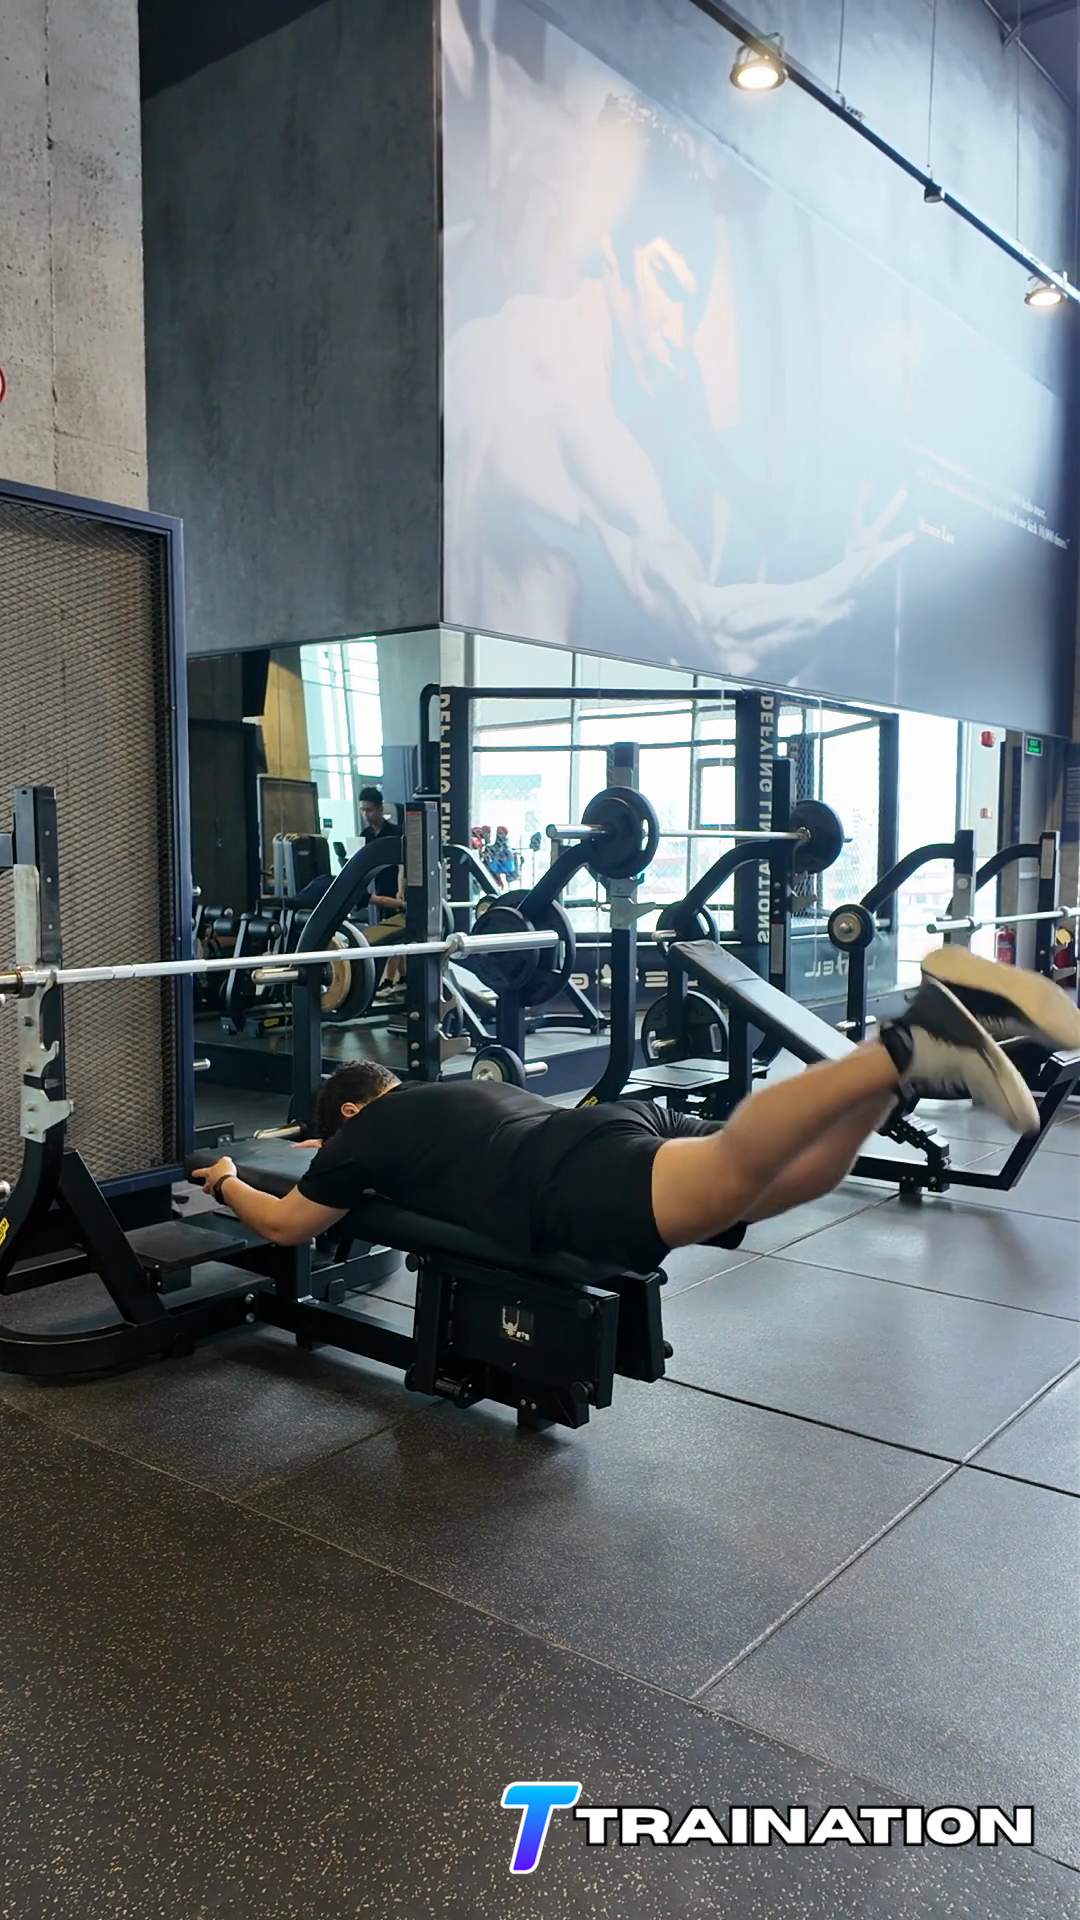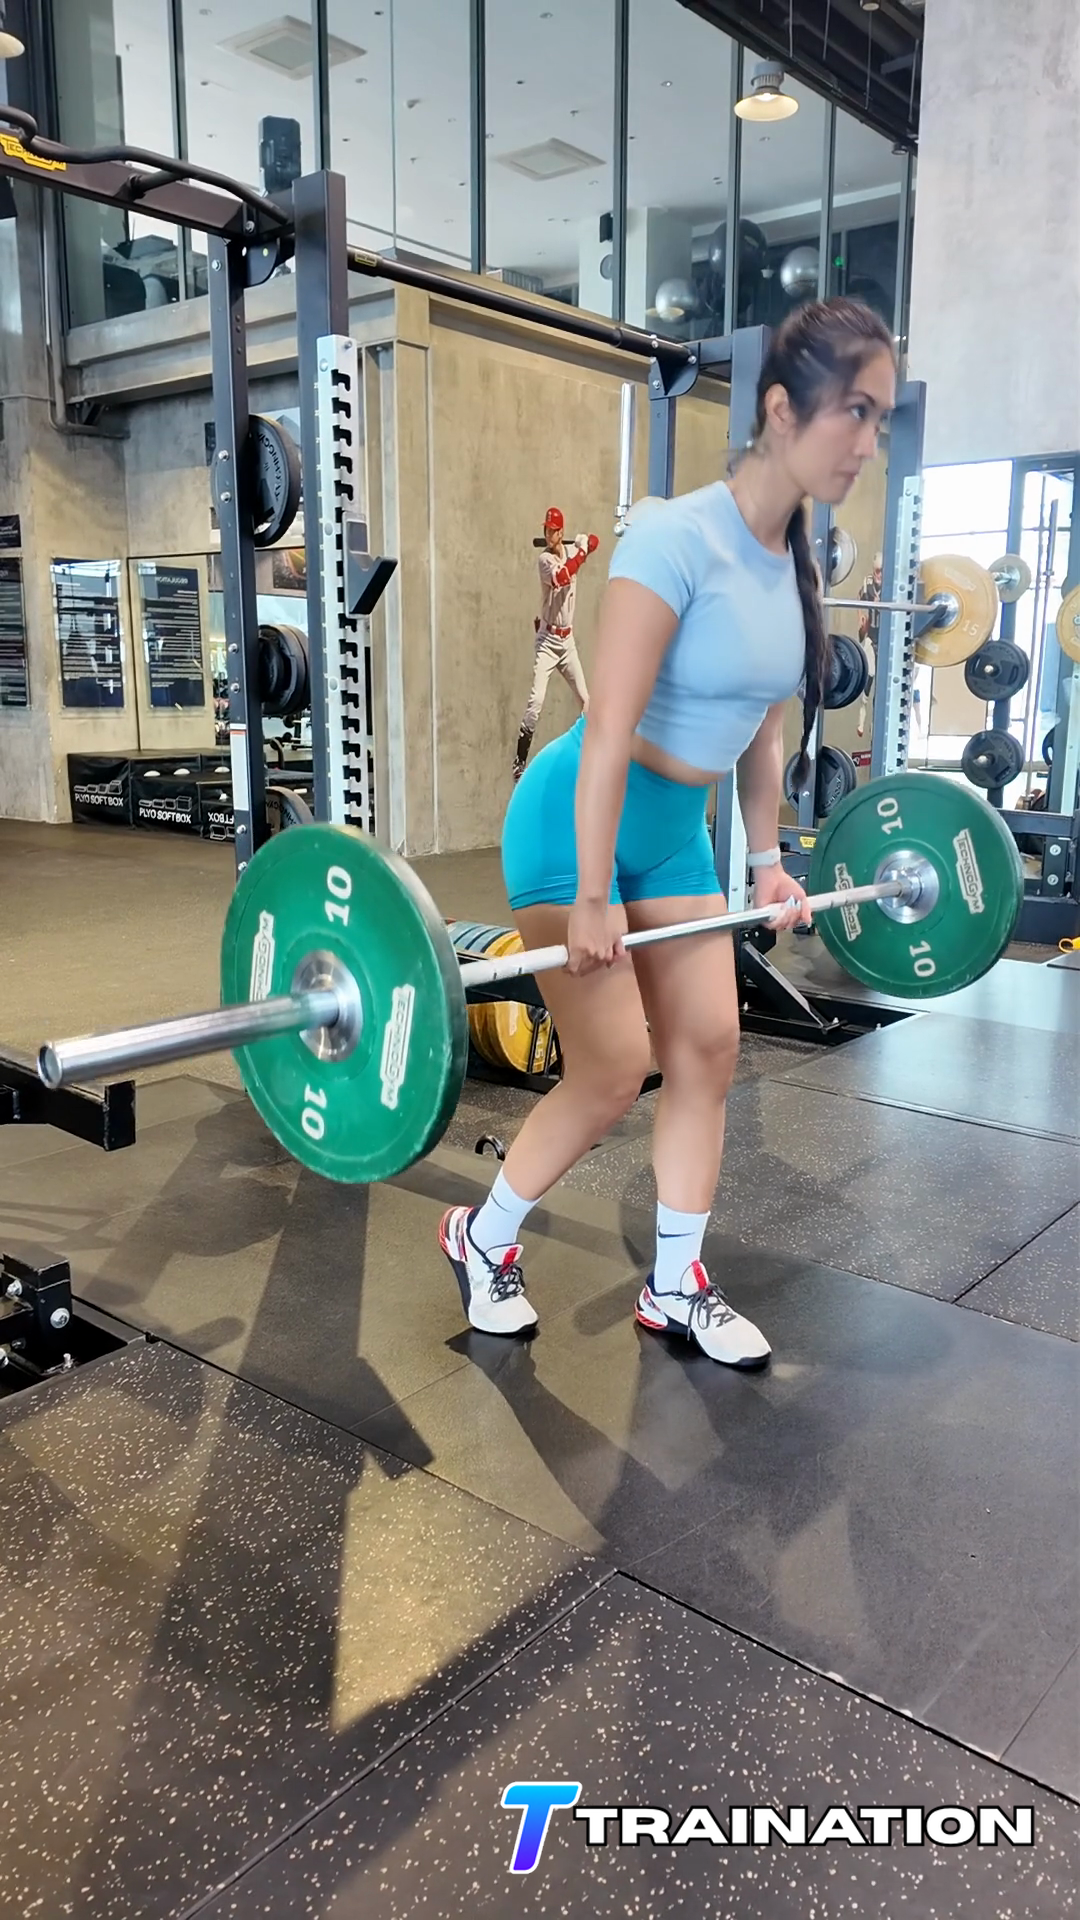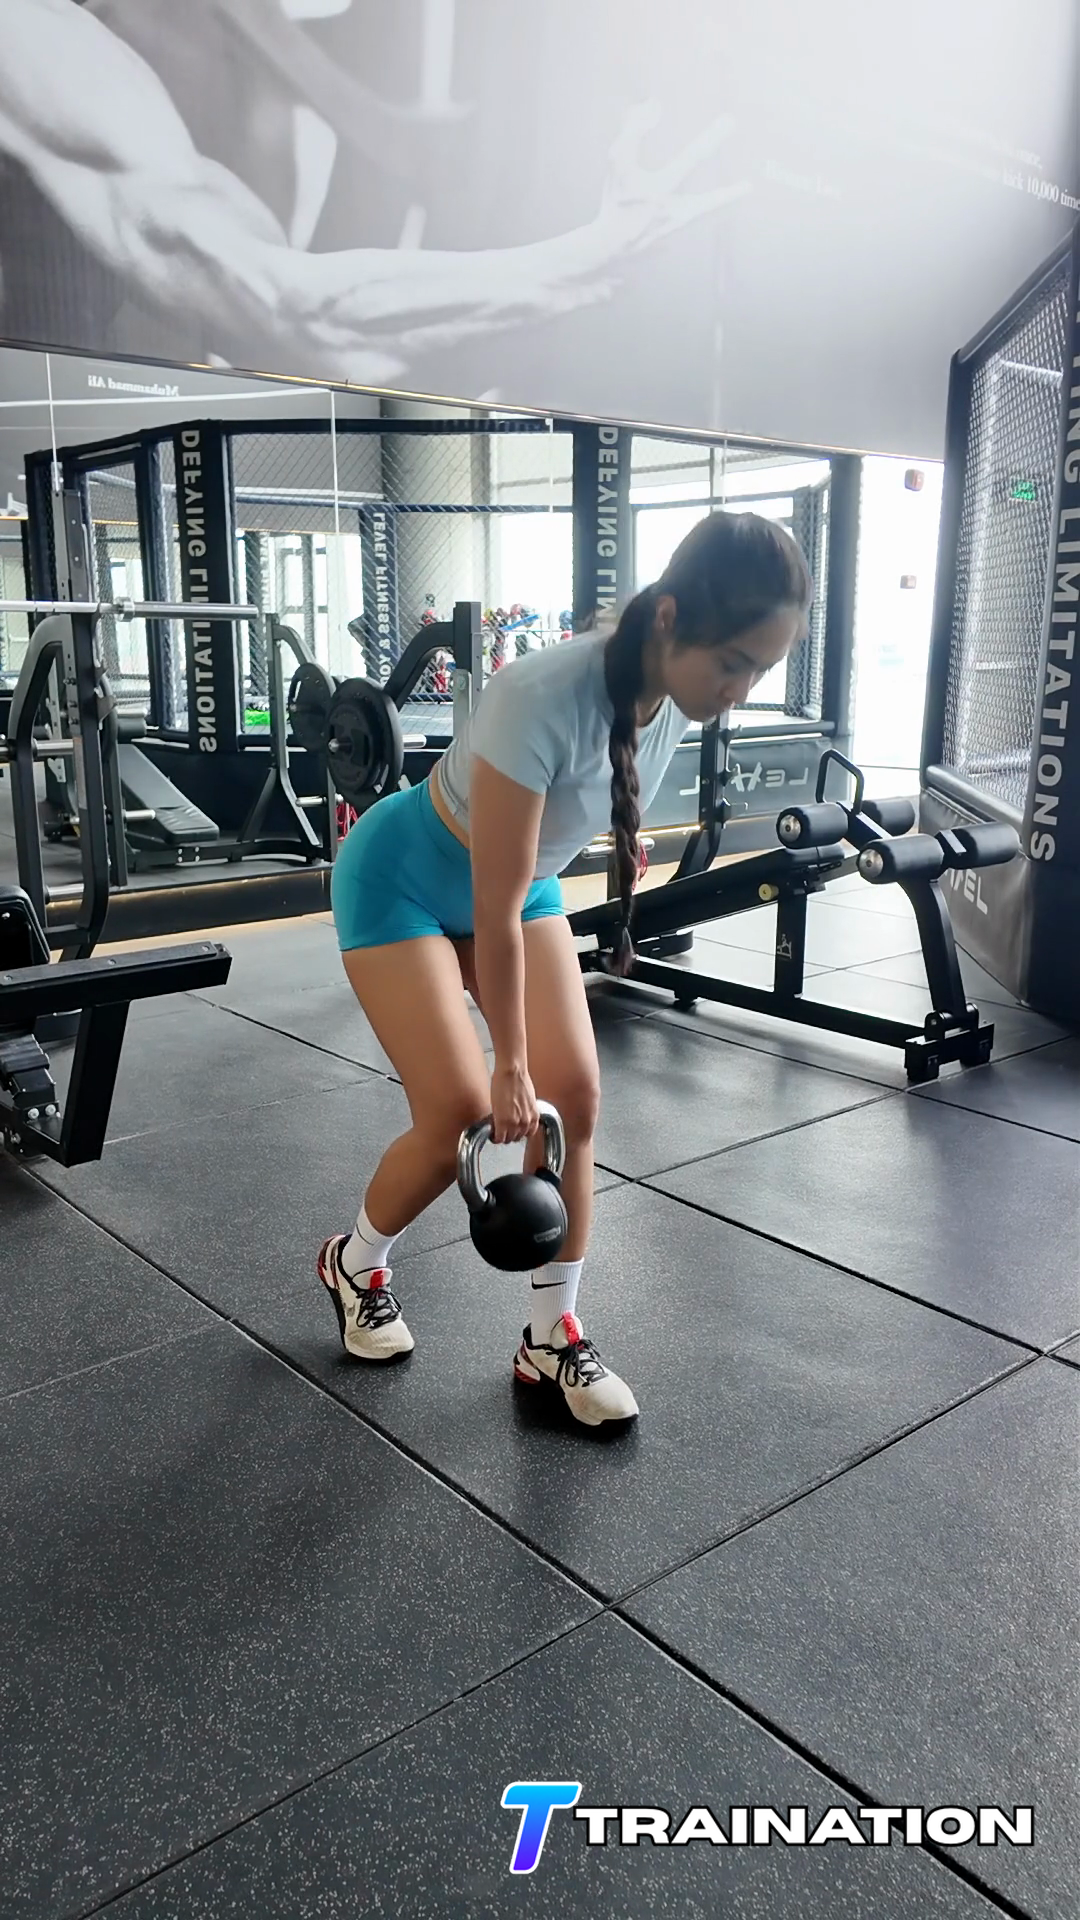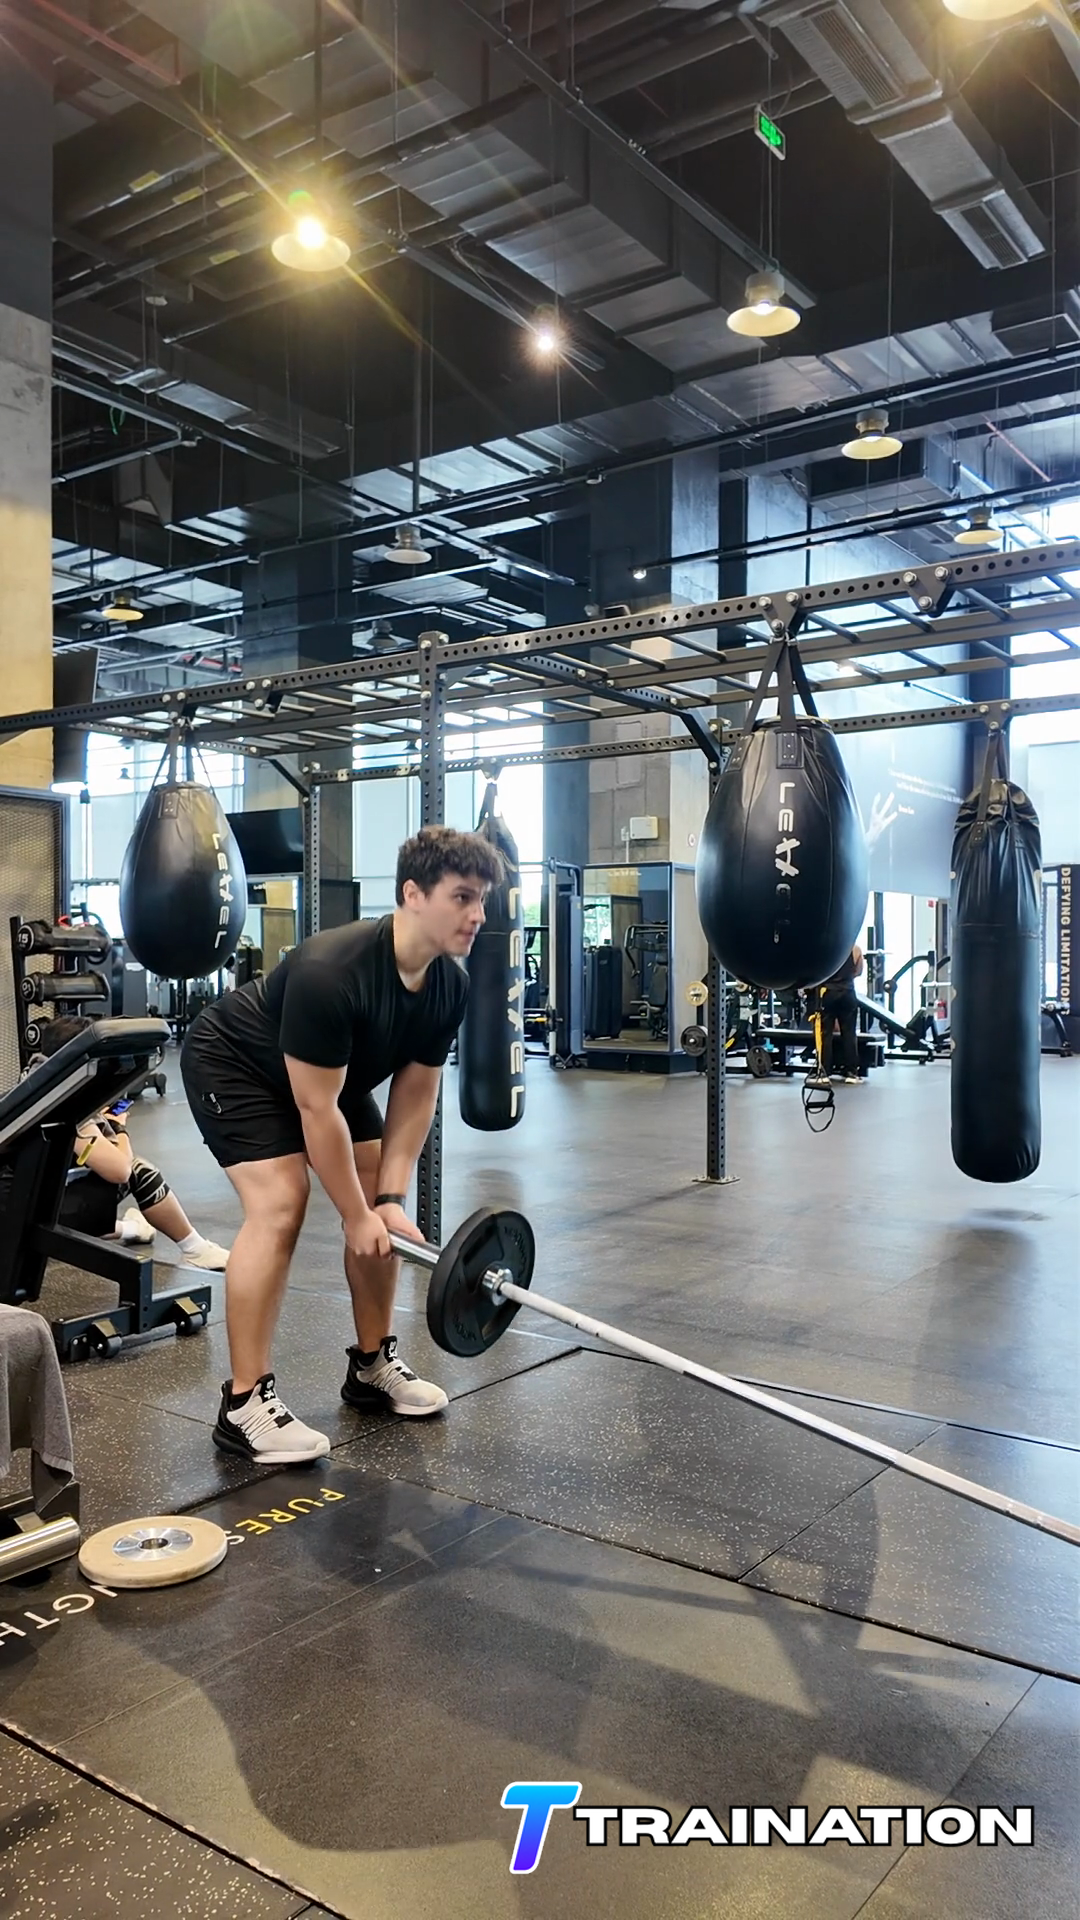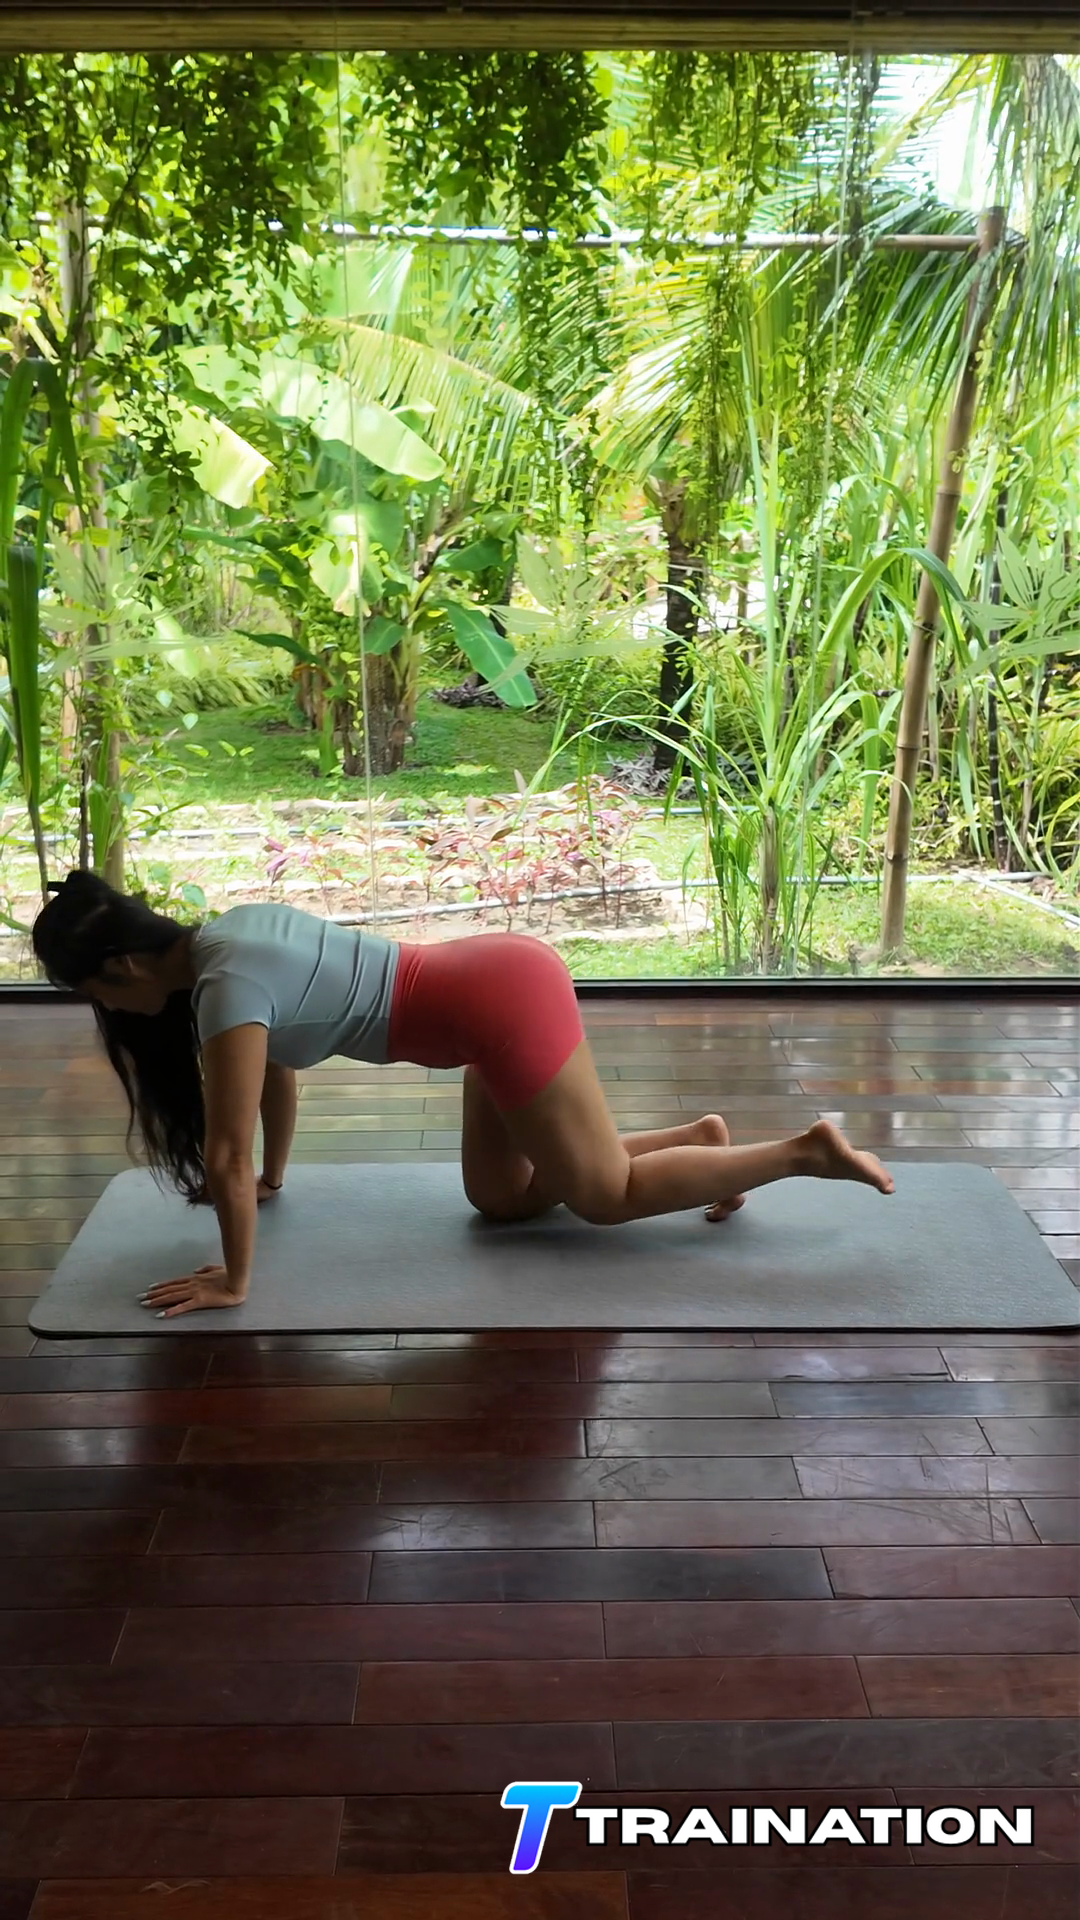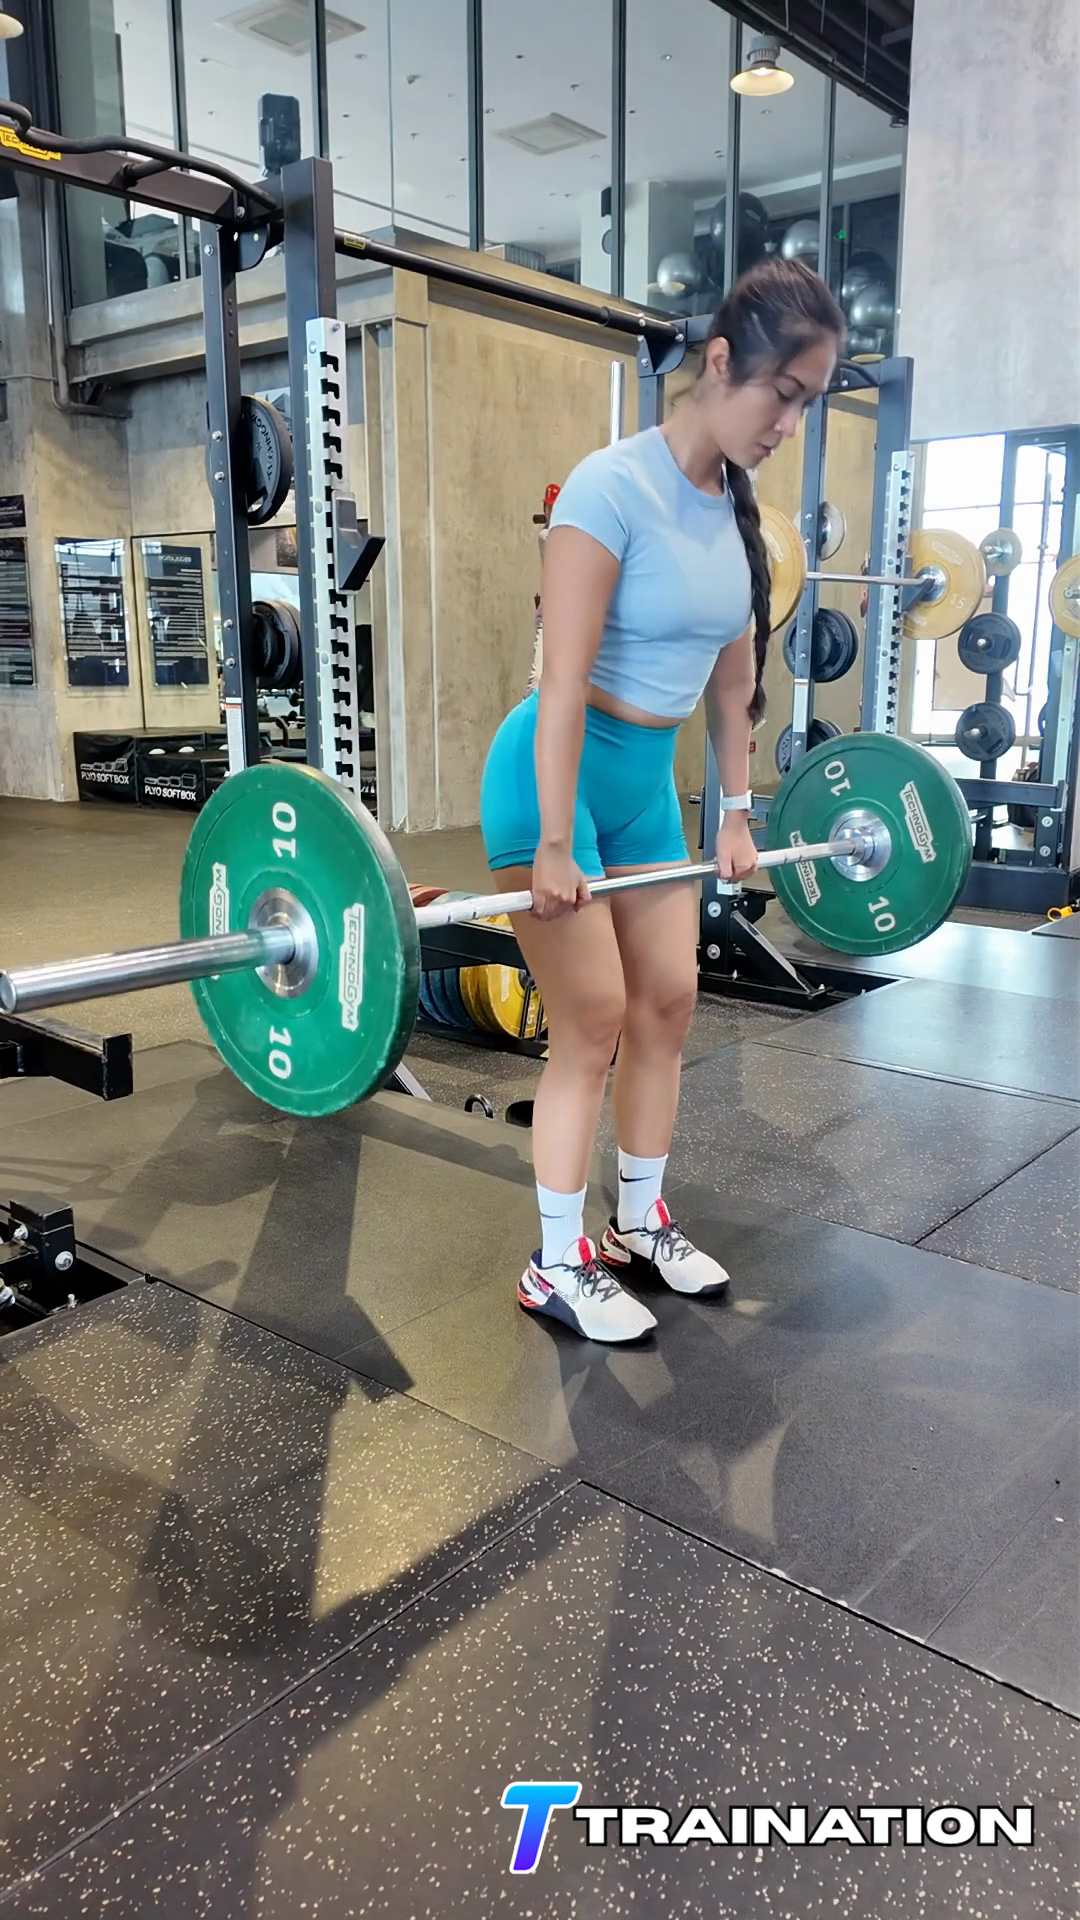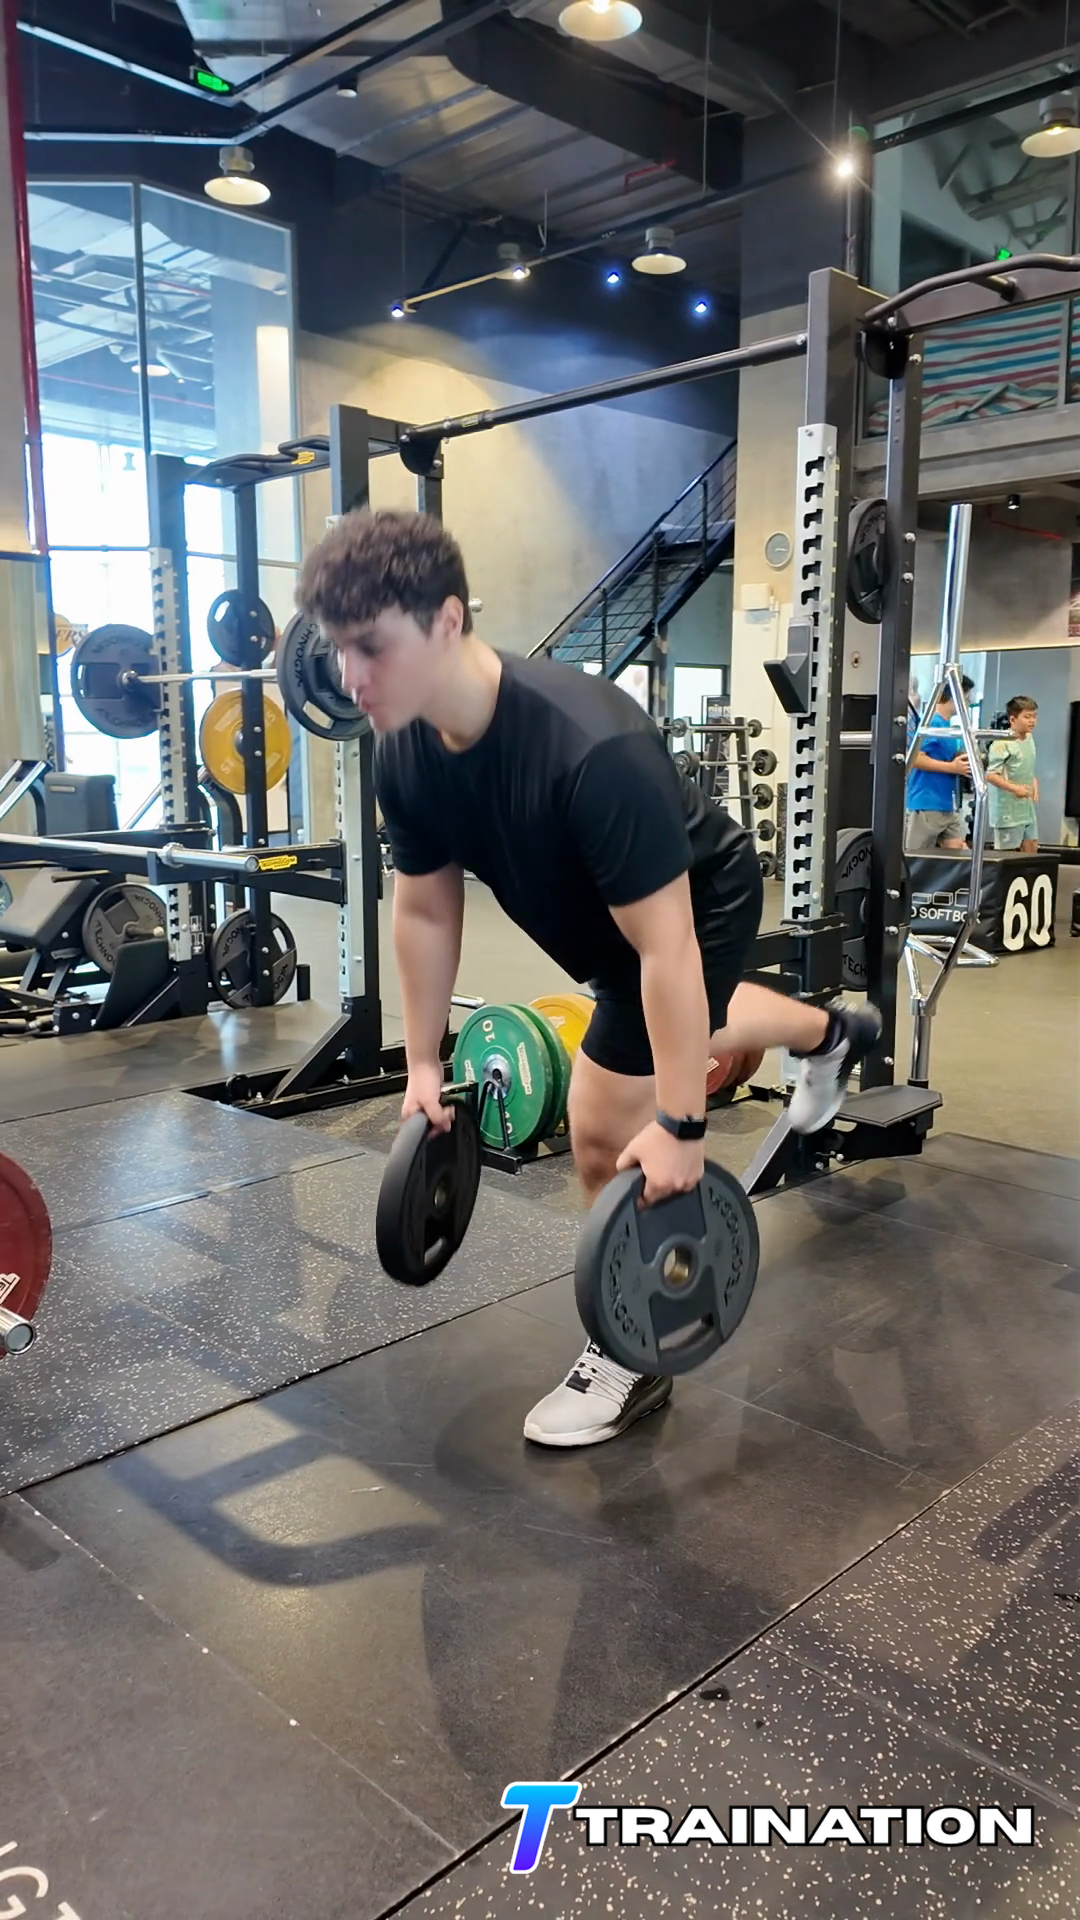
Using too much resistance
Reduce the load or difficulty when Landmine Deadlift To Rotational Press cannot be completed through a controlled range.
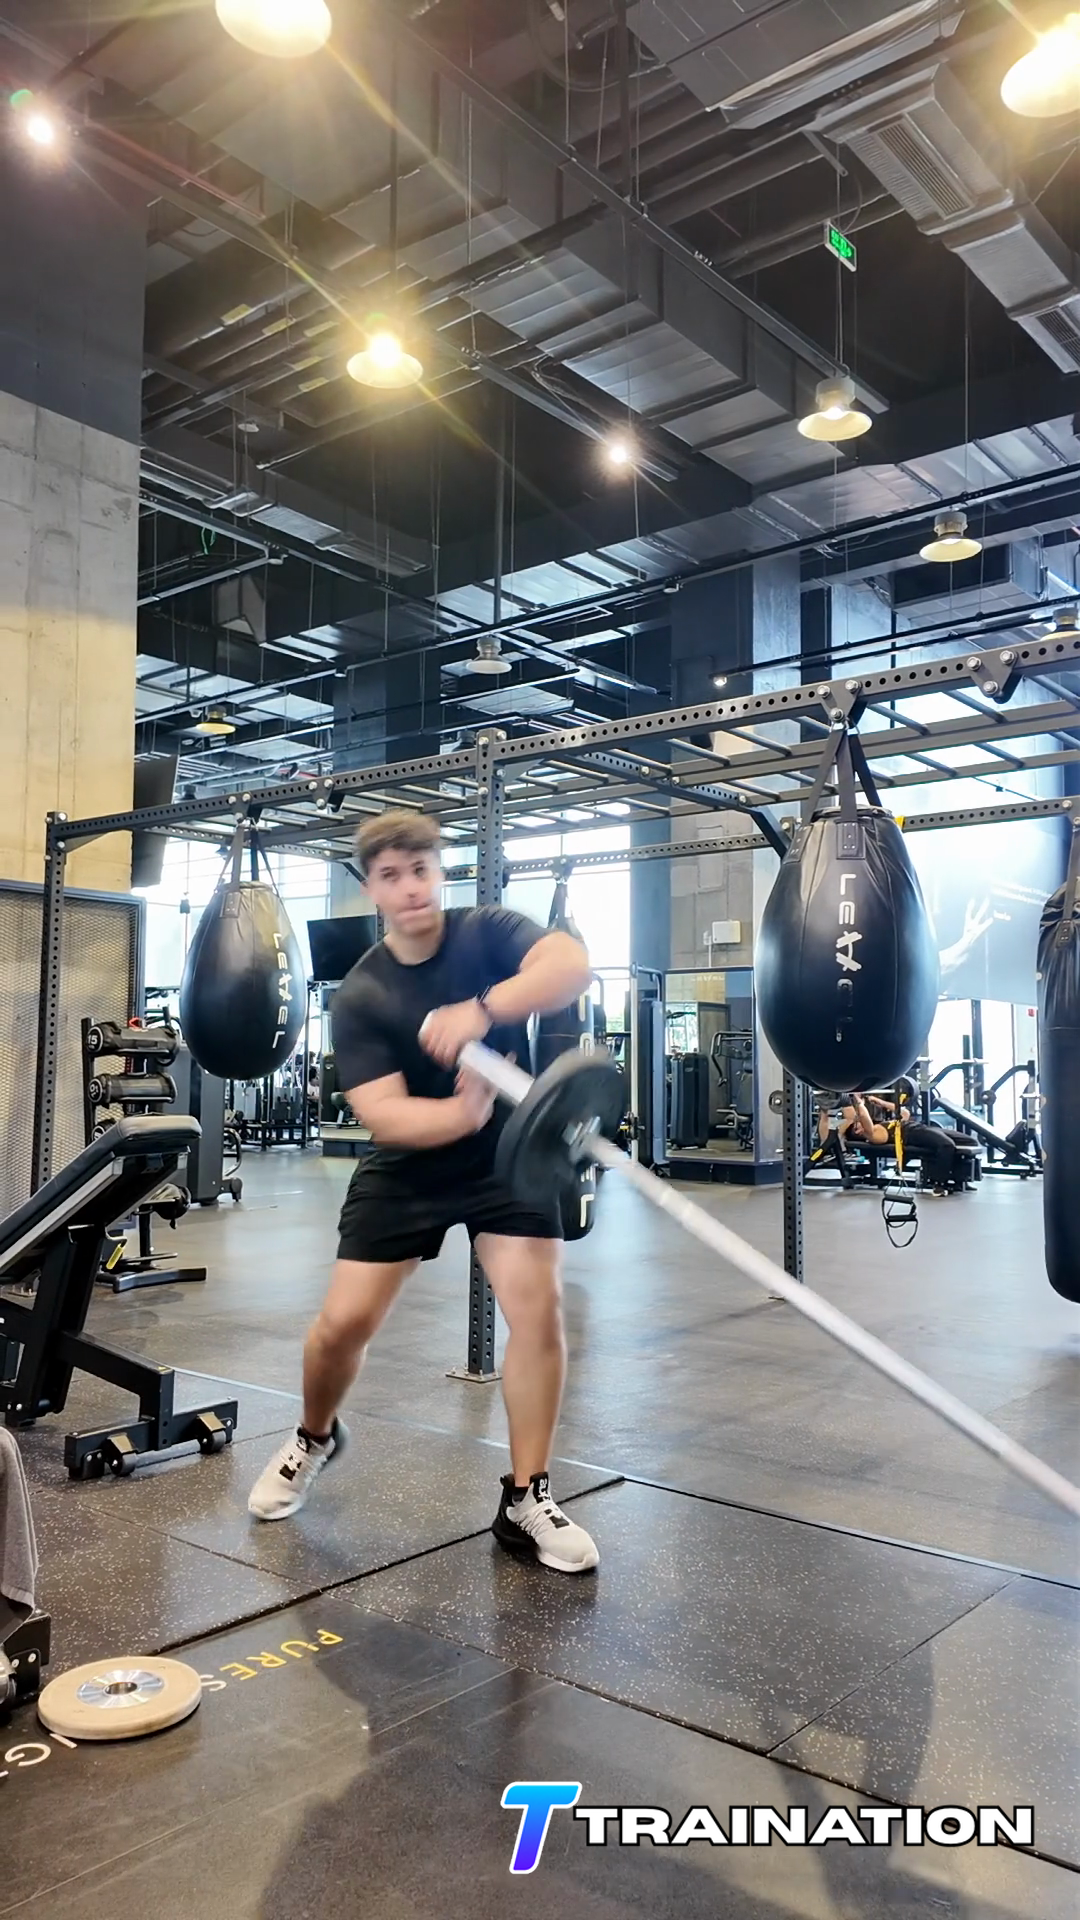
Landmine Deadlift To Rotational Press links a loaded hip hinge with a diagonal rotational press for coordinated full-body strength.
Primary musclesGluteus maximus, Hamstrings, Deltoids
Secondary musclesQuadriceps, Obliques, Triceps brachii, Erector spinae
Follow the sequence in order, paying attention to the starting position, movement path, and finish described in each step.
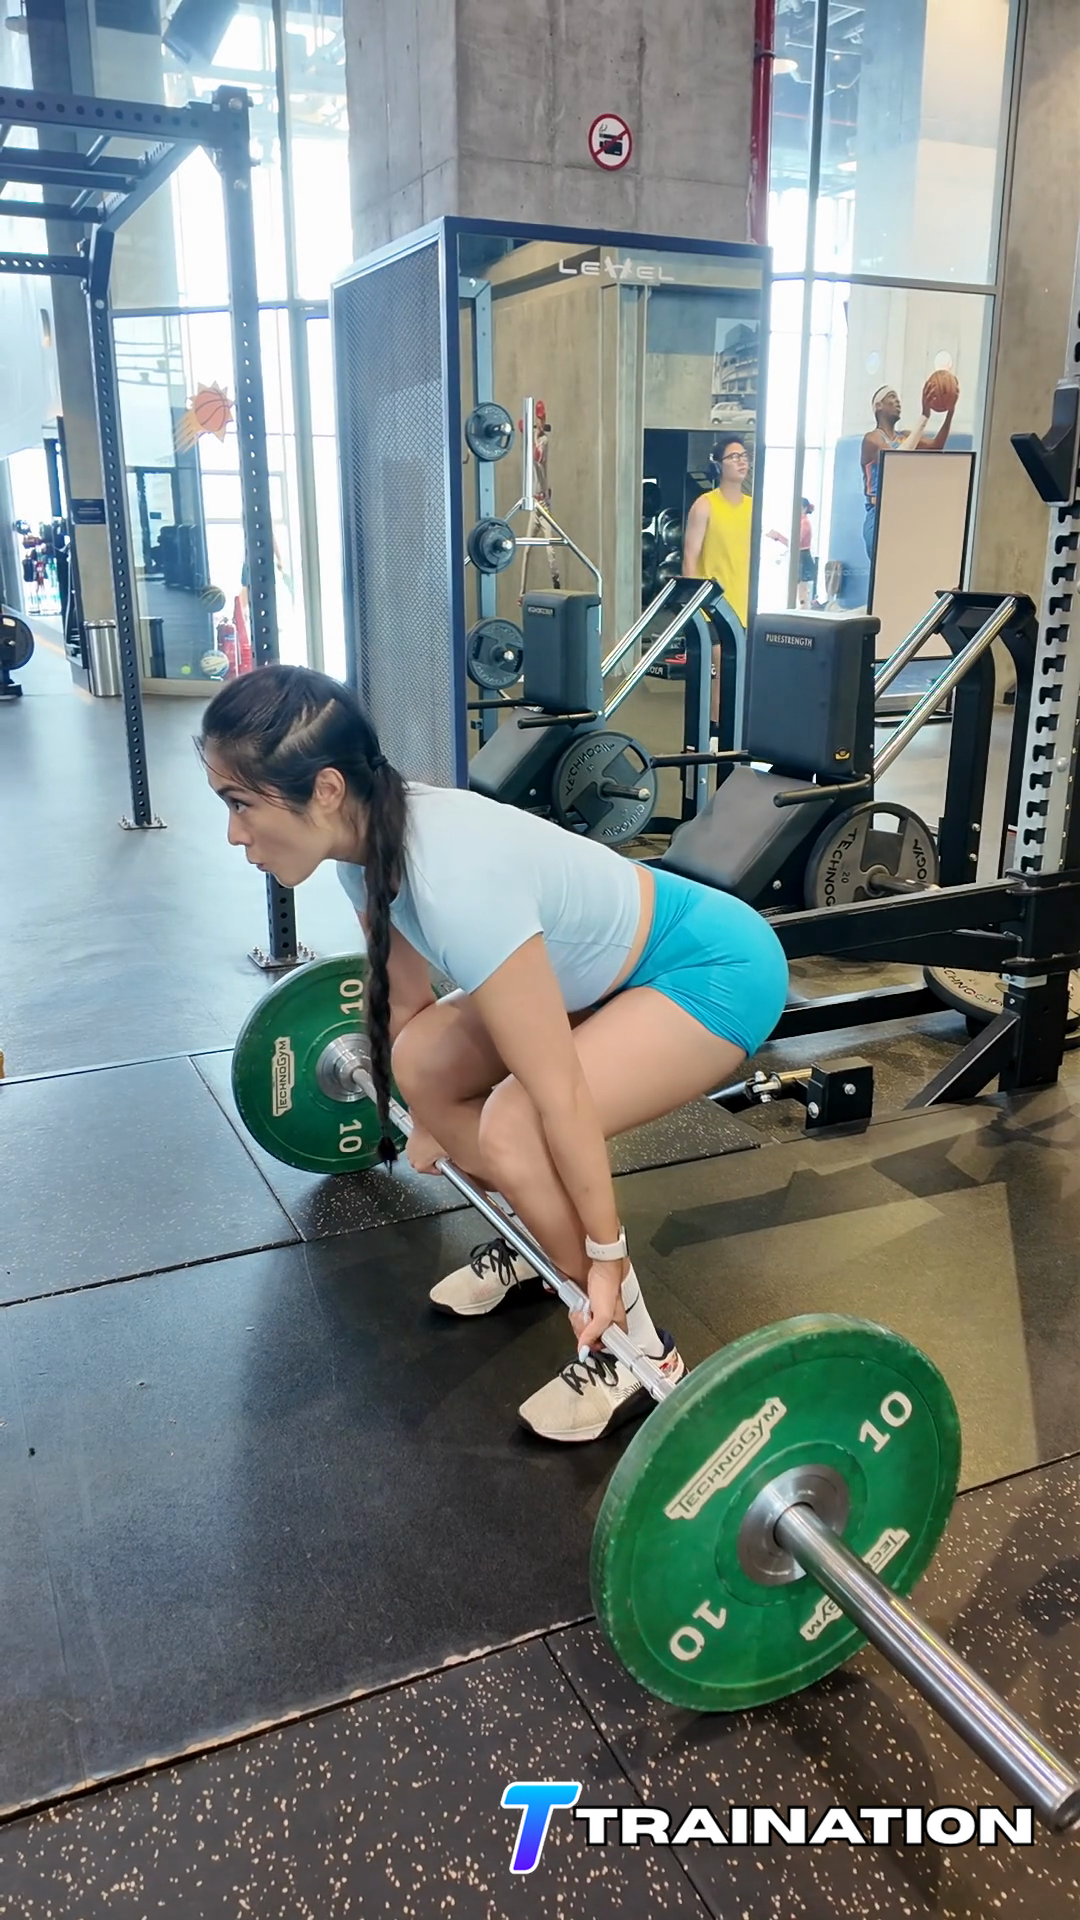
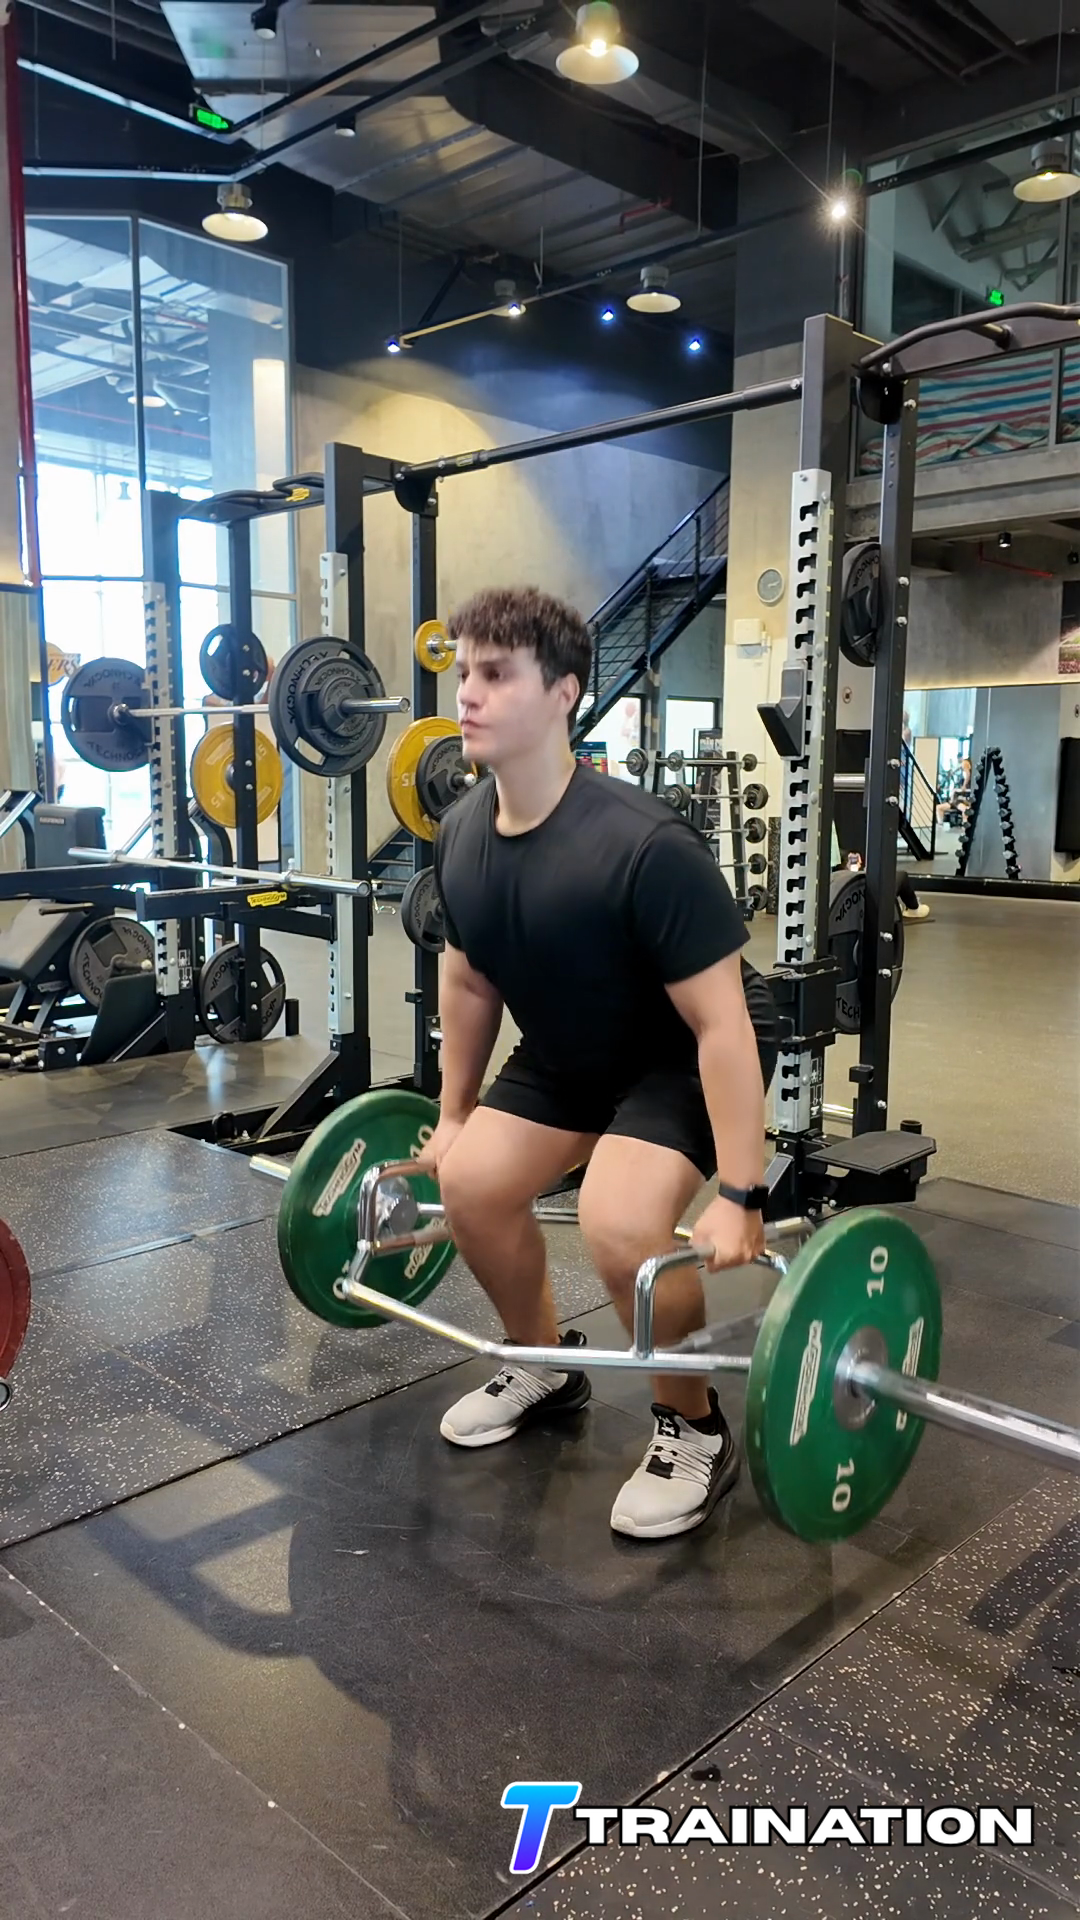
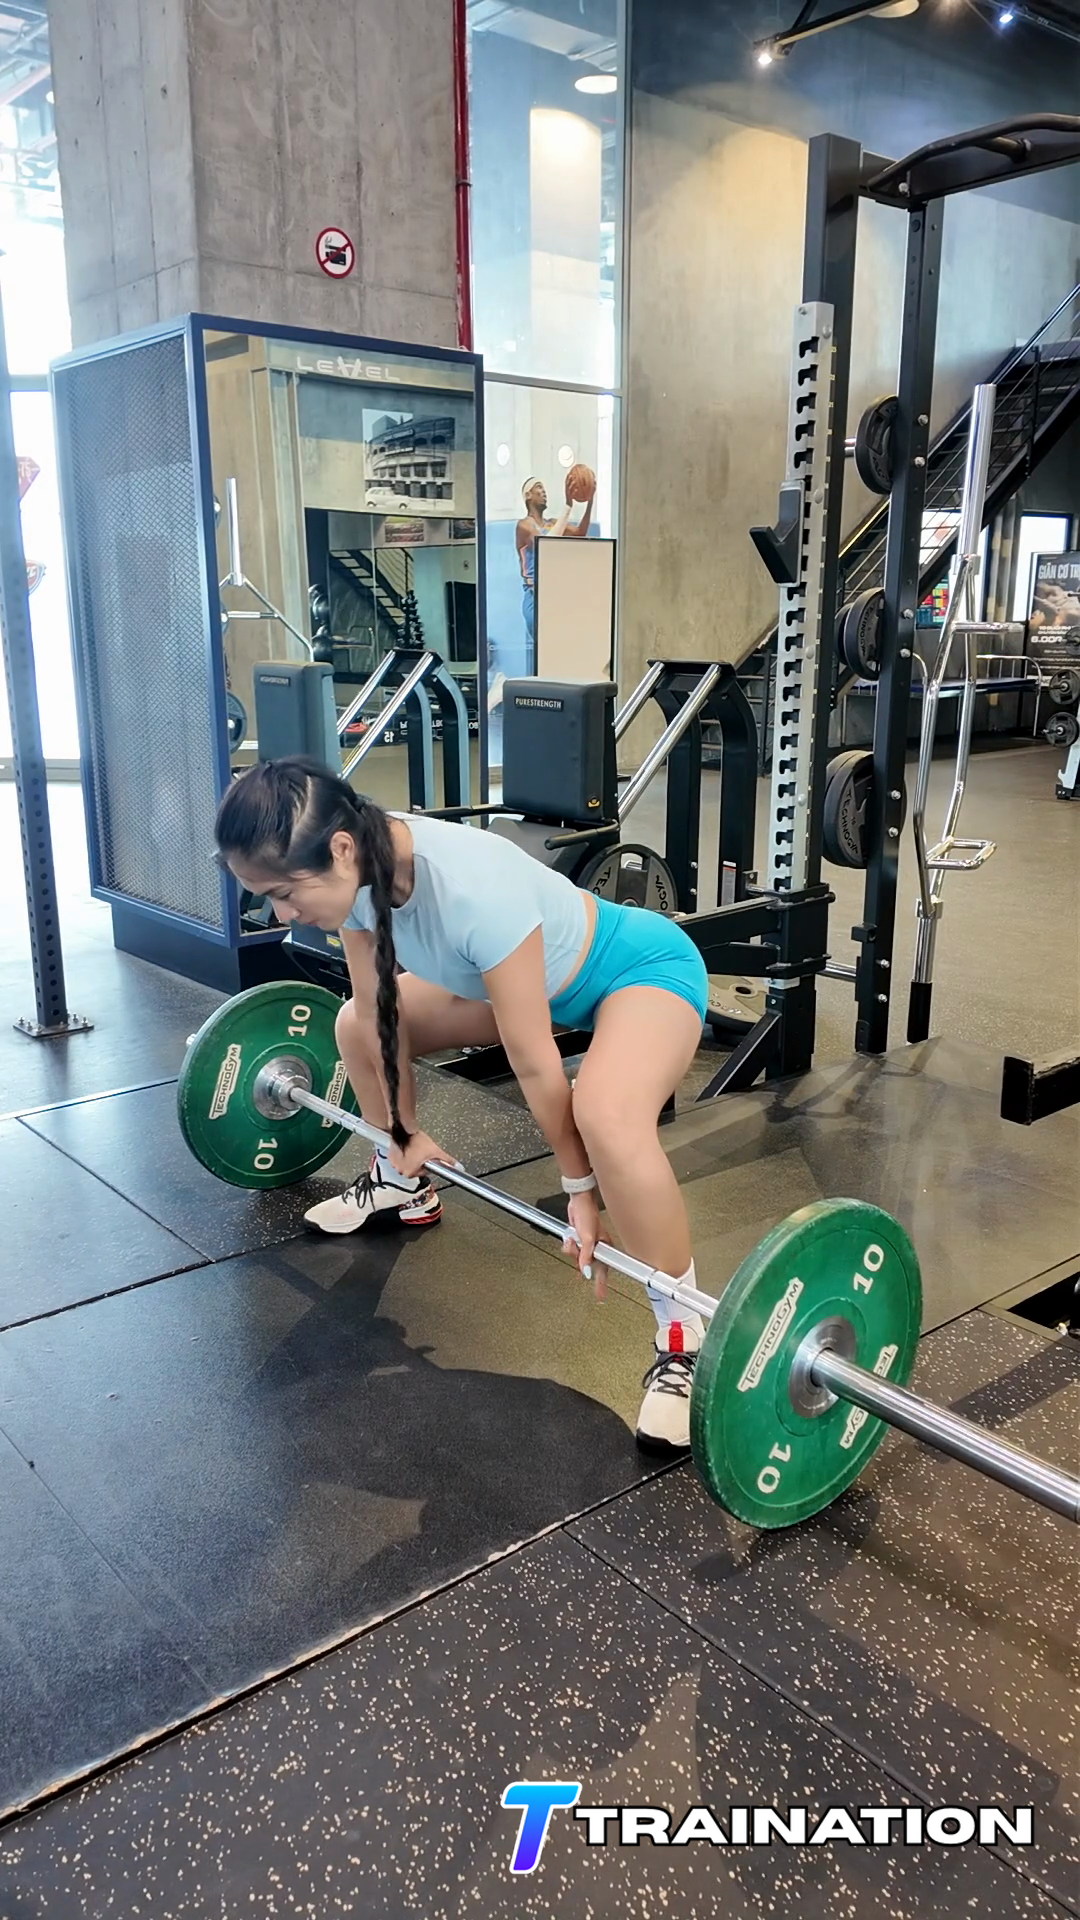
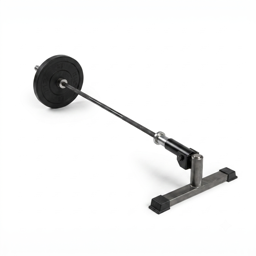
For Landmine Deadlift To Rotational Press, straddle the end of the landmine, hinge with a braced trunk, and take the sleeve securely in both hands.
Set pressure through both feet and keep the bar close before beginning the upward drive.
Drive through the feet to stand and guide the bar toward the chest as the hips extend.
Pivot through the feet and hips to press the bar up and across the body without twisting through a planted knee.
Bring the bar back to the chest, square the hips, and hinge to the start before repeating toward the other side.
Reduce the load or difficulty when Landmine Deadlift To Rotational Press cannot be completed through a controlled range.
Keep the supported parts of the body still and move slowly enough to stay in control.
Stop before balance, posture, or joint alignment changes.
Control both phases instead of allowing the resistance or body weight to take over.
Place Landmine Deadlift To Rotational Press in the middle of a full-body session or a technique circuit after each component has been learned separately.
Use once or twice per week when the combination directly supports the program; otherwise train the component movements separately.
| Goal | Sets | Reps or time | Rest | Effort and execution |
|---|---|---|---|---|
| Technique | 2–4 | 4–6 | 90–150 sec | Use the load the weakest component controls |
| Full-body accessory | 2–4 | 6–10 | 90–180 sec | Keep 2–3 clean reps in reserve |
Scale the movement
Hold a stable support or use an easier setup while learning the movement.
Use a shorter pain-free range and expand it only as control improves.
Slow the lowering phase without changing the start, finish, or joint alignment.
Add a brief pause at the hardest controlled position before increasing load.
Turn Landmine Deadlift To Rotational Press and the rest of your exercise library into repeatable client programs.
Explore the workout builder