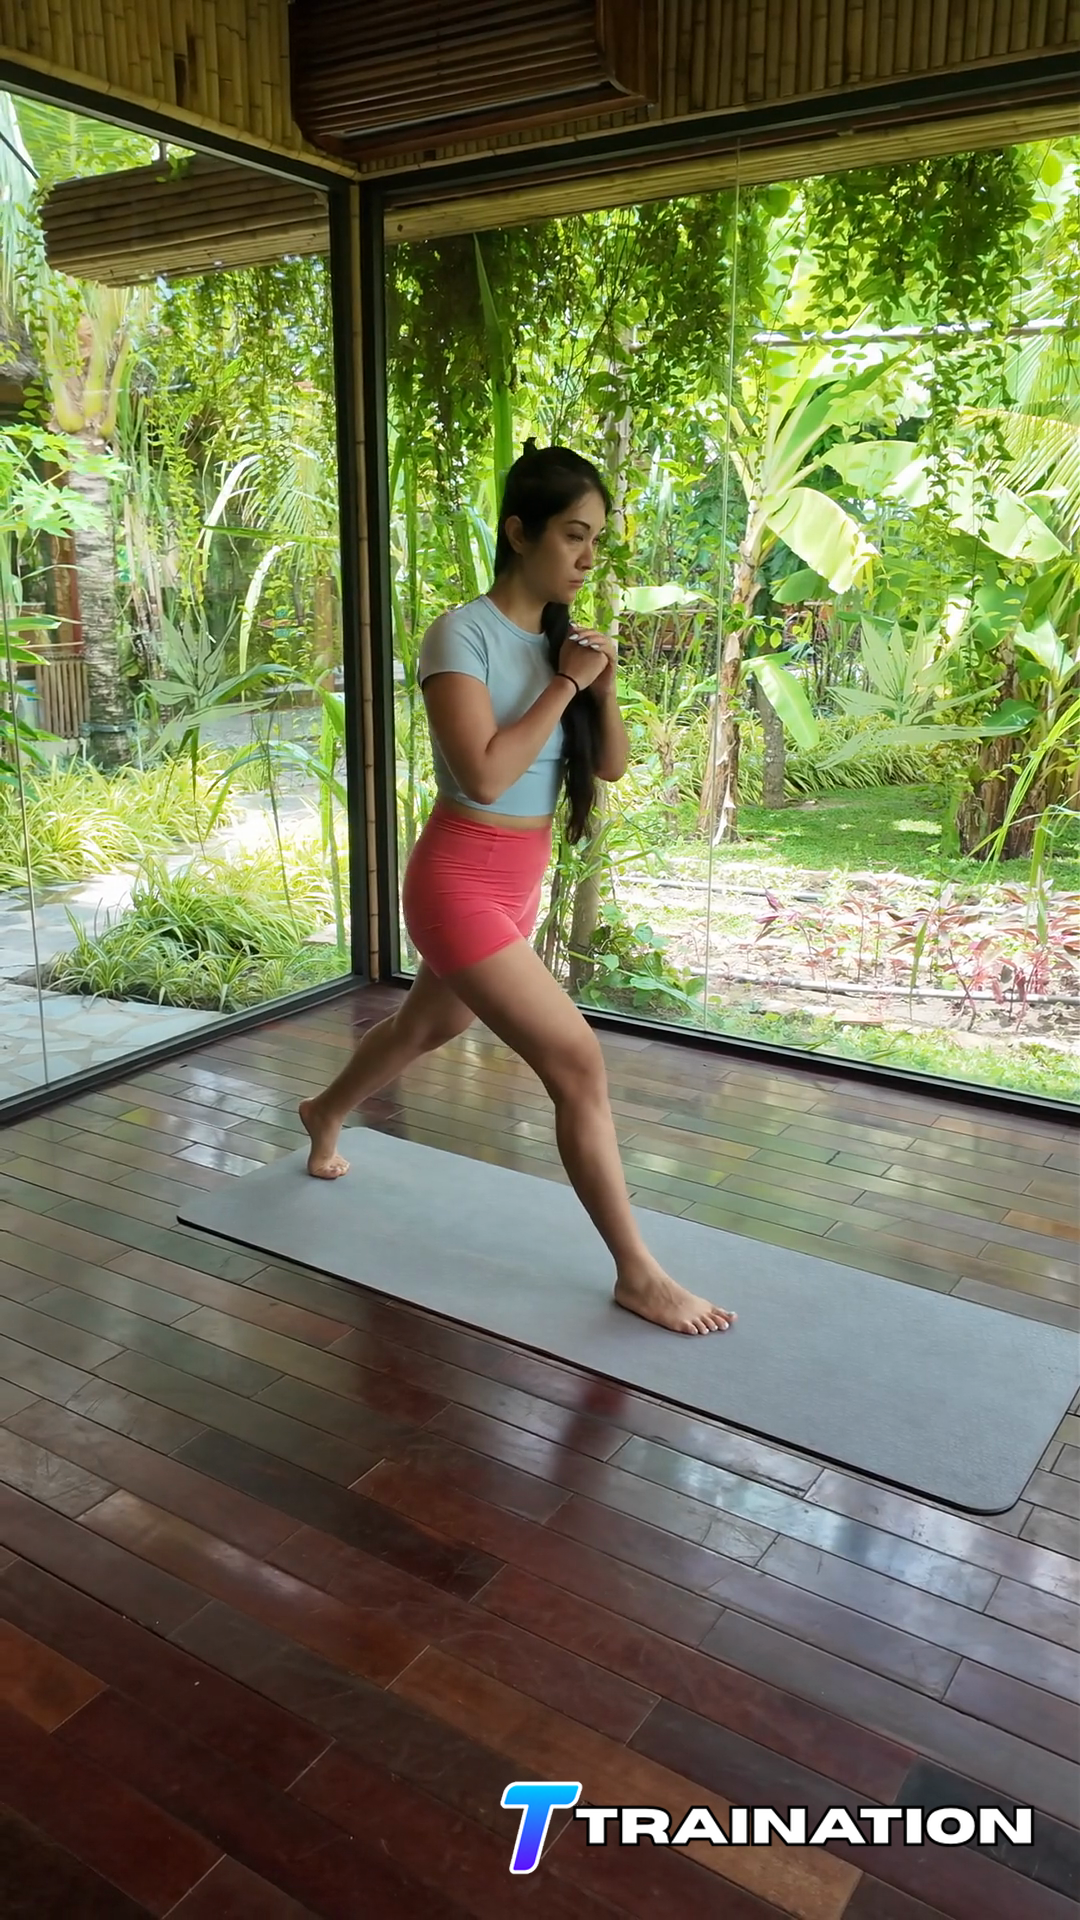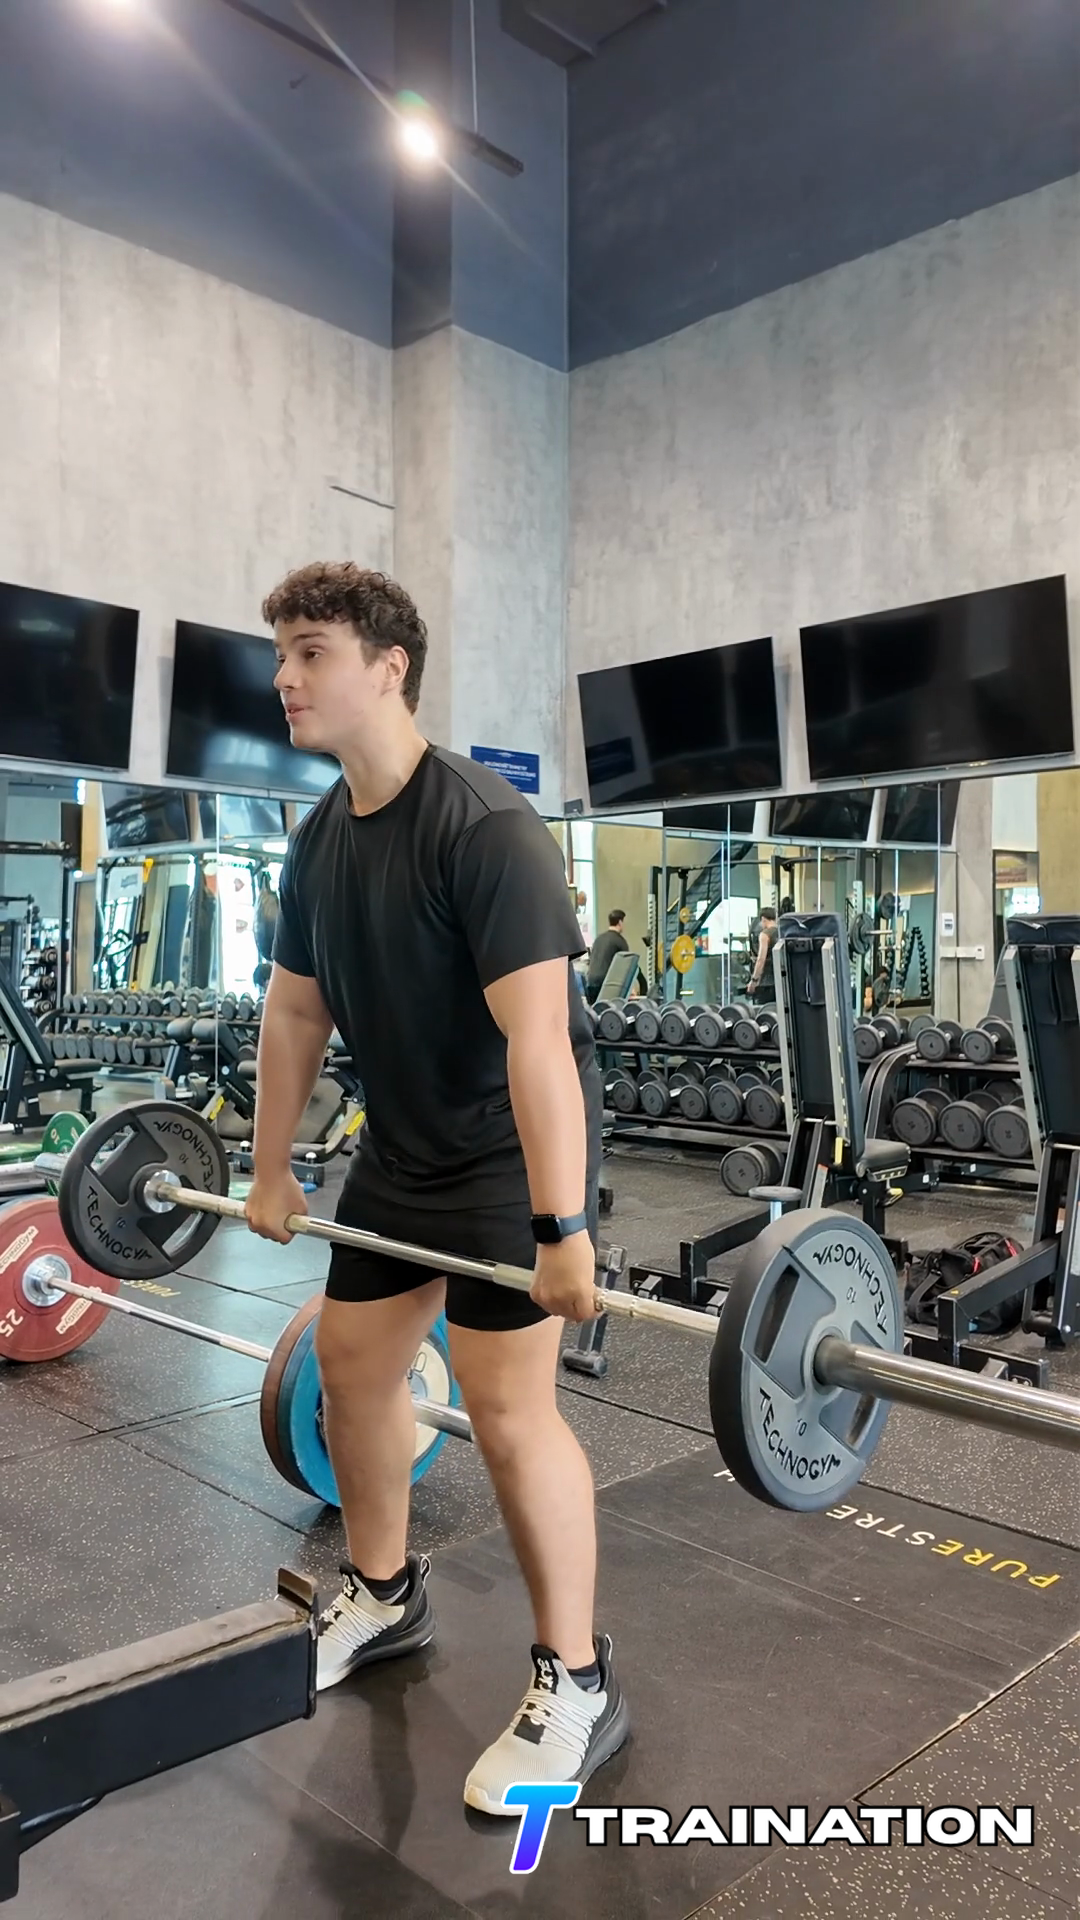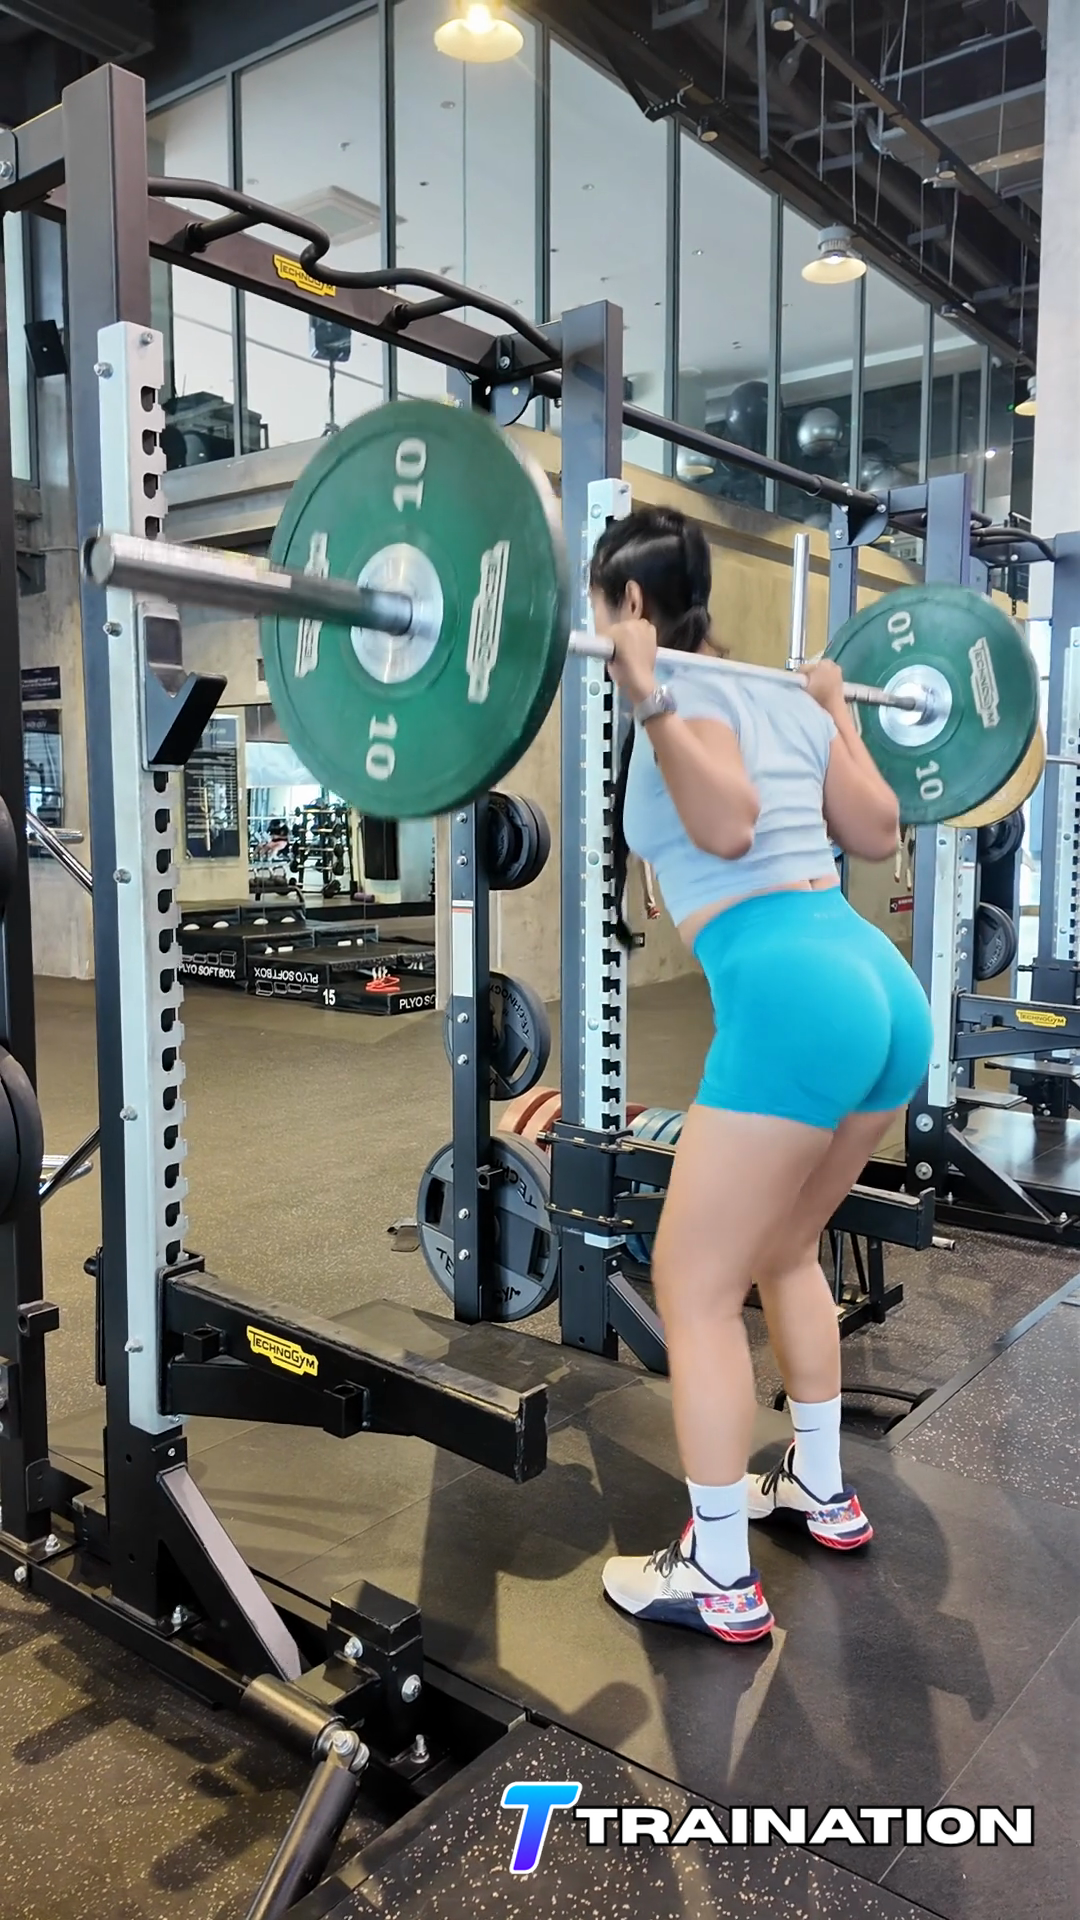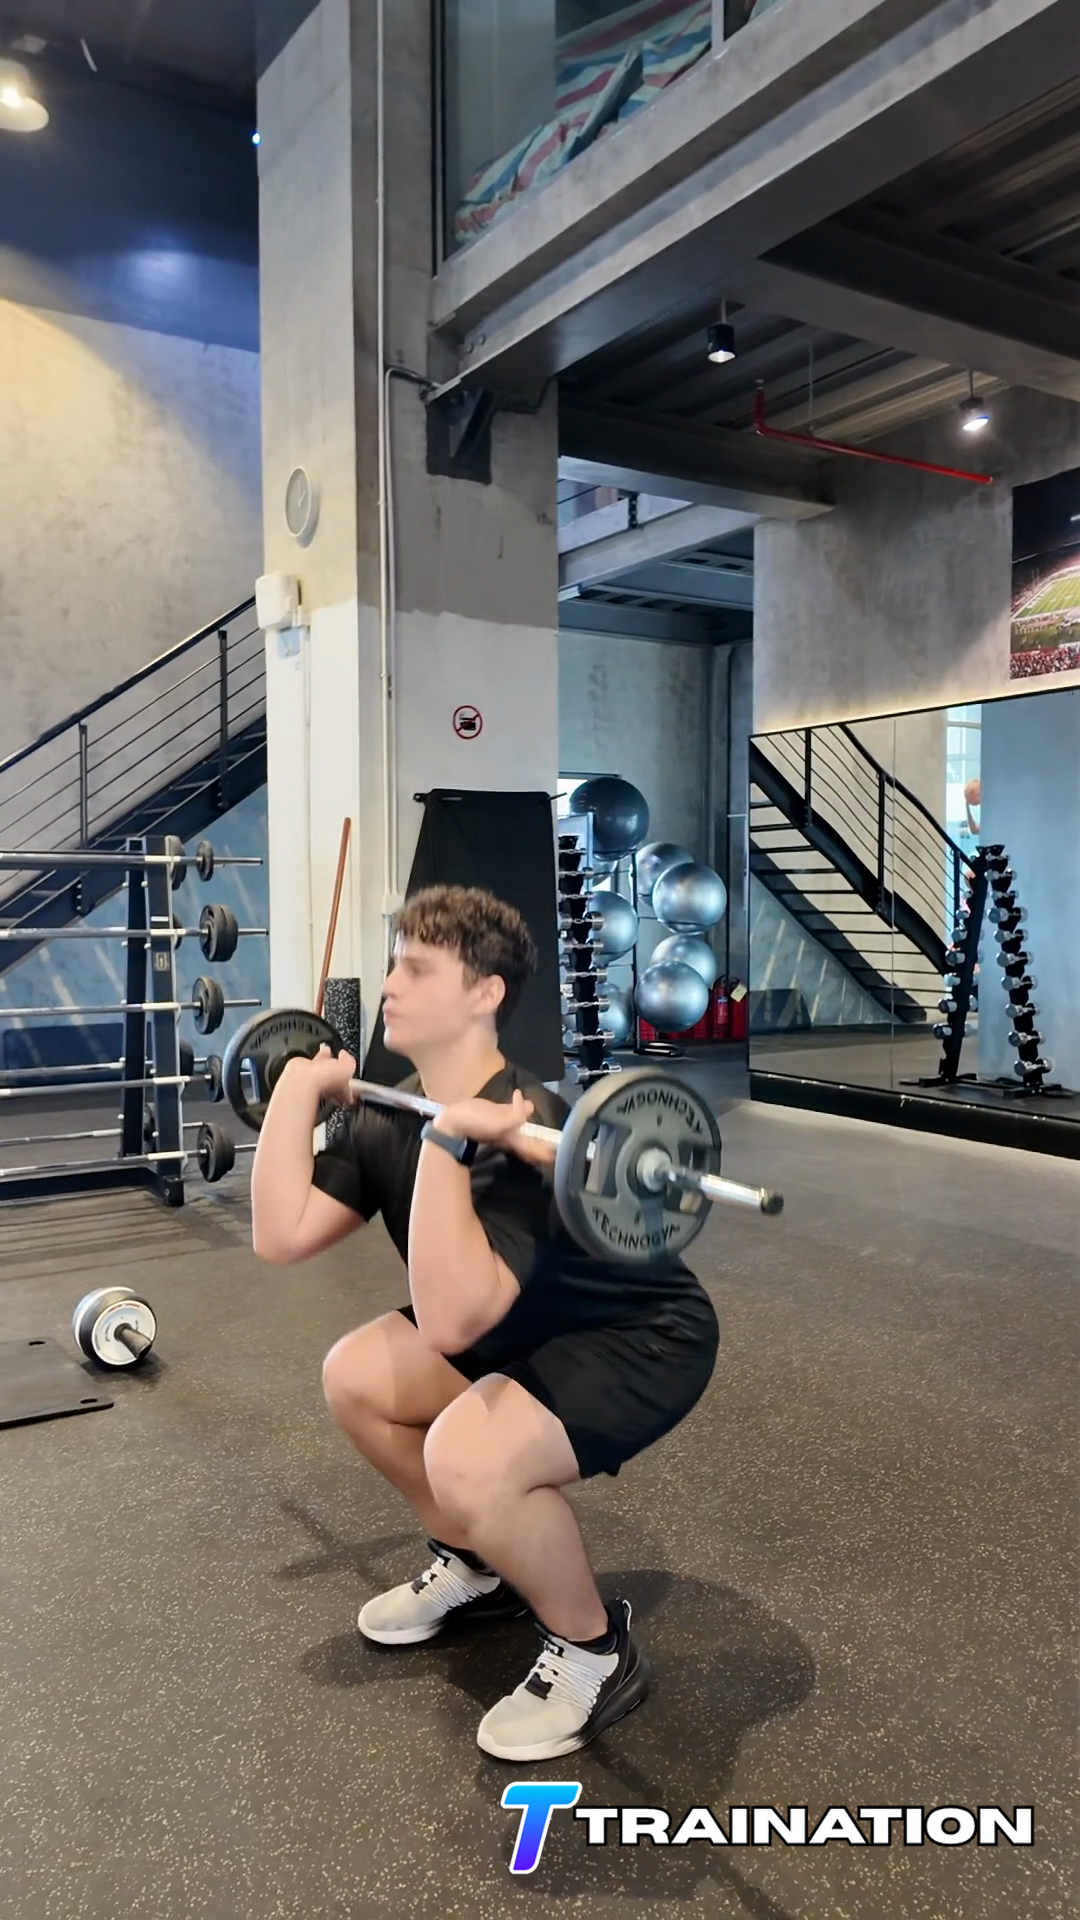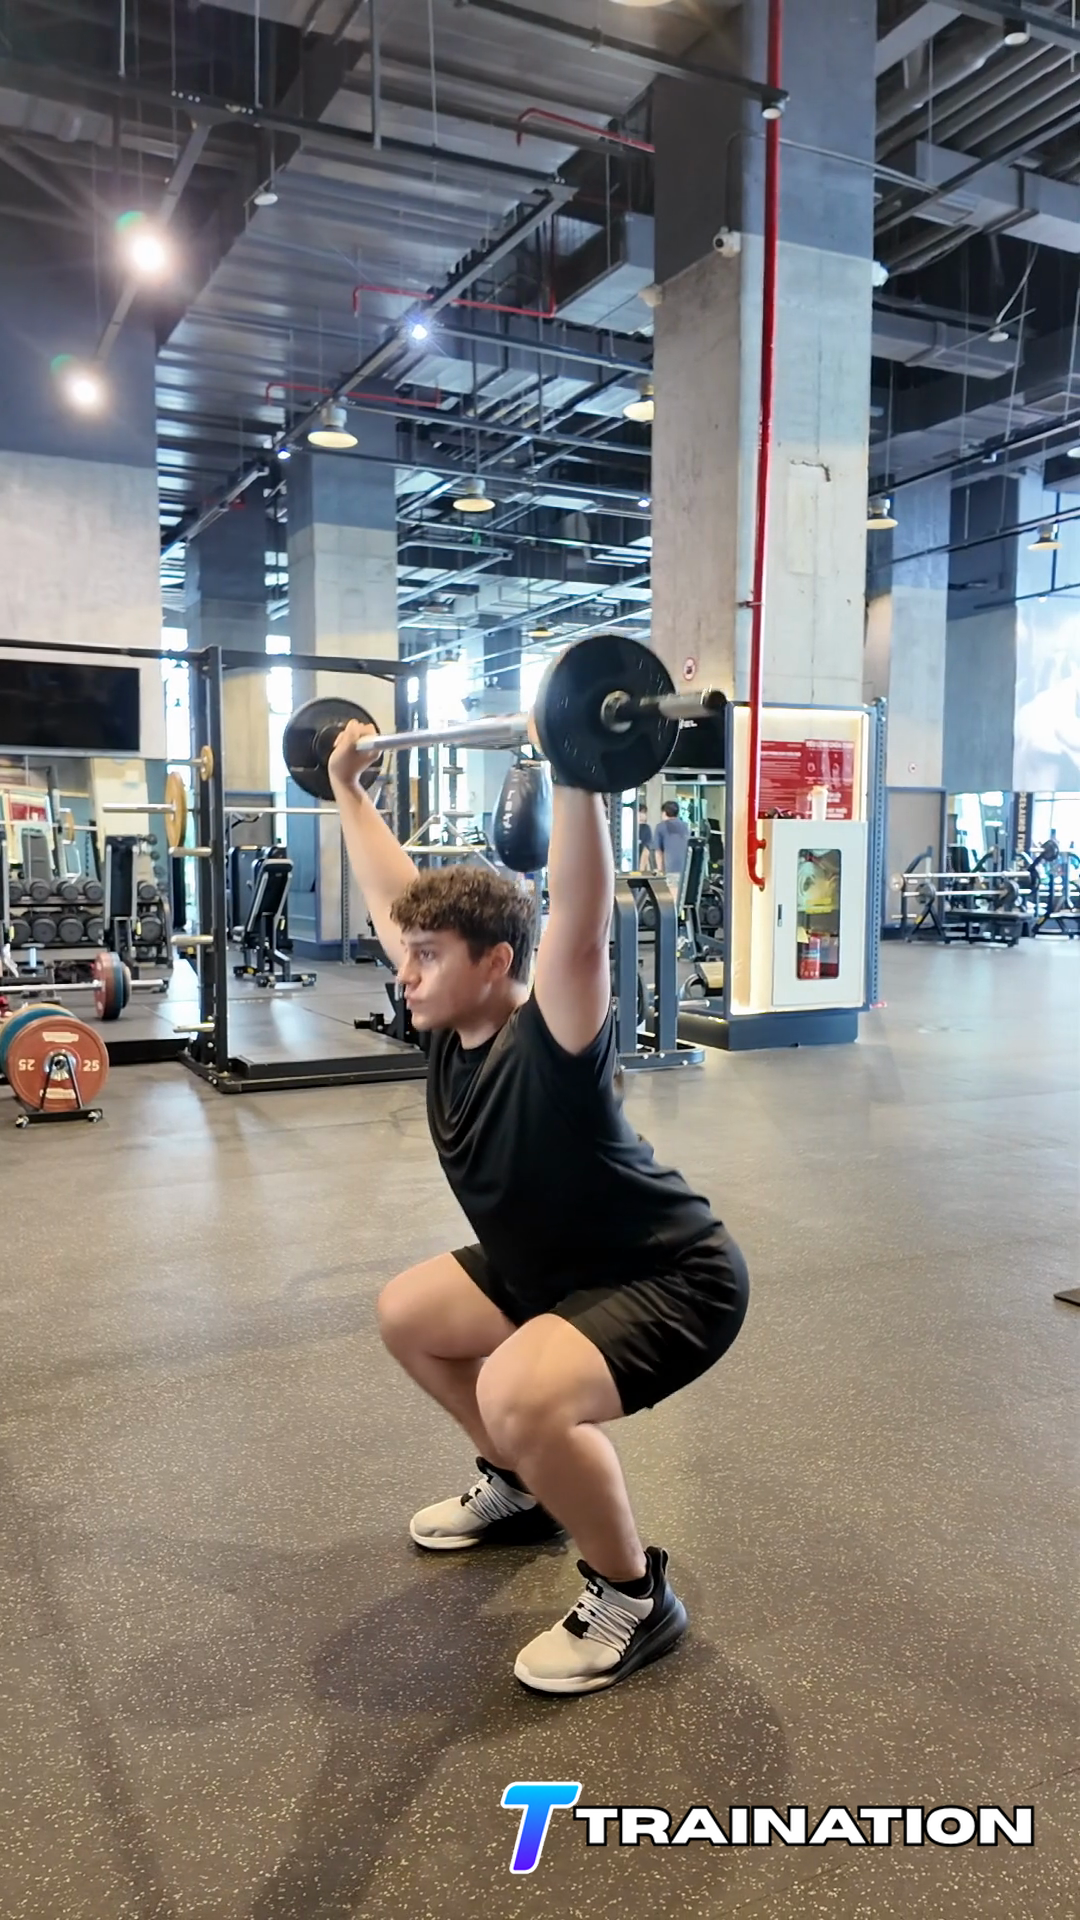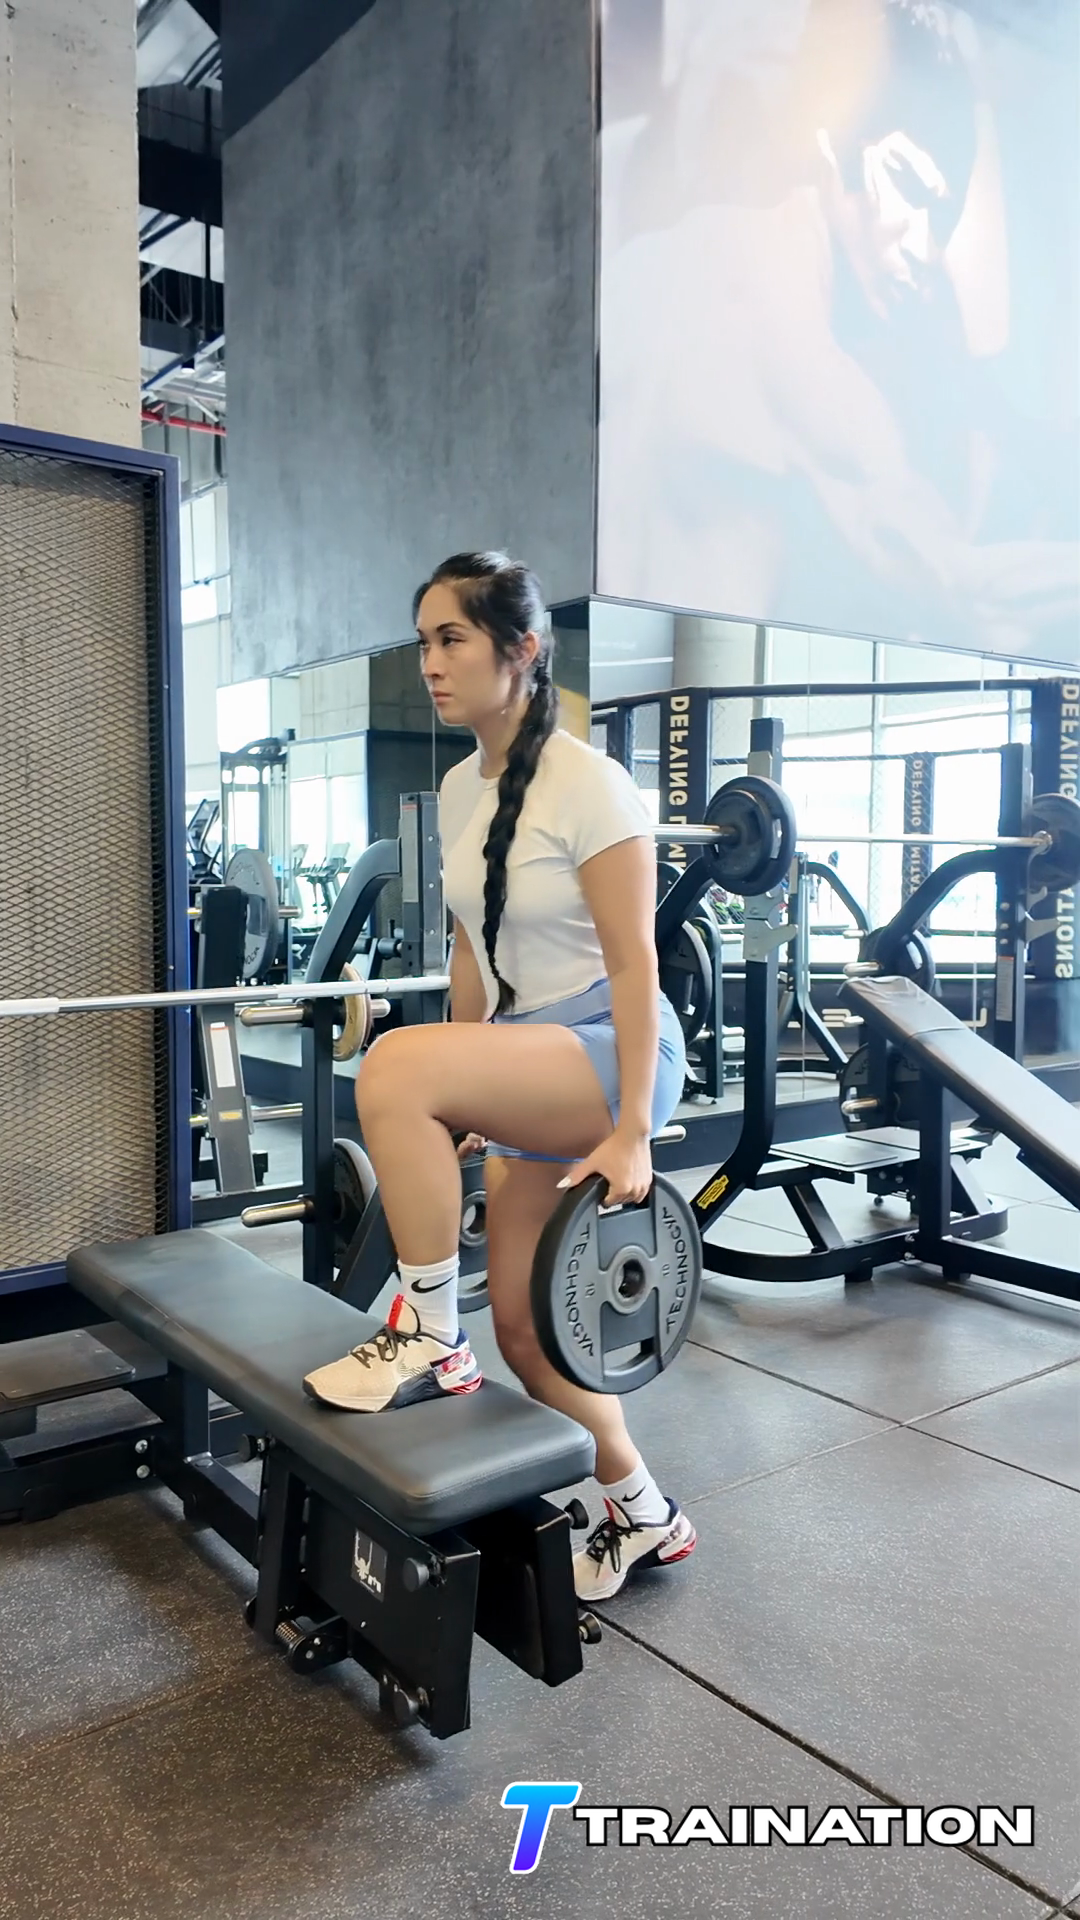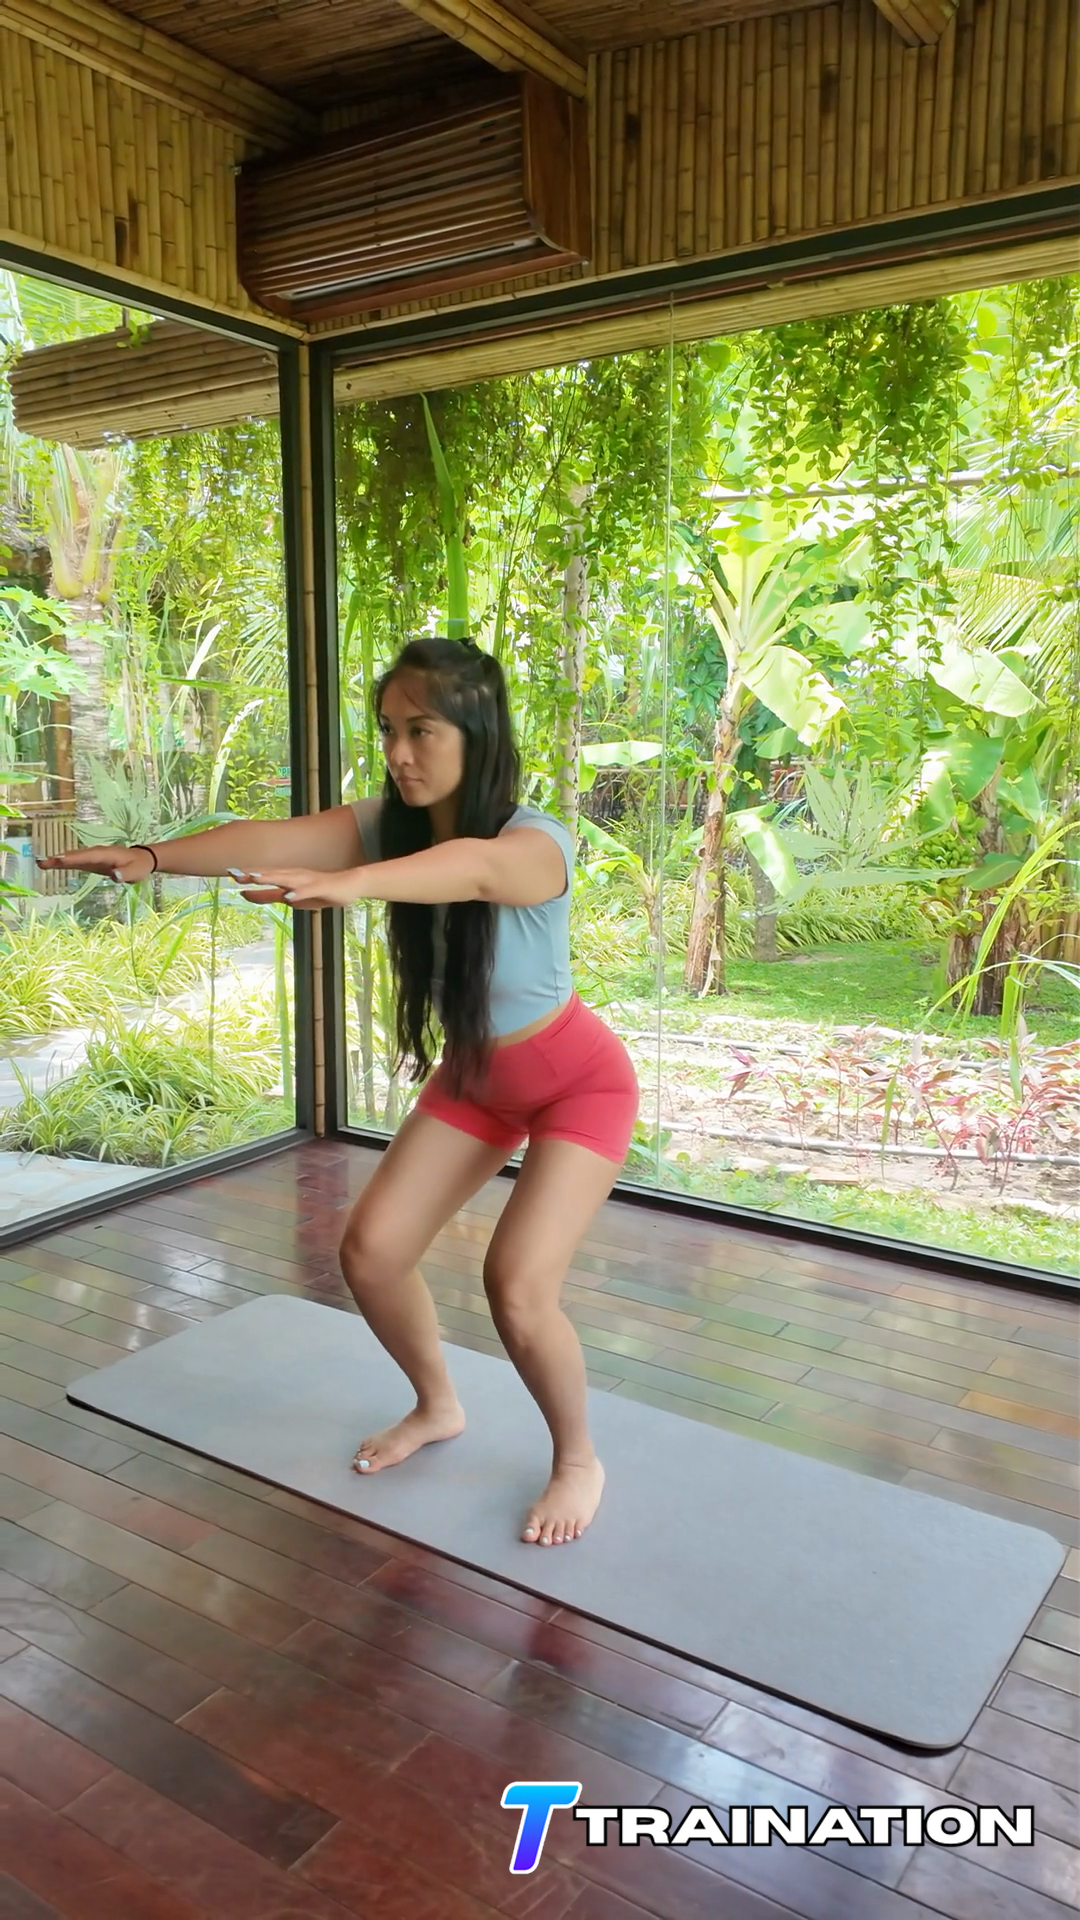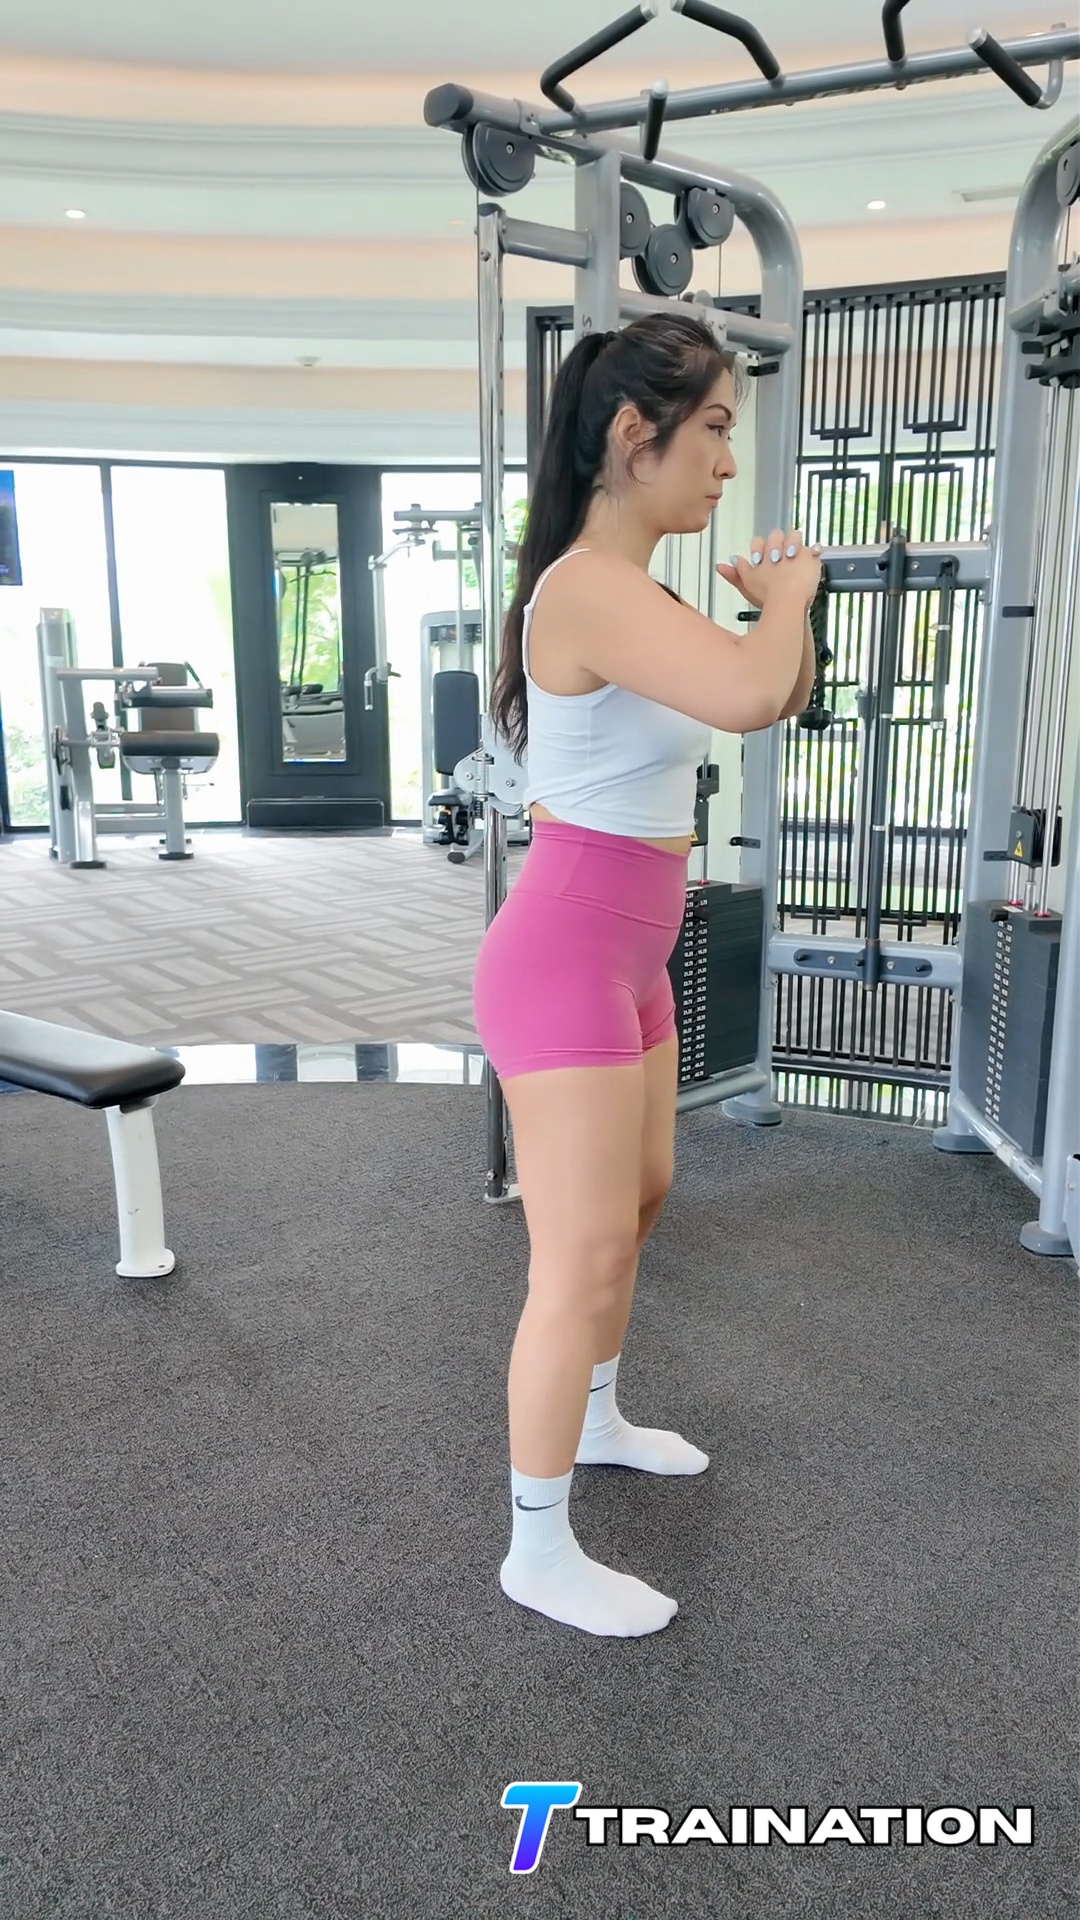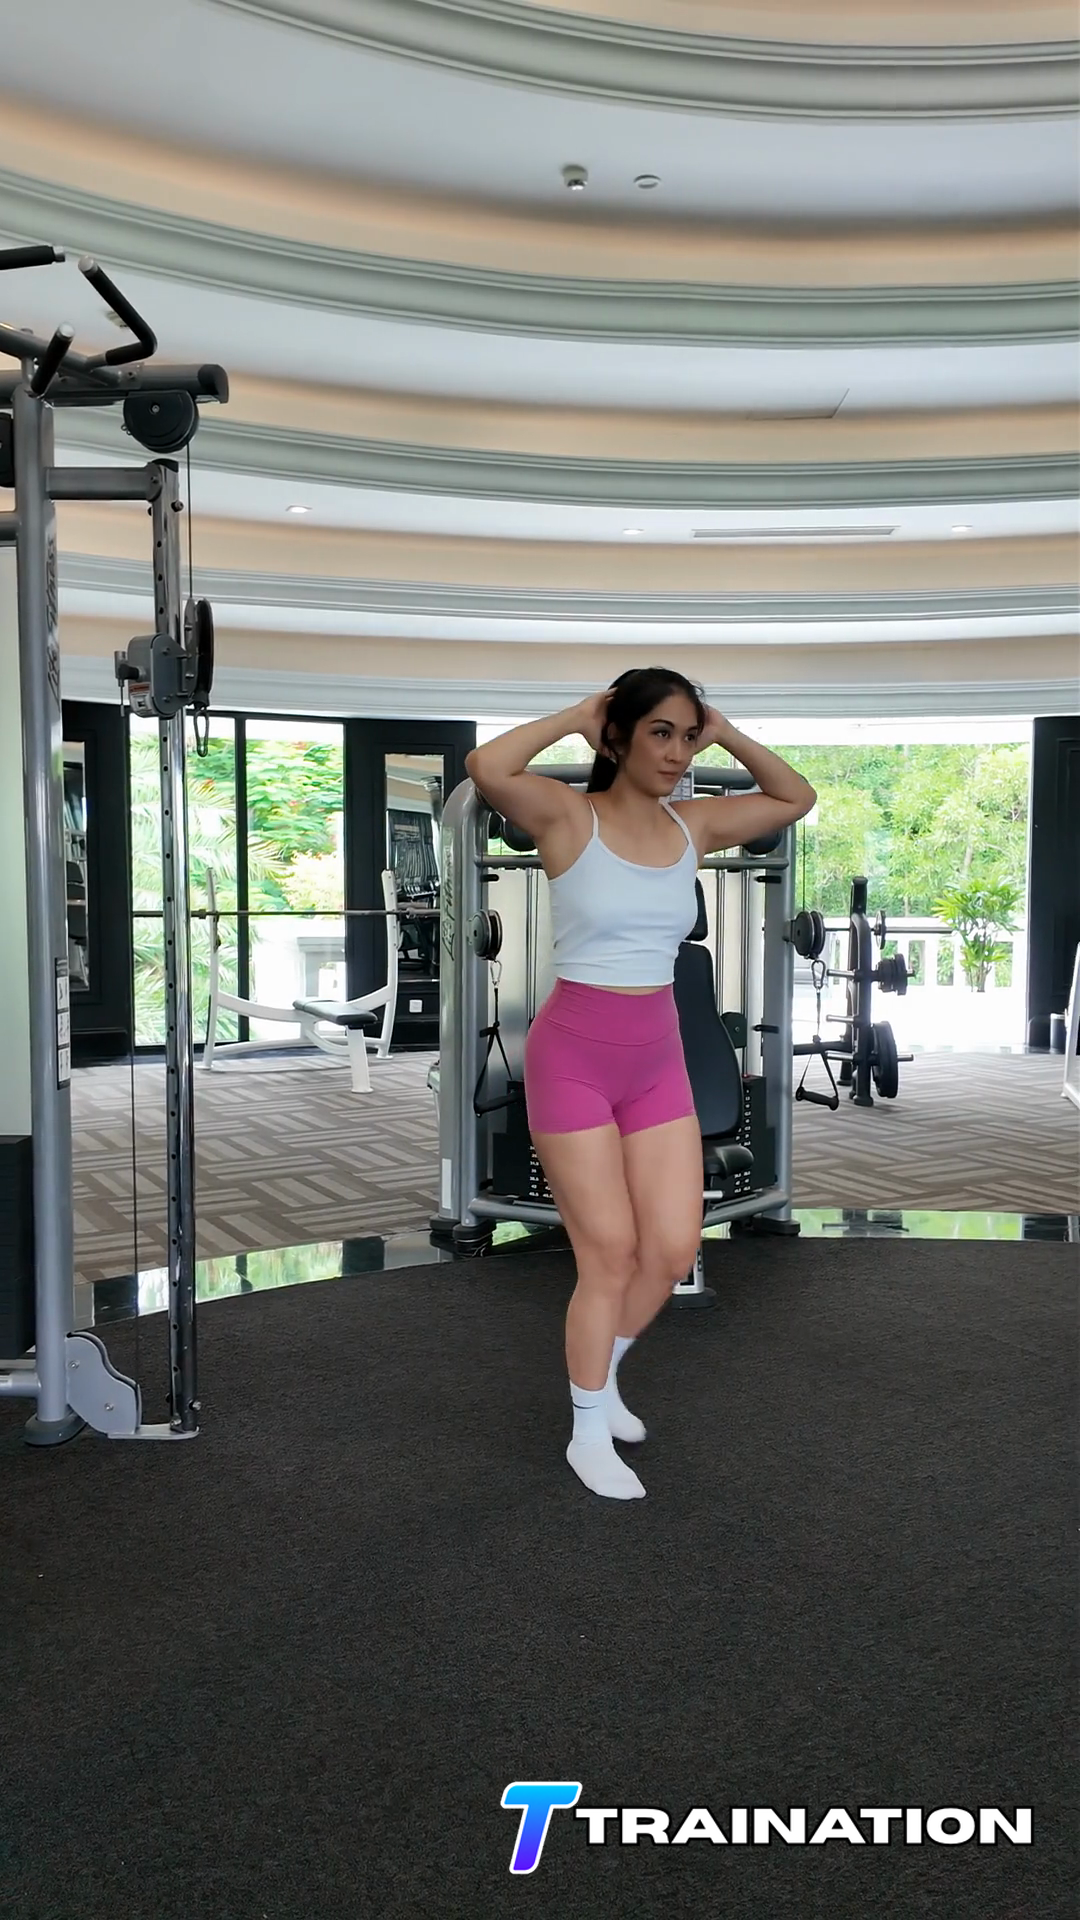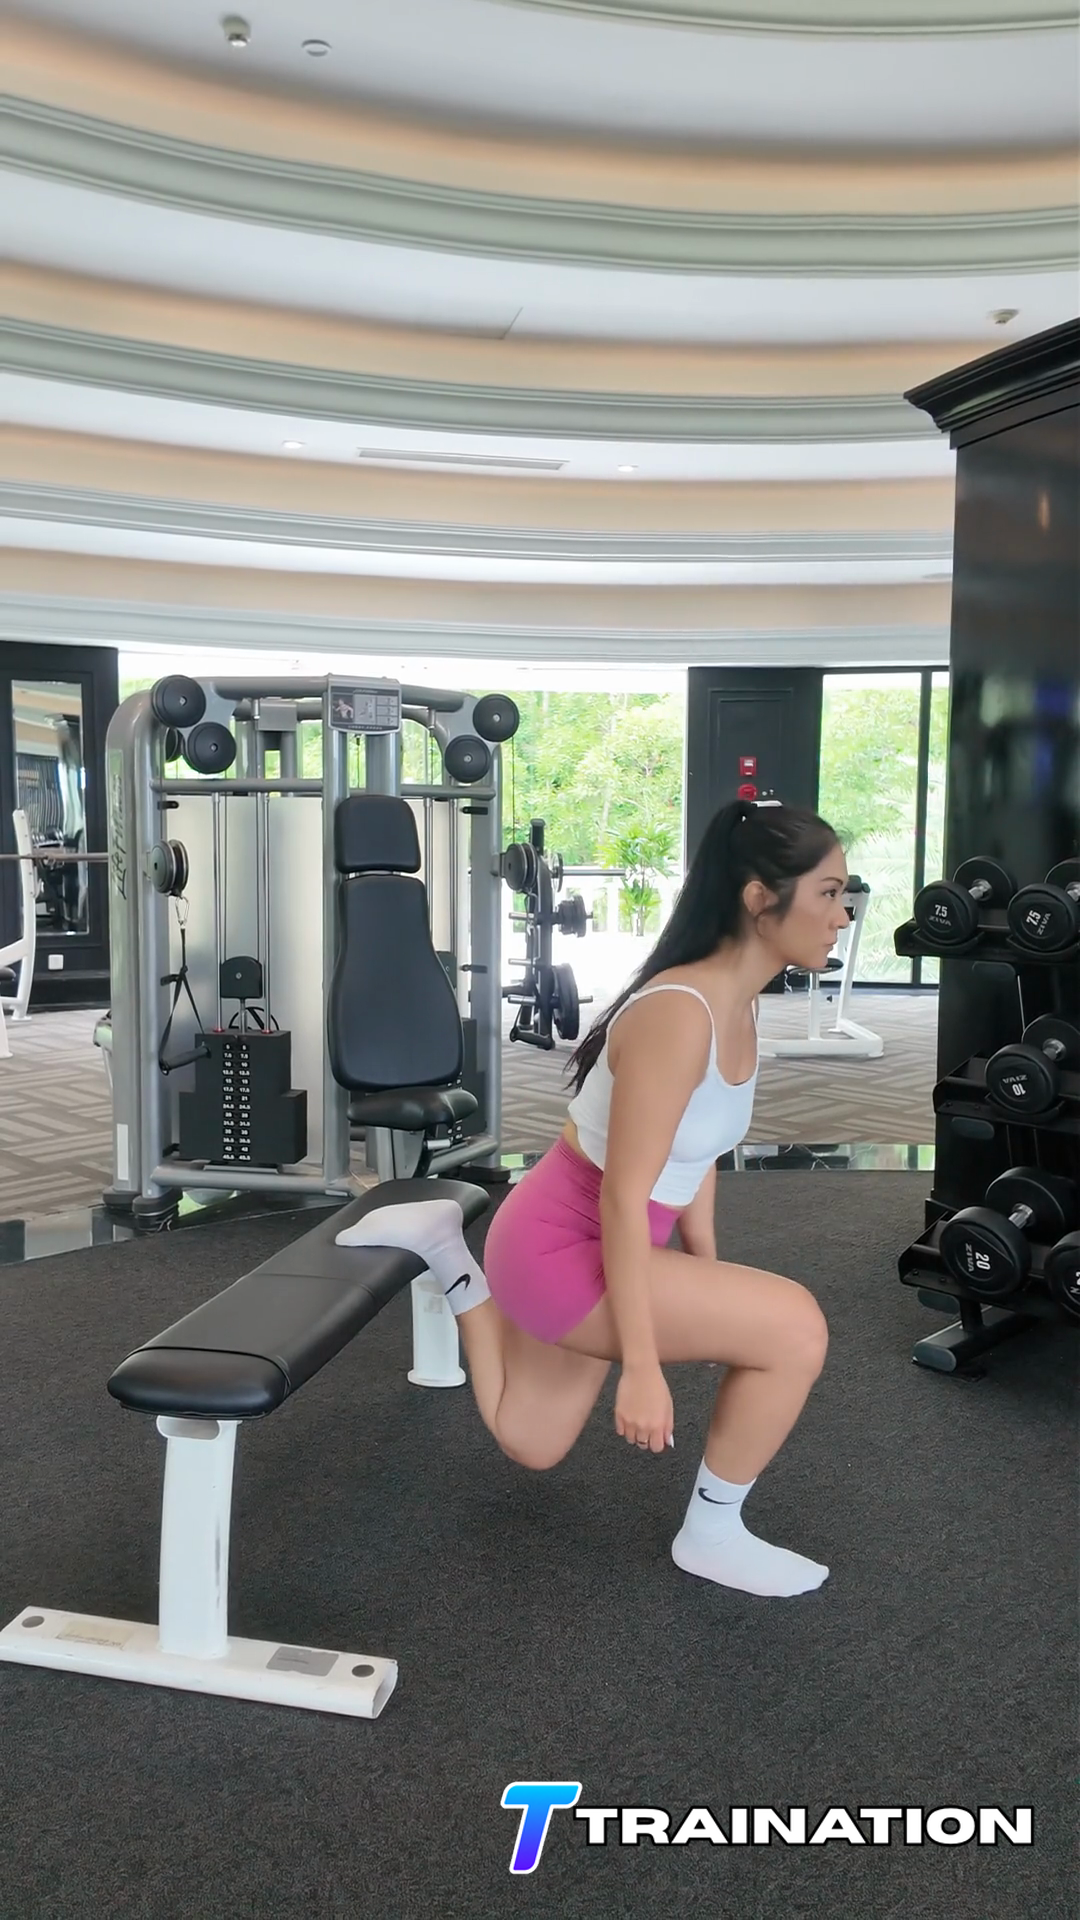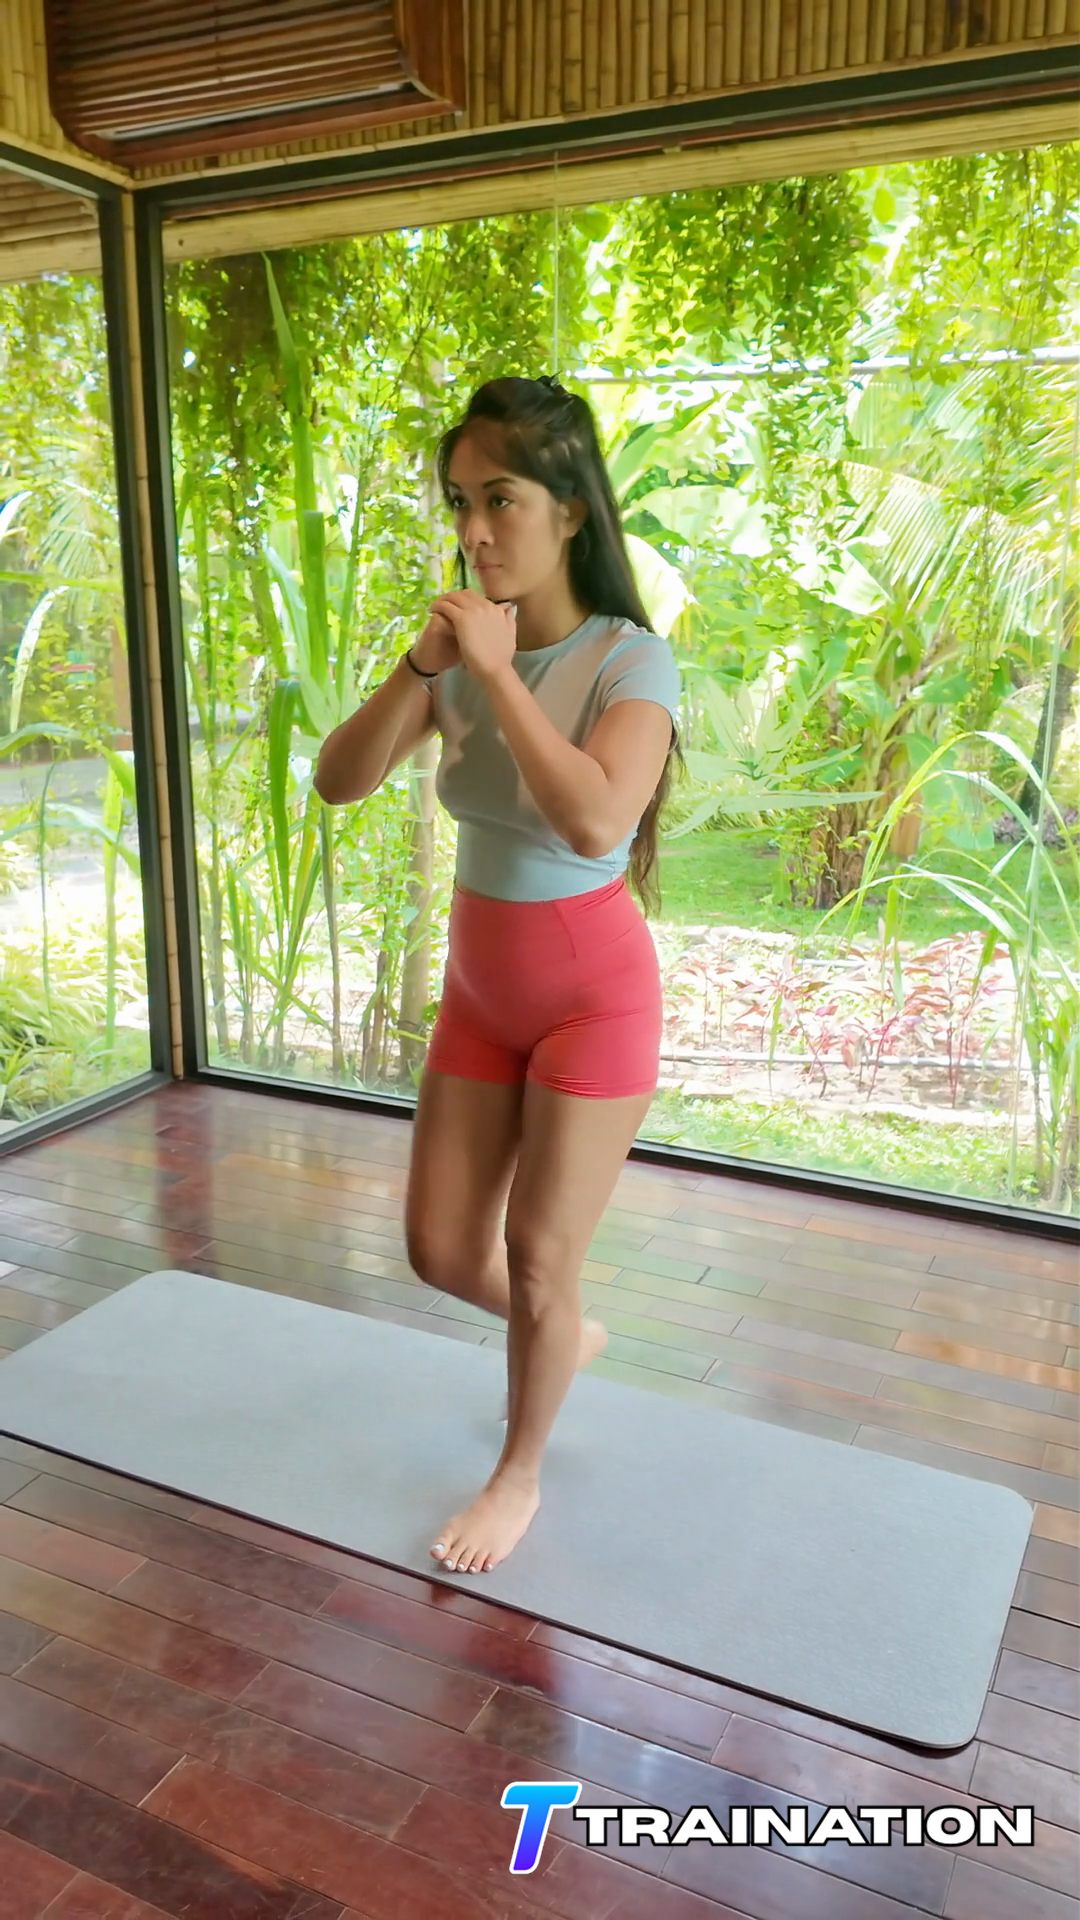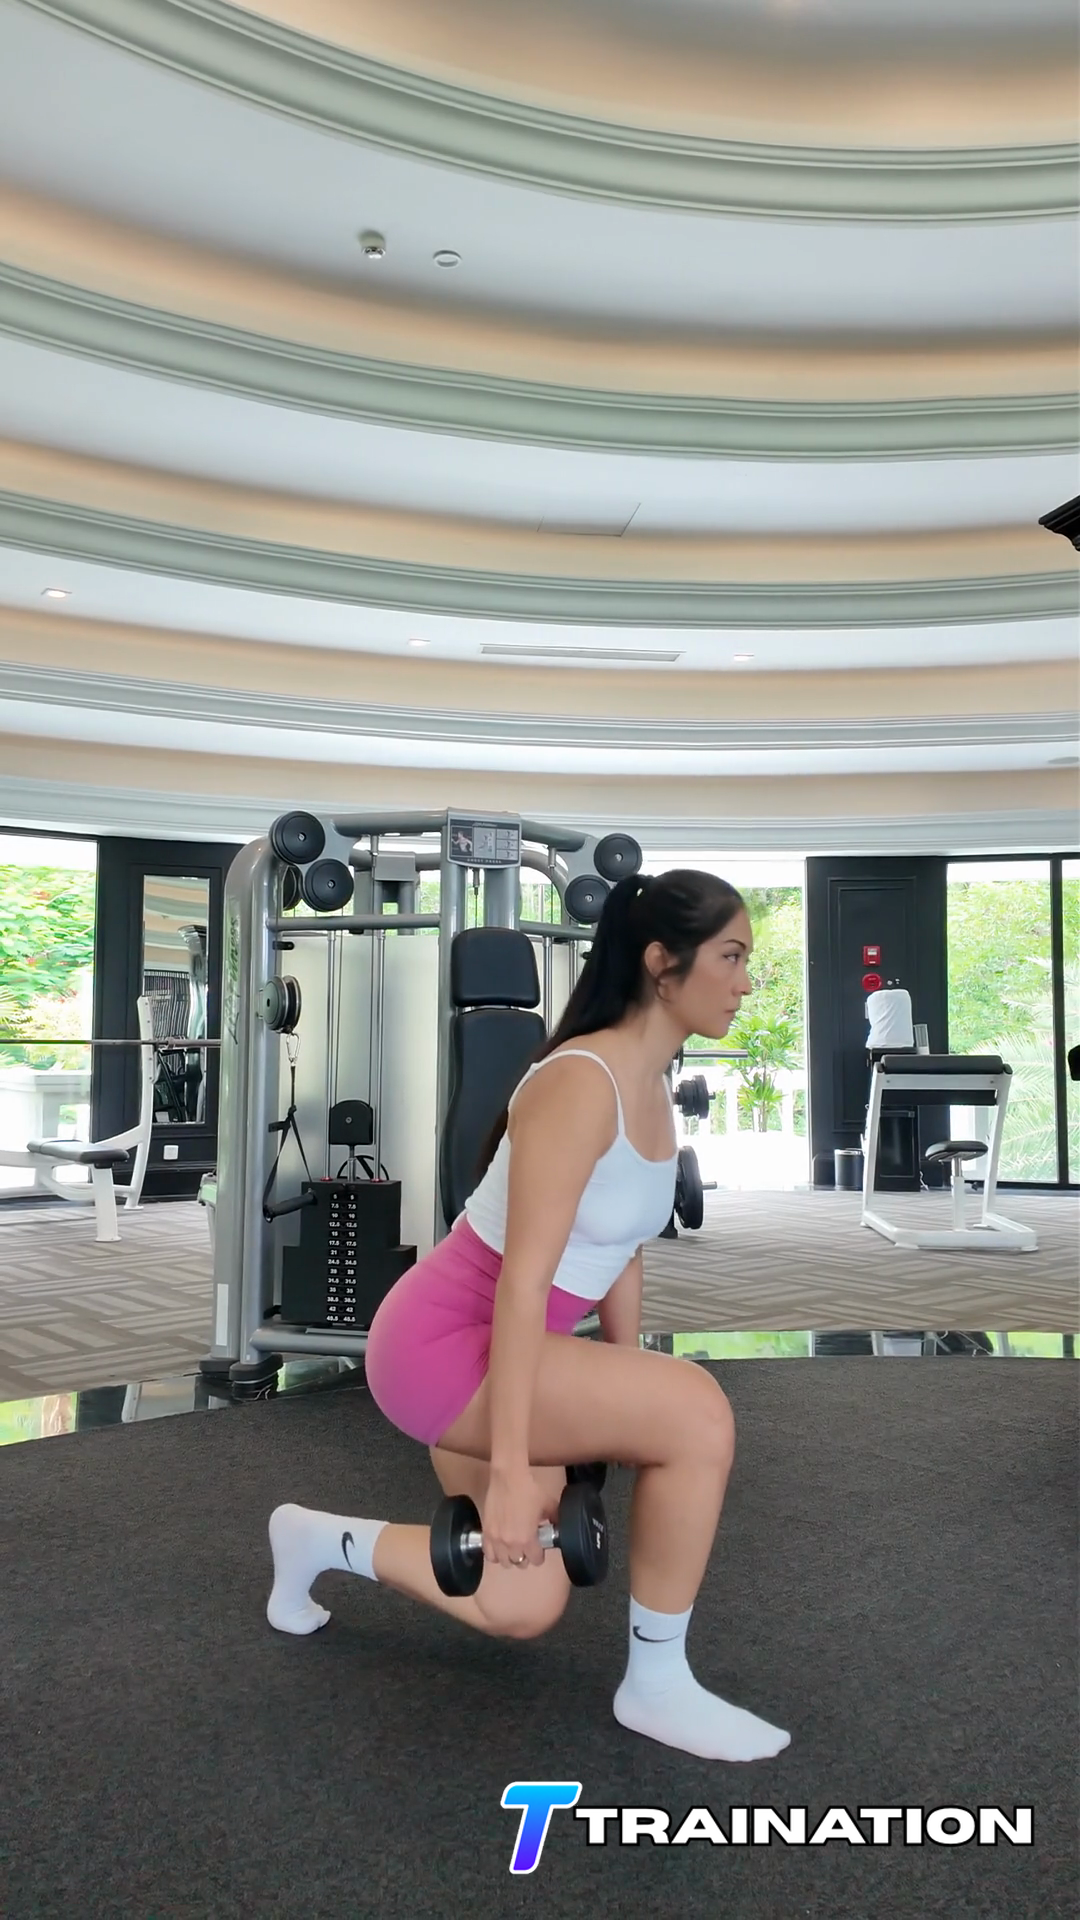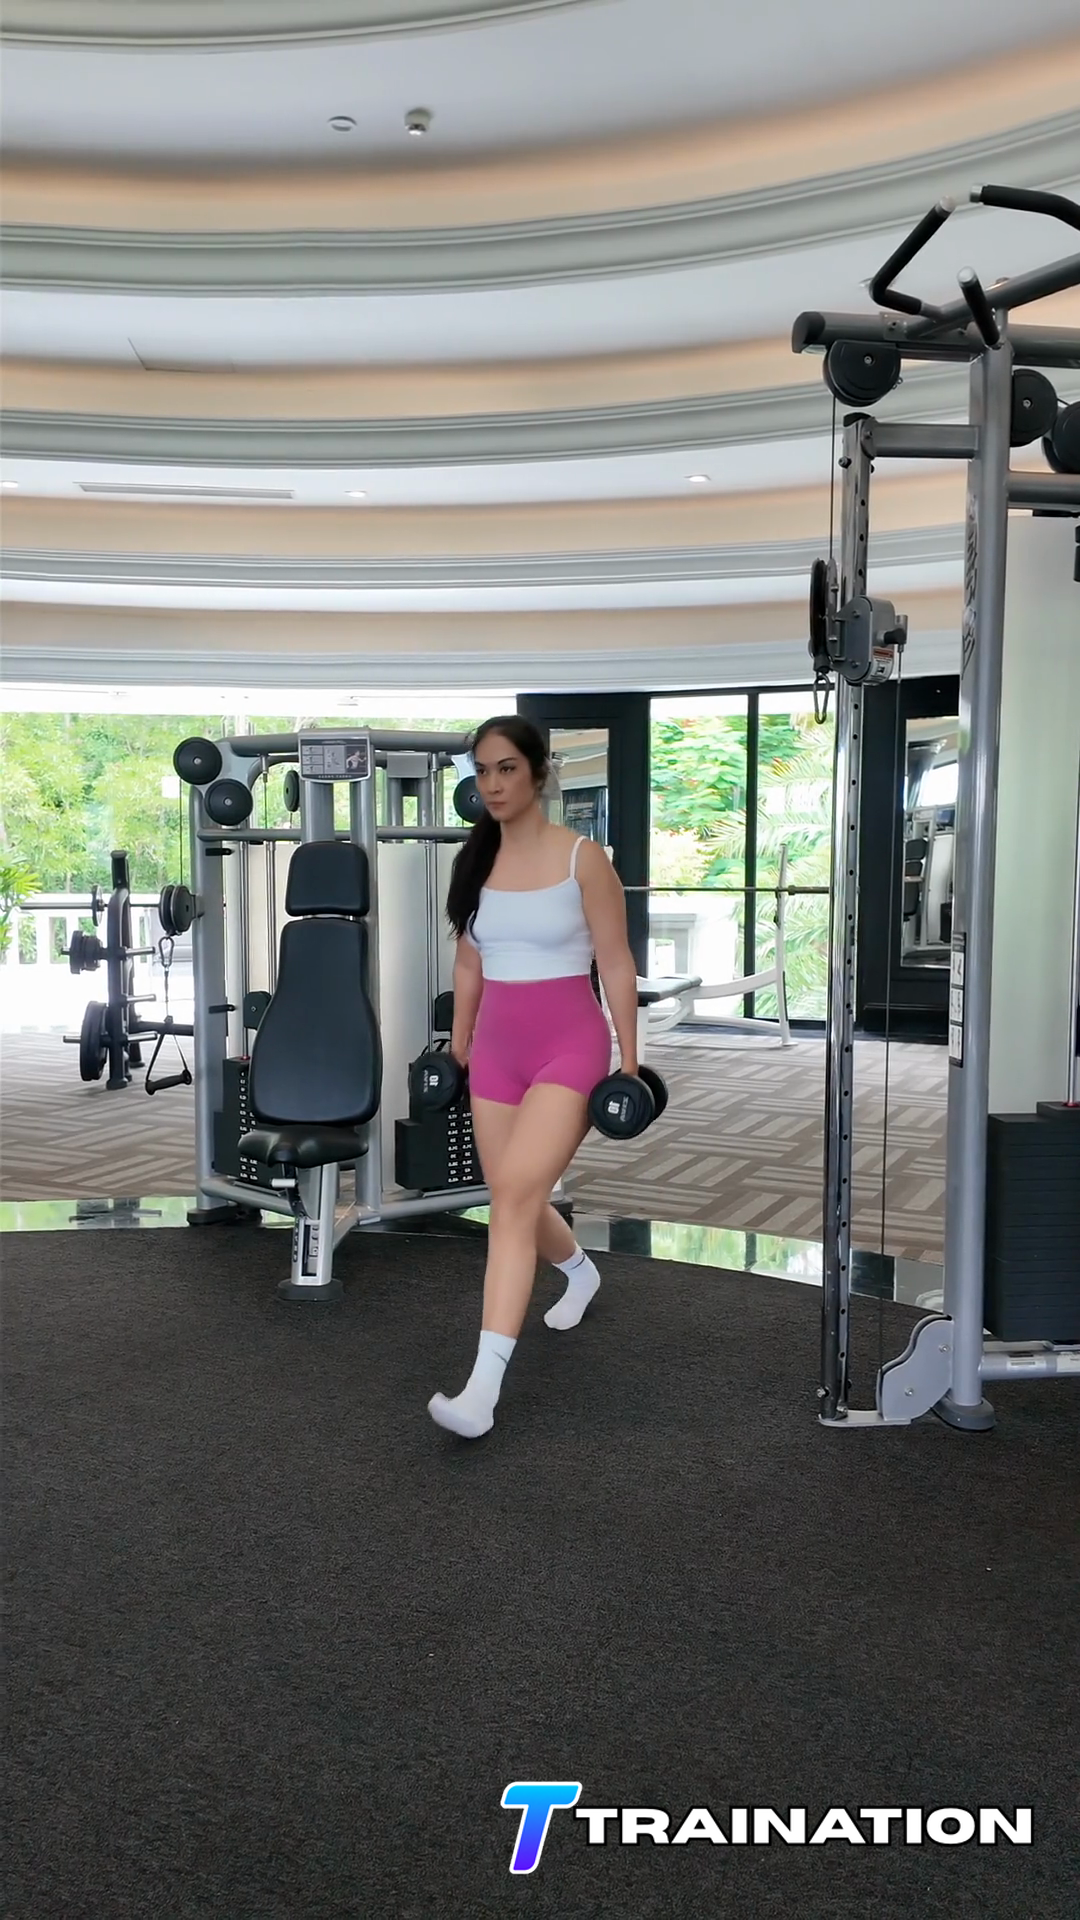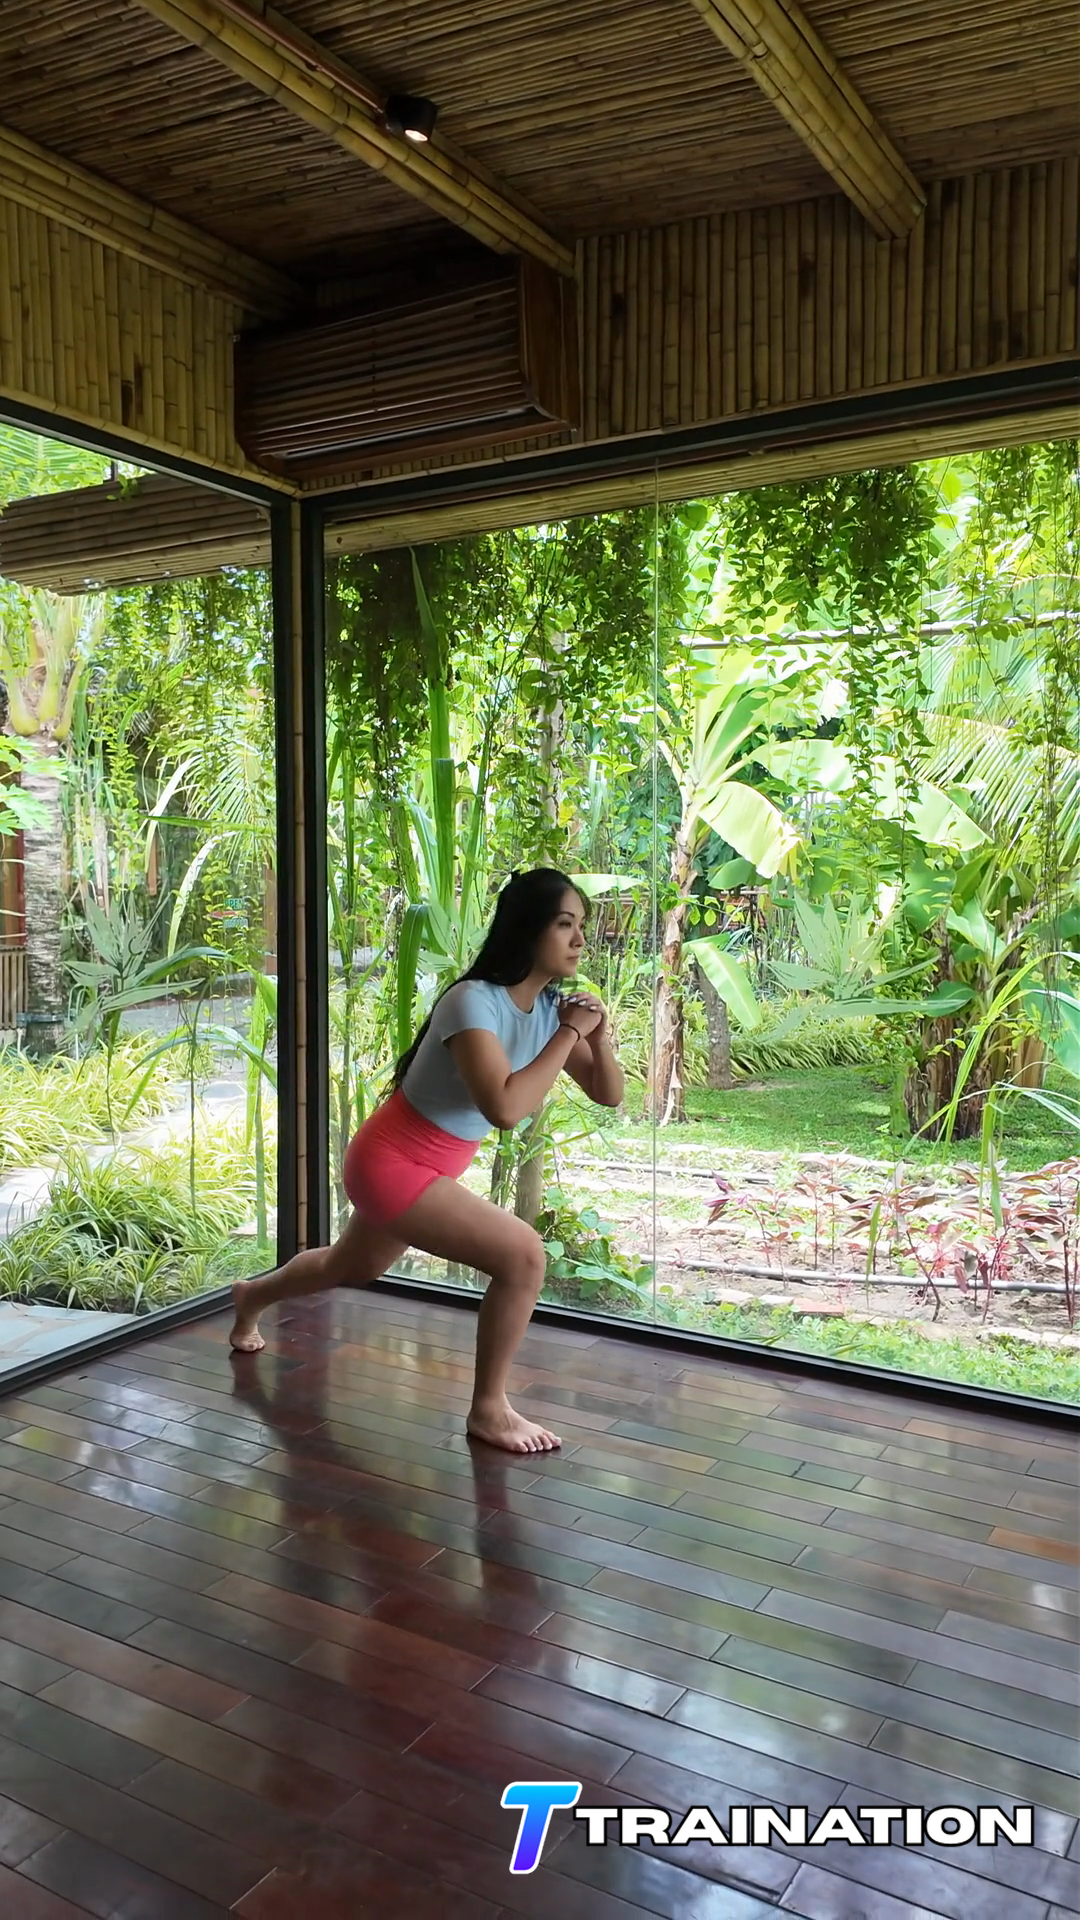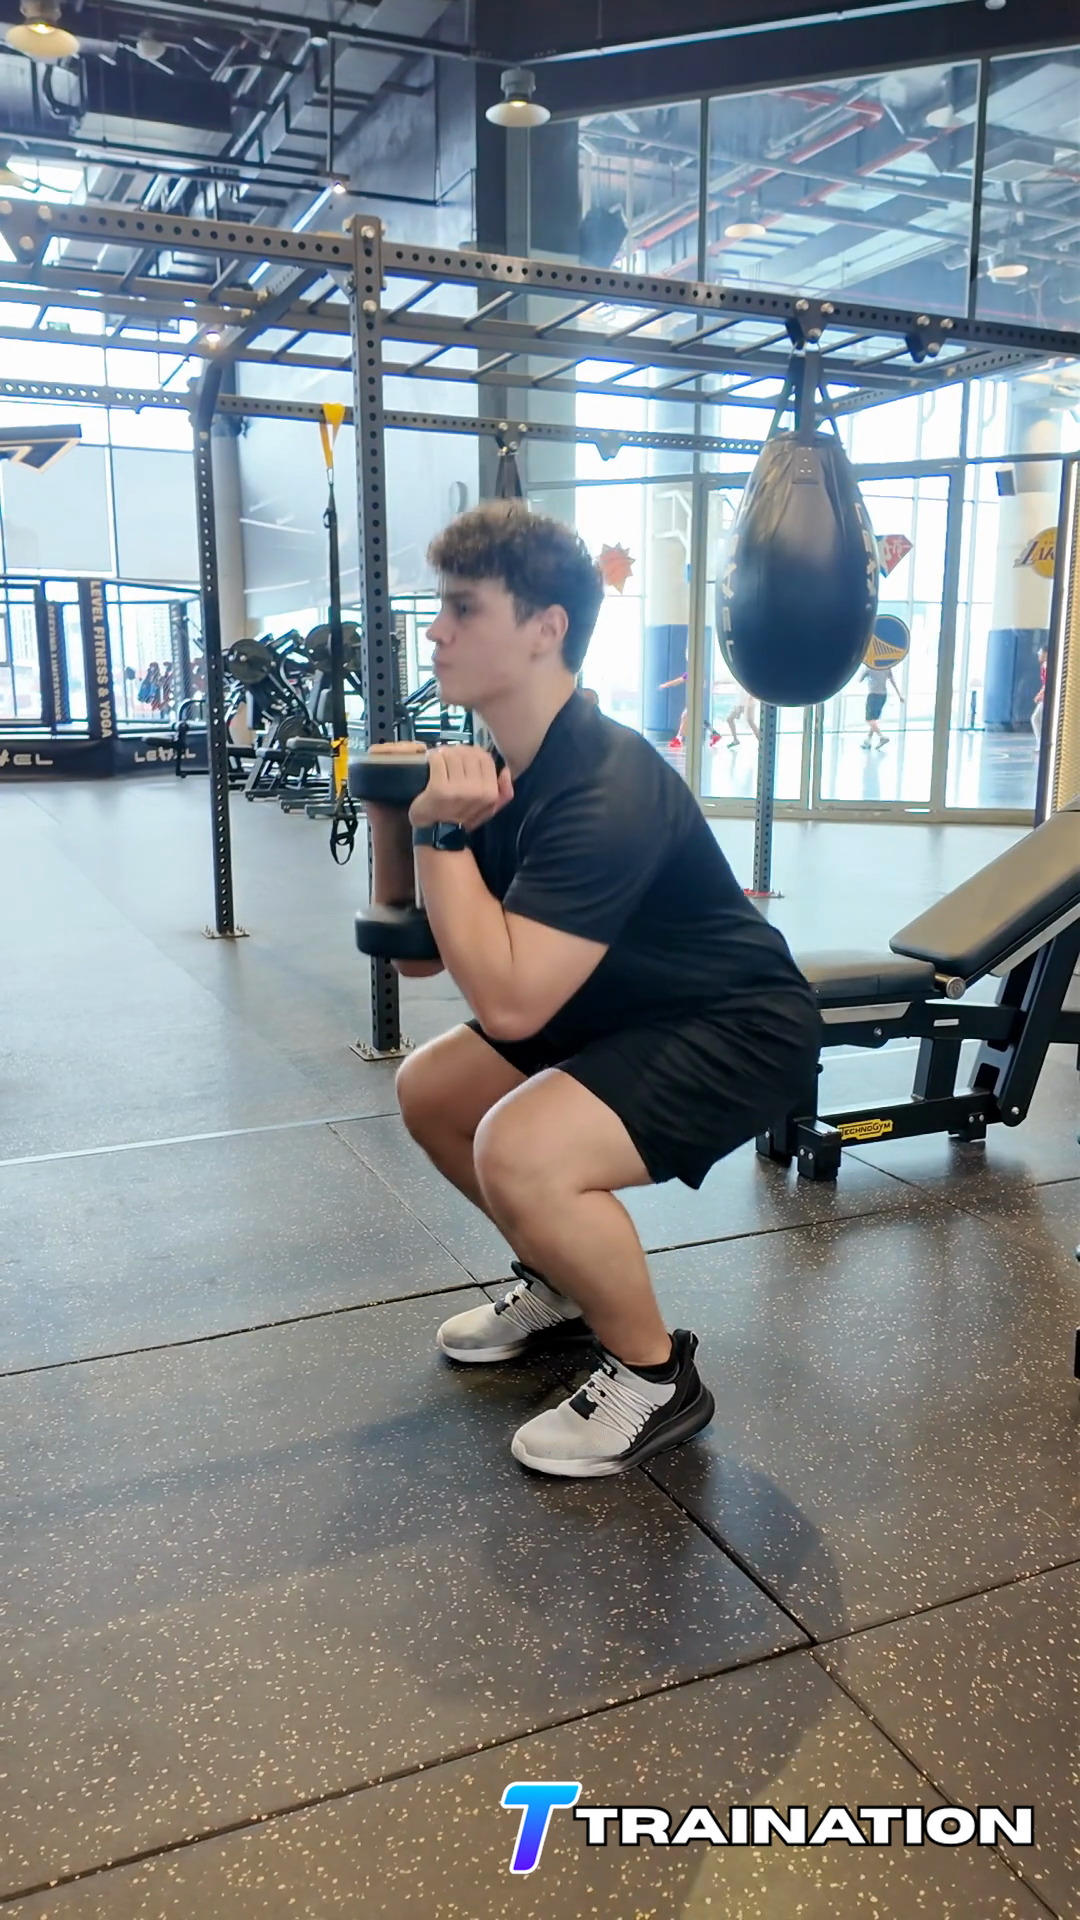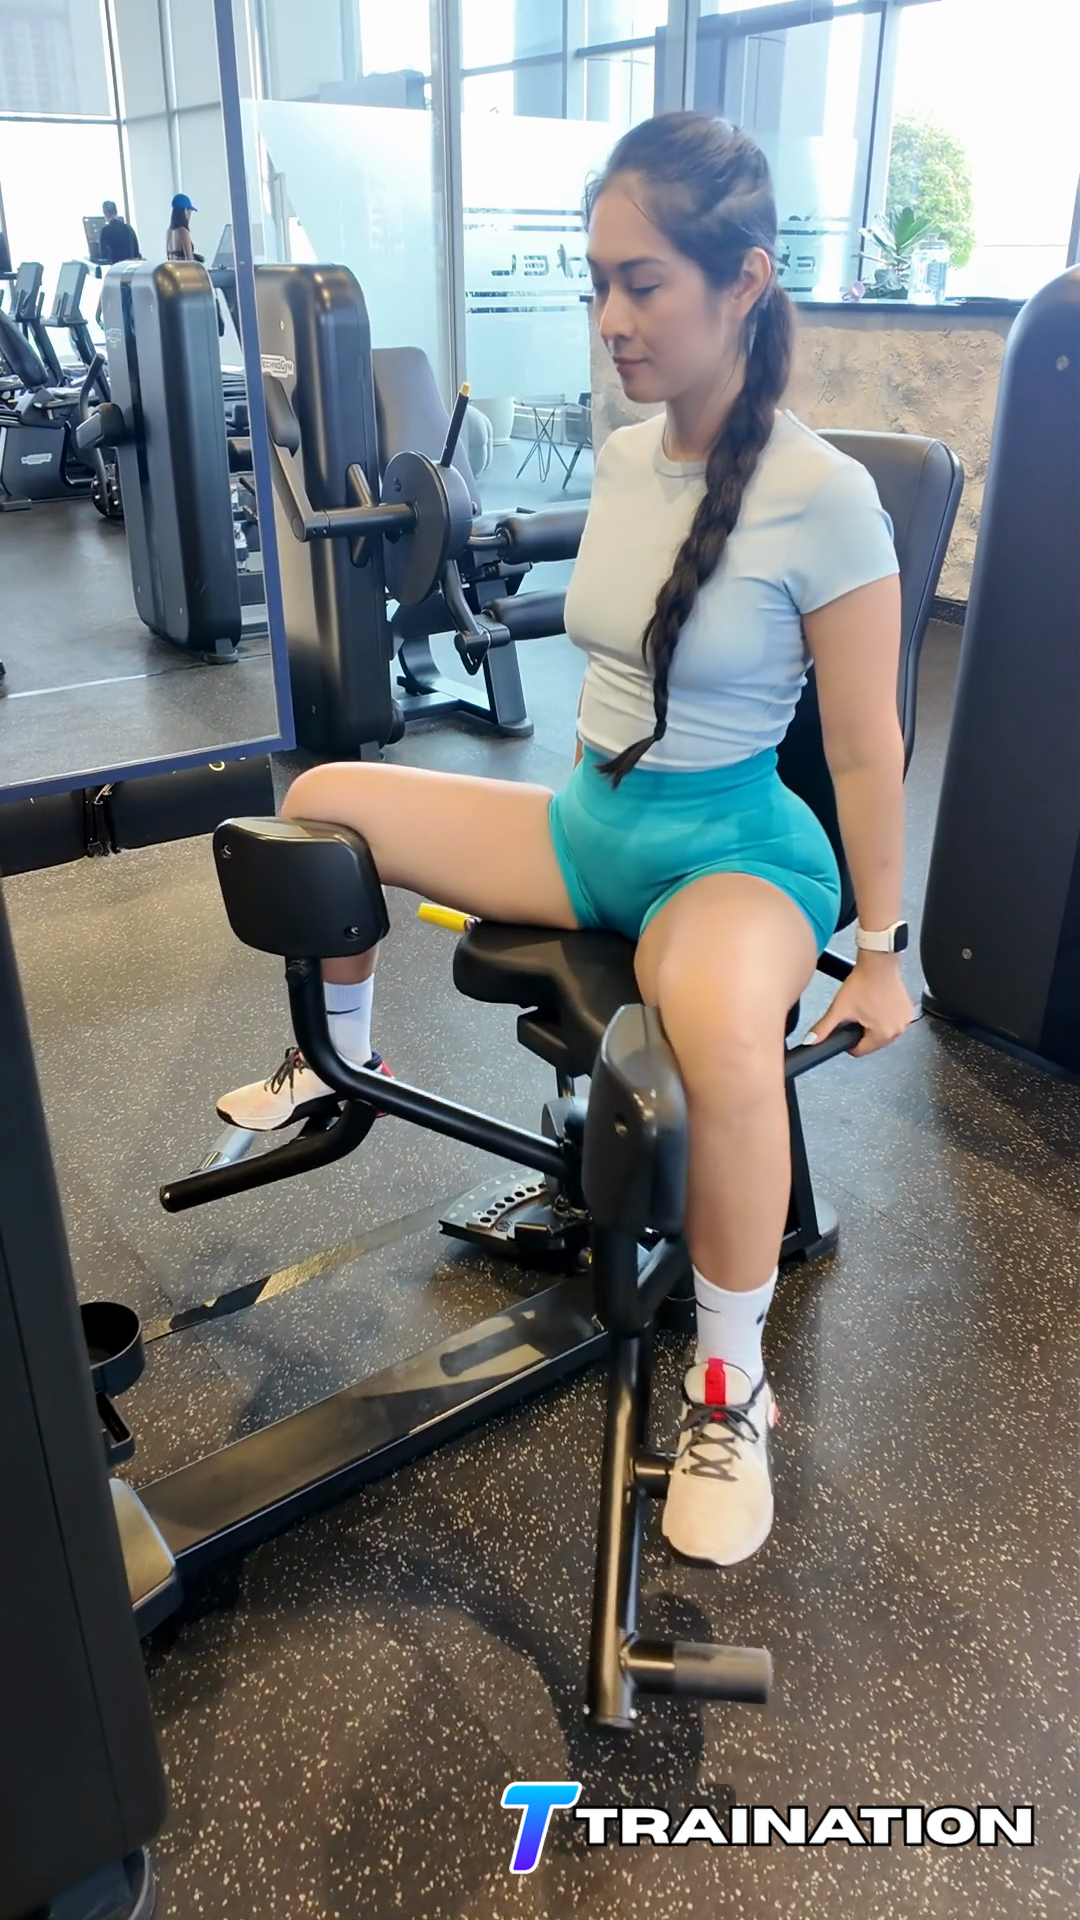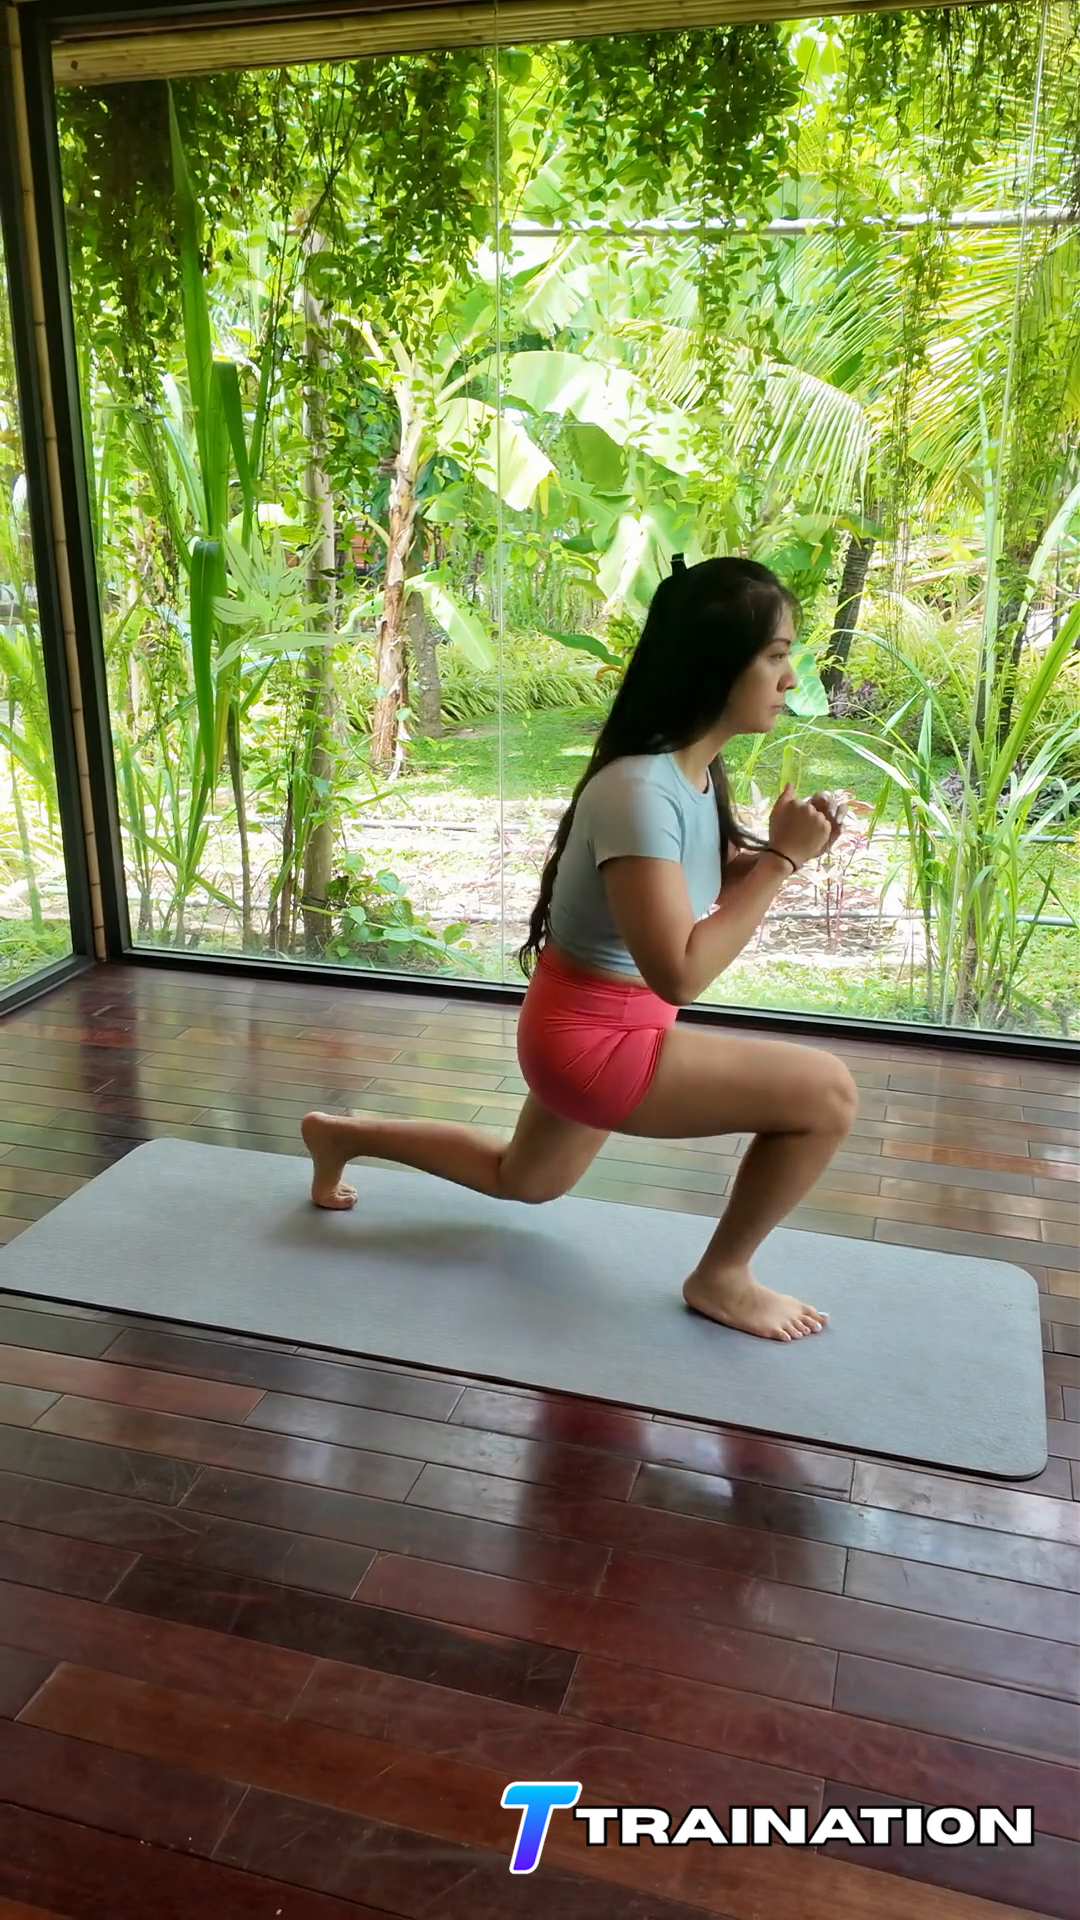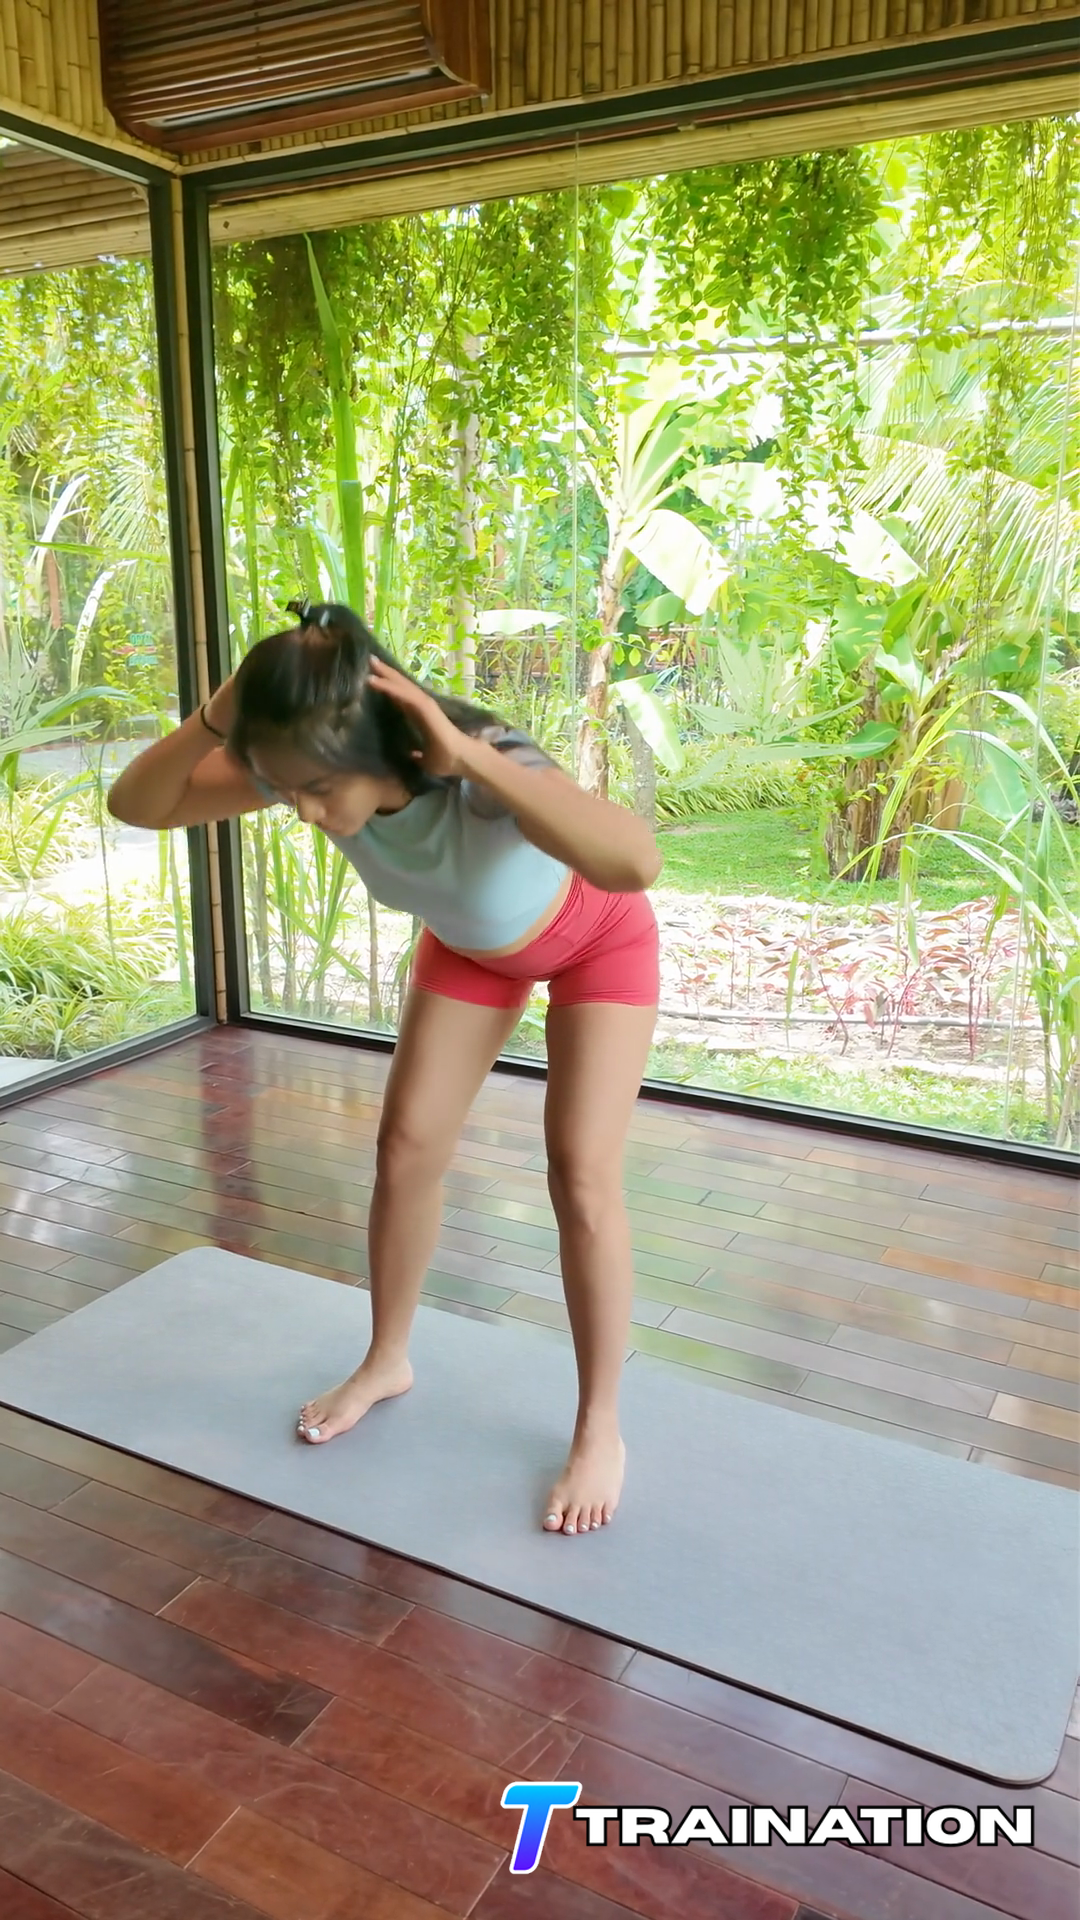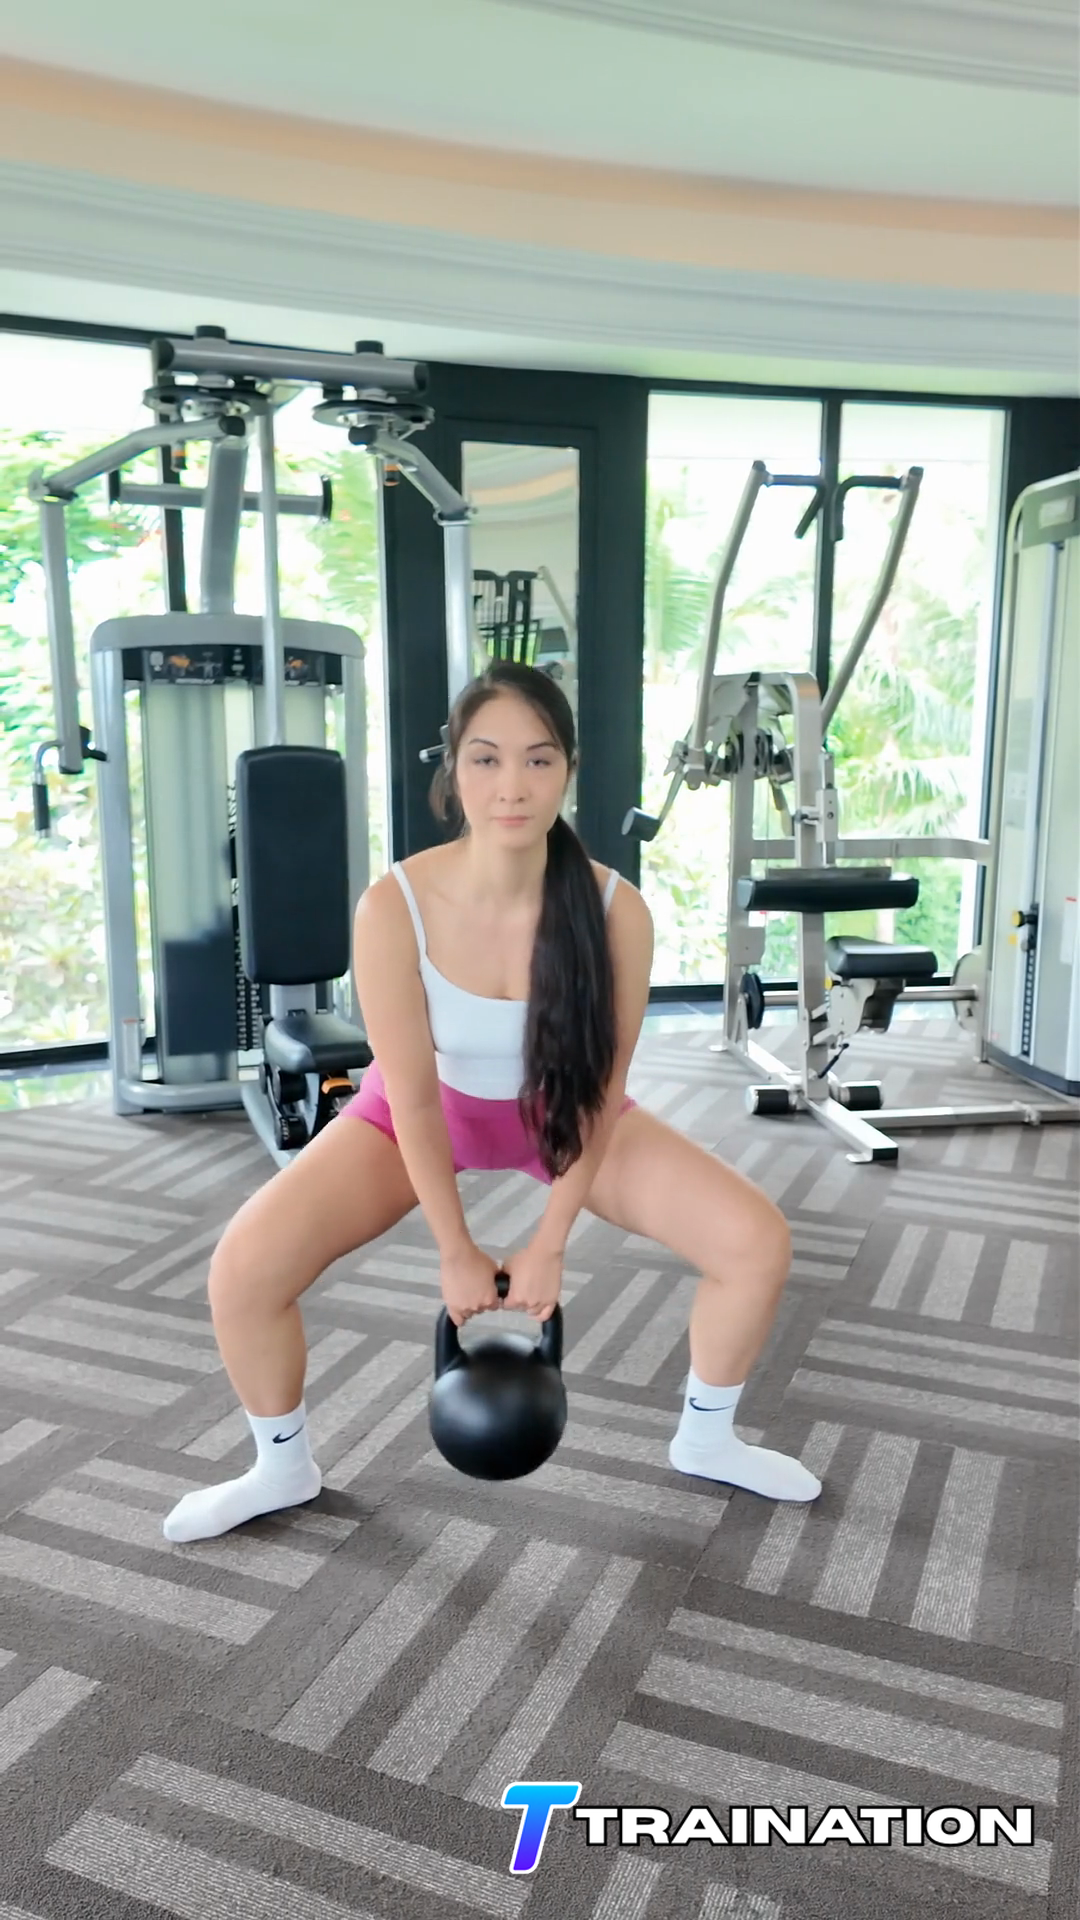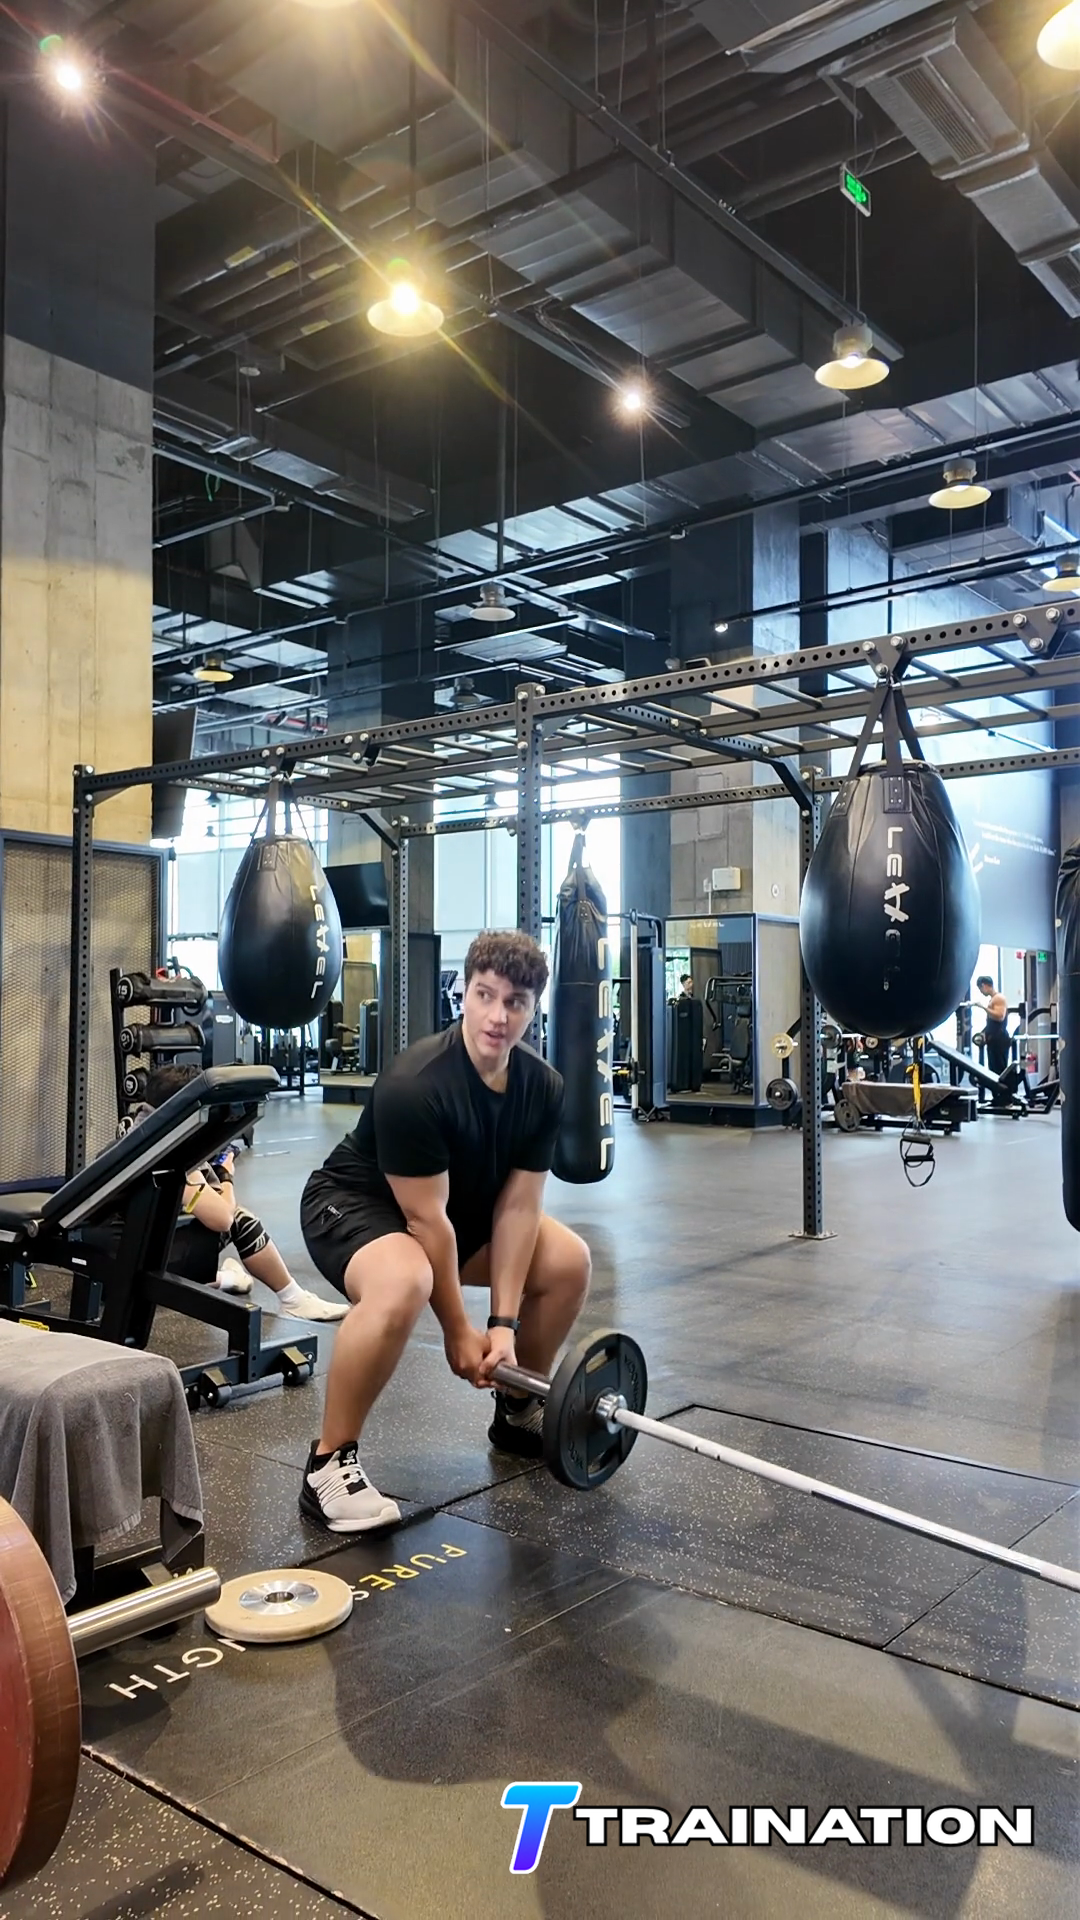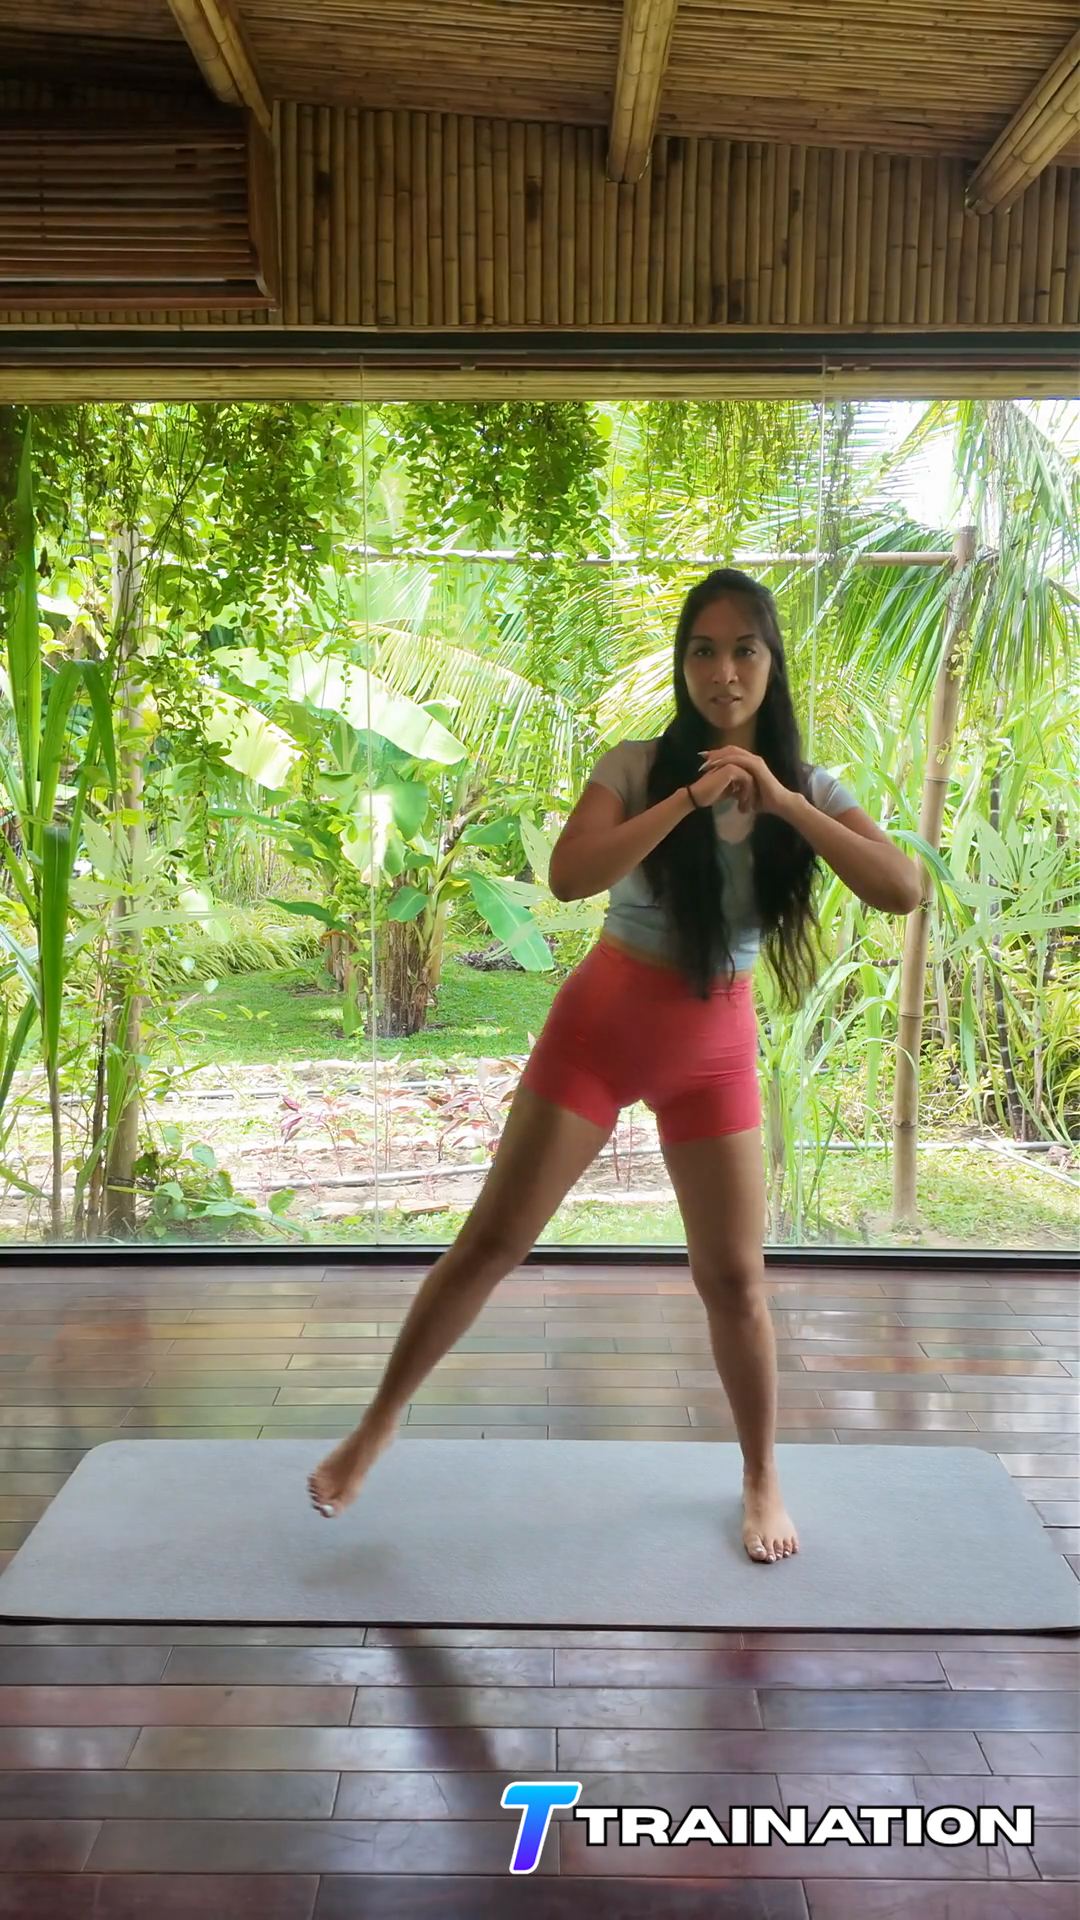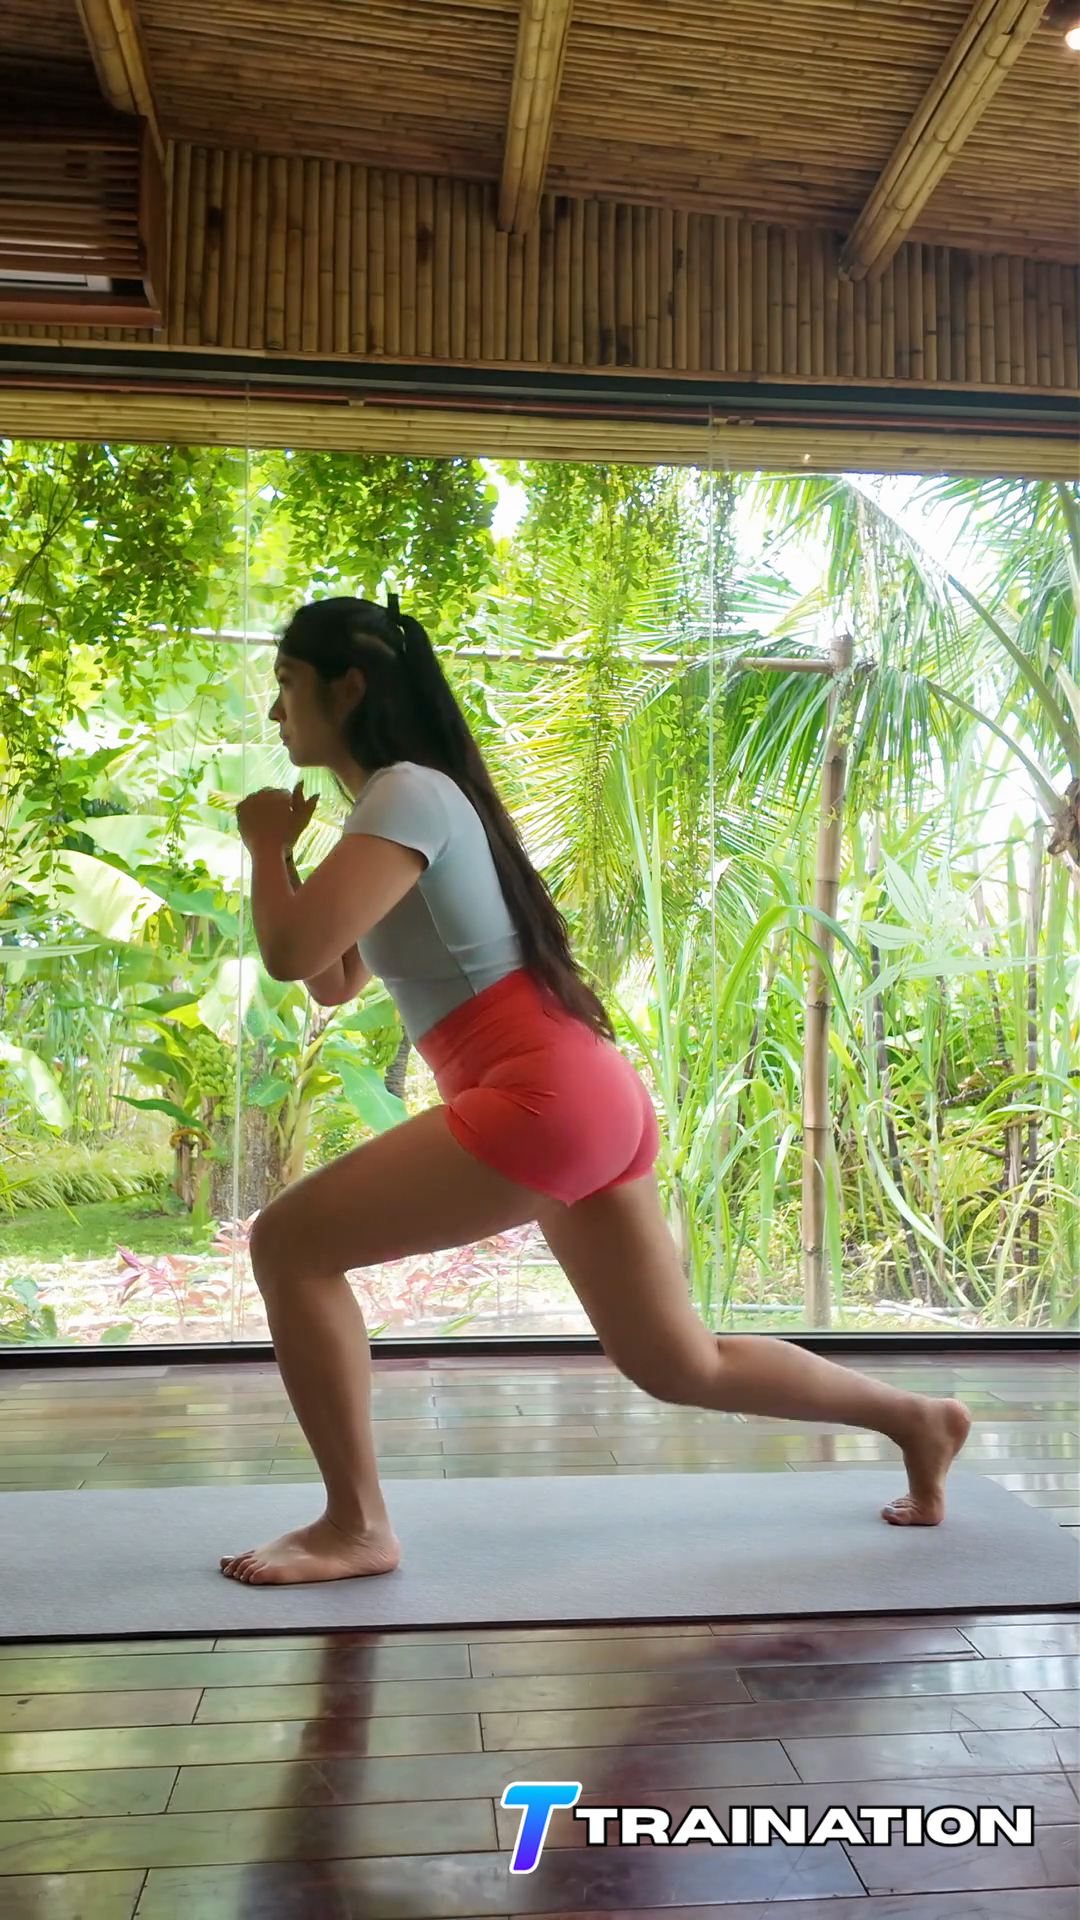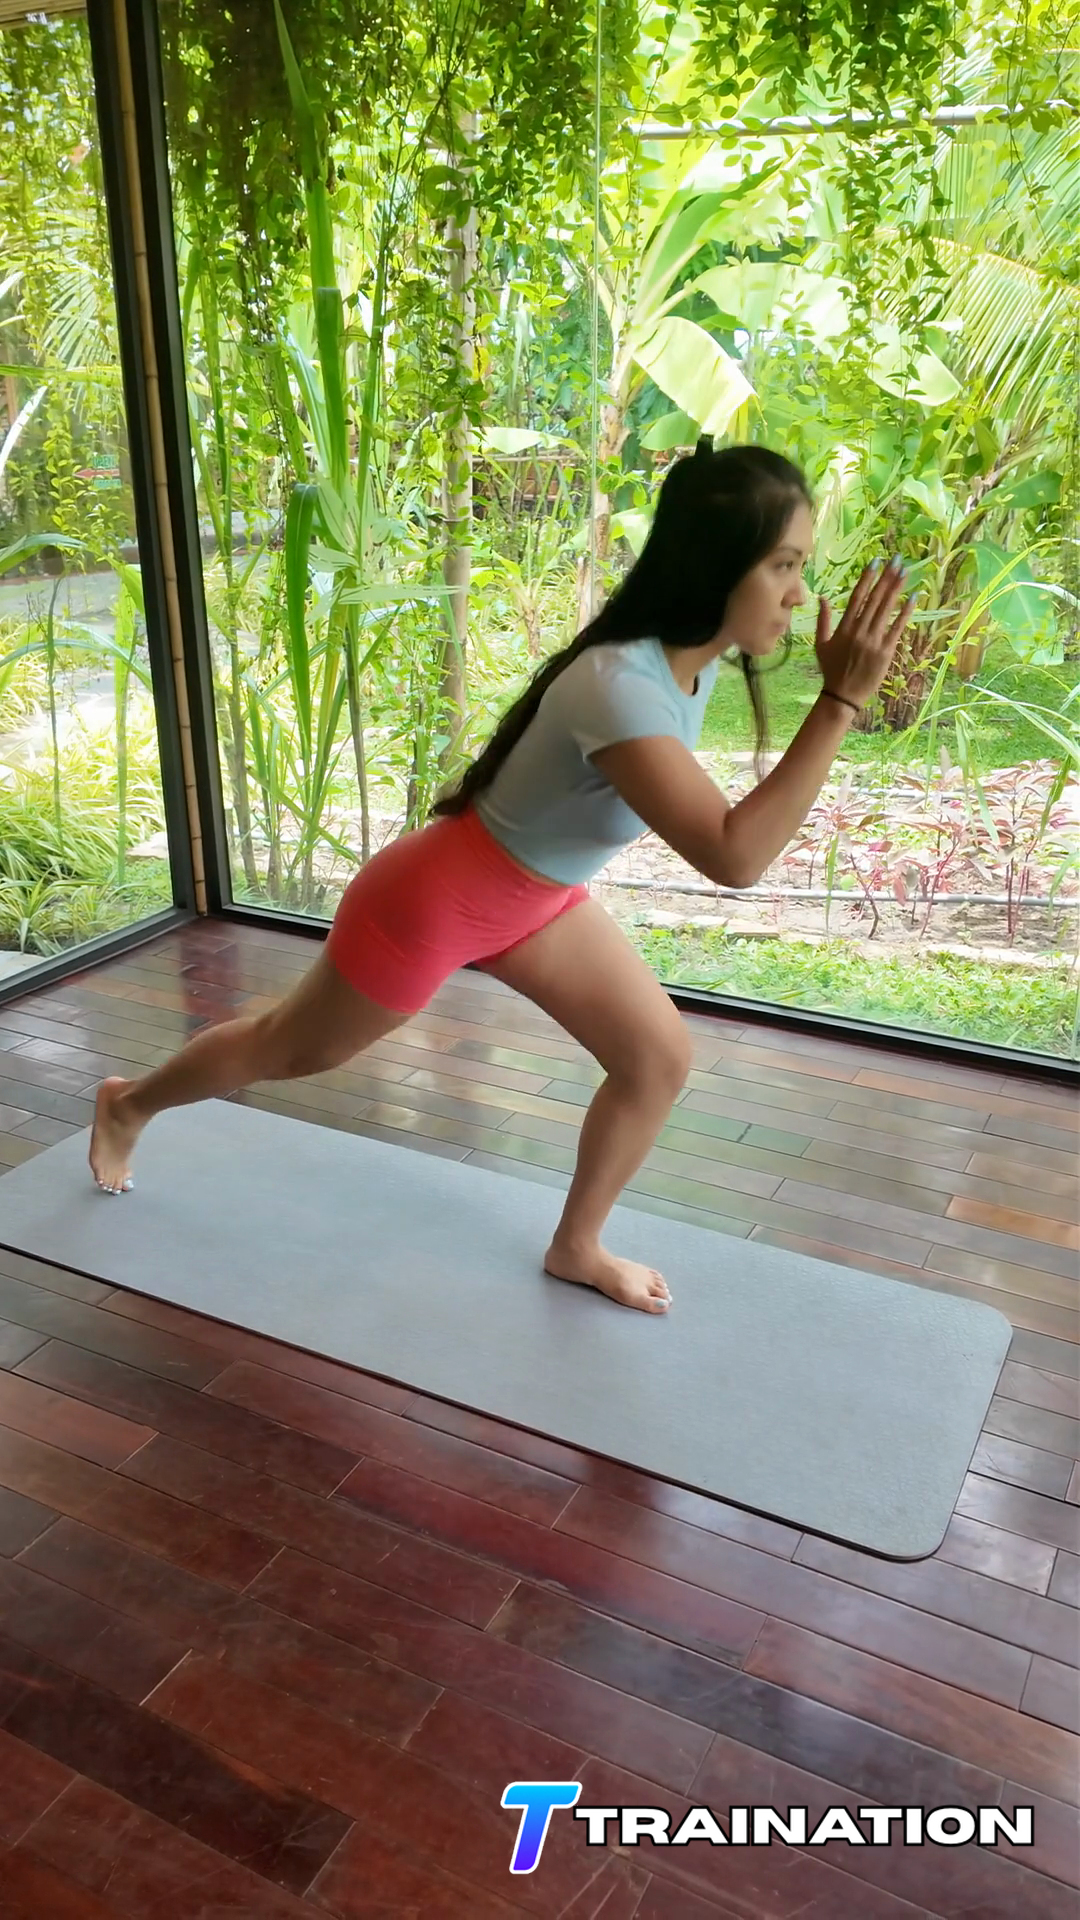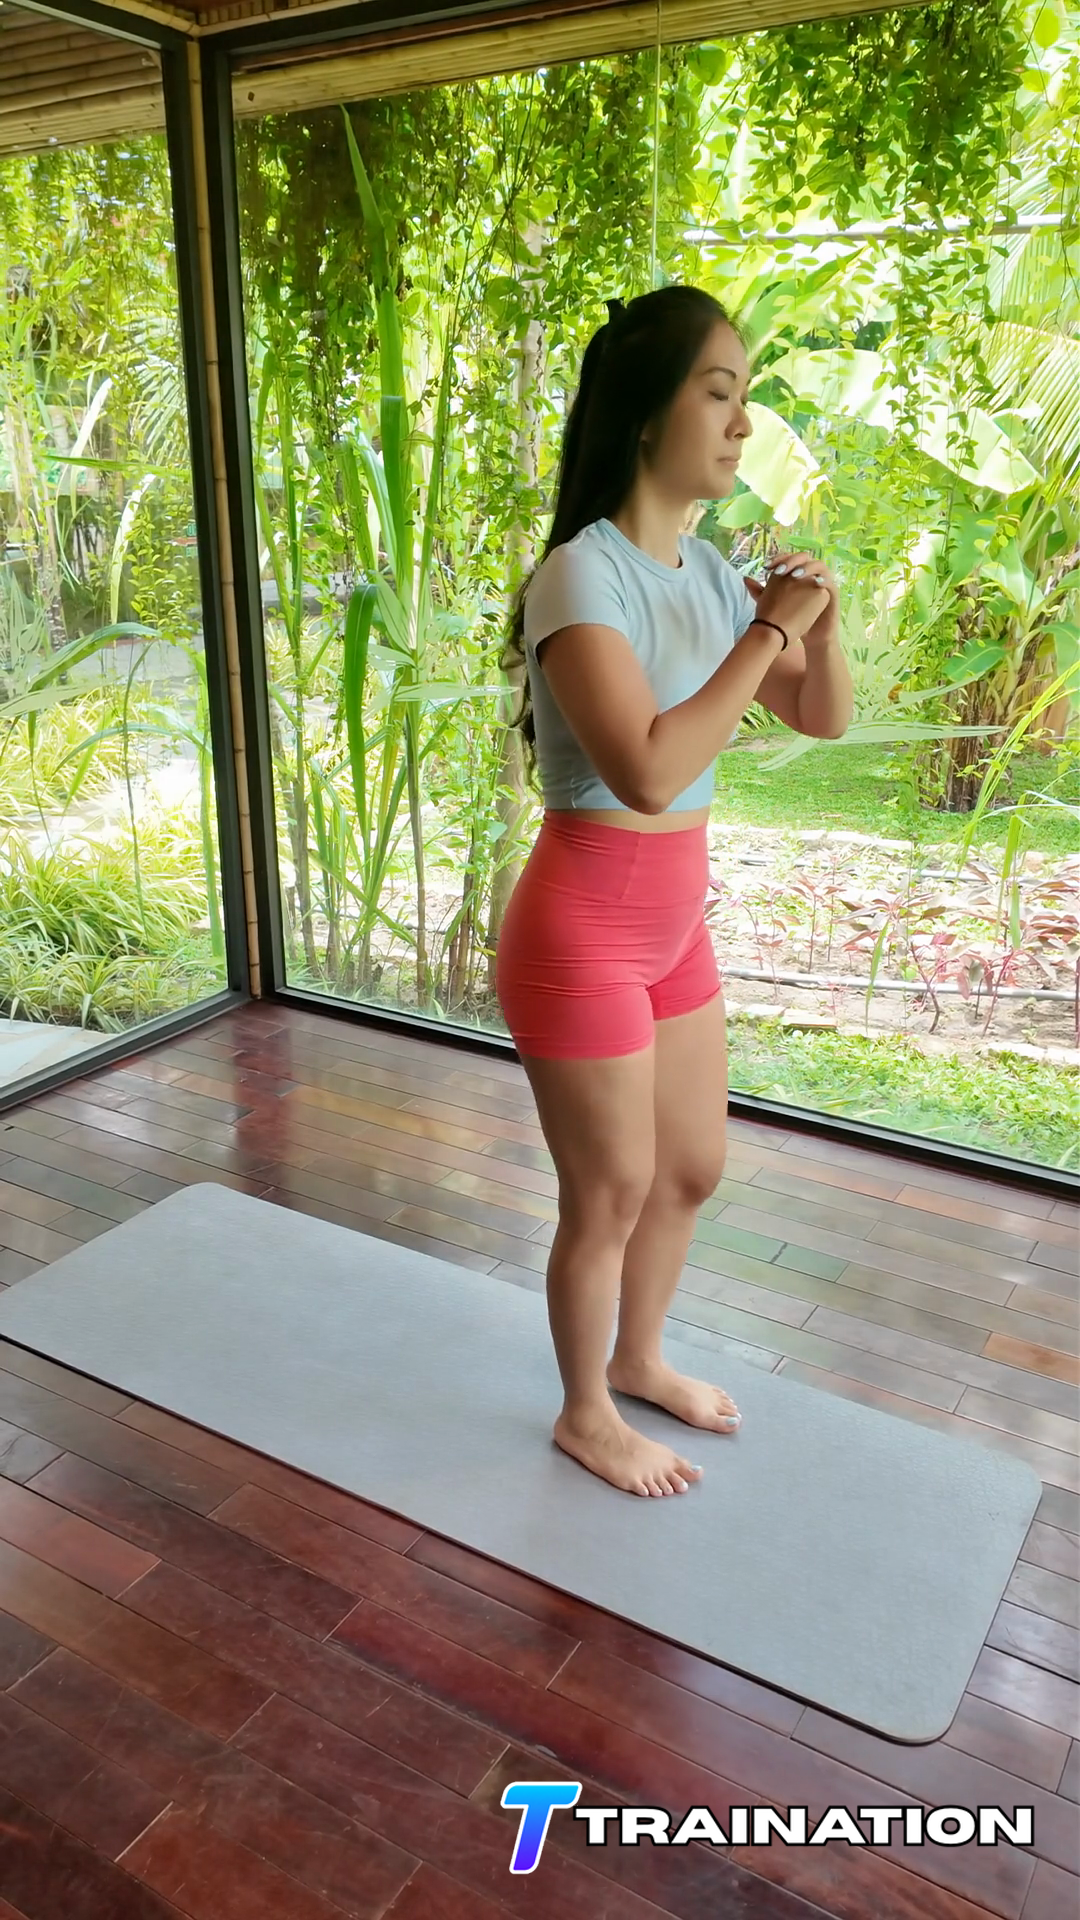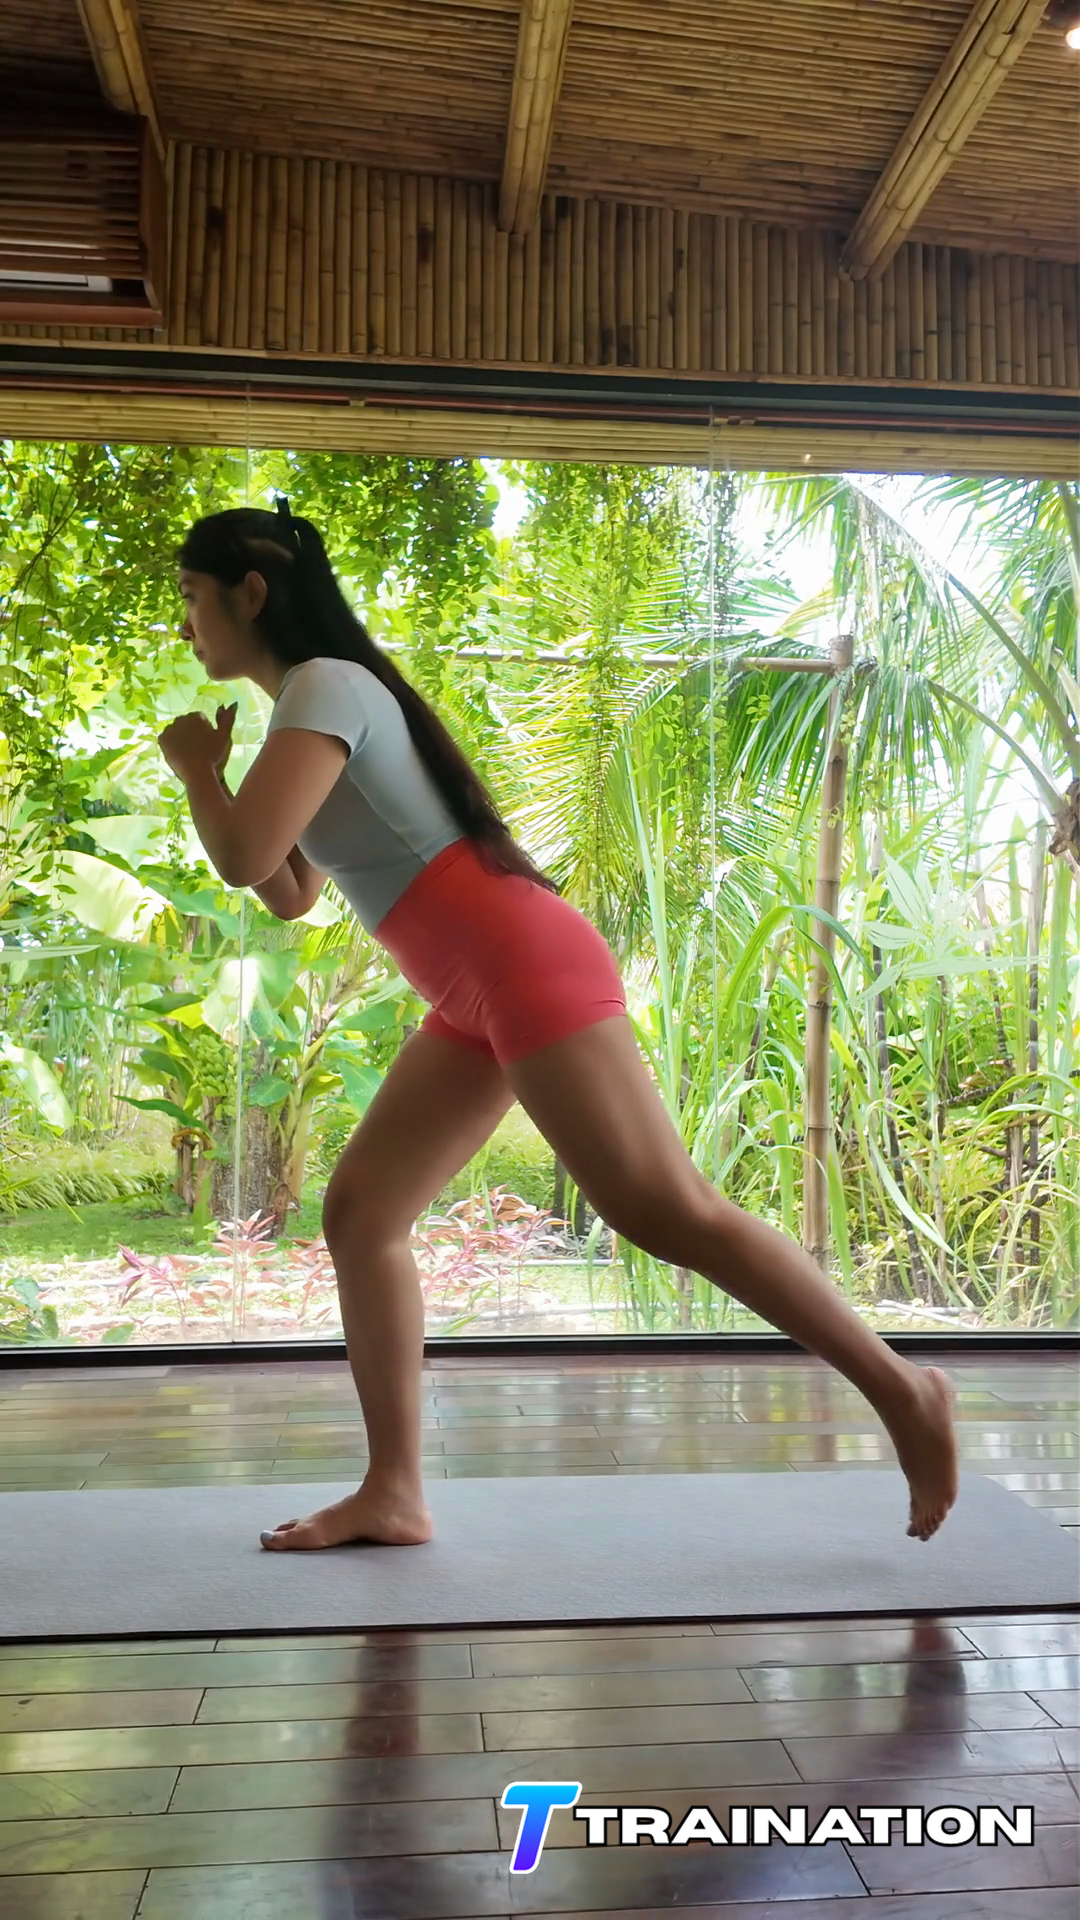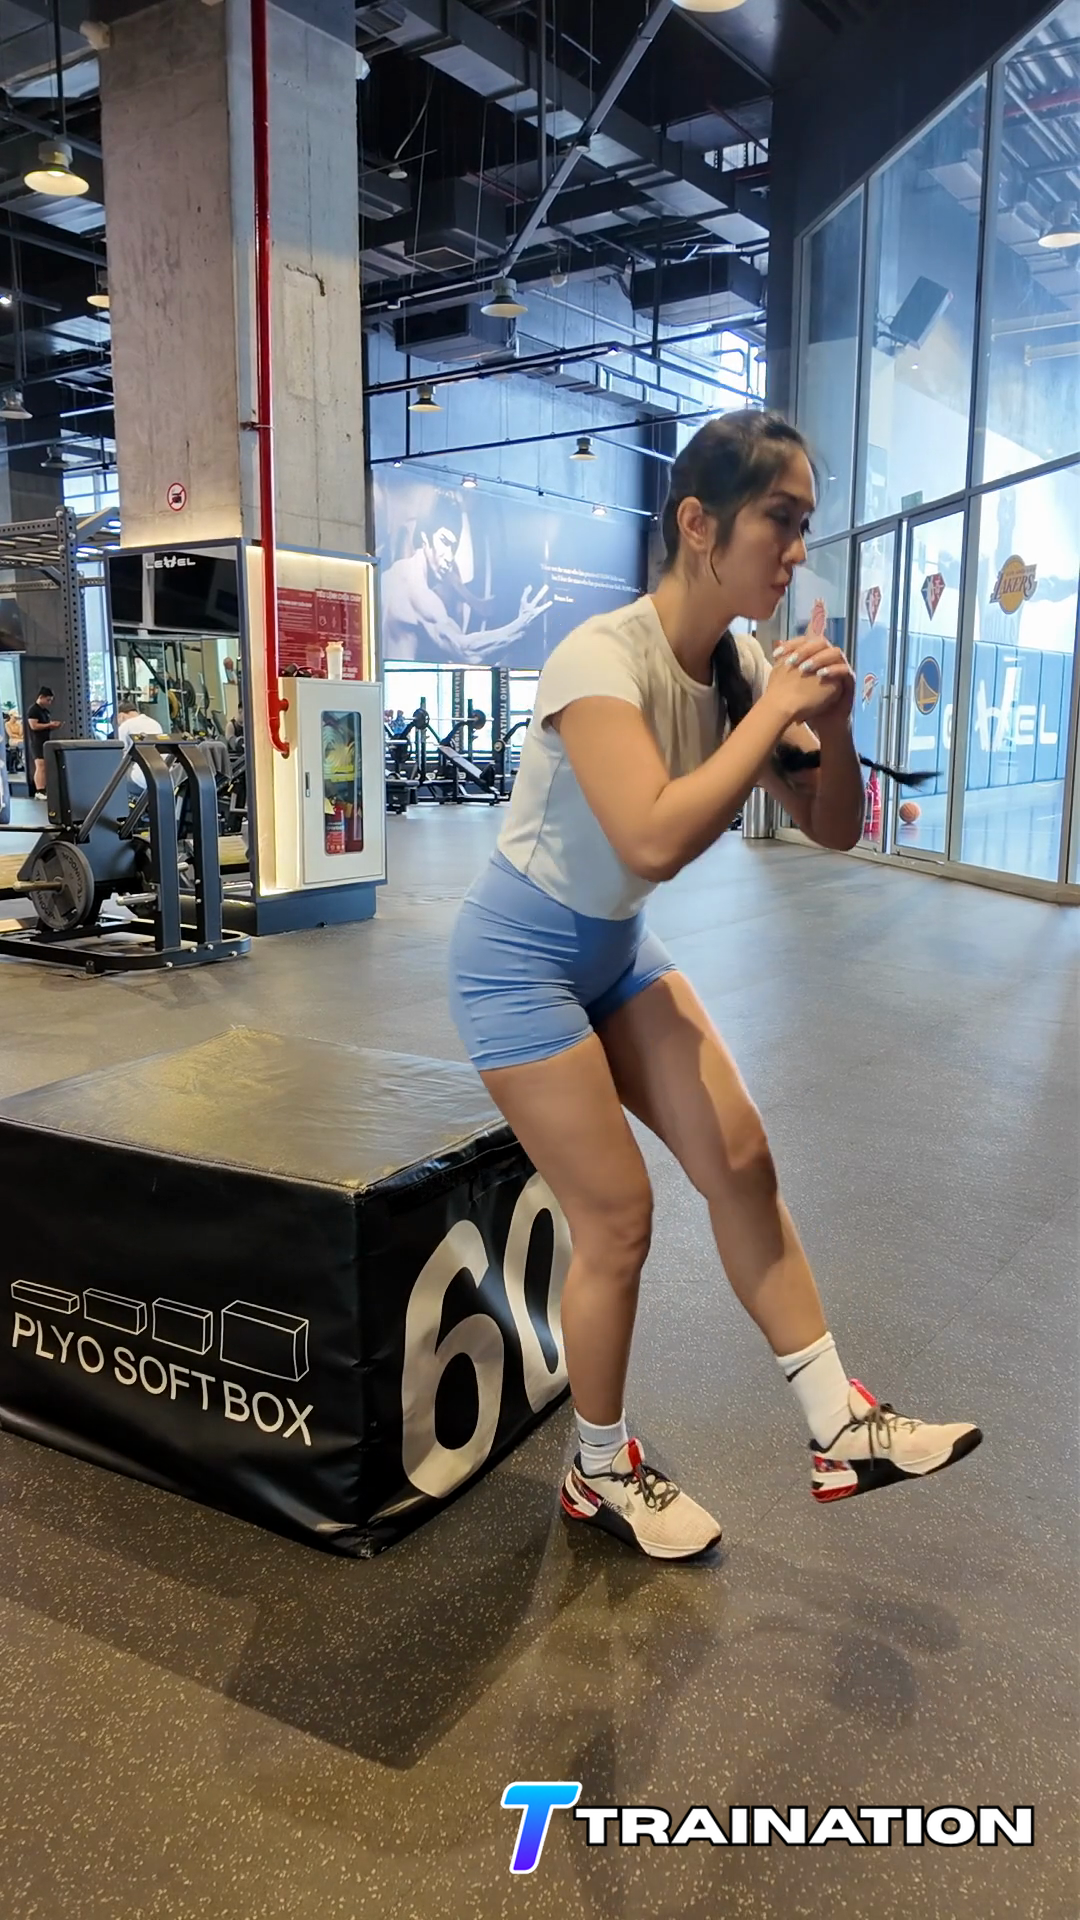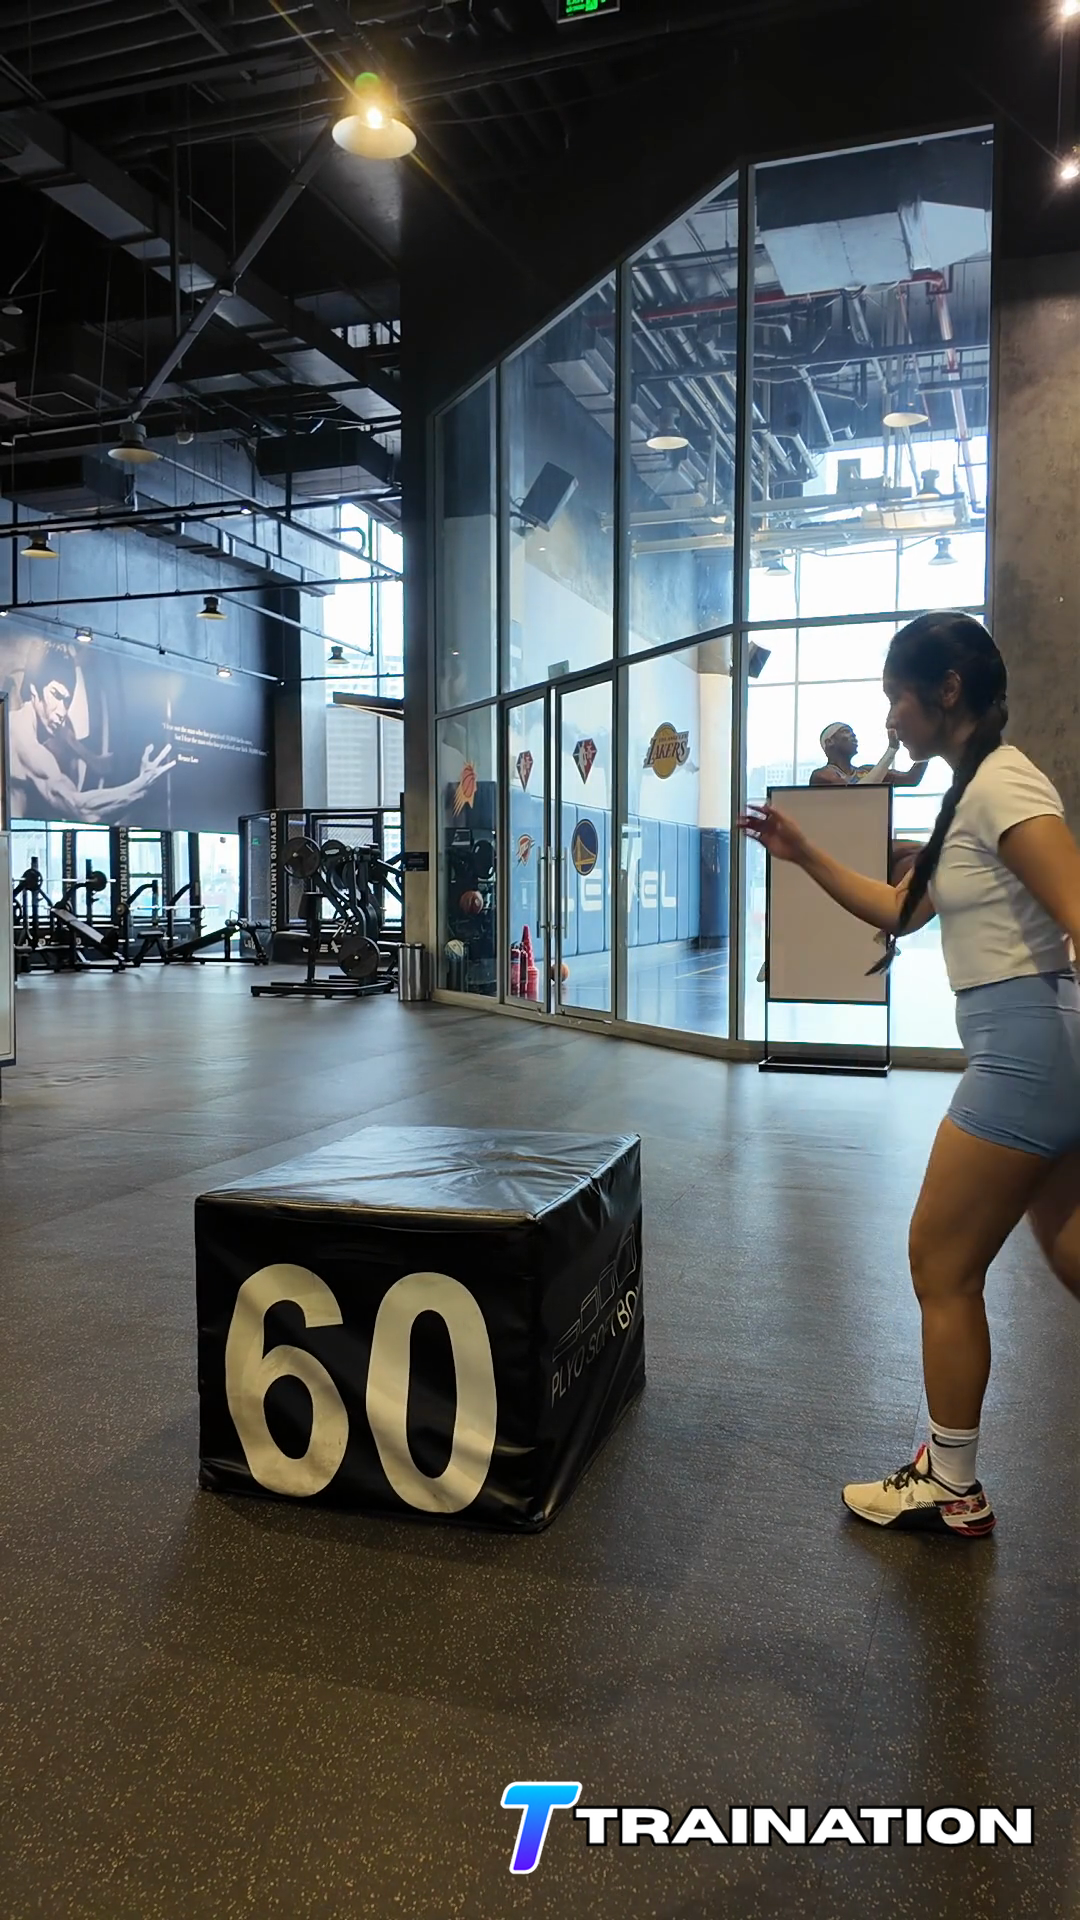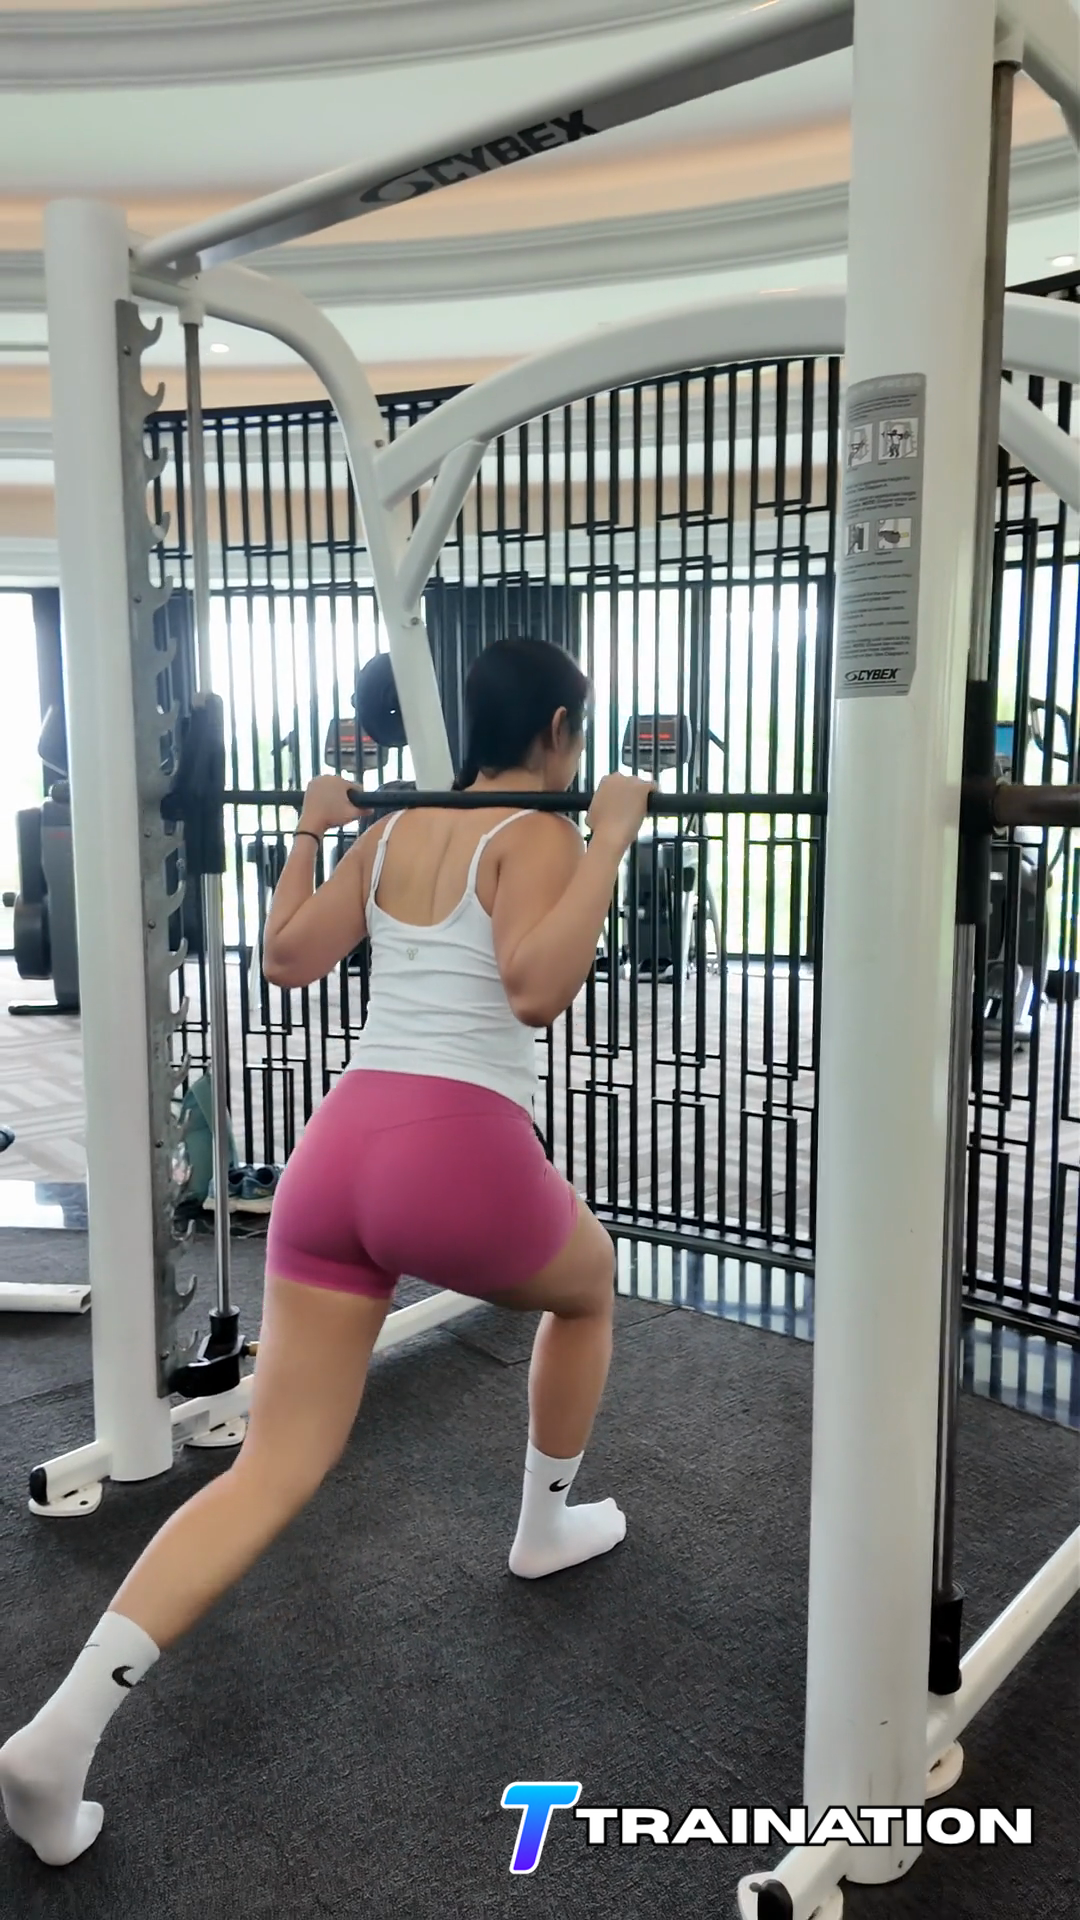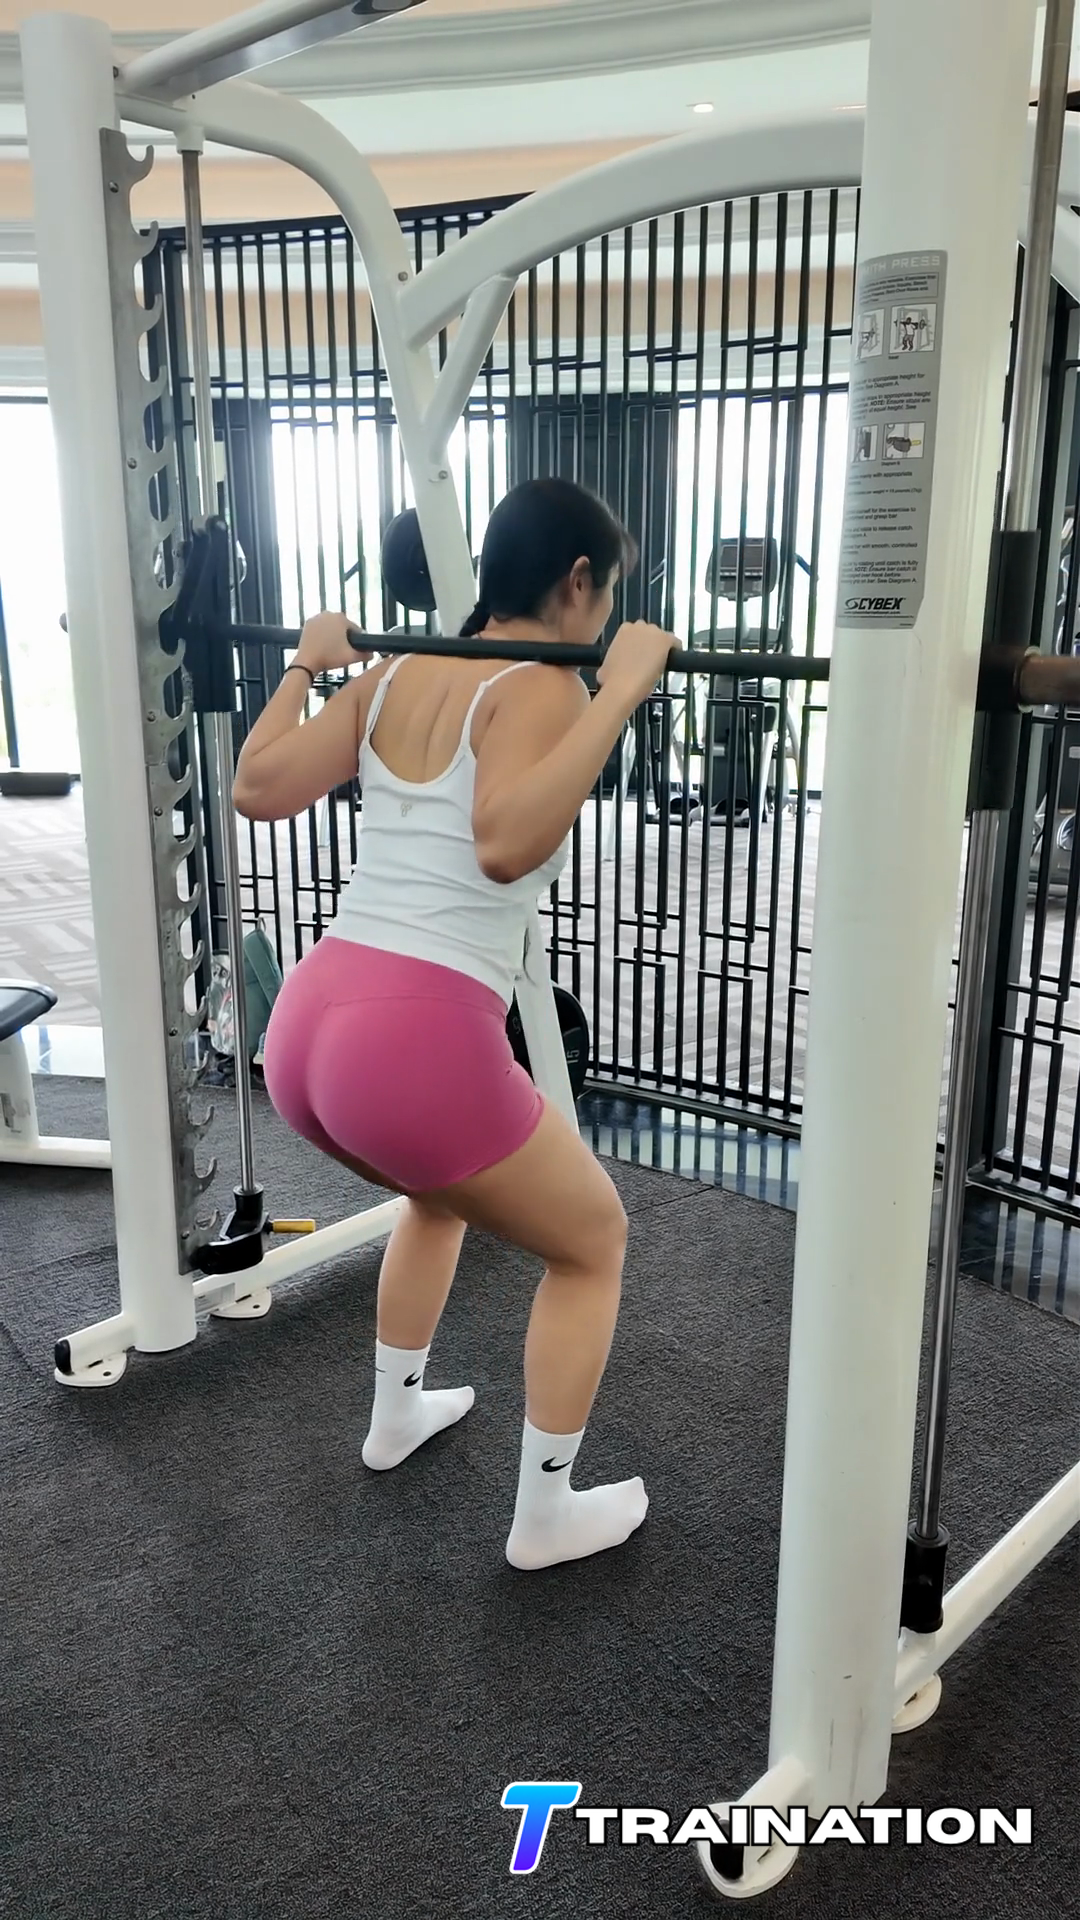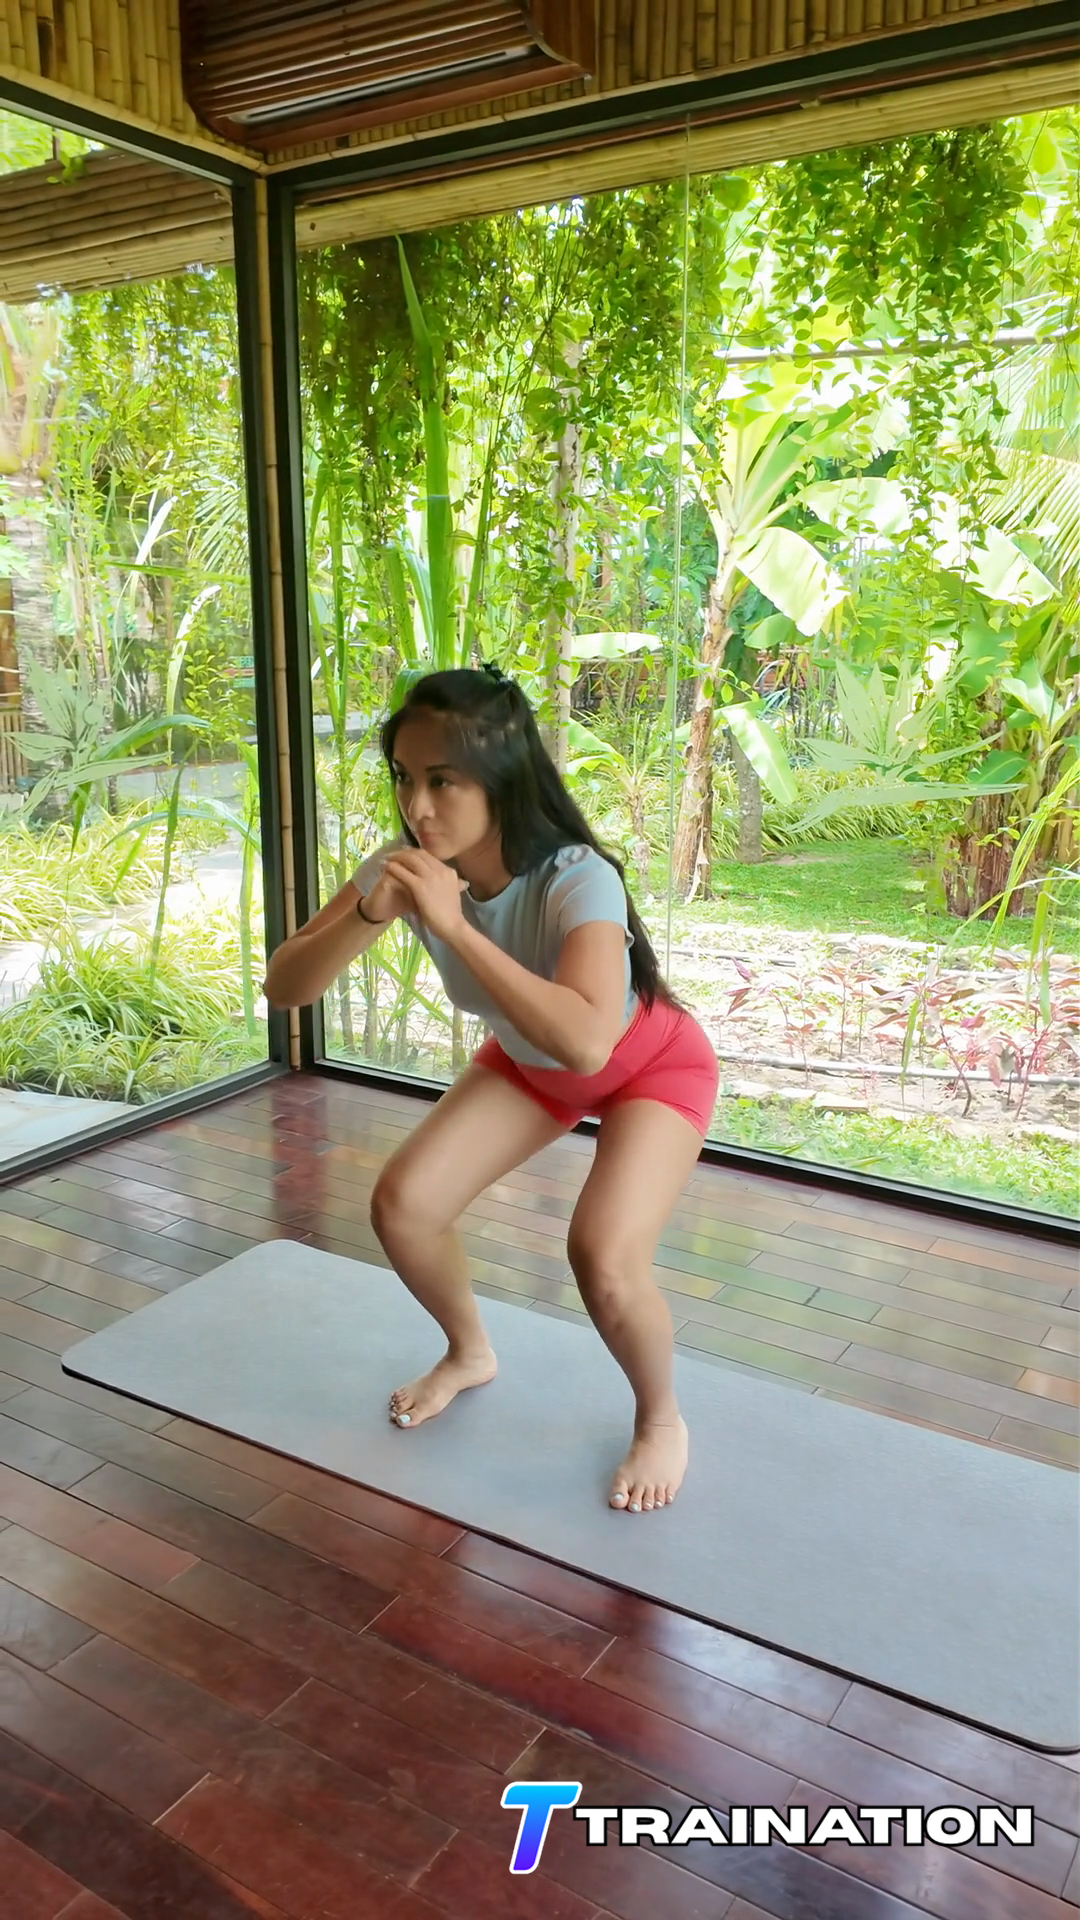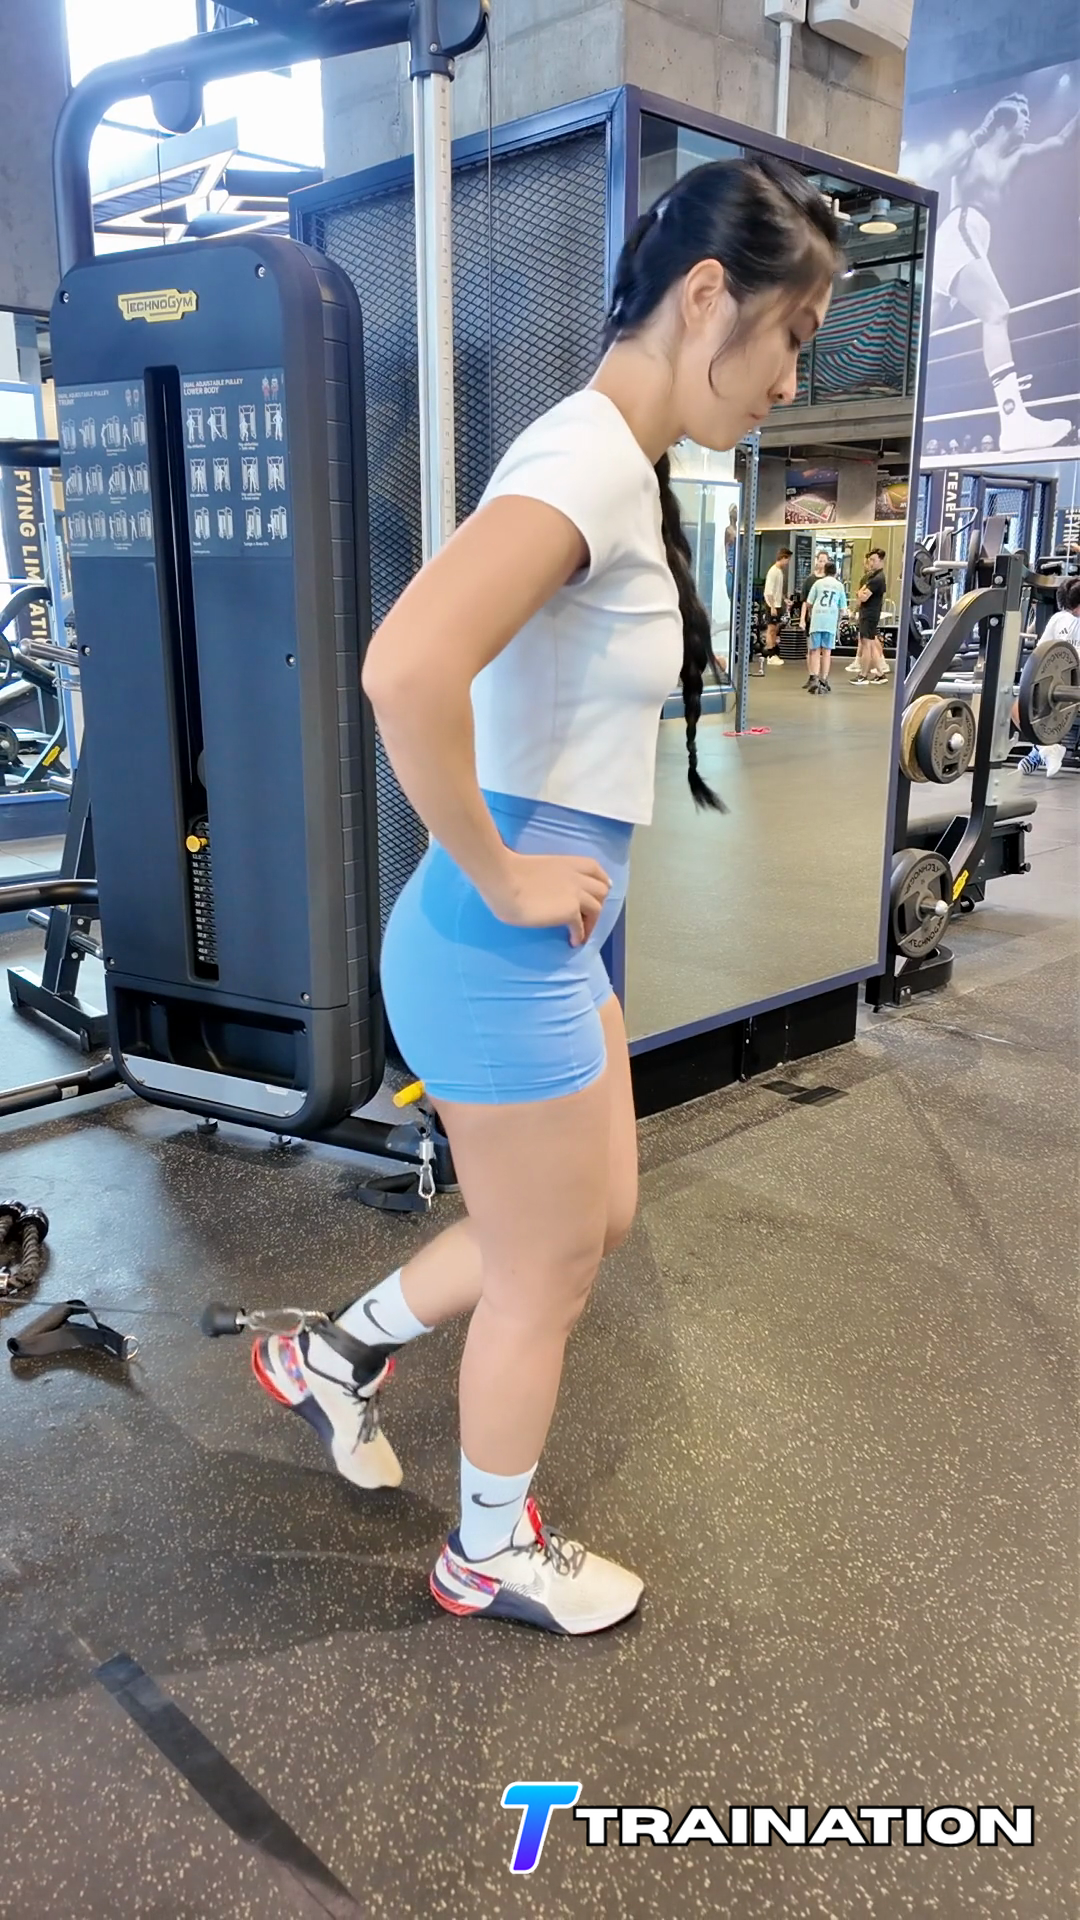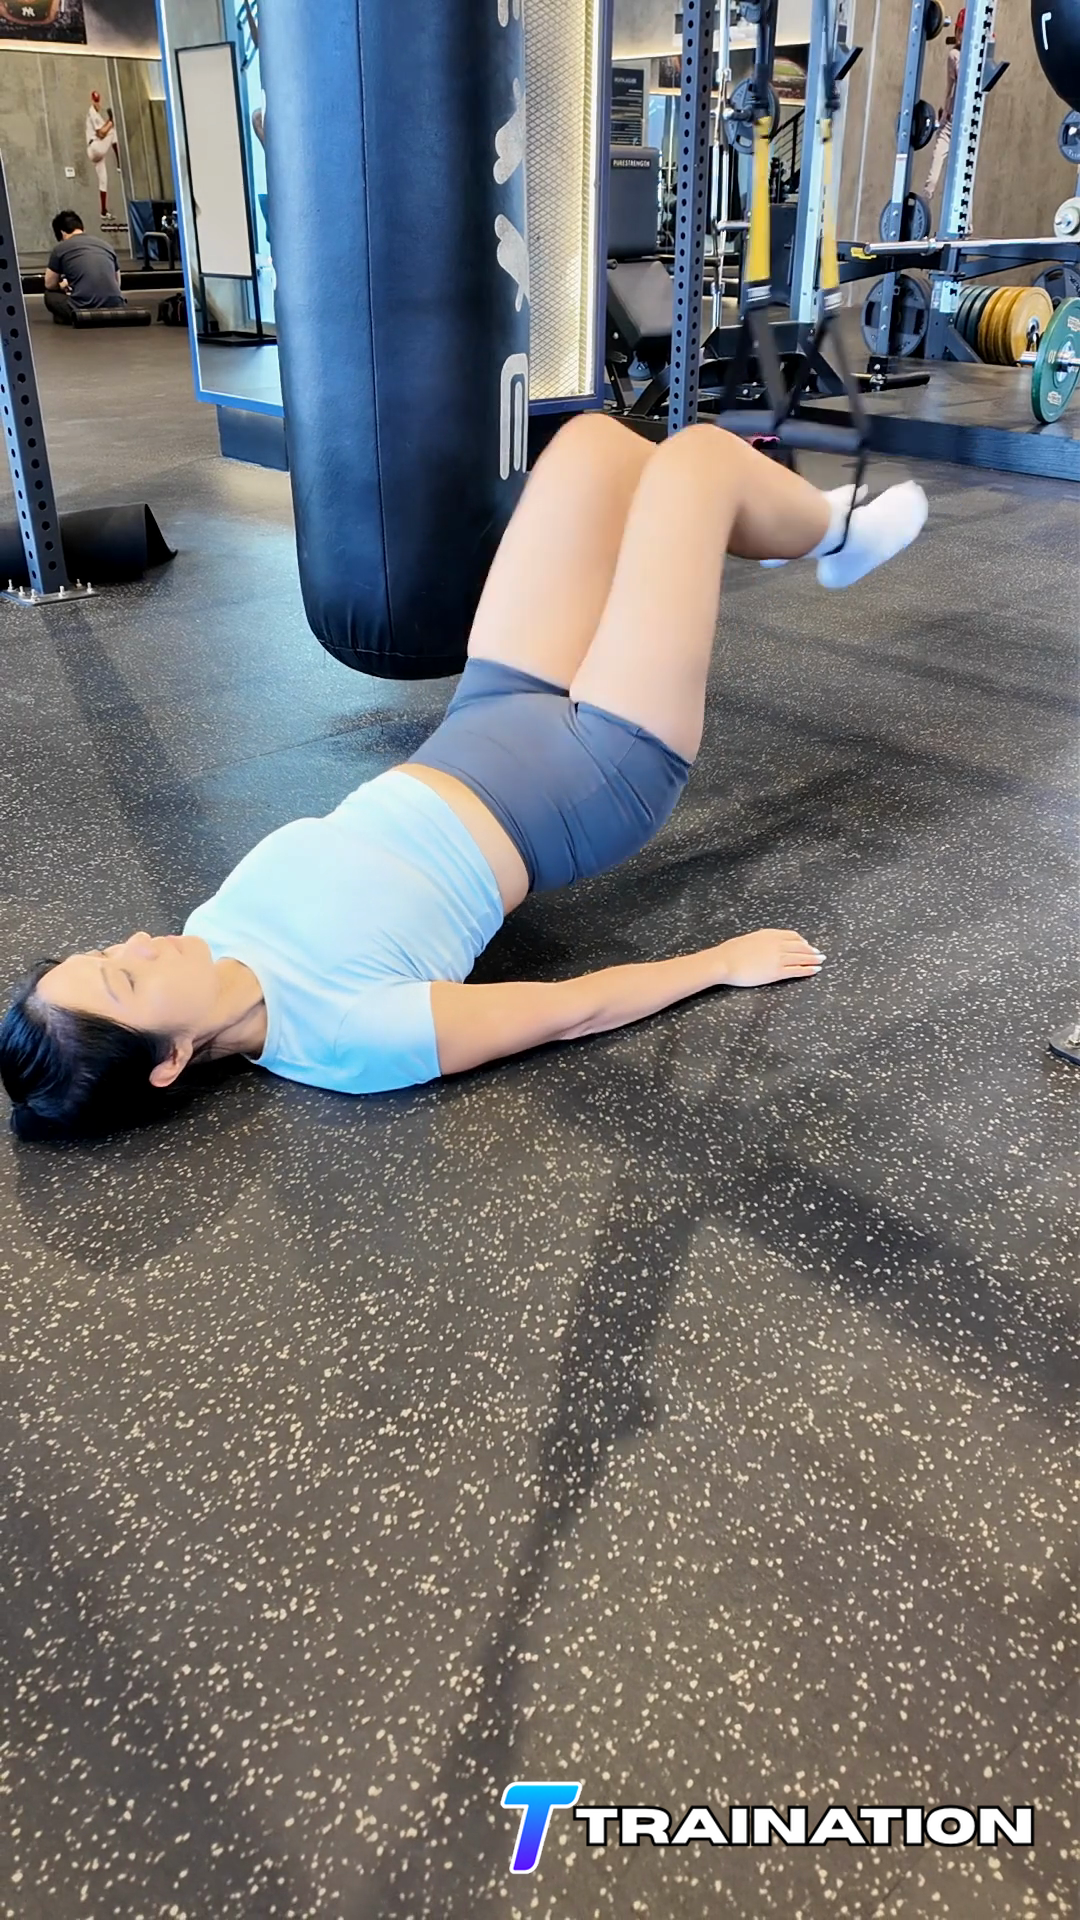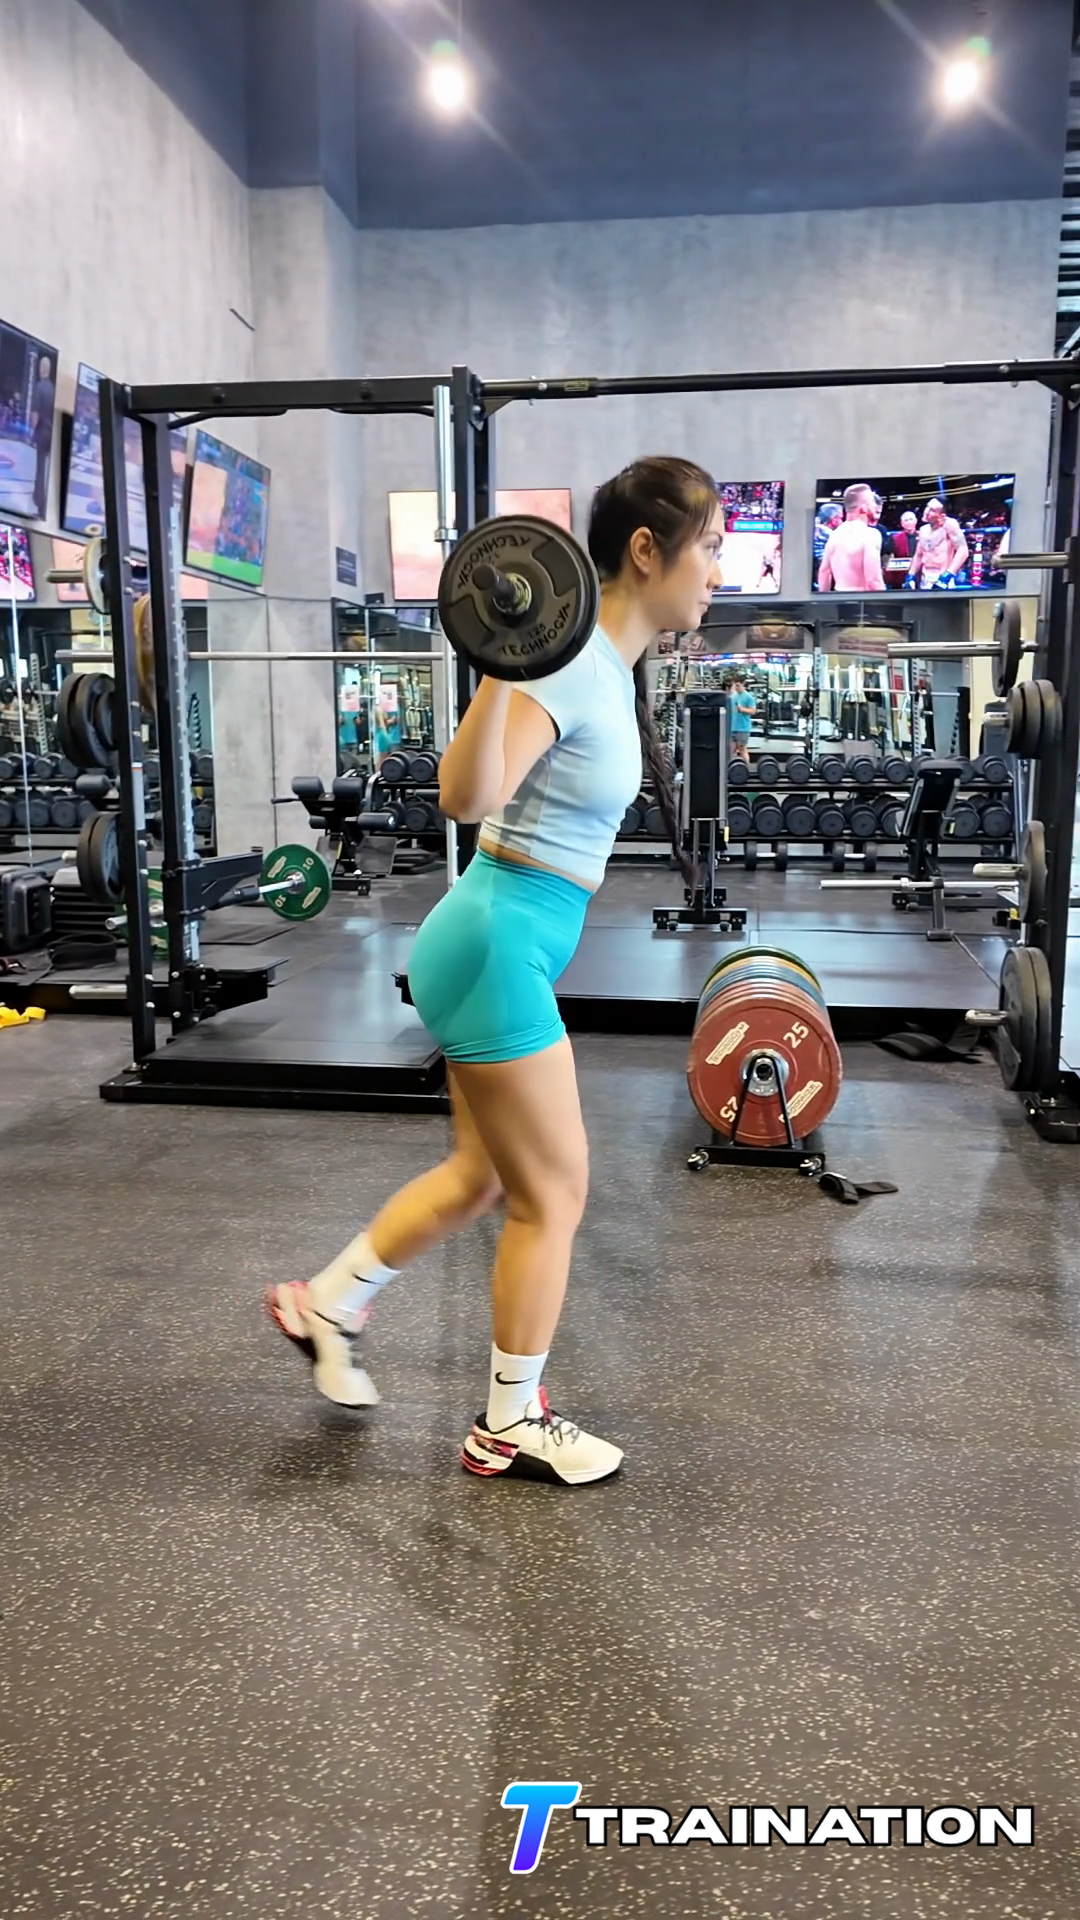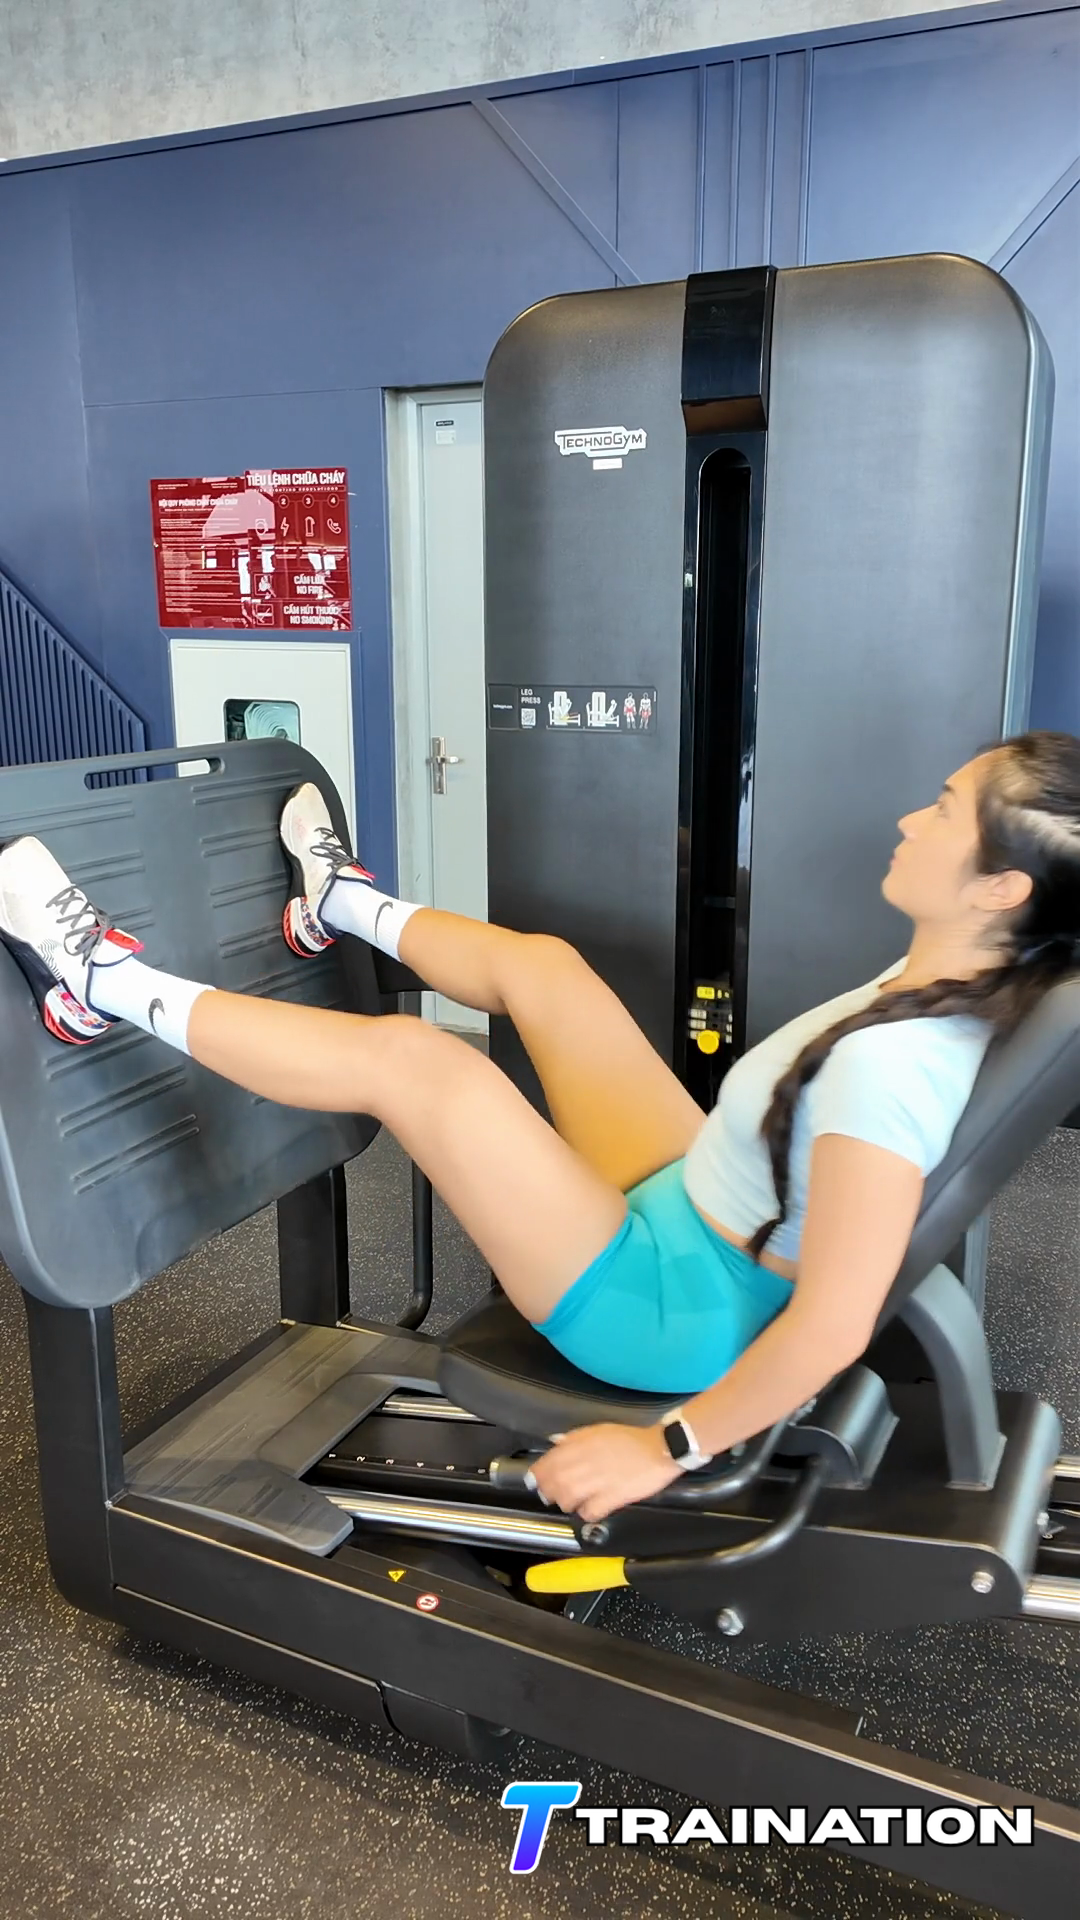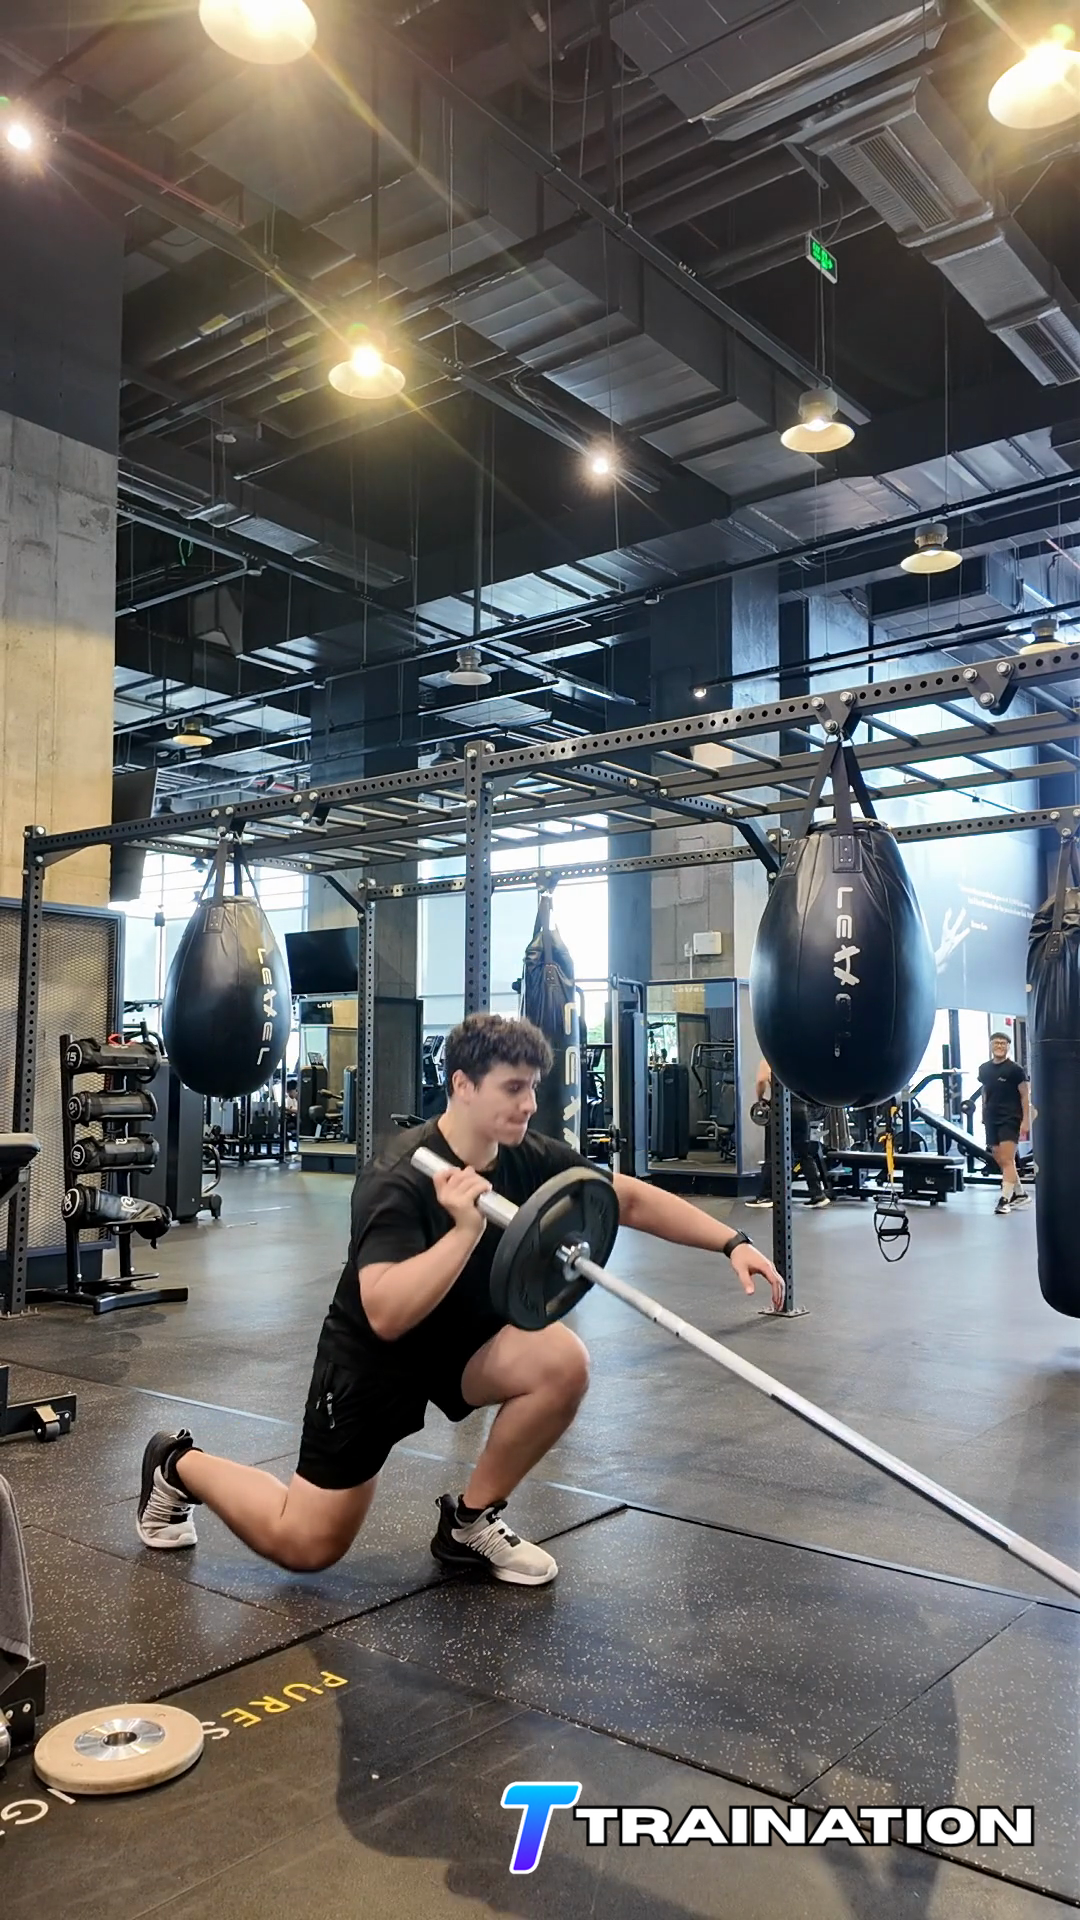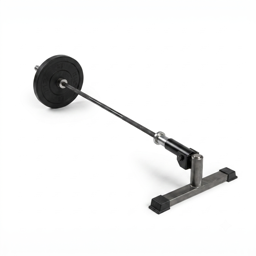
Landmine Reverse Lunge To Shoulder Press

Landmine Reverse Lunge To Shoulder Press combines a controlled lunge with an upper-body or balance challenge to train coordination and single-leg strength.

Primary muscle
Upper Legs

Primary musclesQuadriceps, Gluteus maximus

Secondary musclesHamstrings, Gluteus medius, Obliques, Deltoids

Equipment
Landmine
← Back to exercise database

Set up for Landmine Reverse Lunge To Shoulder Press

Prepare the landmine

  • Secure the bar in a landmine base or a protected corner that cannot slide.
  • Load the free end, add a collar, and keep the arc of the bar clear.

Position yourself for Landmine Reverse Lunge To Shoulder Press

  • Rehearse each part of Landmine Reverse Lunge To Shoulder Press separately with no load, then connect the positions only when the transition stays balanced and deliberate.
  • Confirm the lunge is stable by itself before adding the press, twist, or knee drive named in the exercise.

Choose and verify the starting level

  • Use a conservative load for the first set of Landmine Reverse Lunge To Shoulder Press. You should be able to pause at the hardest position without changing the intended joint path.
  • Perform one slow rehearsal repetition and change the setup if the equipment shifts, the range causes pain, or the target position cannot be maintained.

How to perform Landmine Reverse Lunge To Shoulder Press

Follow the sequence in order, paying attention to the starting position, movement path, and finish described in each step.

  1. Set the stride and load position required for Landmine Reverse Lunge To Shoulder Press, brace, and keep the hips facing the intended direction.

  2. Step or lower into the lunge while the front knee tracks with the toes and the whole front foot stays planted.

  3. Perform the press, twist, or knee drive named in the exercise only after the lunge position is balanced; turn through the upper trunk or a pivoting foot rather than a planted knee.

  4. Reverse the added movement first so the load returns close to the body before leaving the split stance.

  5. Drive through the front foot and regain a tall stance before the next repetition. Repeat without changing the established position.

Common Landmine Reverse Lunge To Shoulder Press mistakes

These are the form changes most likely to move work away from the target muscles or make the repetition harder to control.

Adding the second action too early

Own the lunge position before pressing, twisting, or driving the knee.

Twisting through a planted knee

Rotate through the upper trunk or a pivoting foot, not through a knee fixed to the floor.

Using a load for the stronger component

Choose resistance according to the weaker movement so both parts remain controlled.

Rushing the transition

Return the added movement and regain balance before stepping into the next repetition.

When to modify or choose another exercise

  • Reduce the resistance, range, lever length, or balance demand if Landmine Reverse Lunge To Shoulder Press cannot be completed without compensation.
  • Stop when the exercise produces sharp, catching, radiating, or increasing joint pain rather than the expected muscular effort.
  • Choose a stable supported alternative when fatigue, balance, equipment fit, or a current medical restriction prevents repeatable technique.

How to use Landmine Reverse Lunge To Shoulder Press in a training program

Use Landmine Reverse Lunge To Shoulder Press after its component movements have been learned separately. Place it in the middle of a full-body session or in a technique-focused circuit, not where fatigue will blur the transition between actions.

01

Where it fits in a session

Place Landmine Reverse Lunge To Shoulder Press in the middle of a full-body session or a technique circuit after each component has been learned separately.

02

How often to use it

Use once or twice per week when the combination directly supports the program; otherwise train the component movements separately.

Starting rep ranges by goal

GoalSetsReps or timeRestEffort and execution
Technique2–44–6 per side90–150 secUse the load the weakest component controls
Full-body accessory2–46–10 per side90–180 secKeep 2–3 clean reps in reserve

How to progress it

Make each component and transition repeatable before increasing load. Never progress based only on the stronger part of the combination.

Pairing and sequencing

  • Pair with a simple accessory that does not duplicate the same balance or grip demand.
  • Avoid placing after intense conditioning, when transitions are most likely to blur.

Coach's notes

  • Begin with 2–4 sets of 5–8 deliberate repetitions, using a load the weaker component can control.
  • Rest 90–150 seconds and reset between repetitions whenever balance, grip, or sequence begins to change.
  • Progress only after both parts remain distinct and controlled; do not add load merely because the stronger component can handle it.

Regressions and progressions for Landmine Reverse Lunge To Shoulder Press

Start with an easier option

Supported Landmine Reverse Lunge To Shoulder Press

Add external support or reduce the balance demand while learning the exact joint path.

Reduced-range Landmine Reverse Lunge To Shoulder Press

Use a shorter pain-free range and expand it only as control improves.

Progress when form is repeatable

Tempo Landmine Reverse Lunge To Shoulder Press

Slow the lowering phase without changing the start, finish, or joint alignment.

Paused Landmine Reverse Lunge To Shoulder Press

Add a brief pause at the hardest controlled position before increasing load.

References
  1. American Council on ExerciseACE Exercise Library
  2. Mayo ClinicWeight Training: Do's and Don'ts of Proper Technique
  3. American College of Sports MedicineACSM Resistance Training Guidelines Update

Build client programs that drive retention and cut your weekly programming time in half.

Explore the workout builder →
Beta access

Become a Traination Beta User
Apply to become a beta user of the app for free in exchange for feedbacks and reviews. Your time is important! That's why we will reach out to you individually to make sure this is the right fit.