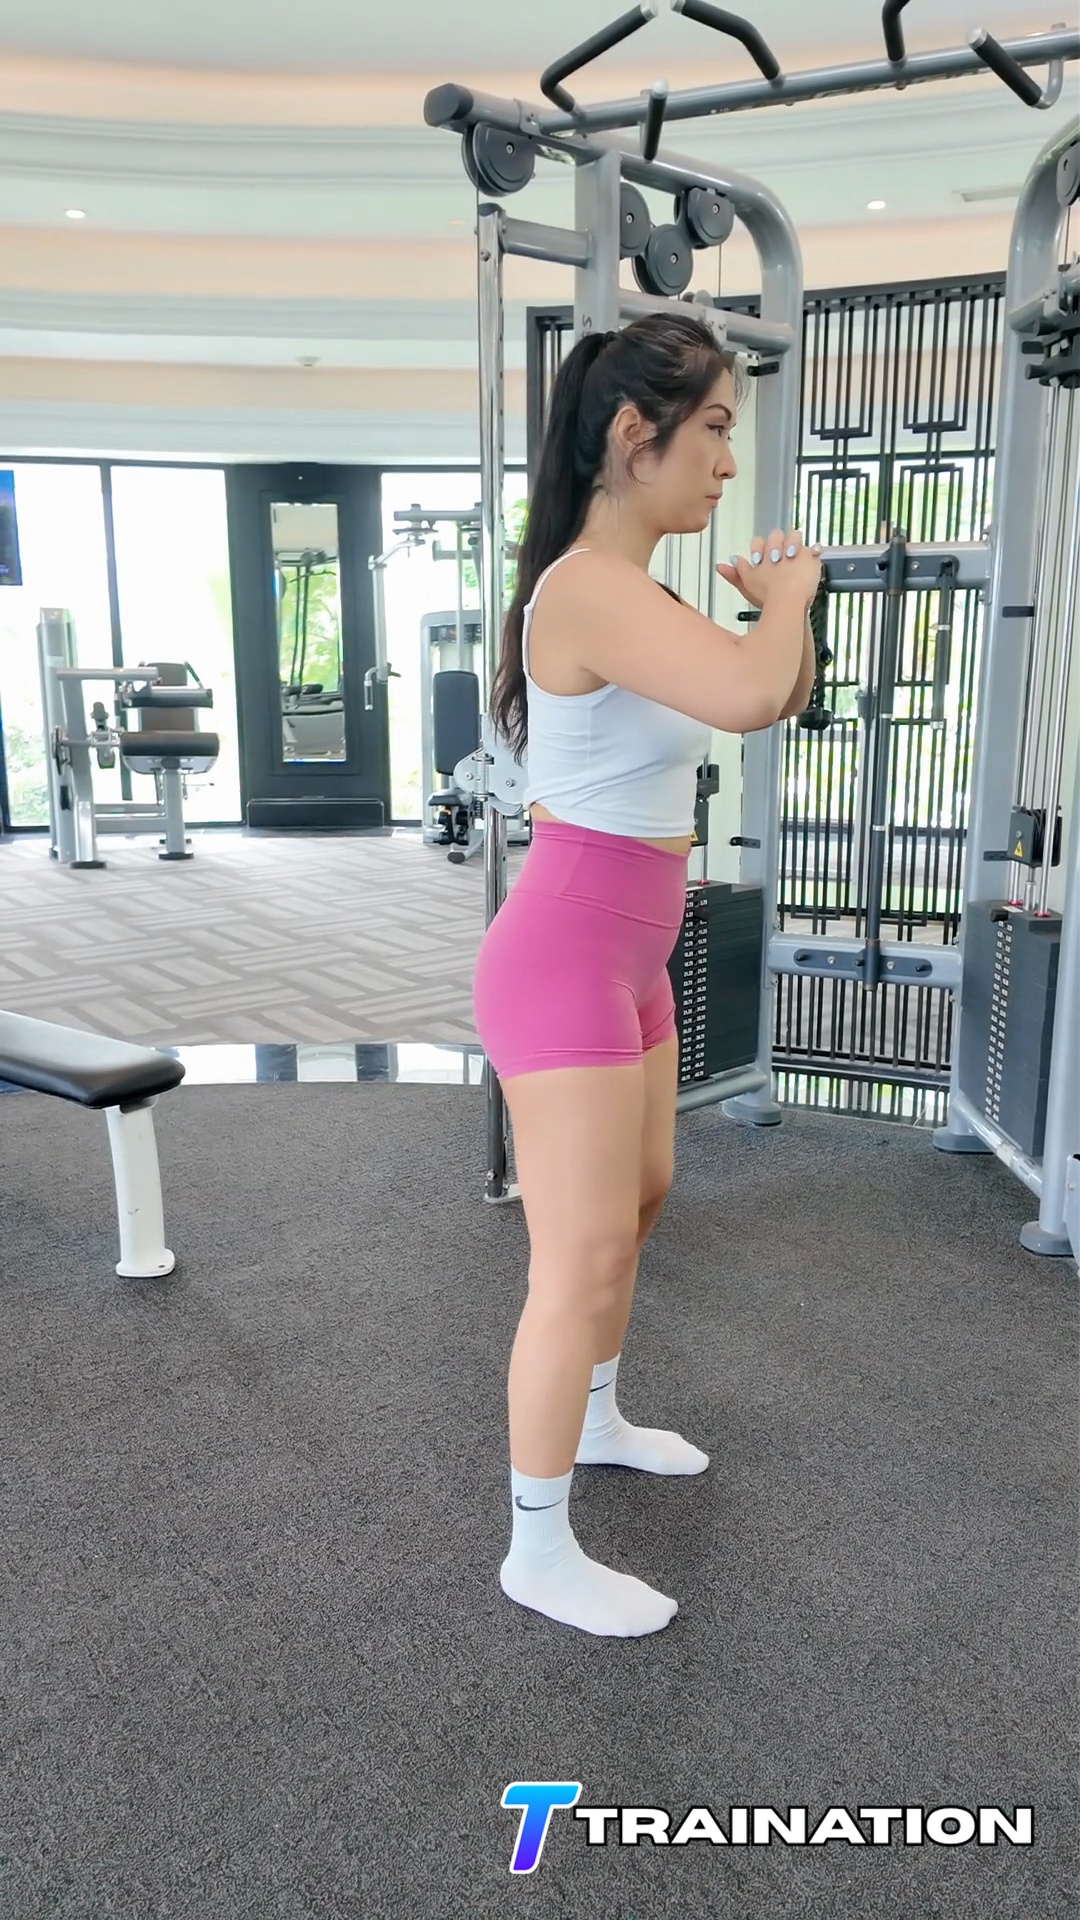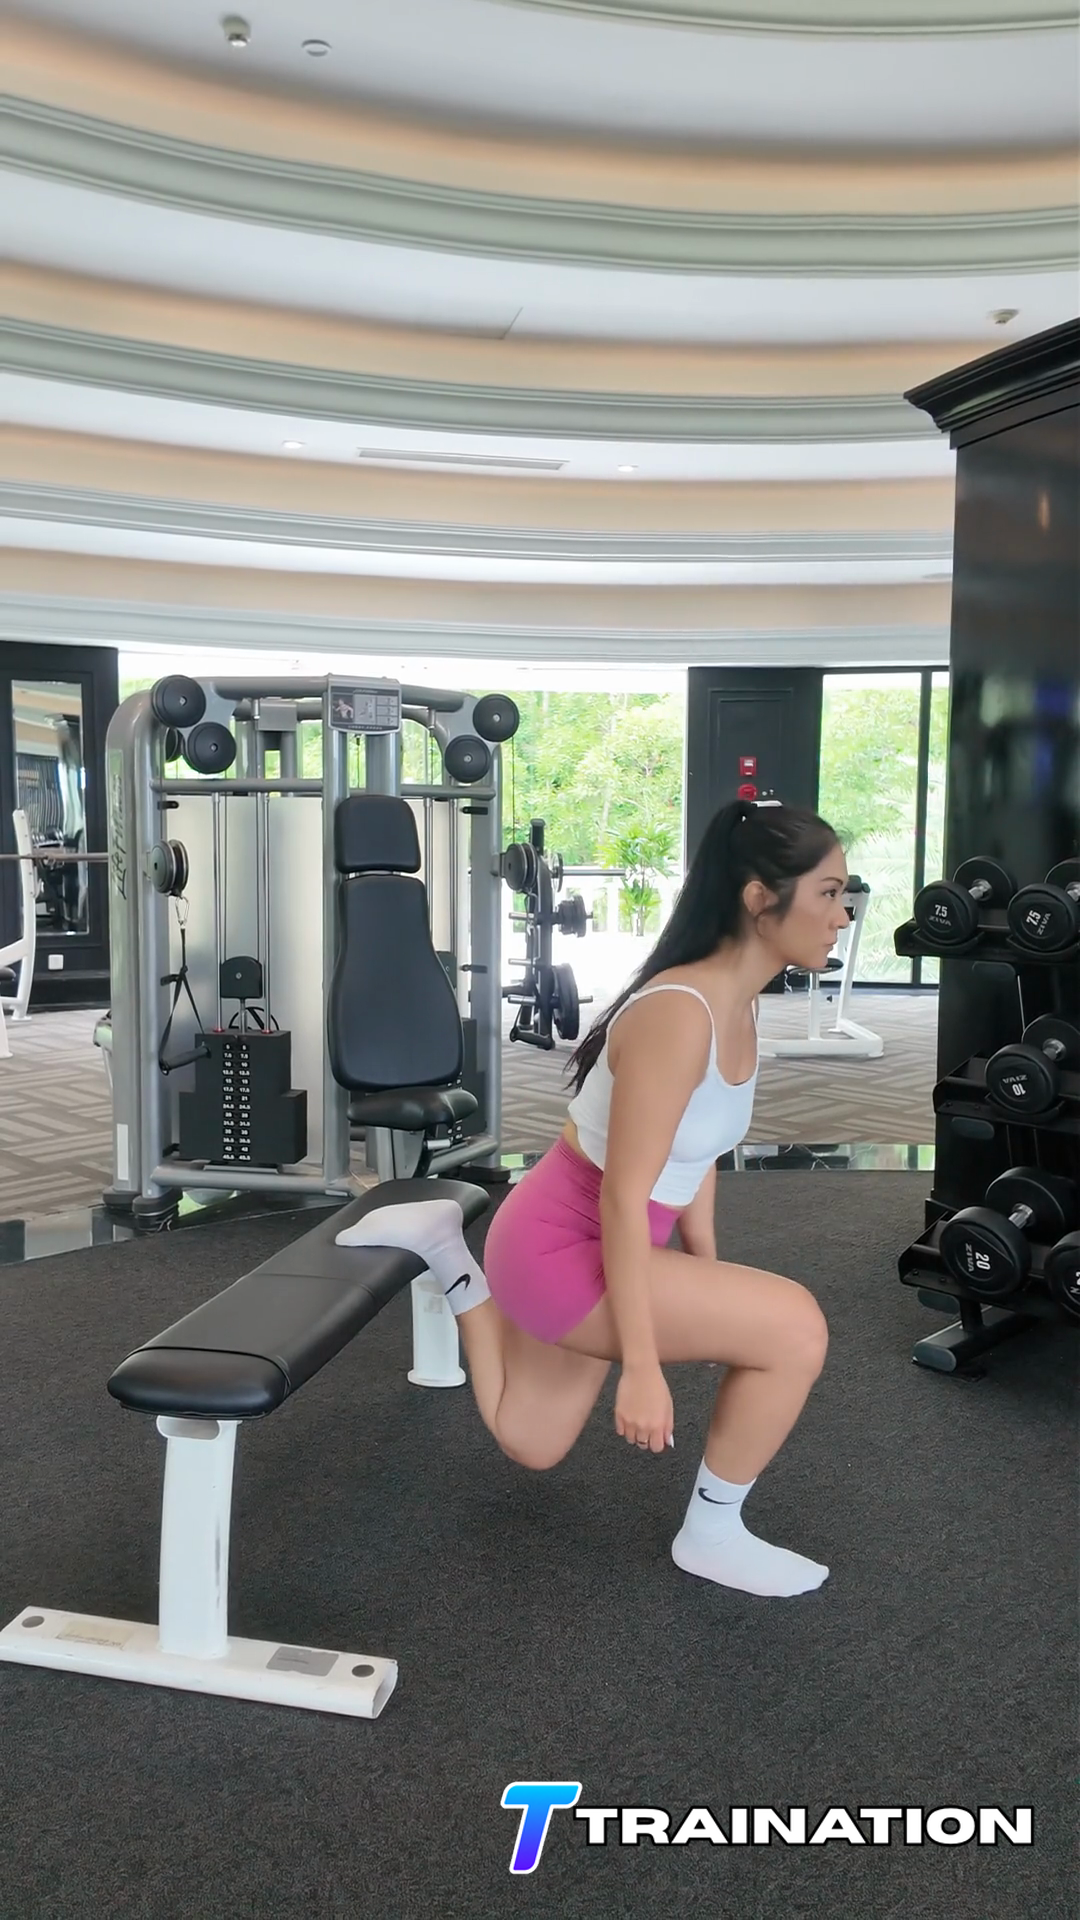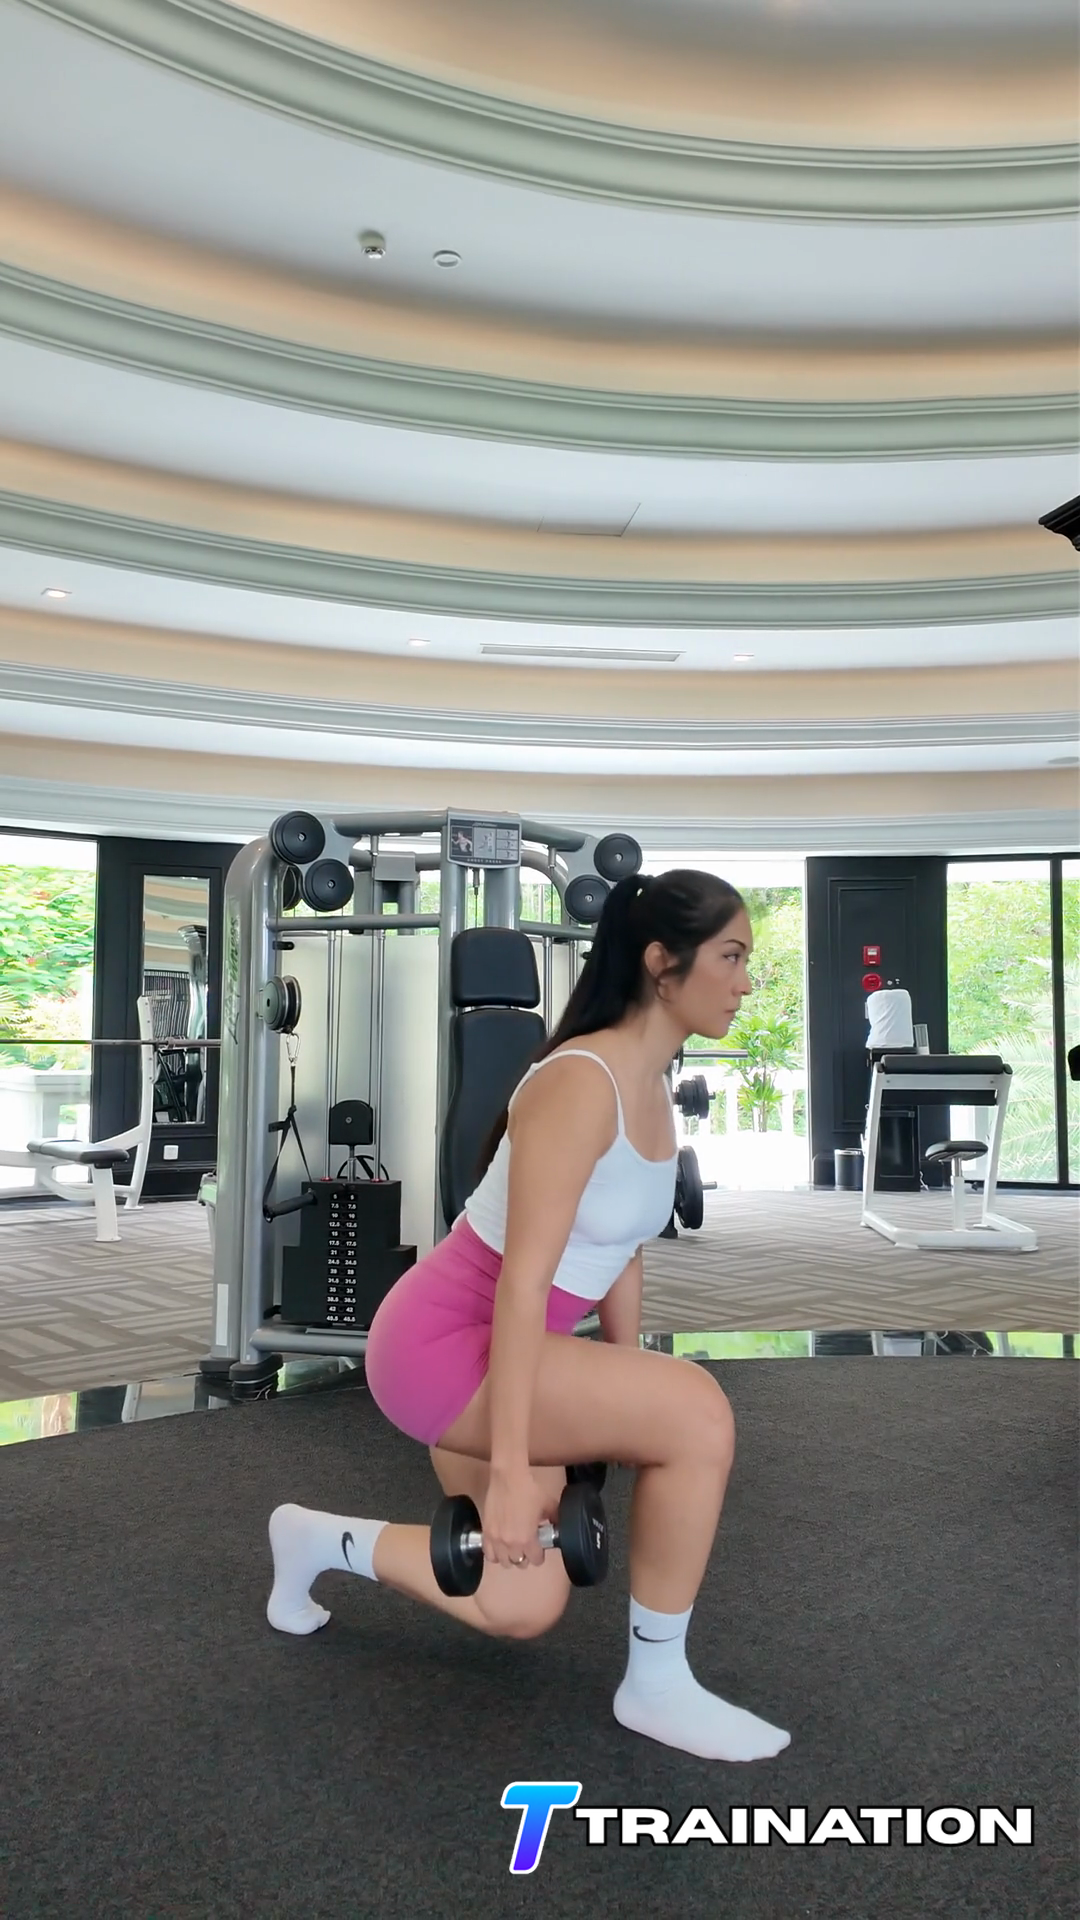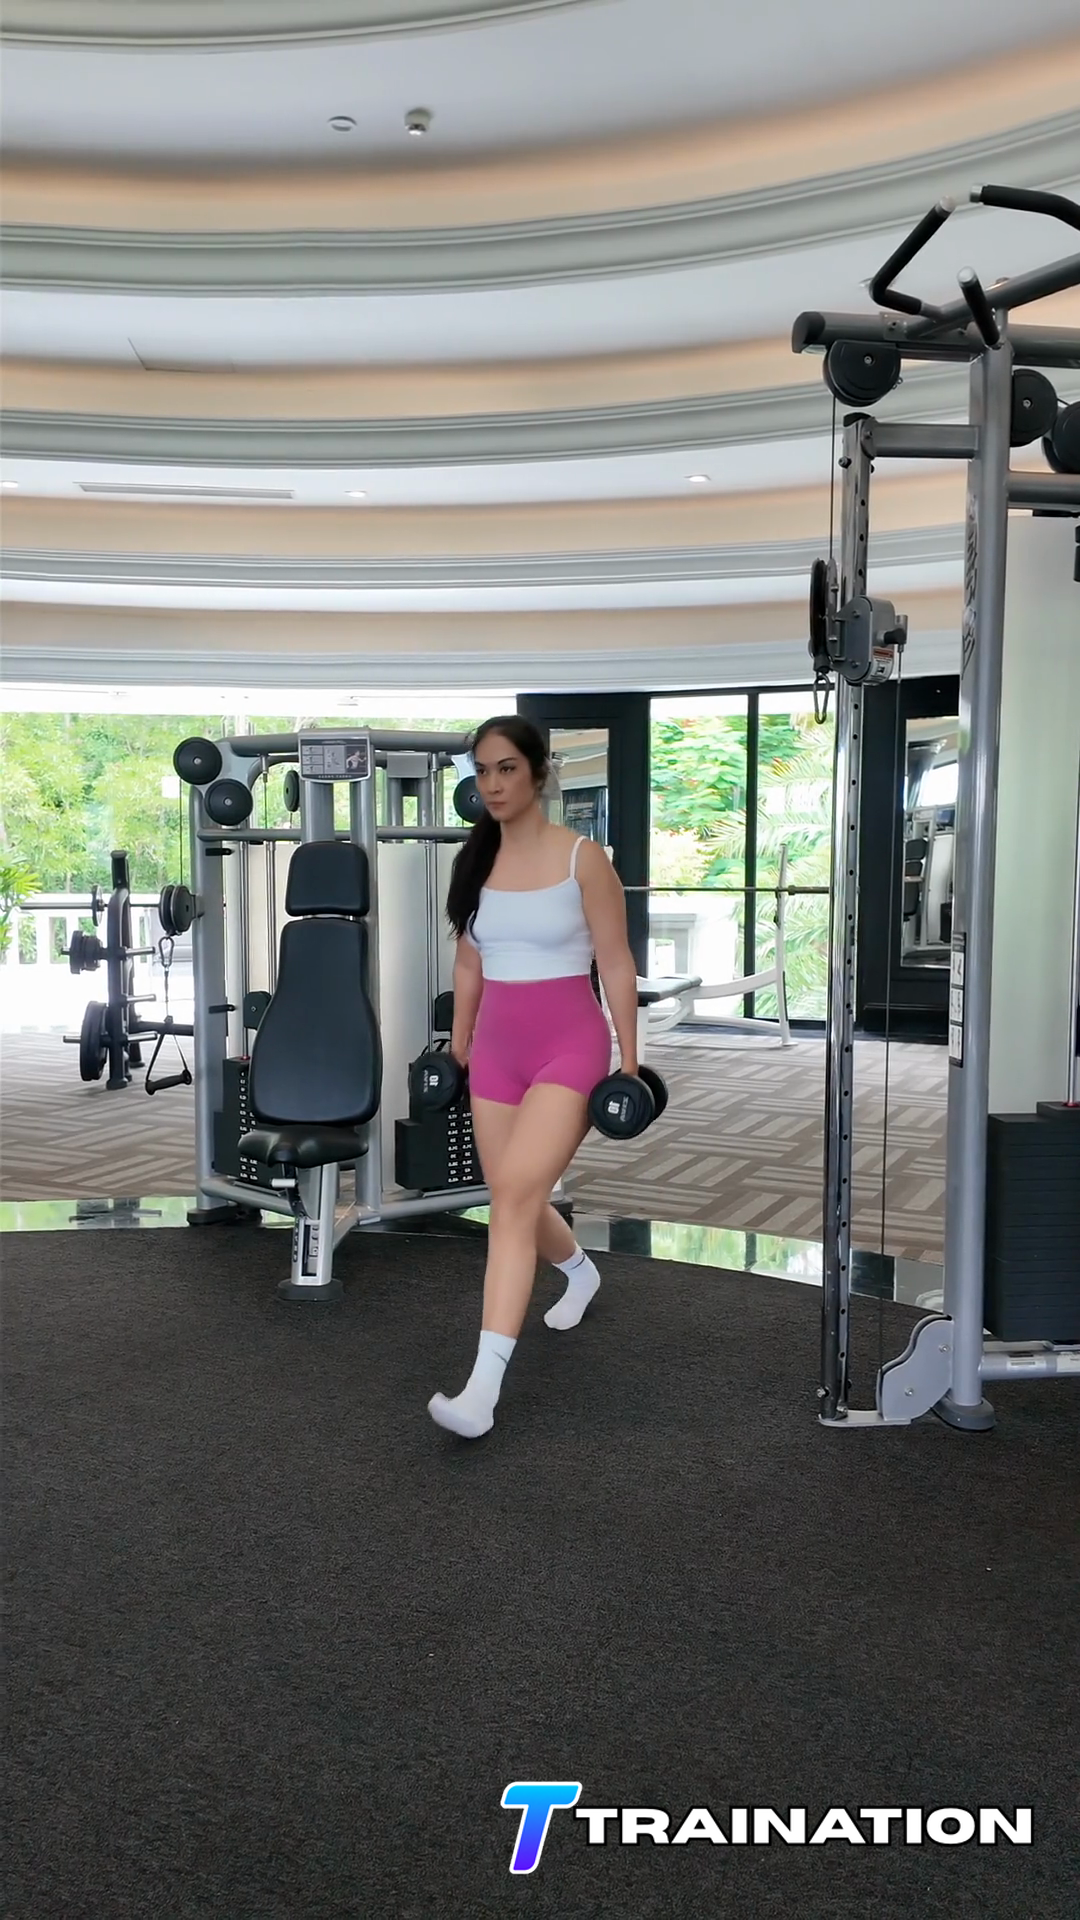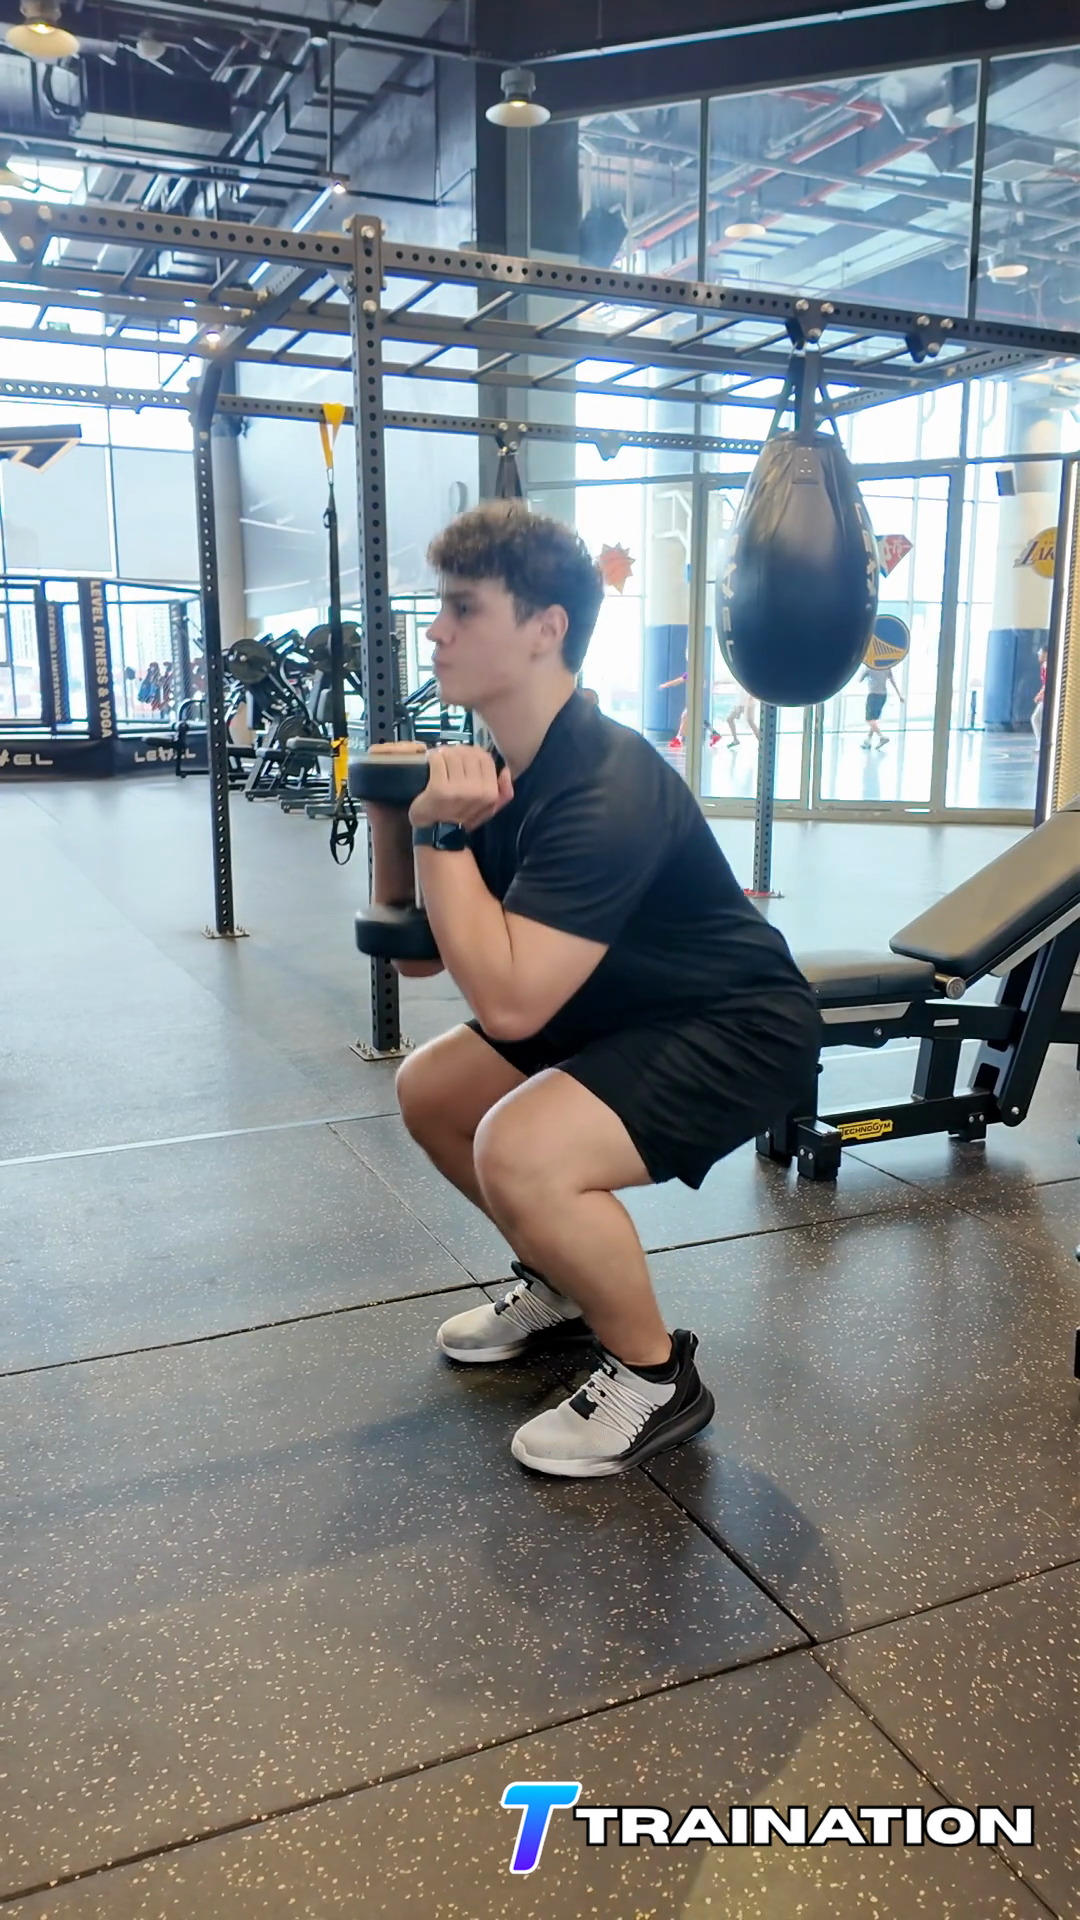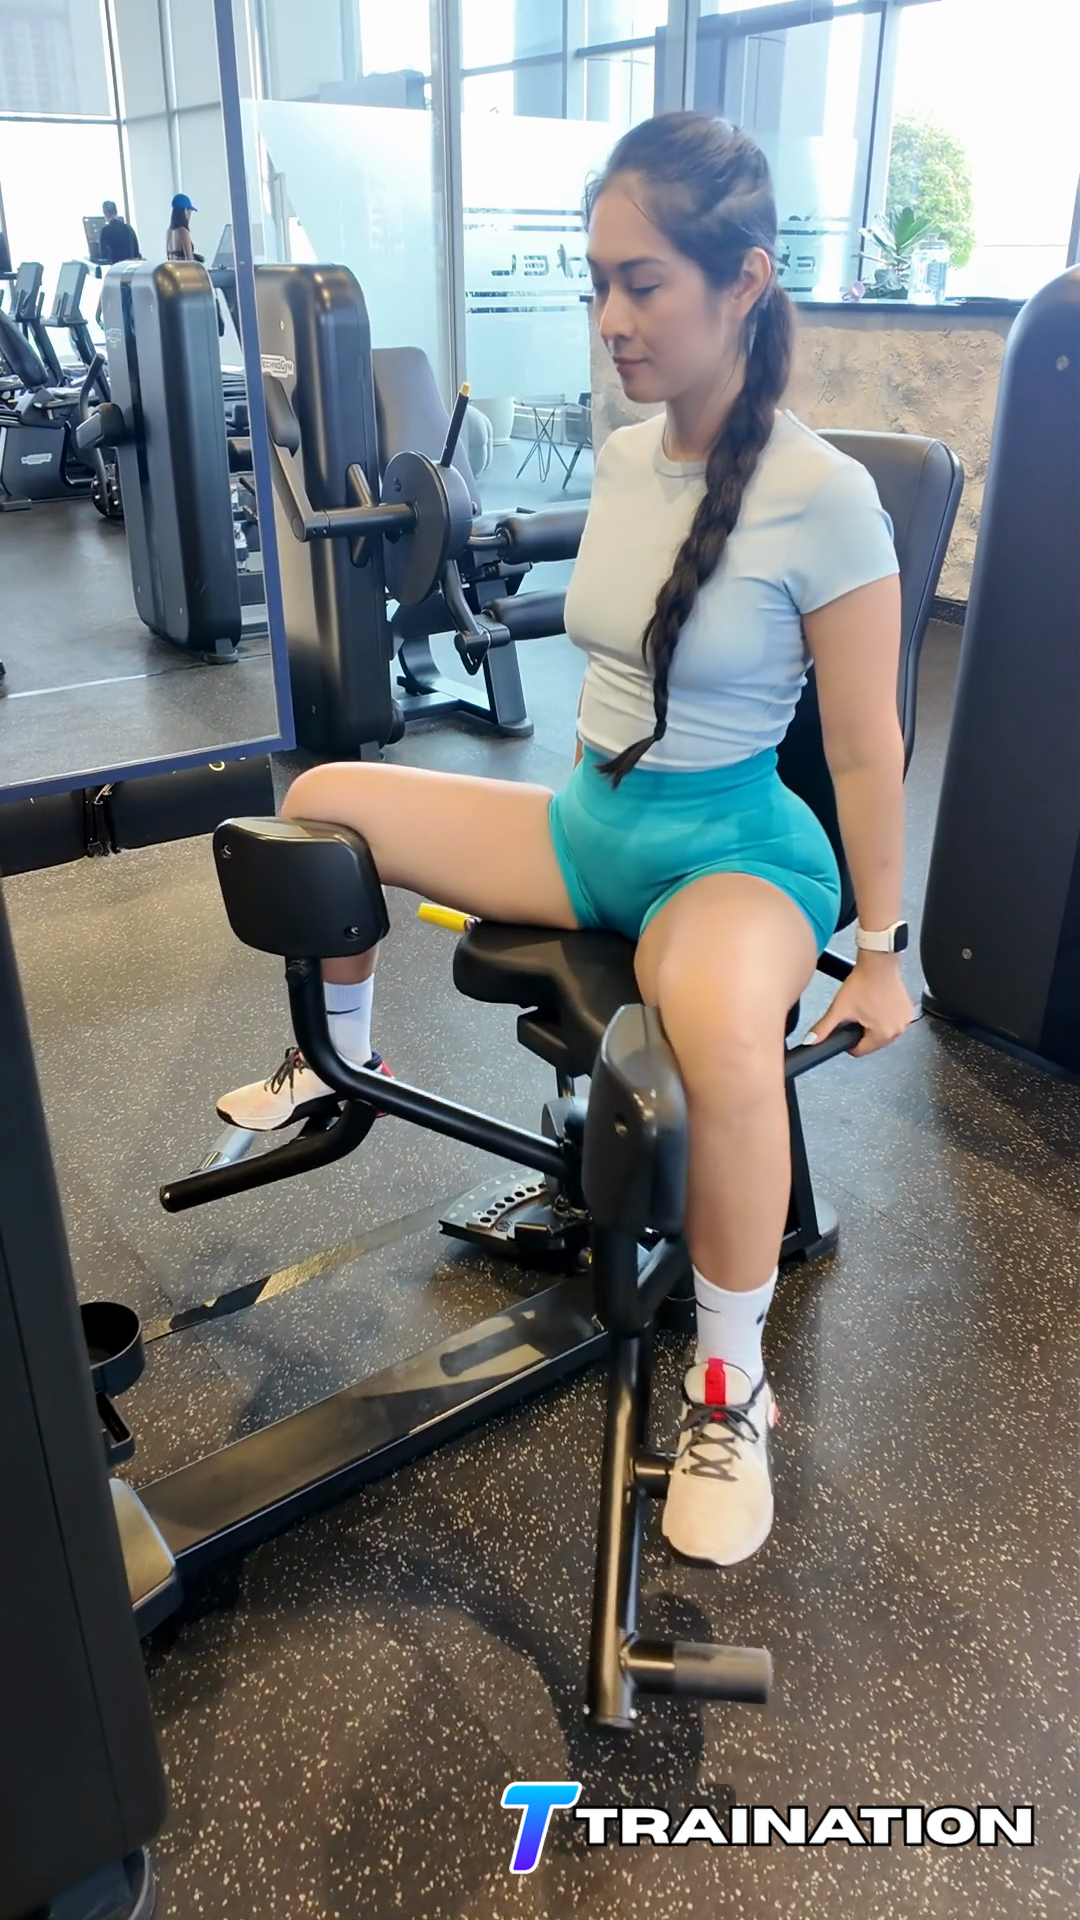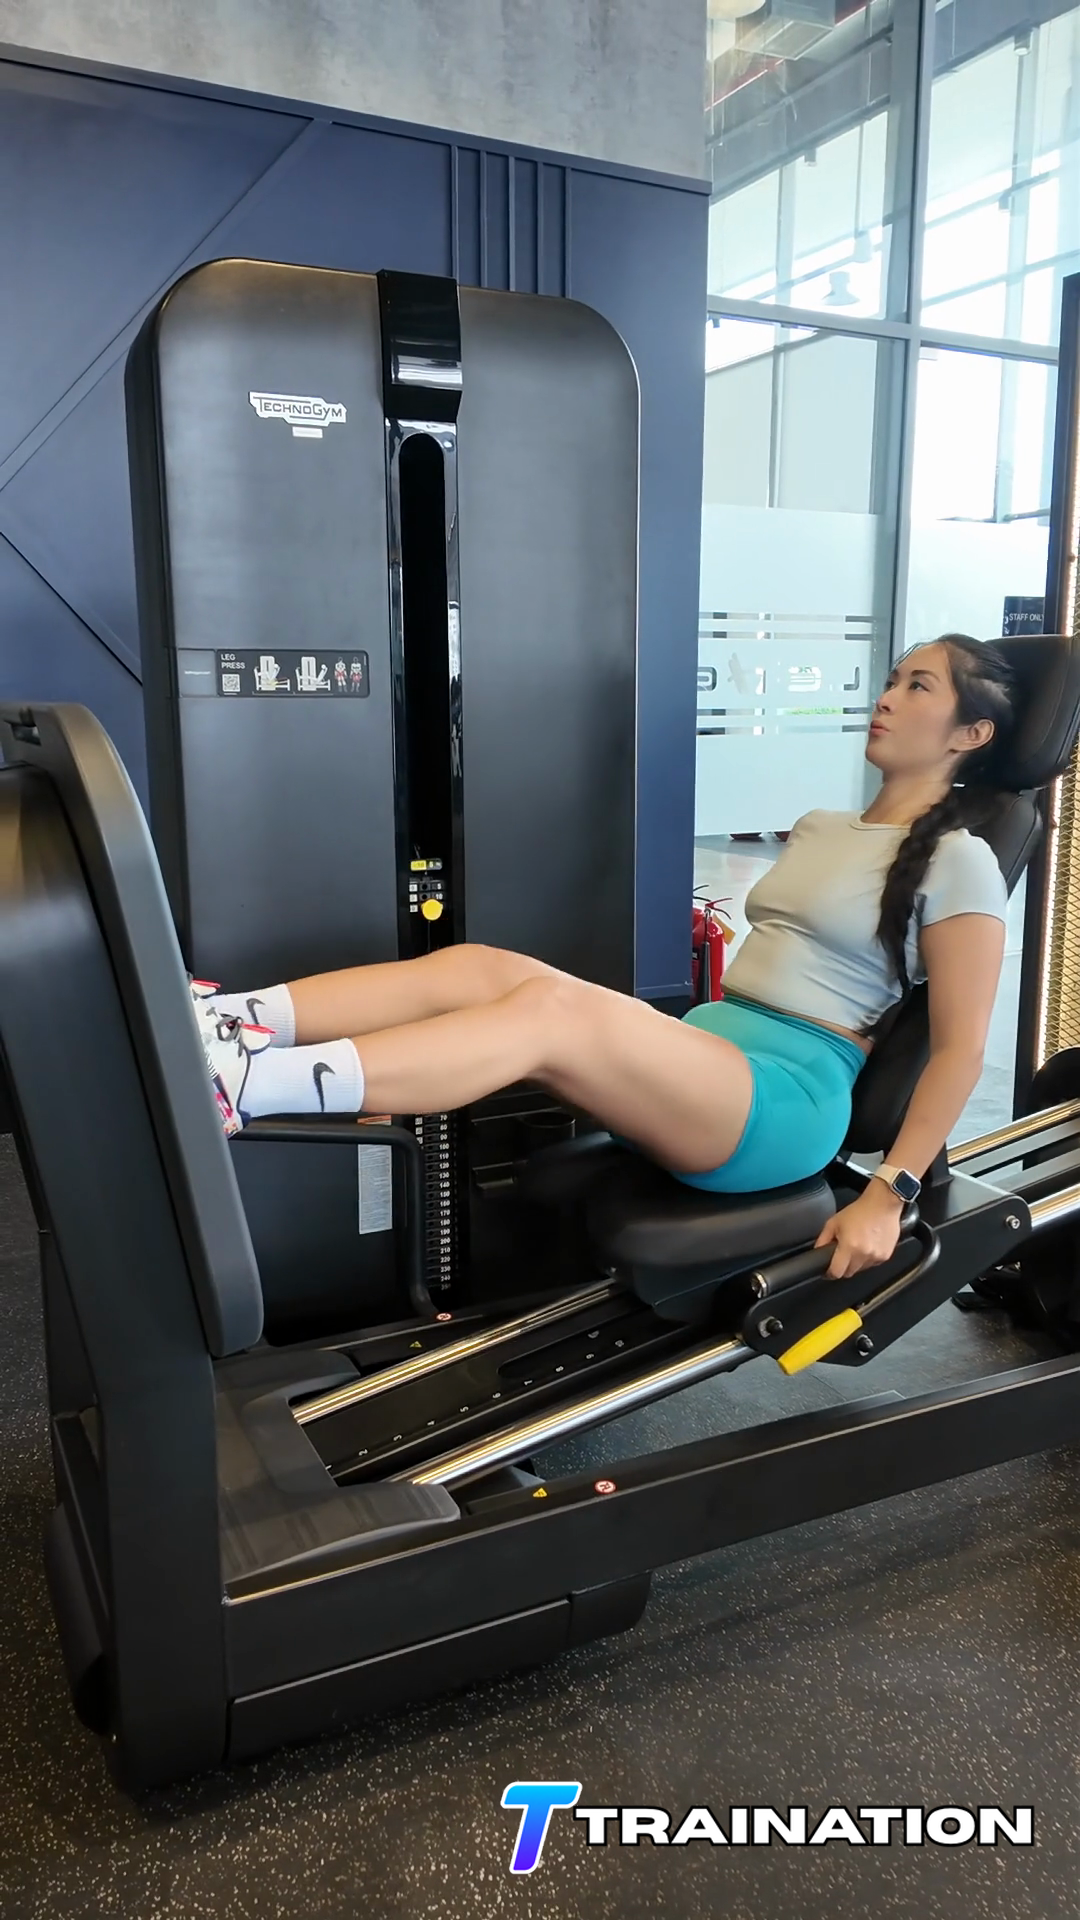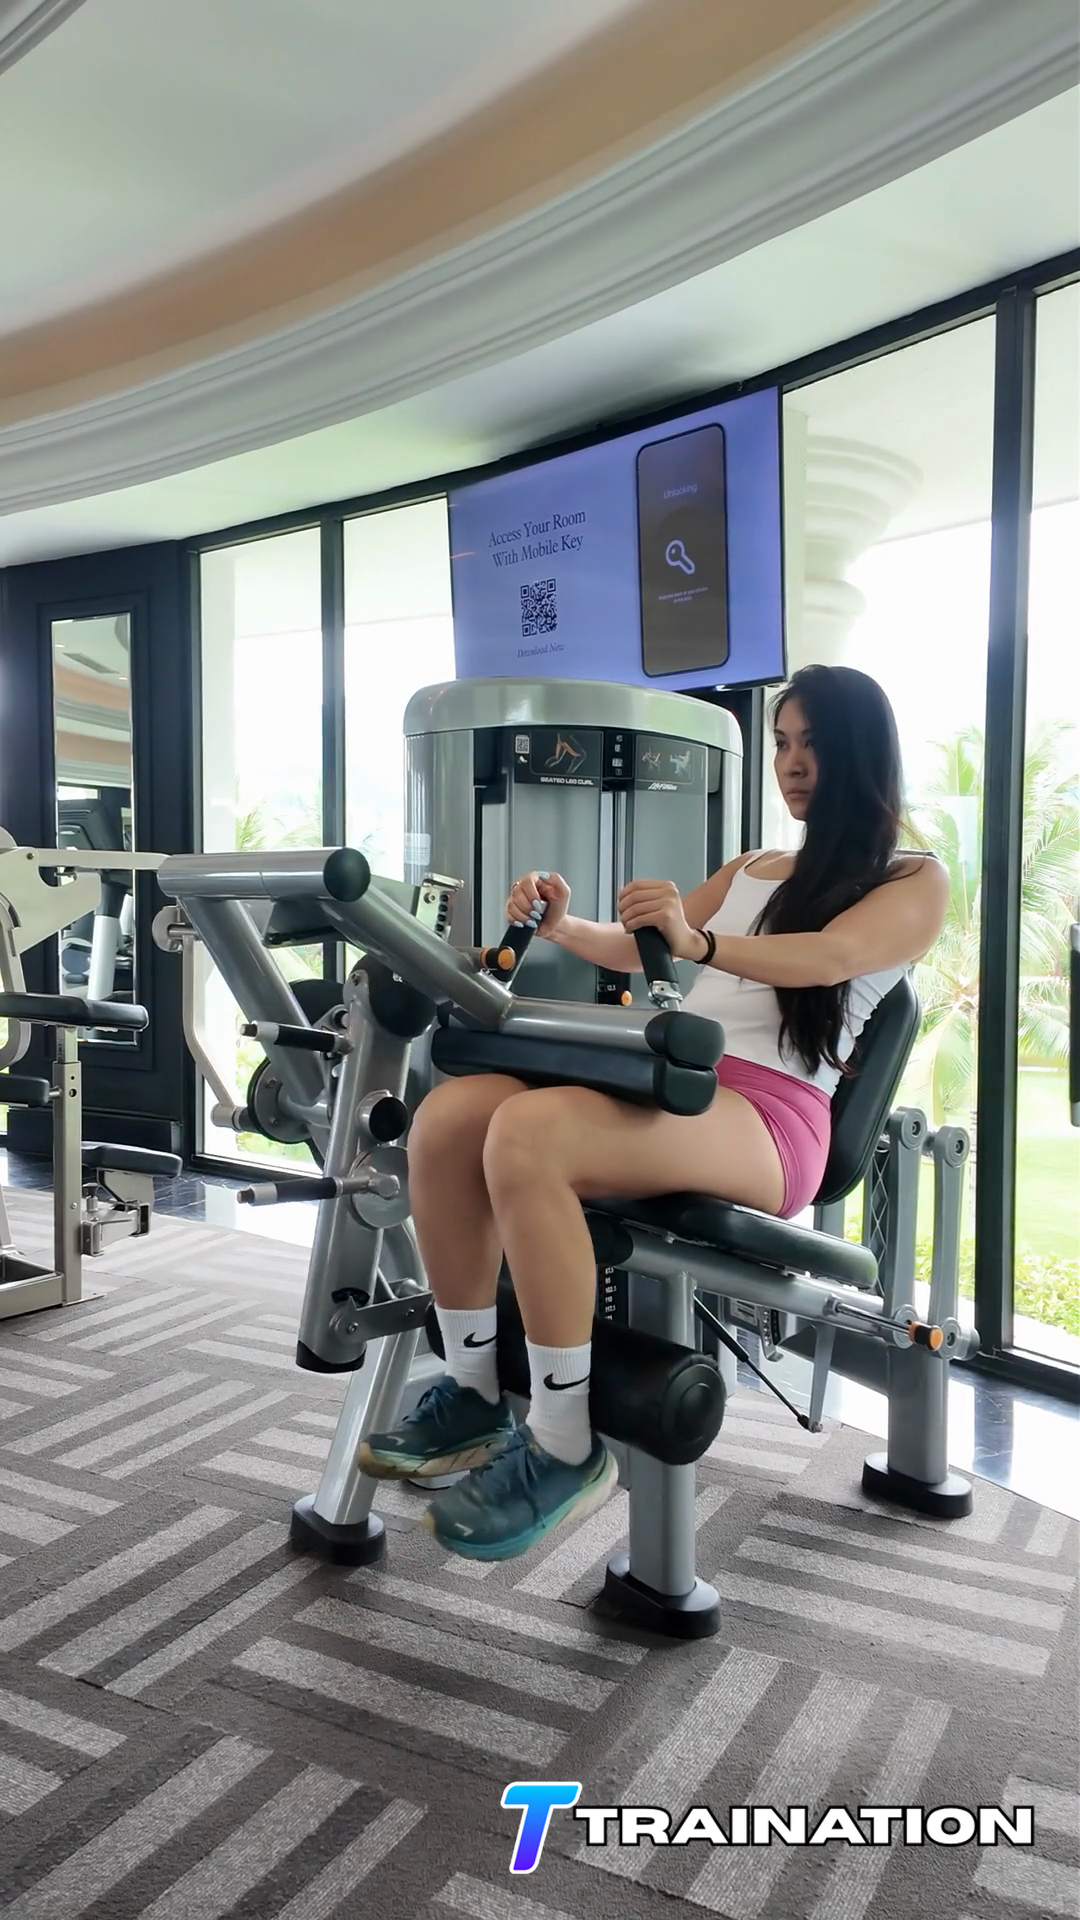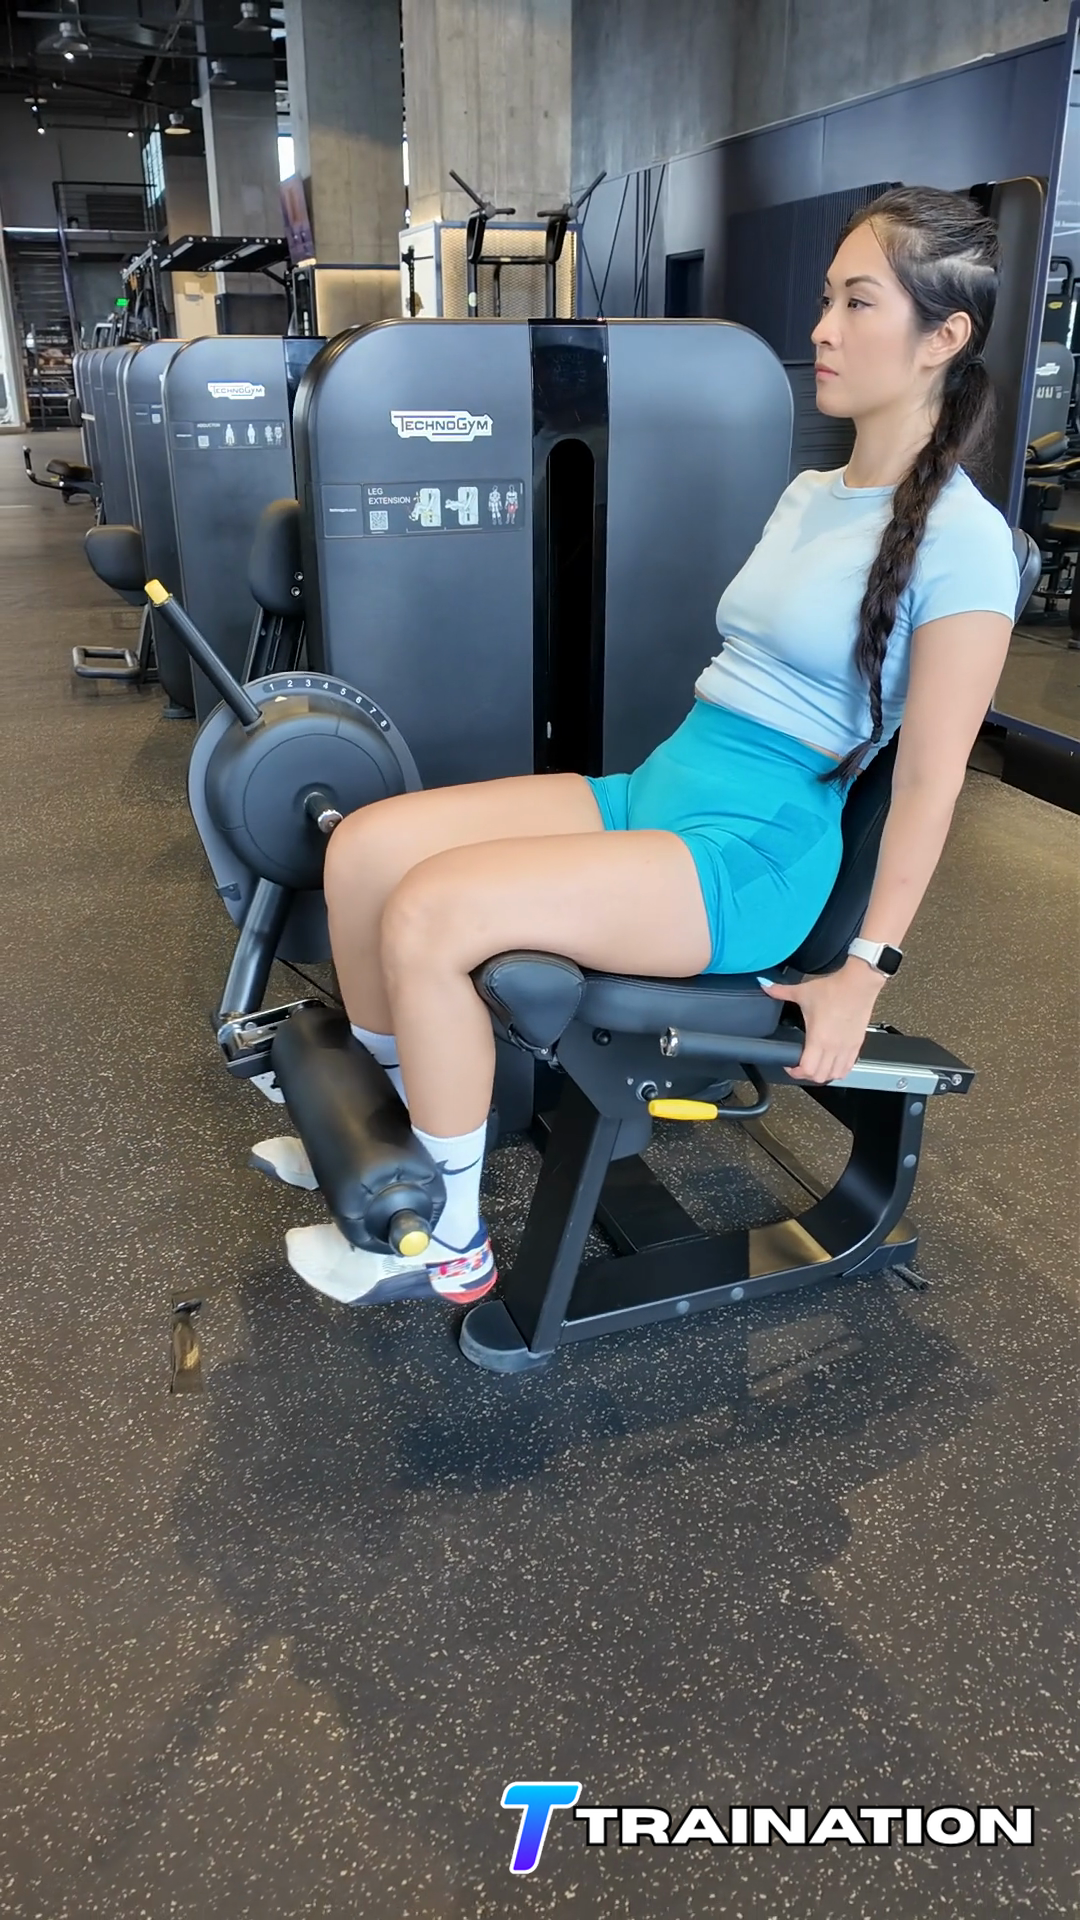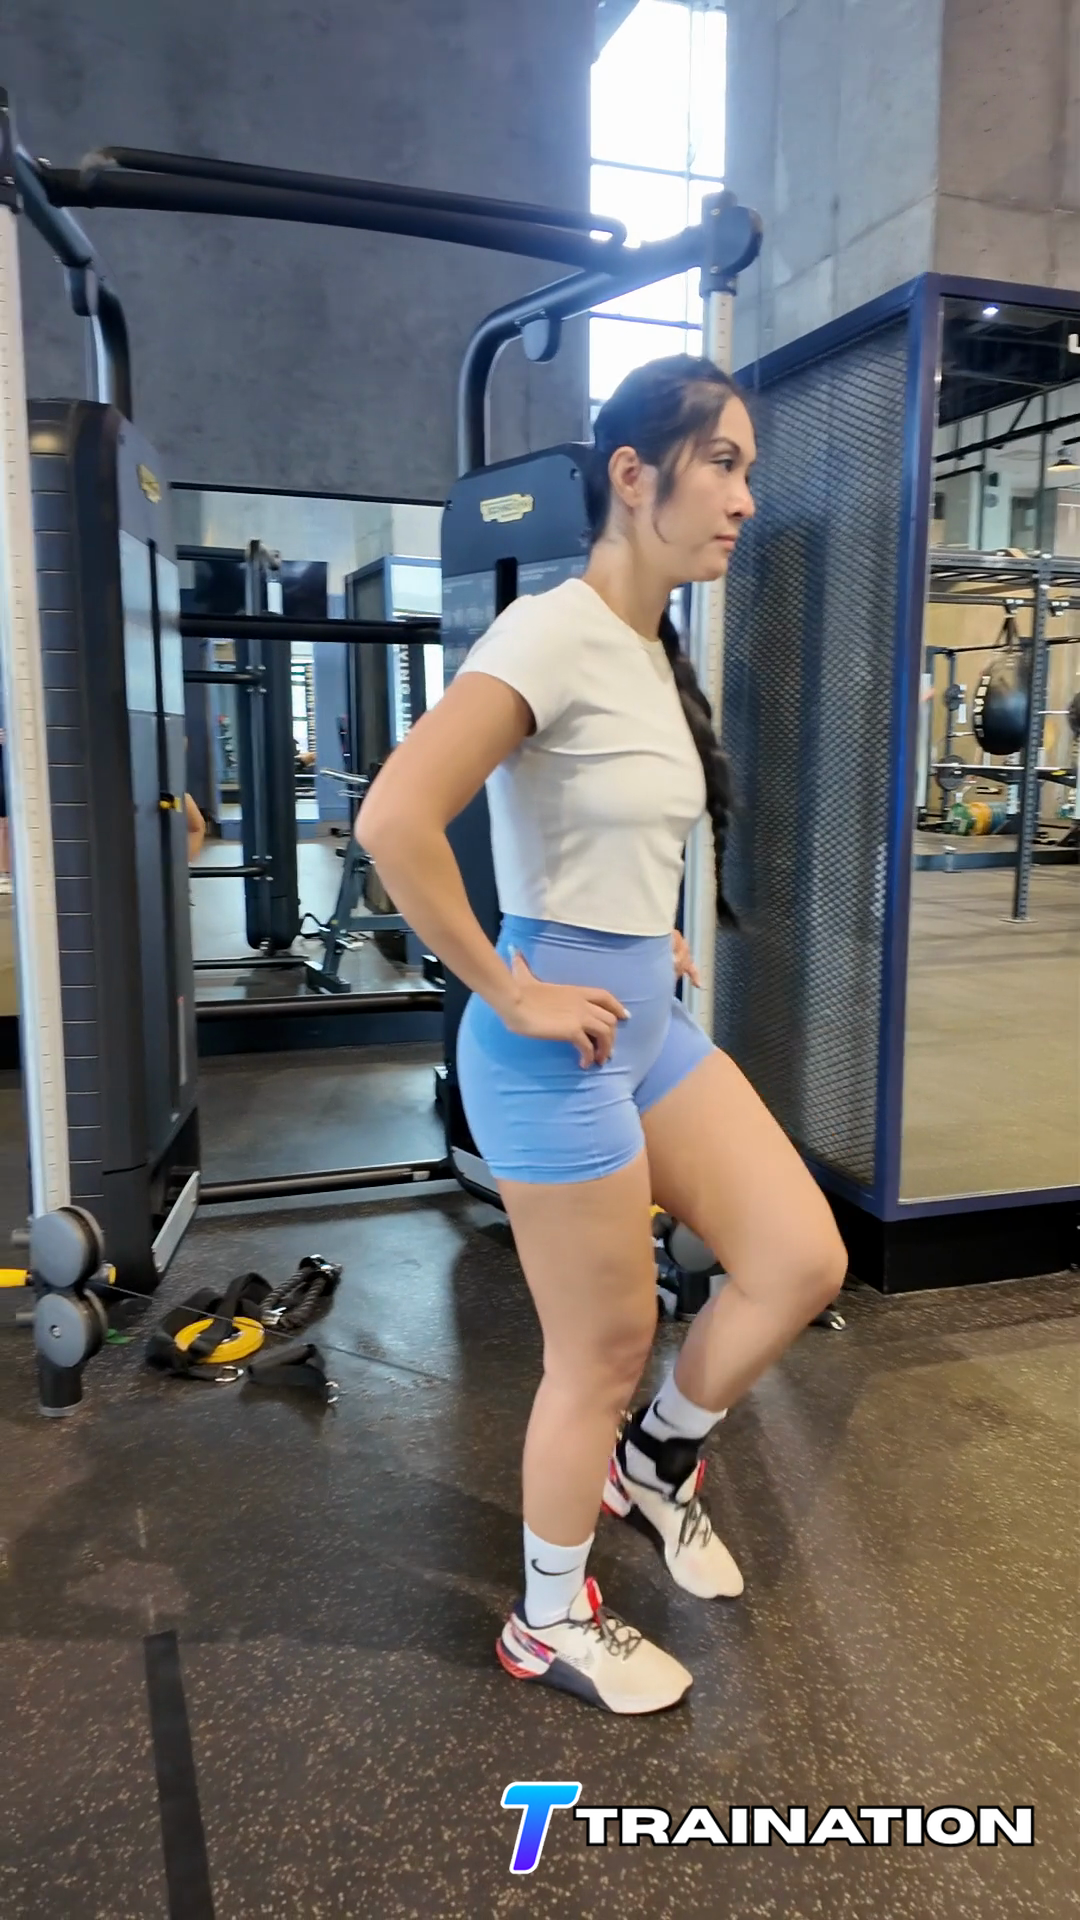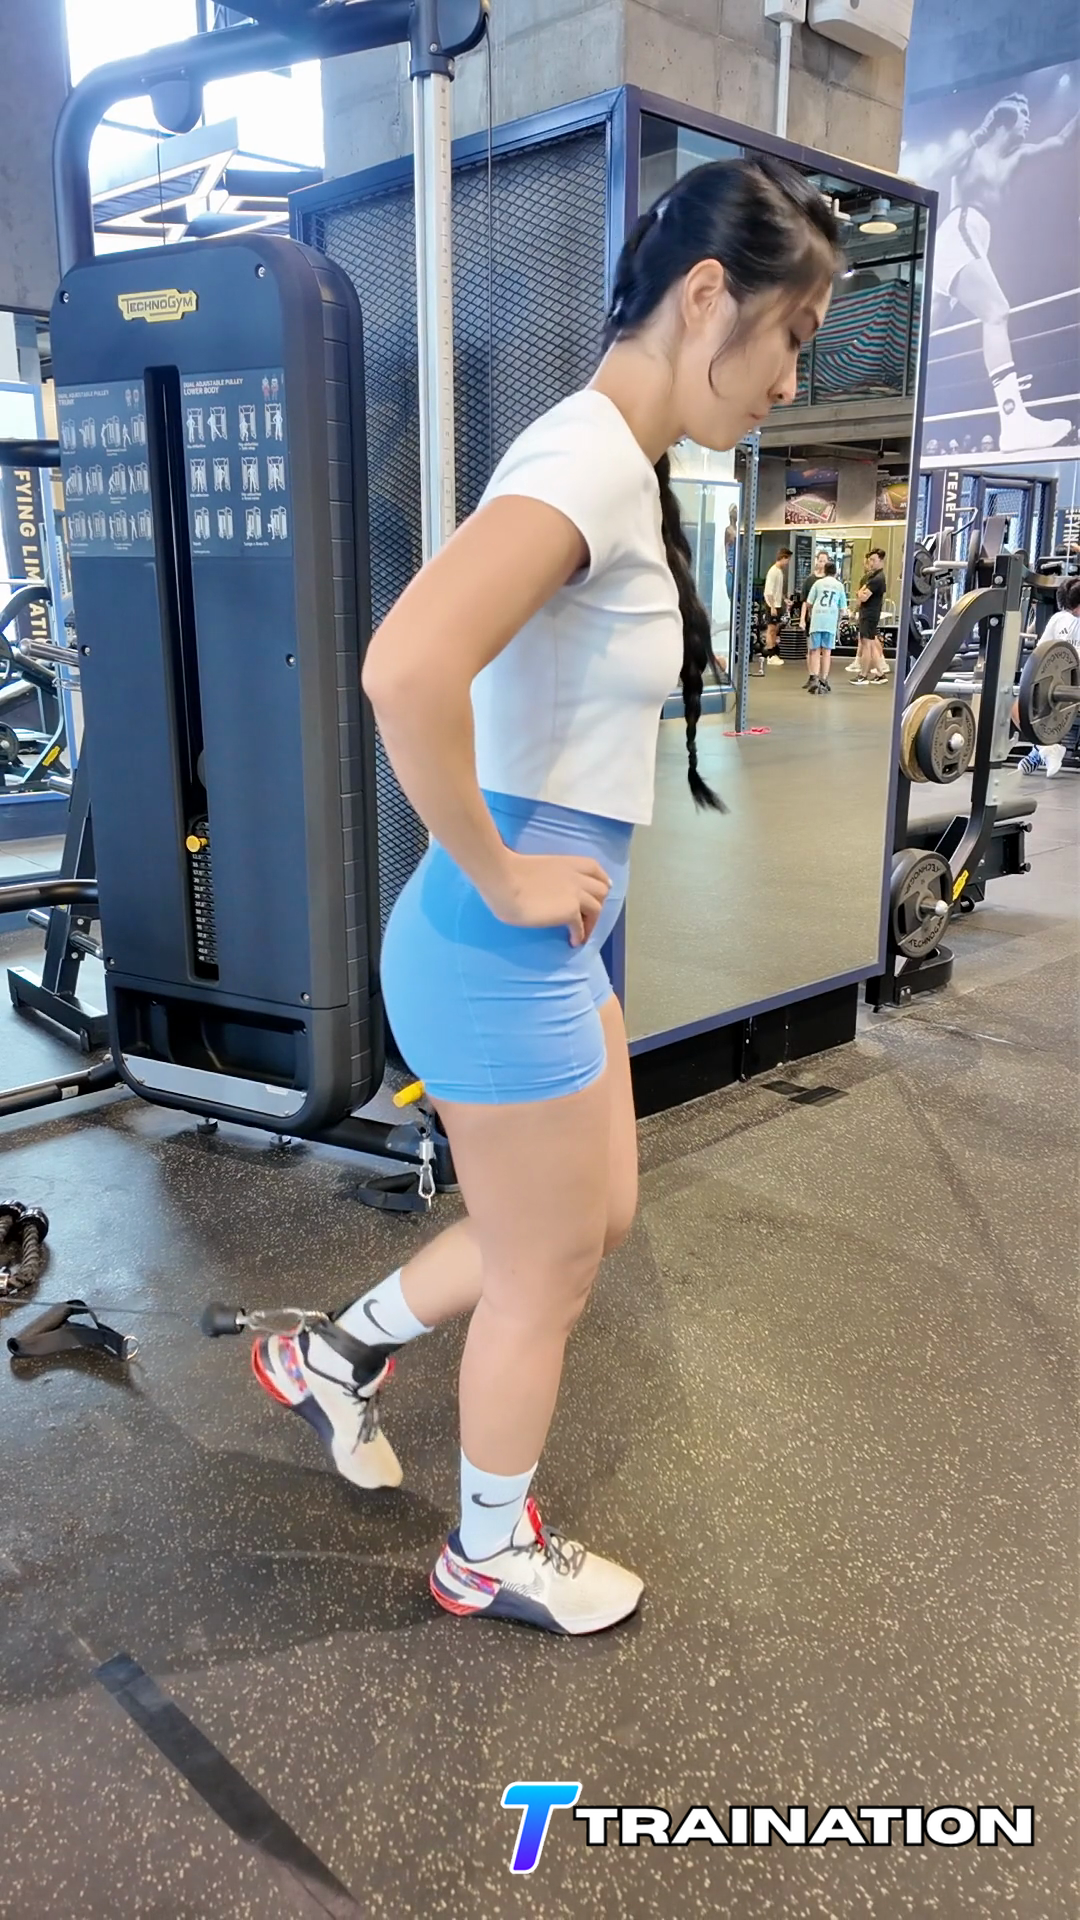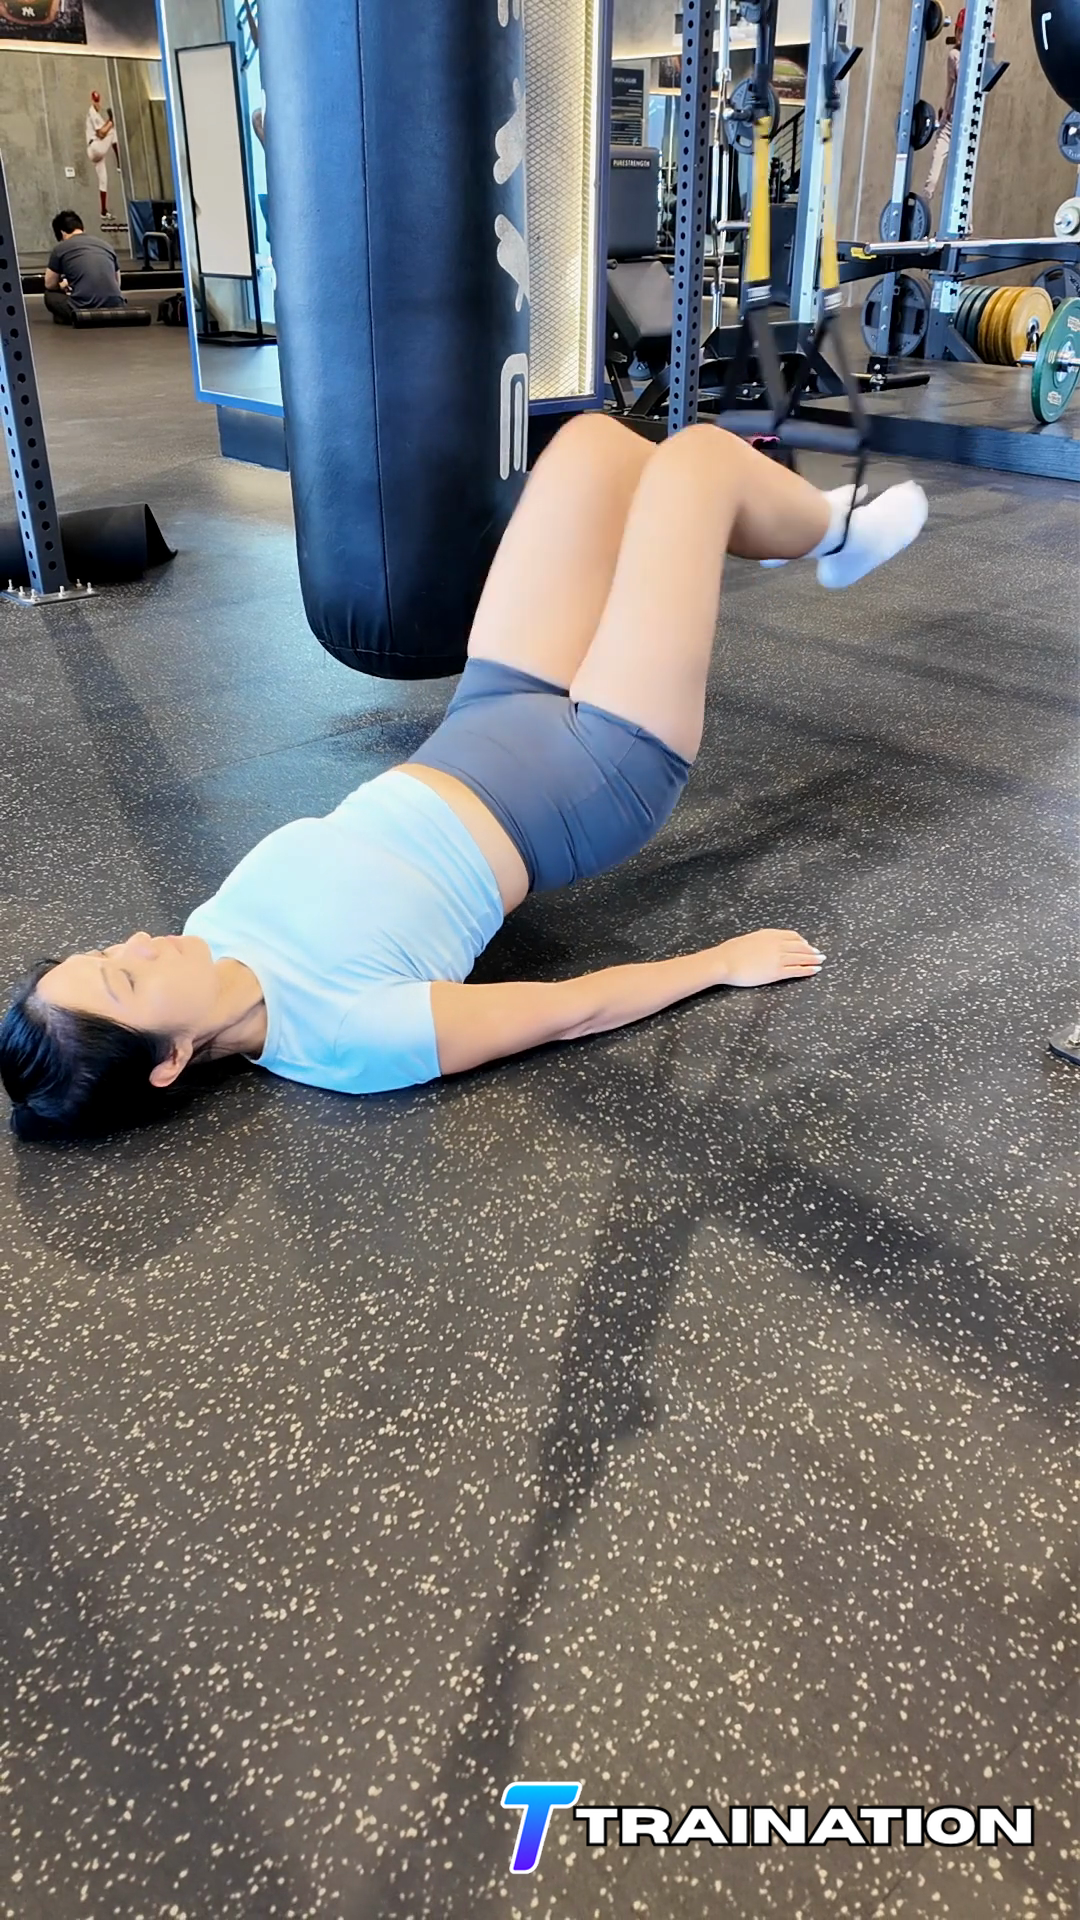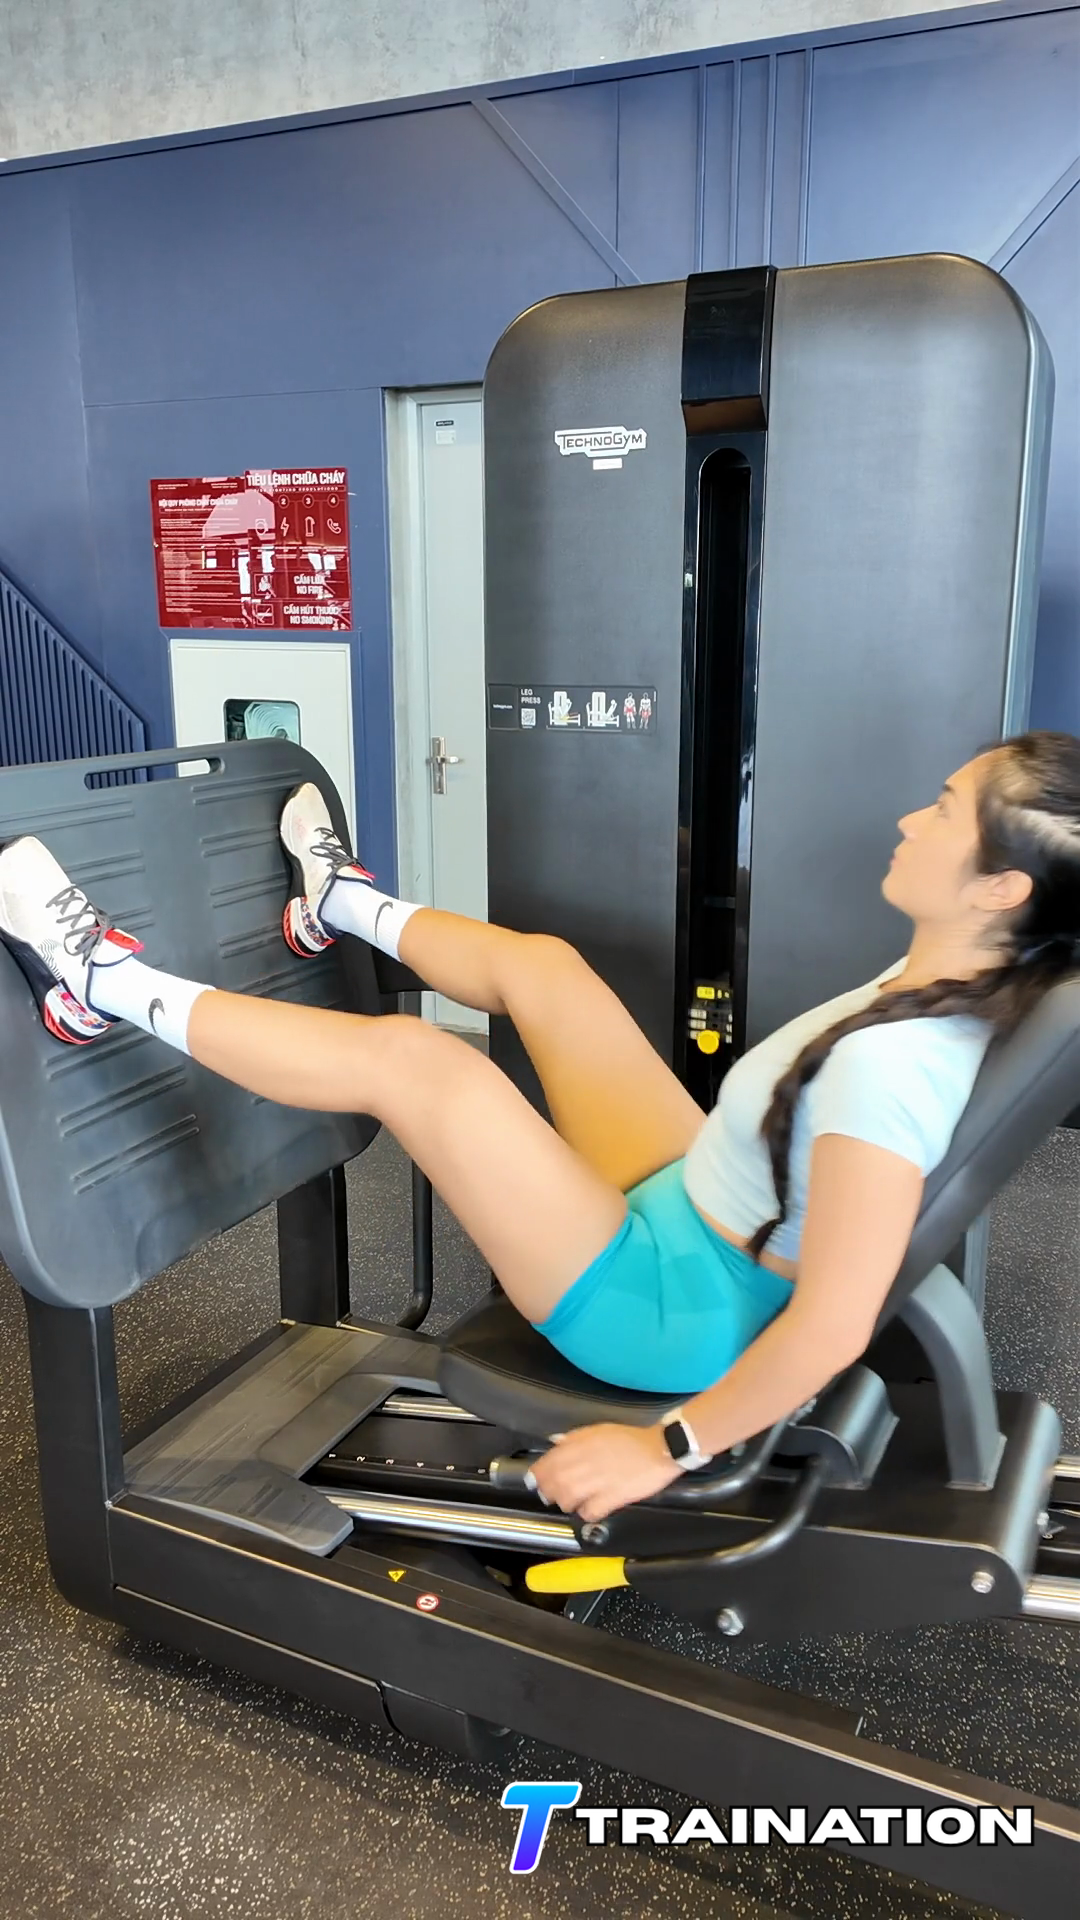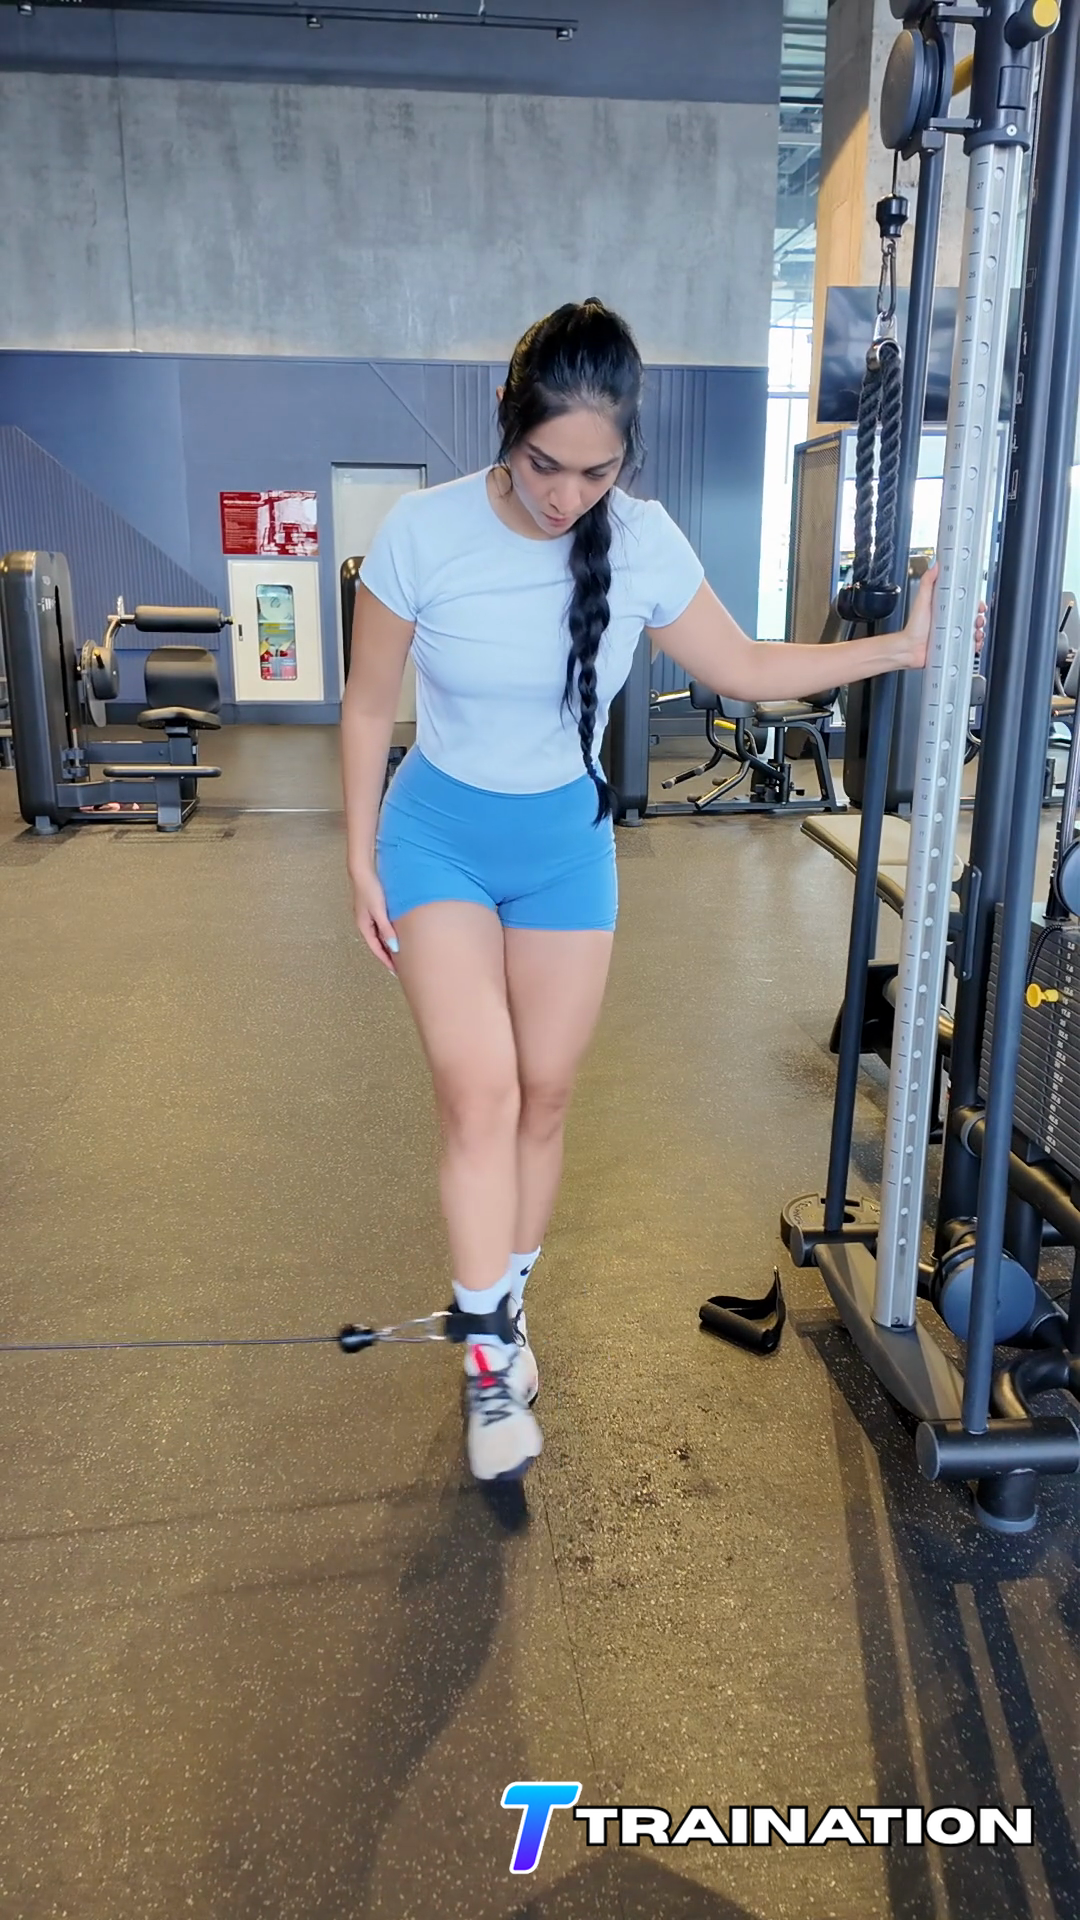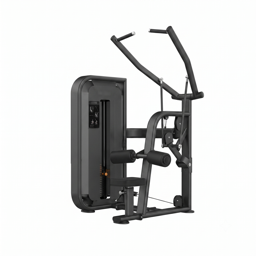
Standing Cable Hip Adduction

Standing Cable Hip Adduction targets the inner-thigh muscles by drawing the thigh toward the body's midline against resistance.

Primary muscle
Upper Legs

Primary musclesHip adductors

Secondary musclesGracilis, Pectineus, Gluteus maximus

Equipment
Strength Machine
← Back to exercise database

Set up for Standing Cable Hip Adduction

Prepare the strength machine

  • Adjust the seat, back pad, and movement arm so the machine pivot aligns with the joint being trained.
  • Insert the weight pin fully and test the start/stop mechanism with a light load.

Position yourself for Standing Cable Hip Adduction

  • Align the working hip with the resistance for Standing Cable Hip Adduction, stabilize the pelvis, and arrange the support leg or torso so it cannot sway.
  • Keep both hip bones level and arrange the cable or machine so it draws the thigh across the midline without twisting the knee.

Choose and verify the starting level

  • Use a conservative load for the first set of Standing Cable Hip Adduction. You should be able to pause at the hardest position without changing the intended joint path.
  • Perform one slow rehearsal repetition and change the setup if the equipment shifts, the range causes pain, or the target position cannot be maintained.

How to perform Standing Cable Hip Adduction

Follow the sequence in order, paying attention to the starting position, movement path, and finish described in each step.

  1. For Standing Cable Hip Adduction, align the working hip with the machine or cable and stabilize the pelvis and support leg.

  2. Brace the trunk and keep the working kneecap facing forward before the thigh crosses toward the midline.

  3. Draw the thigh toward the midline without rotating the pelvis or using a swing.

  4. Pause briefly when the inner thigh is shortened and the hips remain level.

  5. Return through a comfortable range under control. Repeat without changing the established position.

Common Standing Cable Hip Adduction mistakes

These are the form changes most likely to move work away from the target muscles or make the repetition harder to control.

Pelvis twisting

Keep the hips level and facing forward while the thigh crosses the midline.

Swinging the leg

Use a load that can be moved without momentum or movement from the support leg.

Knee rotating

Keep the kneecap and toes facing the intended direction rather than turning the leg during the pull.

Returning too far

Use a comfortable inner-thigh stretch and stop before the pelvis is dragged toward the stack.

When to modify or choose another exercise

  • Reduce the resistance, range, lever length, or balance demand if Standing Cable Hip Adduction cannot be completed without compensation.
  • Stop when the exercise produces sharp, catching, radiating, or increasing joint pain rather than the expected muscular effort.
  • Choose a stable supported alternative when fatigue, balance, equipment fit, or a current medical restriction prevents repeatable technique.

How to use Standing Cable Hip Adduction in a training program

Use Standing Cable Hip Adduction as accessory work after larger compound exercises, or earlier only when its target action is the session's priority.

01

Where it fits in a session

Use Standing Cable Hip Adduction after larger compound movements, or earlier only when its target action is the workout's main priority.

02

How often to use it

Use one to three times per week and count the work alongside compound exercises that train the same muscles.

Starting rep ranges by goal

GoalSetsReps or timeRestEffort and execution
Strength accessory2–46–1075–150 secLeave 2–3 controlled reps in reserve
Muscle growth2–410–2060–120 secUsually 1–3 clean reps in reserve
Local endurance2–315–2545–90 secStop before range or joint position changes

How to progress it

Add controlled repetitions within the selected range before increasing resistance. For unilateral work, progress each side according to the weaker technically sound performance.

Pairing and sequencing

  • Superset with a non-competing accessory when both exercises can keep their intended joint paths.
  • Do not add isolation volume without counting the work already received from compound lifts.

Coach's notes

  • Program 2–4 sets of 8–15 controlled repetitions; 12–20 repetitions can also suit lighter isolation and rotator-cuff work.
  • Rest 45–90 seconds, extending the interval if fatigue changes joint position or the intended muscle action.
  • Add repetitions before load and count these sets toward the weekly volume already supplied by compound exercises.

Regressions and progressions for Standing Cable Hip Adduction

Start with an easier option

Supported Standing Cable Hip Adduction

Add external support or reduce the balance demand while learning the exact joint path.

Reduced-range Standing Cable Hip Adduction

Use a shorter pain-free range and expand it only as control improves.

Progress when form is repeatable

Tempo Standing Cable Hip Adduction

Slow the lowering phase without changing the start, finish, or joint alignment.

Paused Standing Cable Hip Adduction

Add a brief pause at the hardest controlled position before increasing load.

References
  1. American Council on ExerciseACE Exercise Library
  2. Mayo ClinicWeight Training: Do's and Don'ts of Proper Technique
  3. American College of Sports MedicineACSM Resistance Training Guidelines Update

Build client programs that drive retention and cut your weekly programming time in half.

Explore the workout builder →
Beta access

Become a Traination Beta User

Apply to become a beta user of the app for free in exchange for feedbacks and reviews. Your time is important! That's why we will reach out to you individually to make sure this is the right fit.