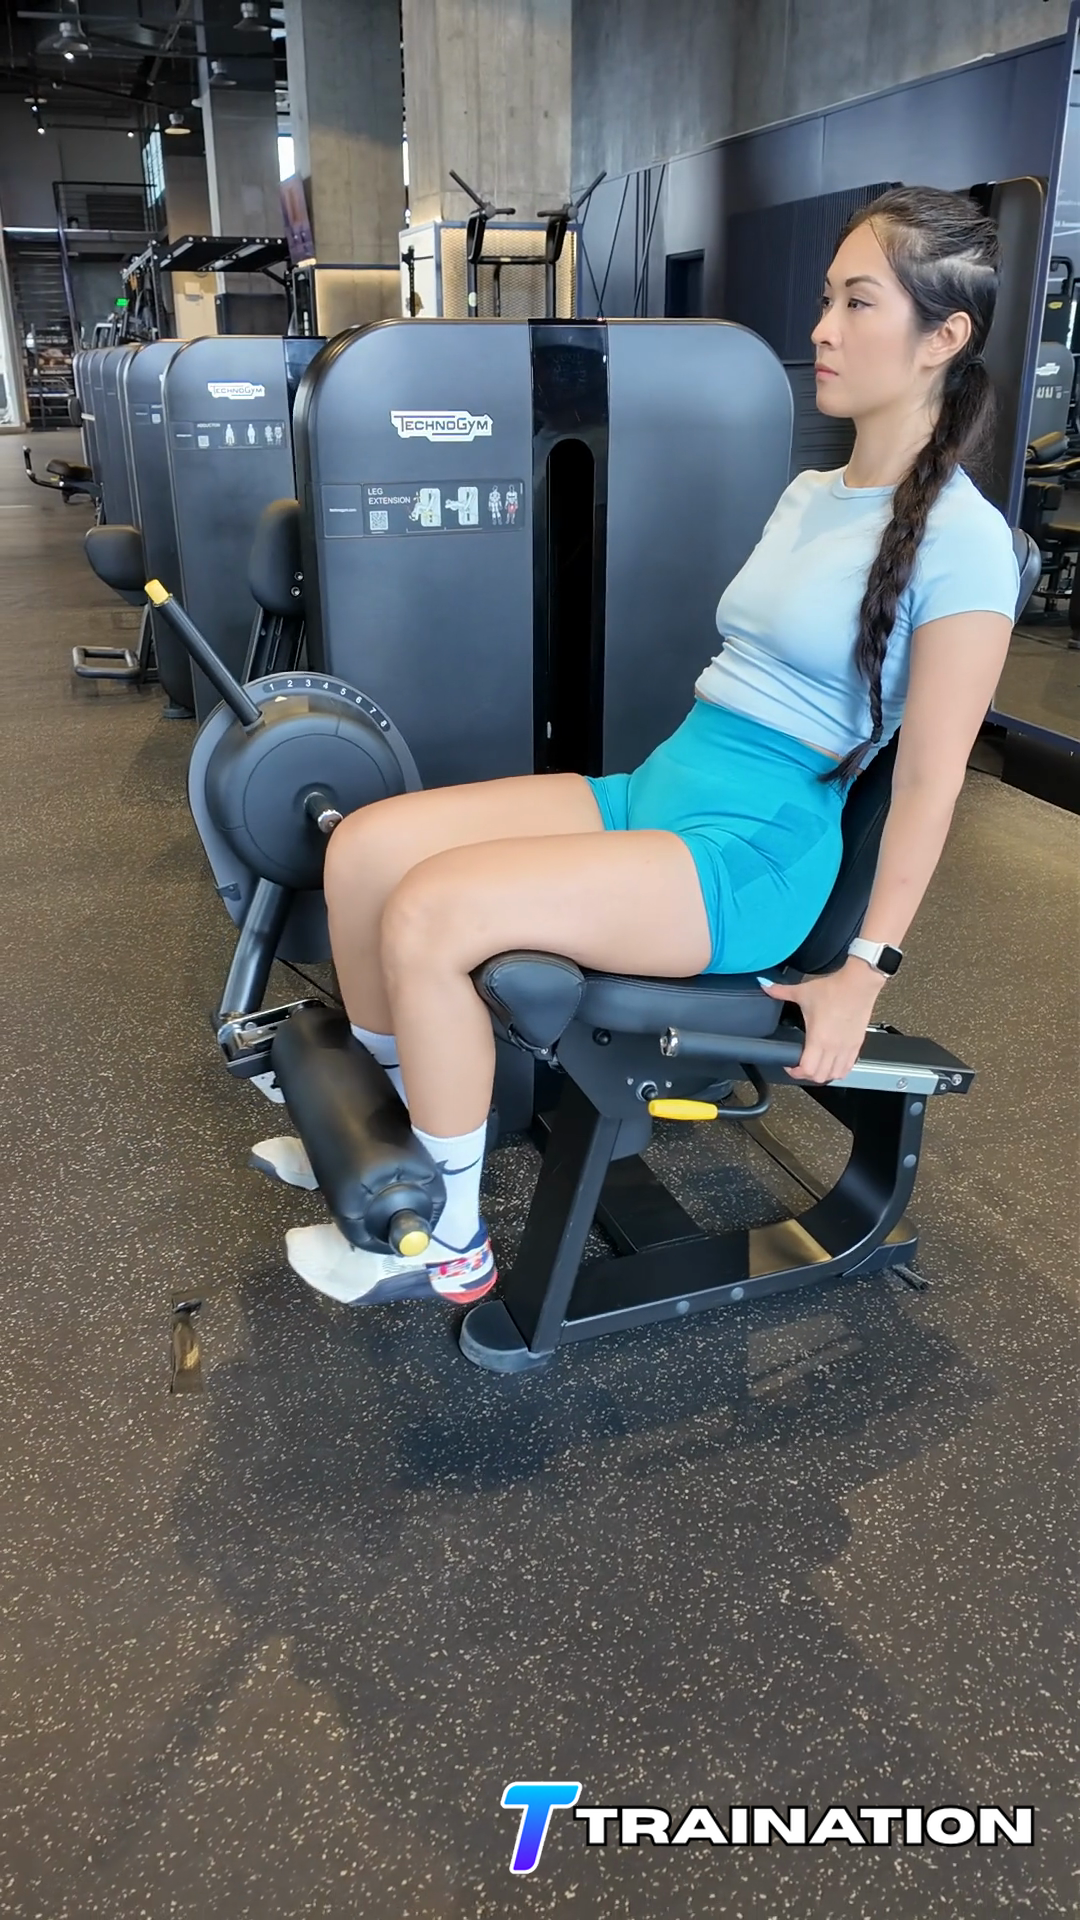
Rushing through balance
Finish the knee drive under control before stepping back into the next lunge.
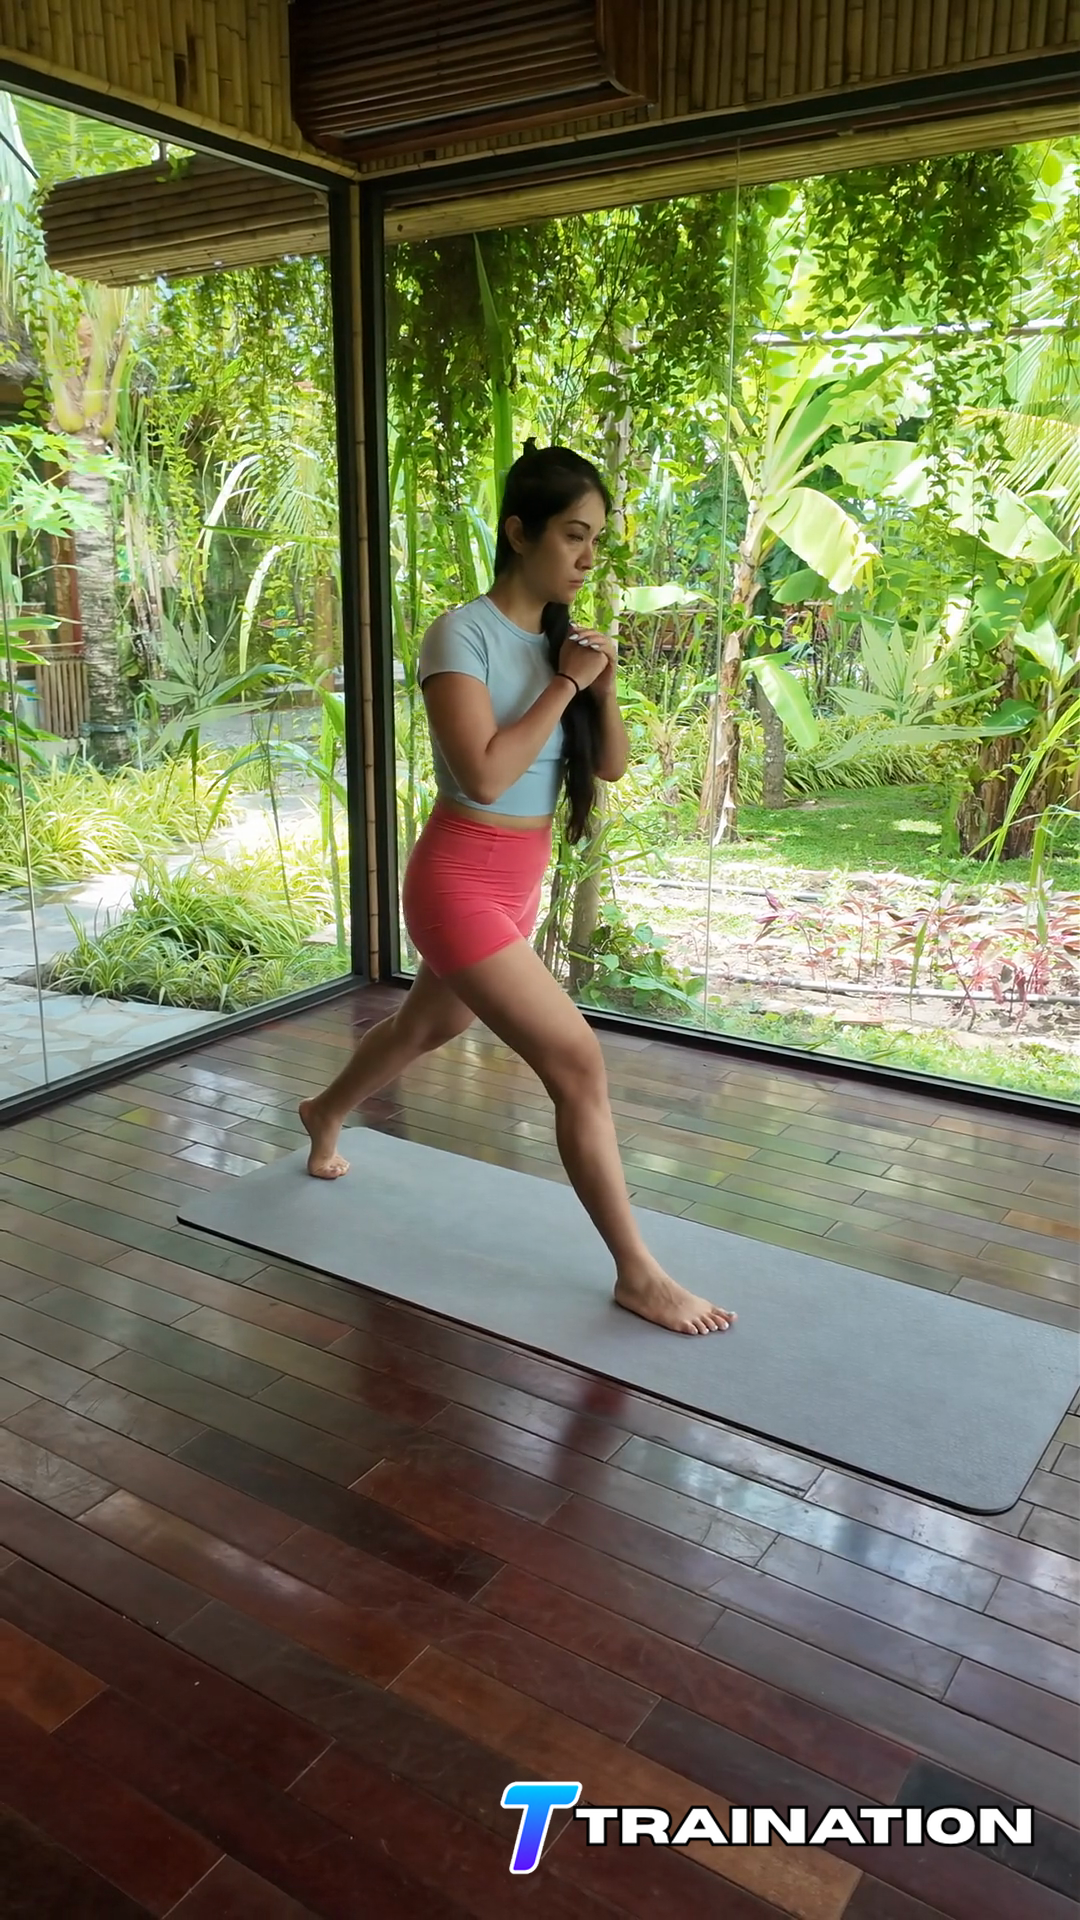
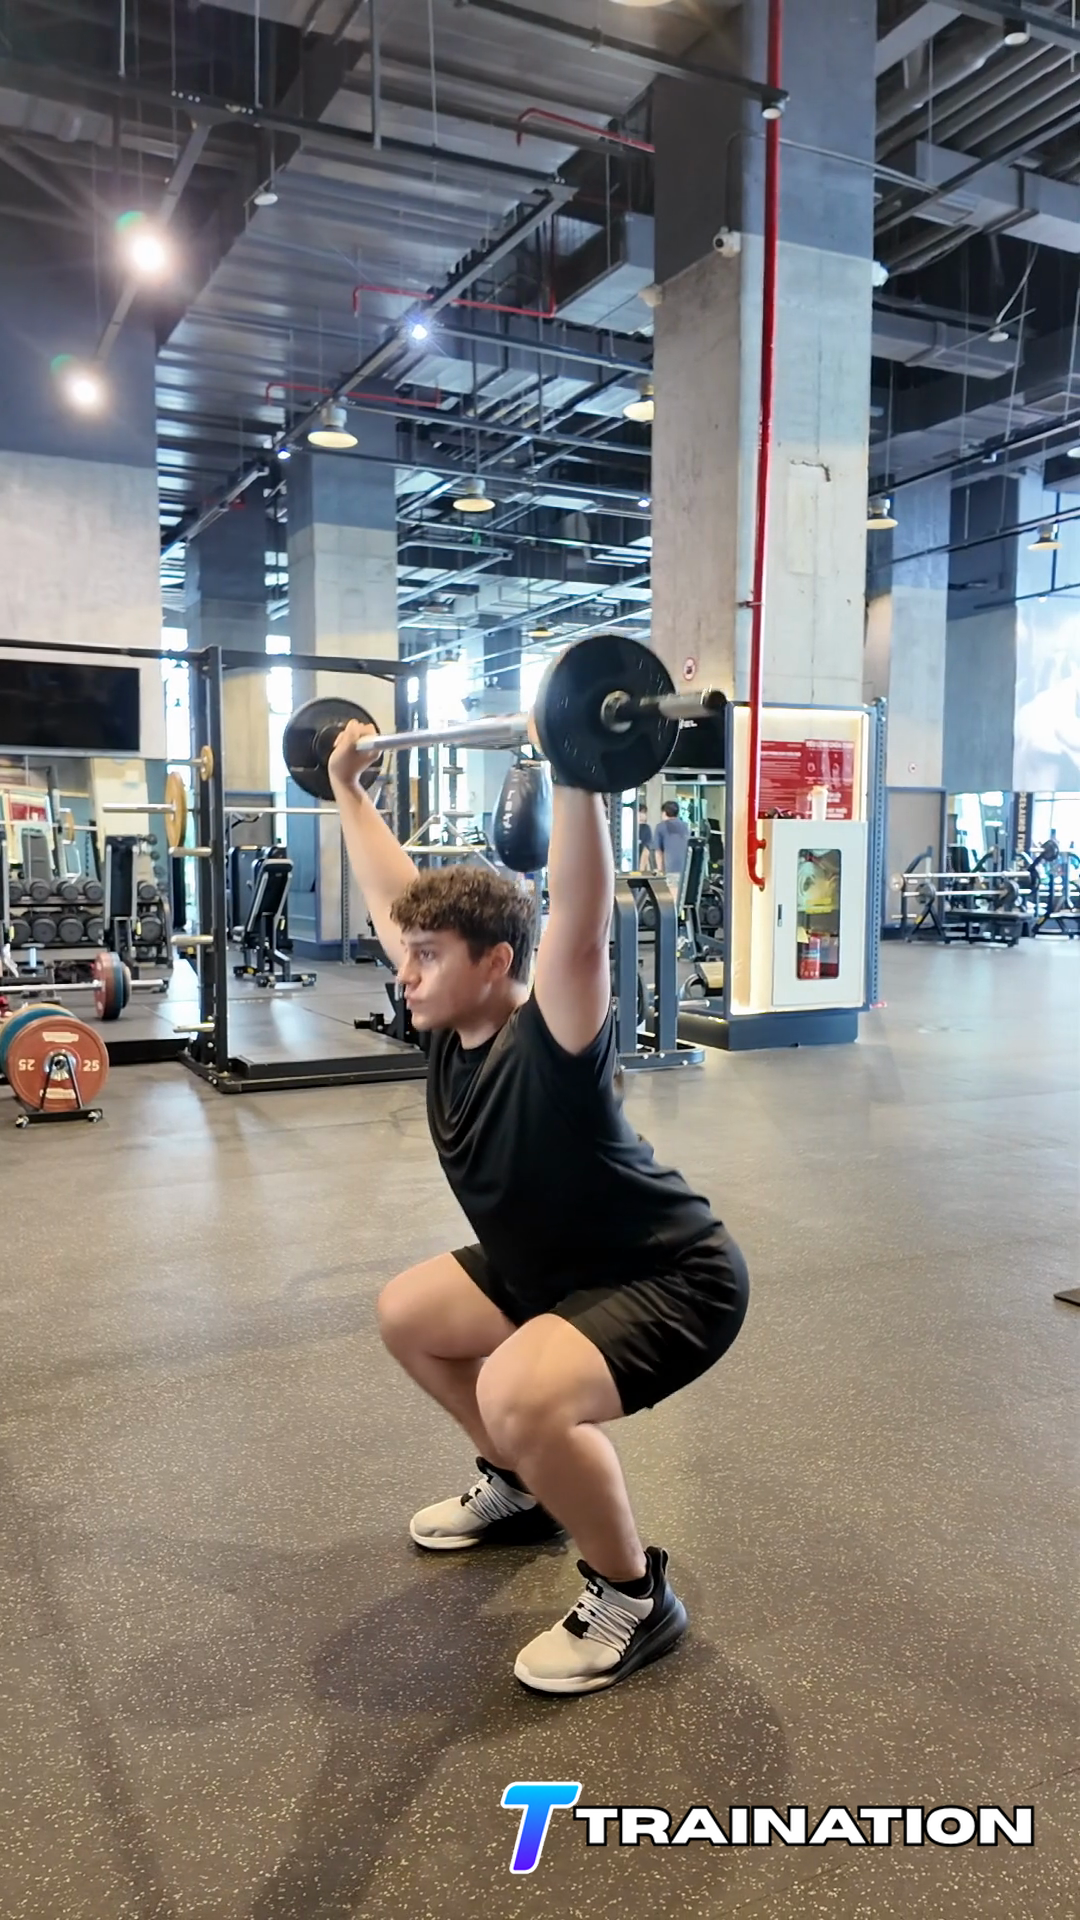
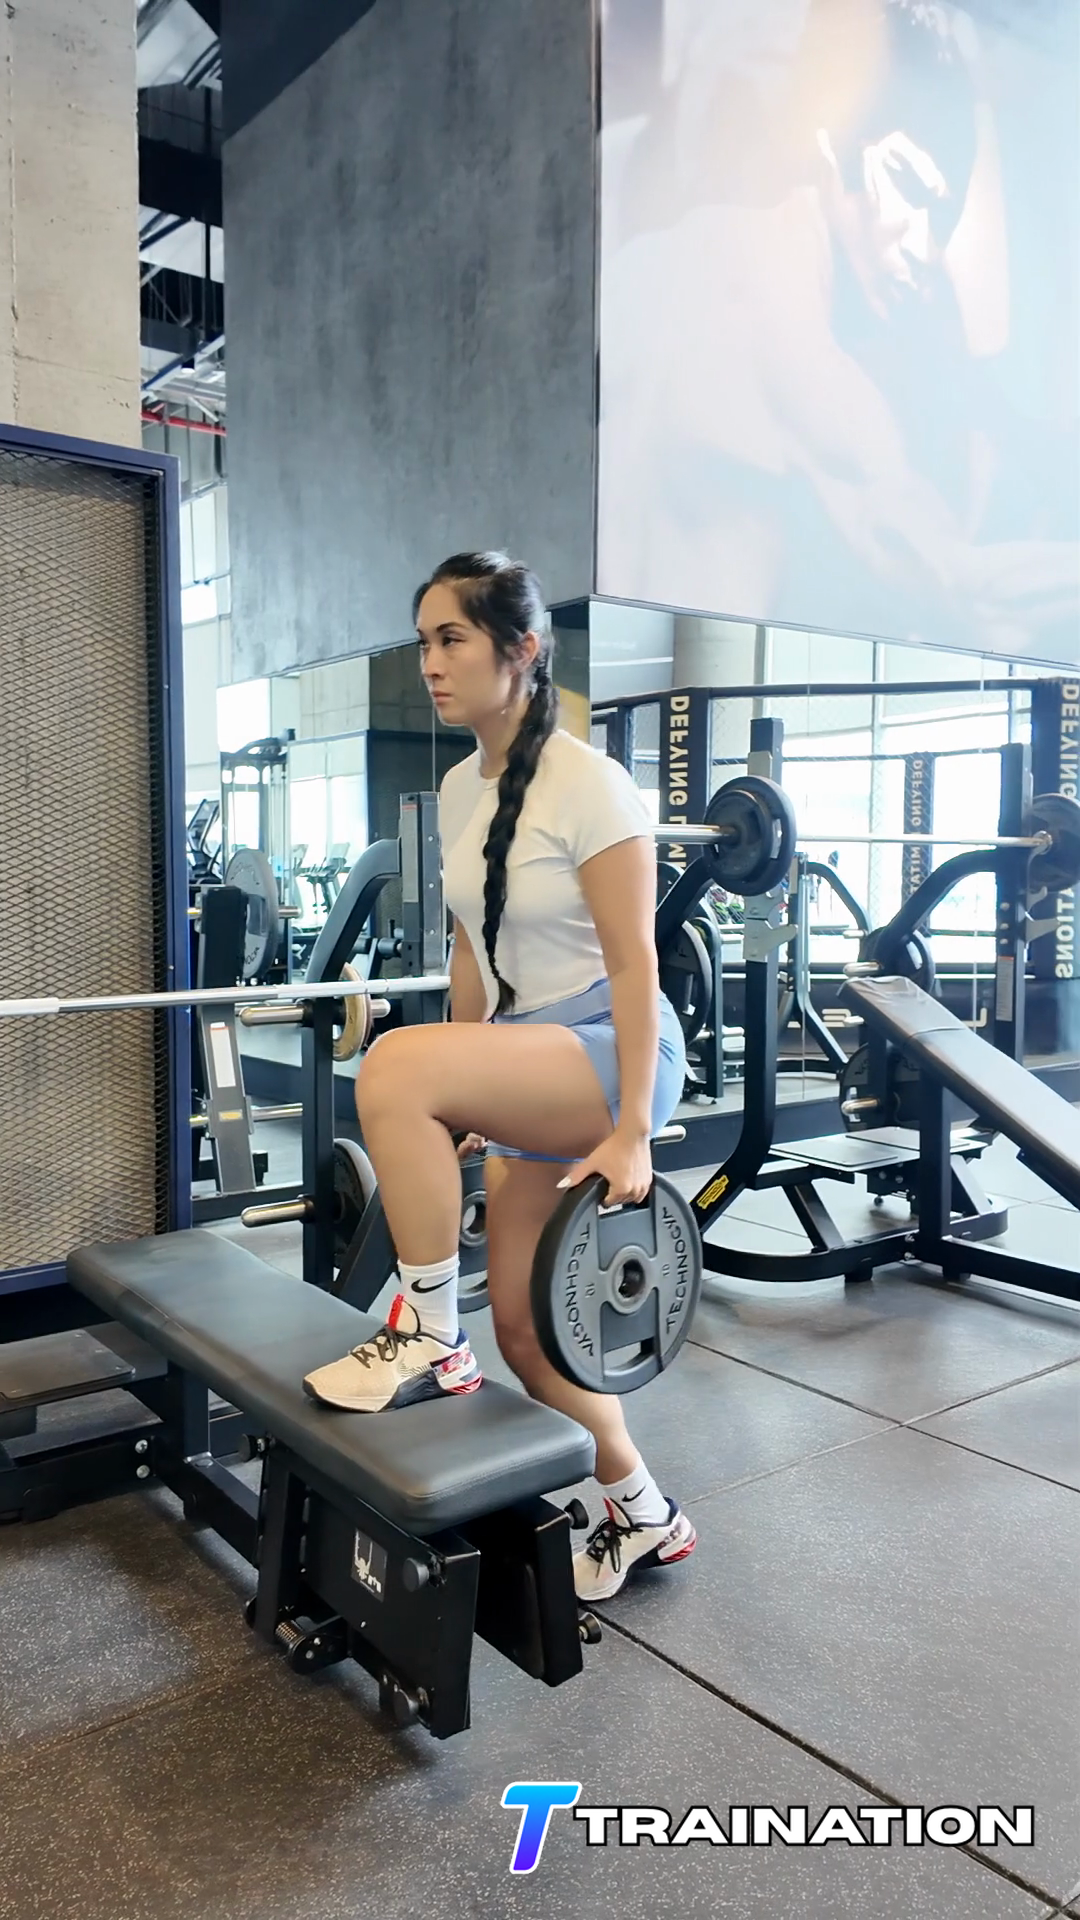
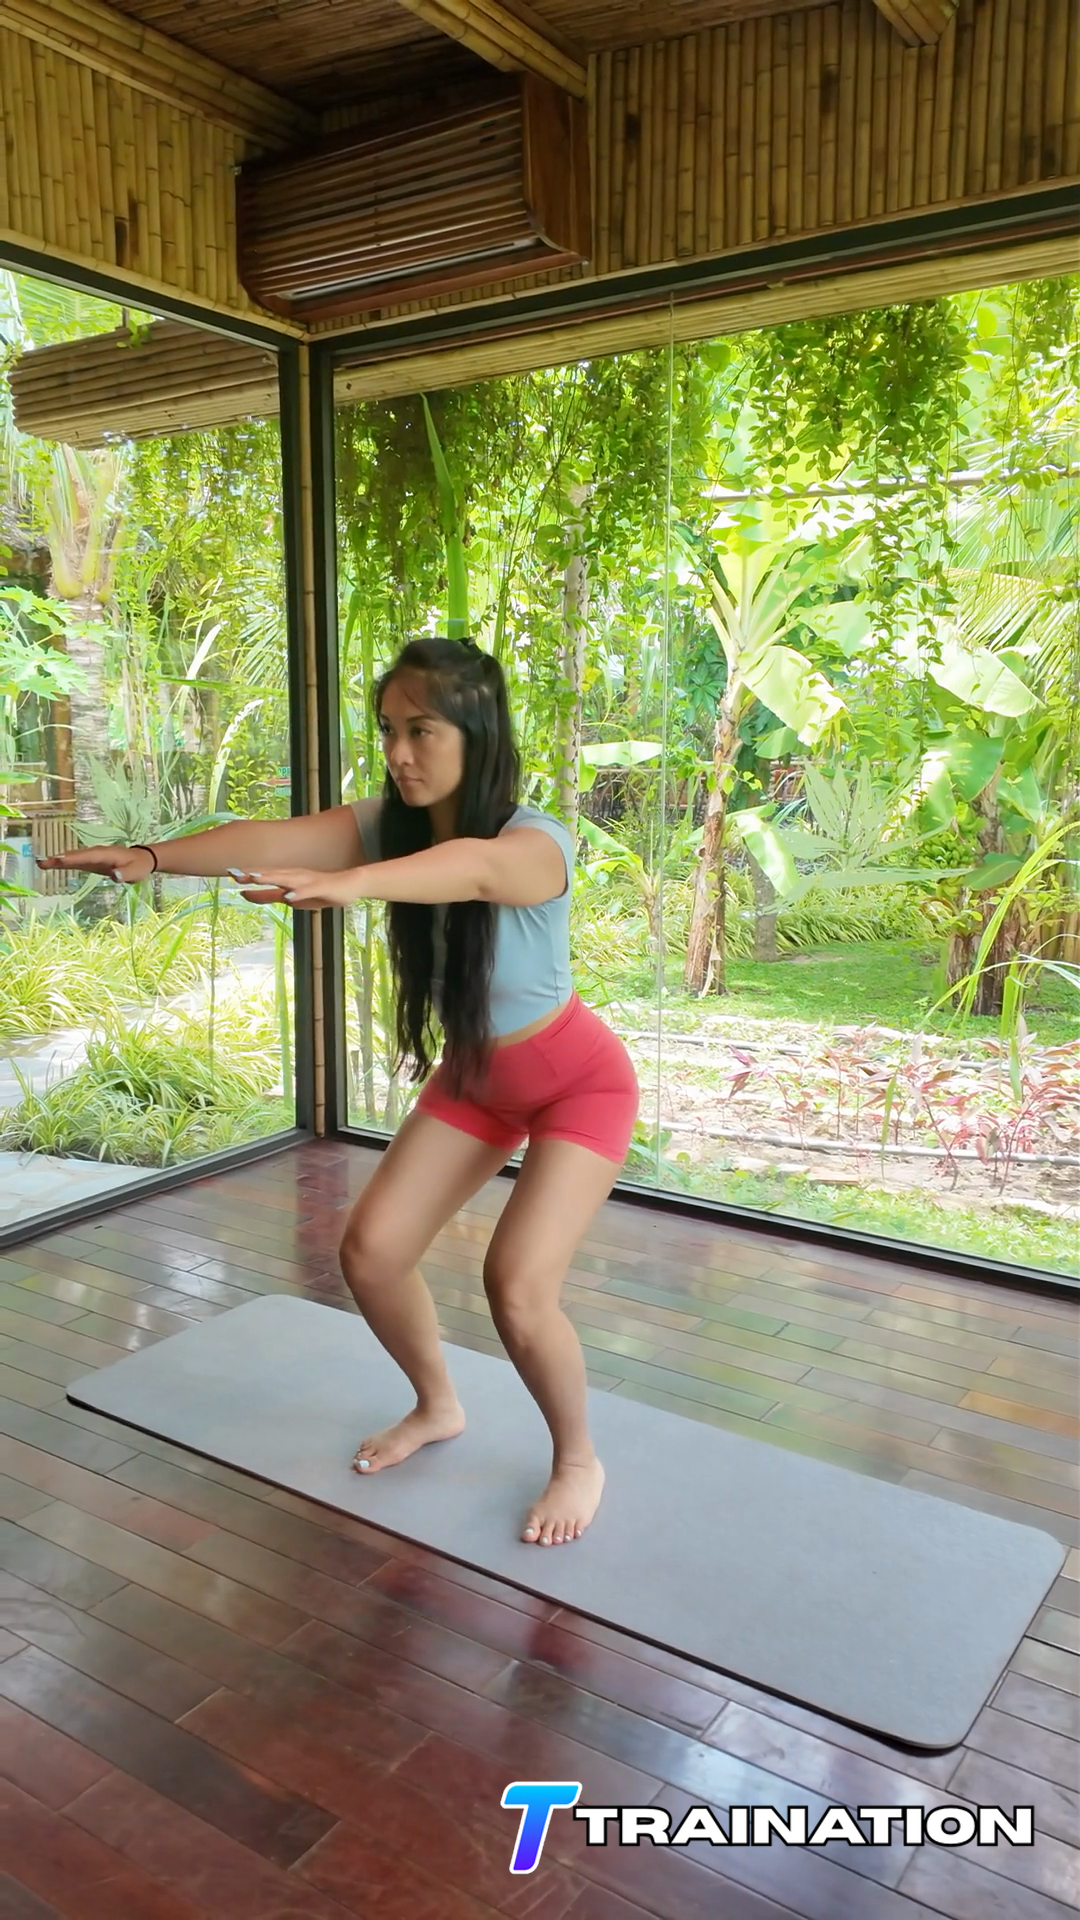
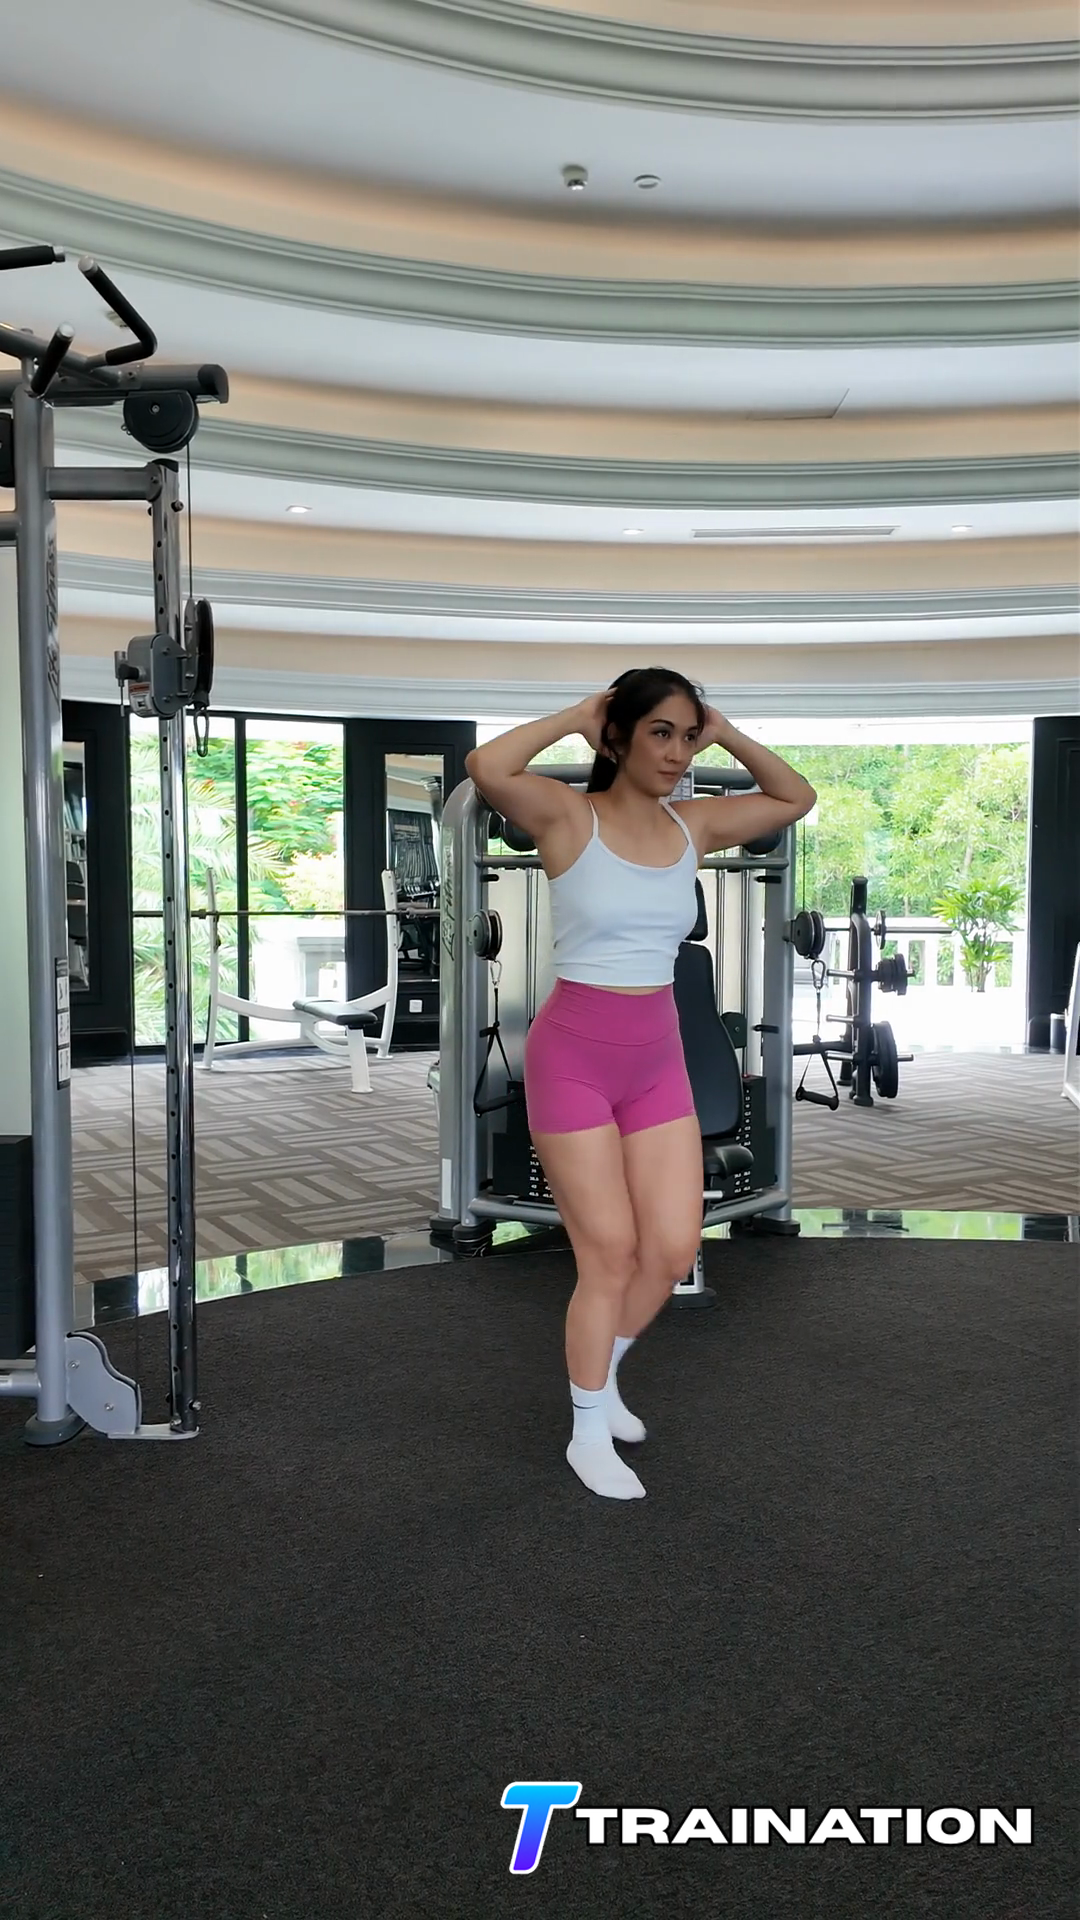
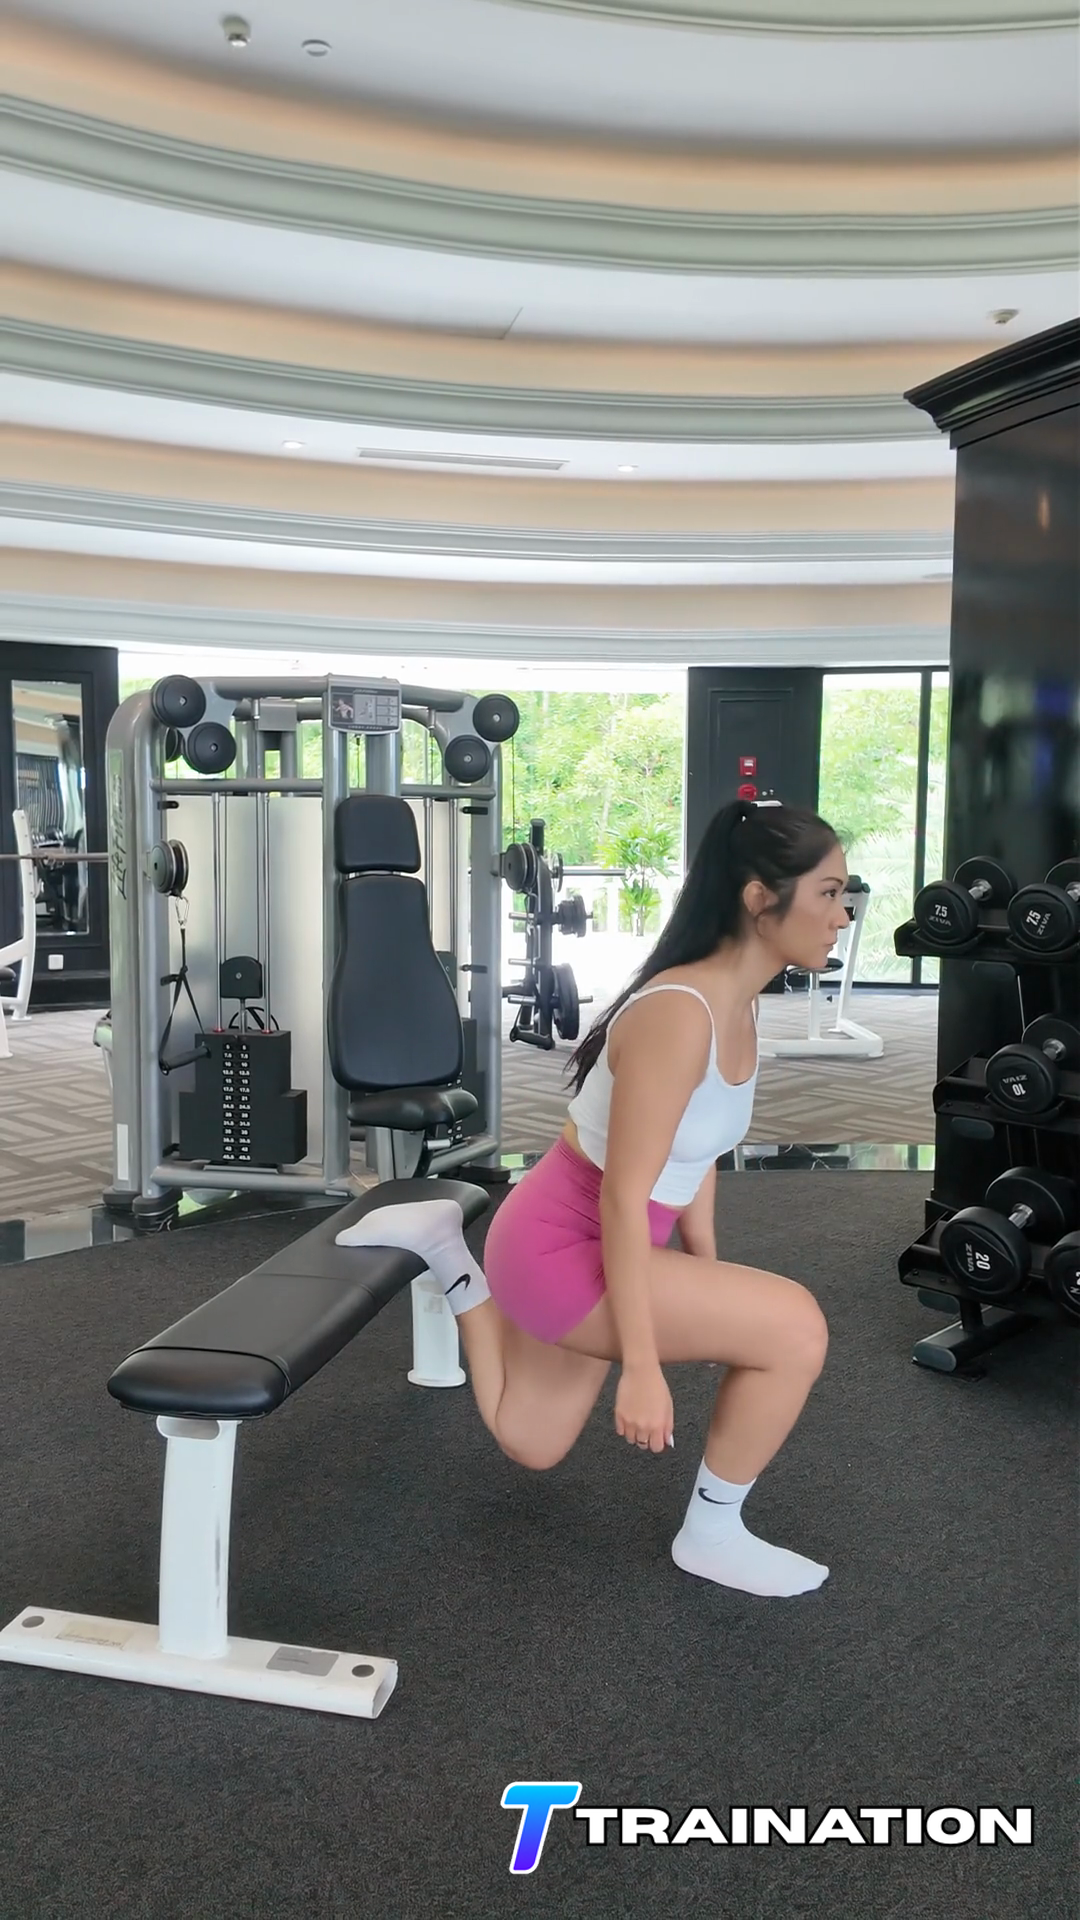
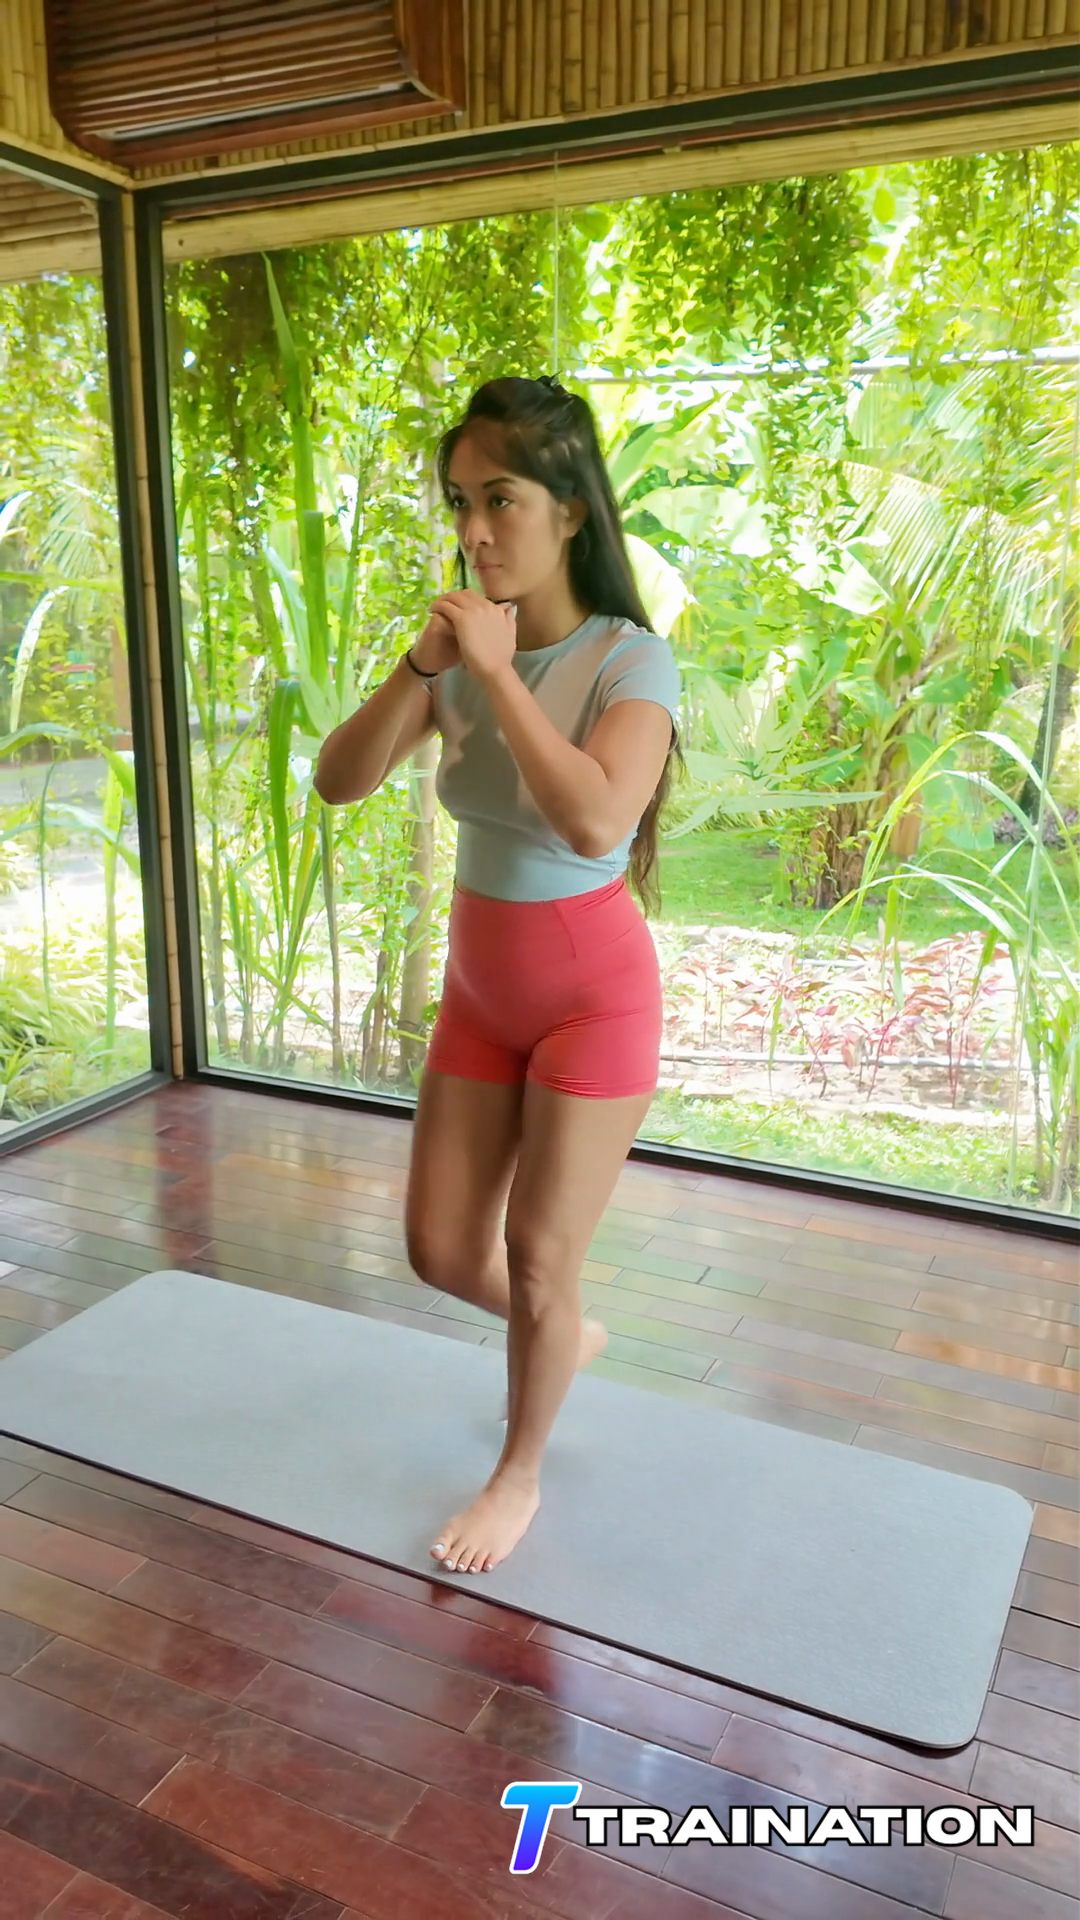
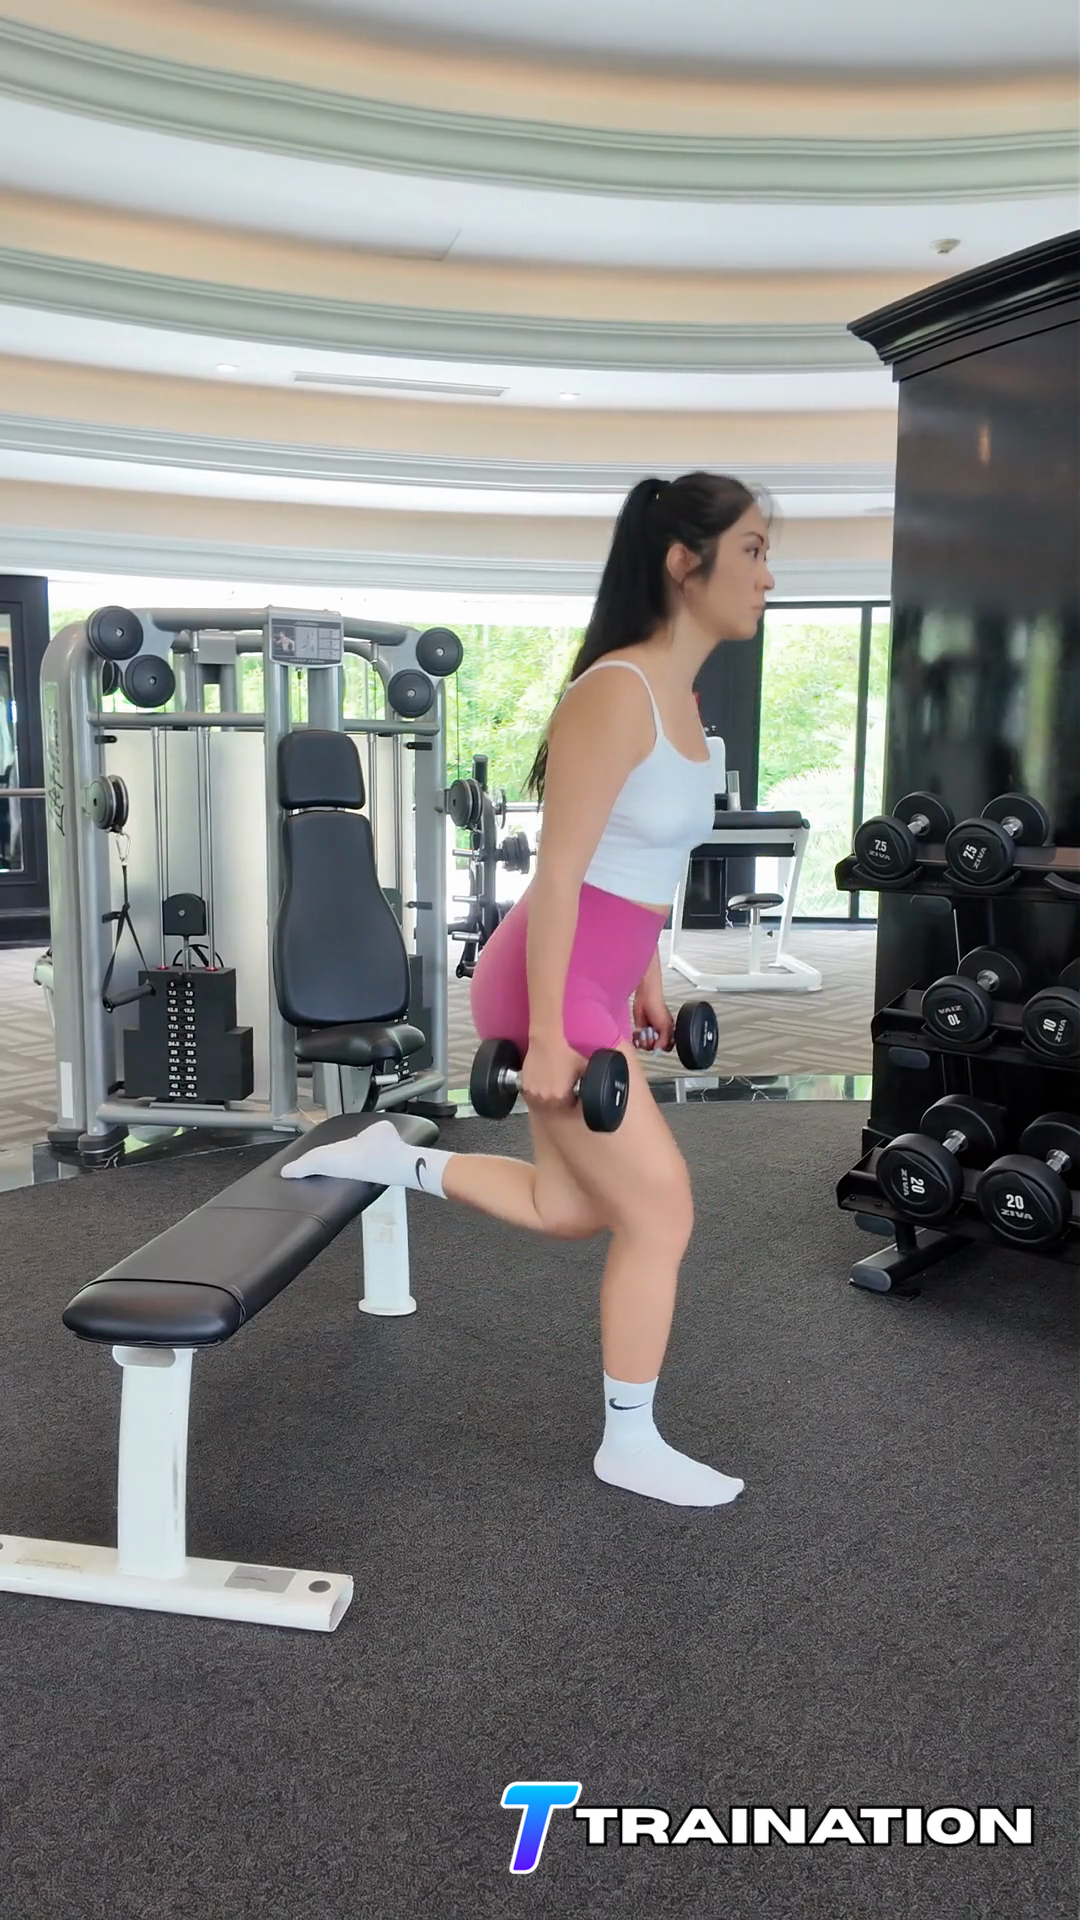
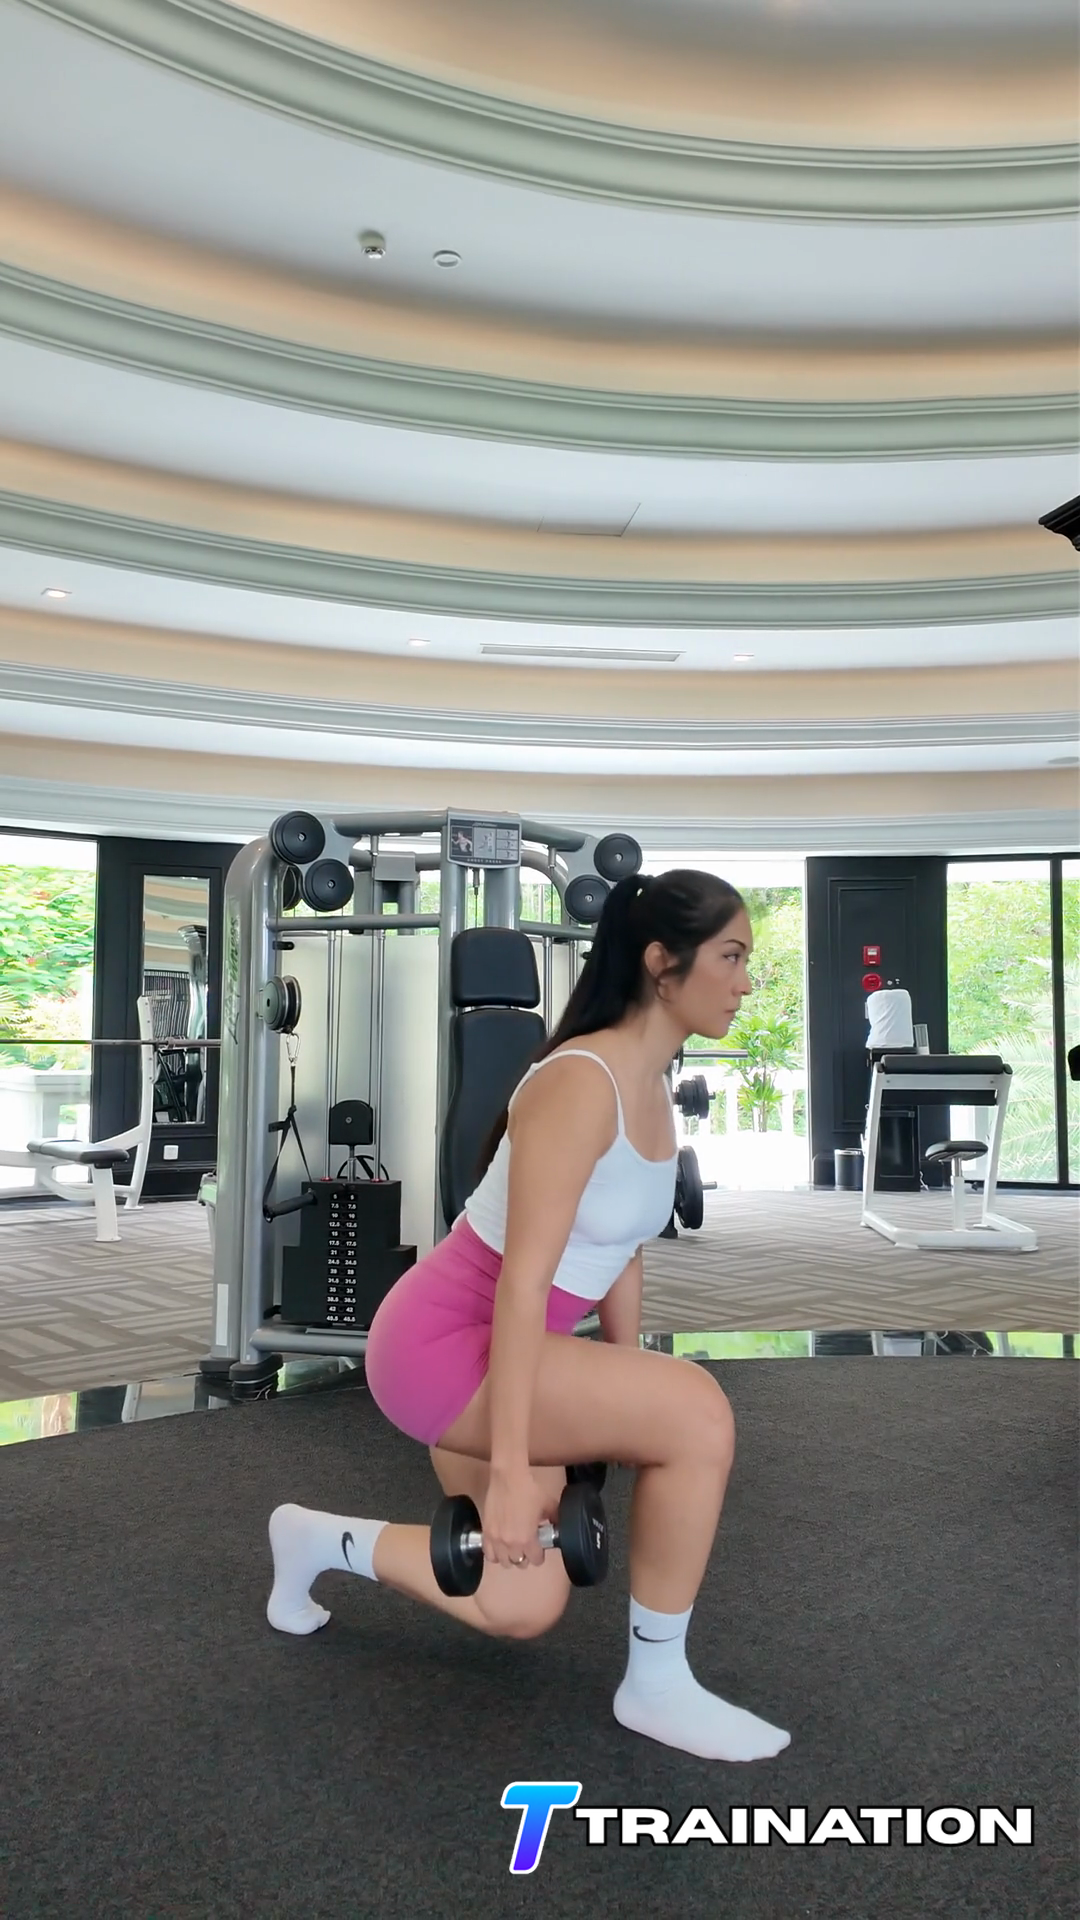
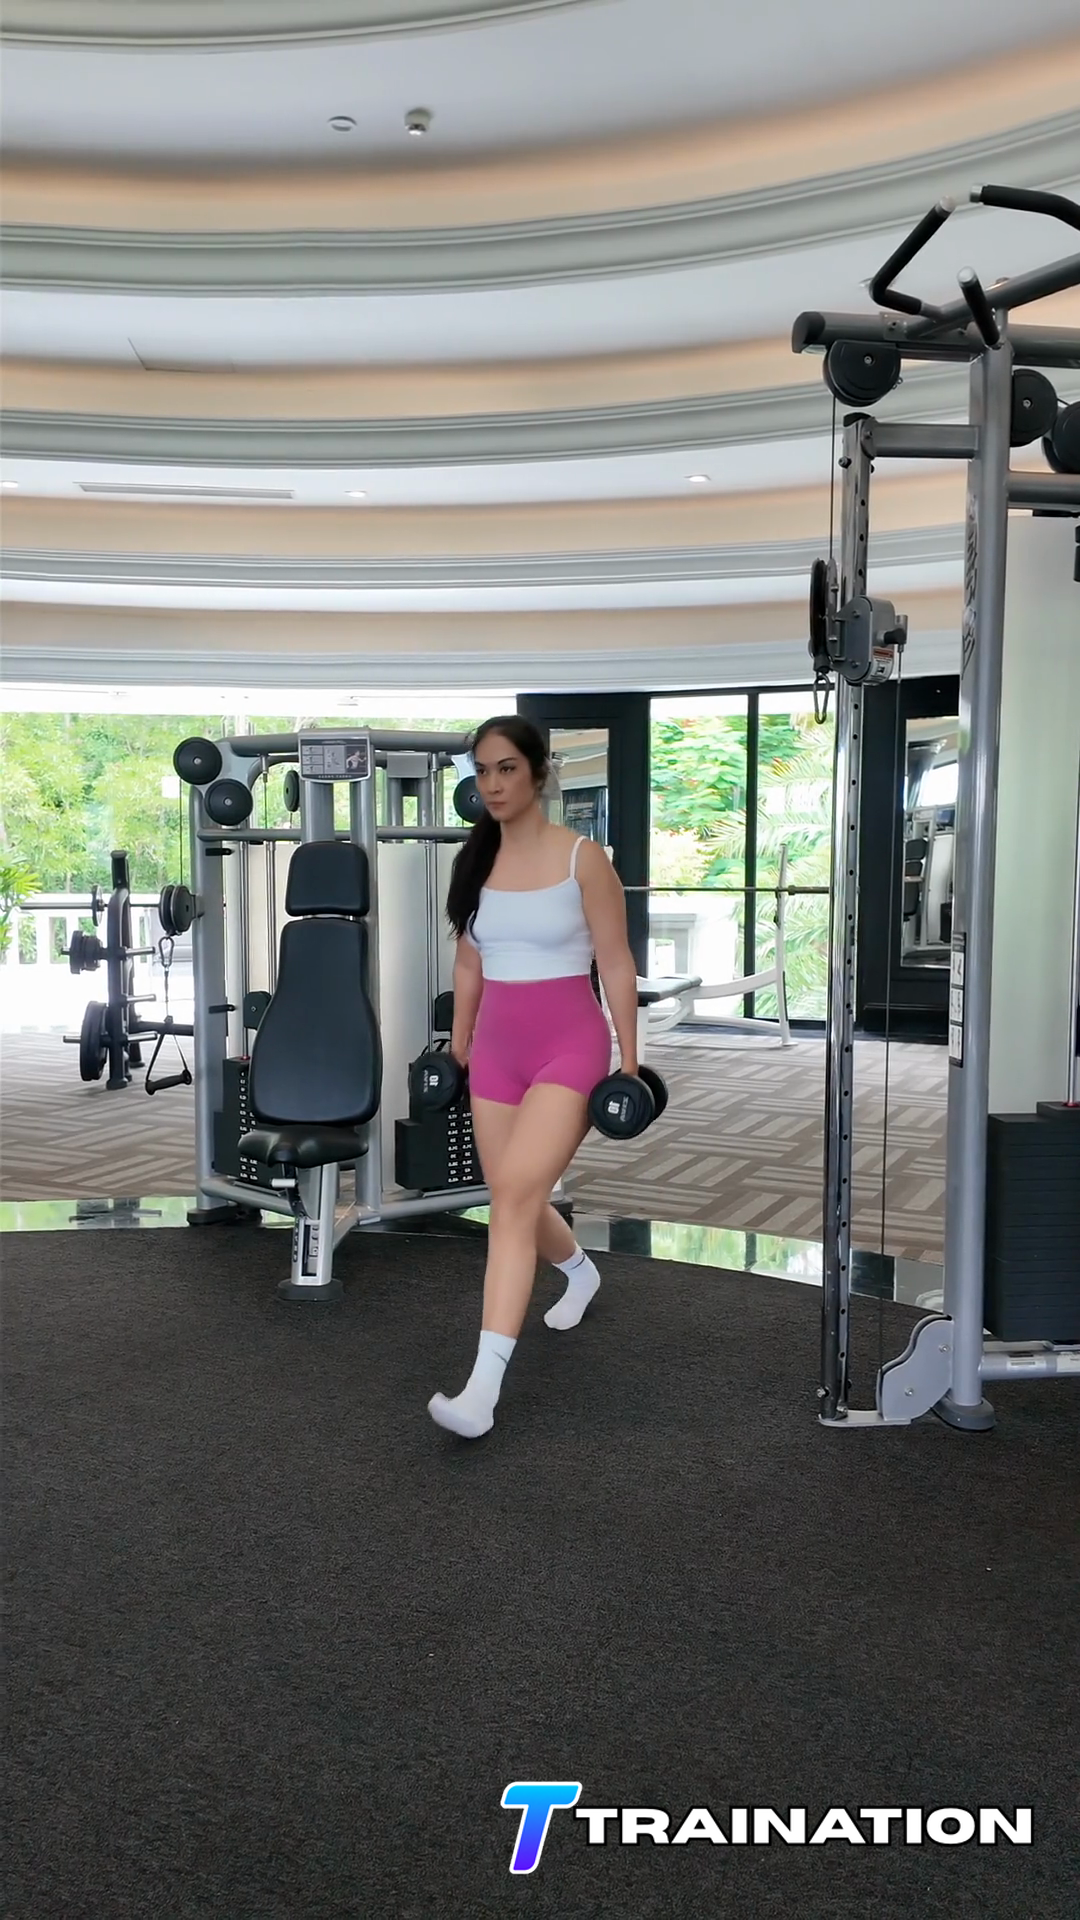
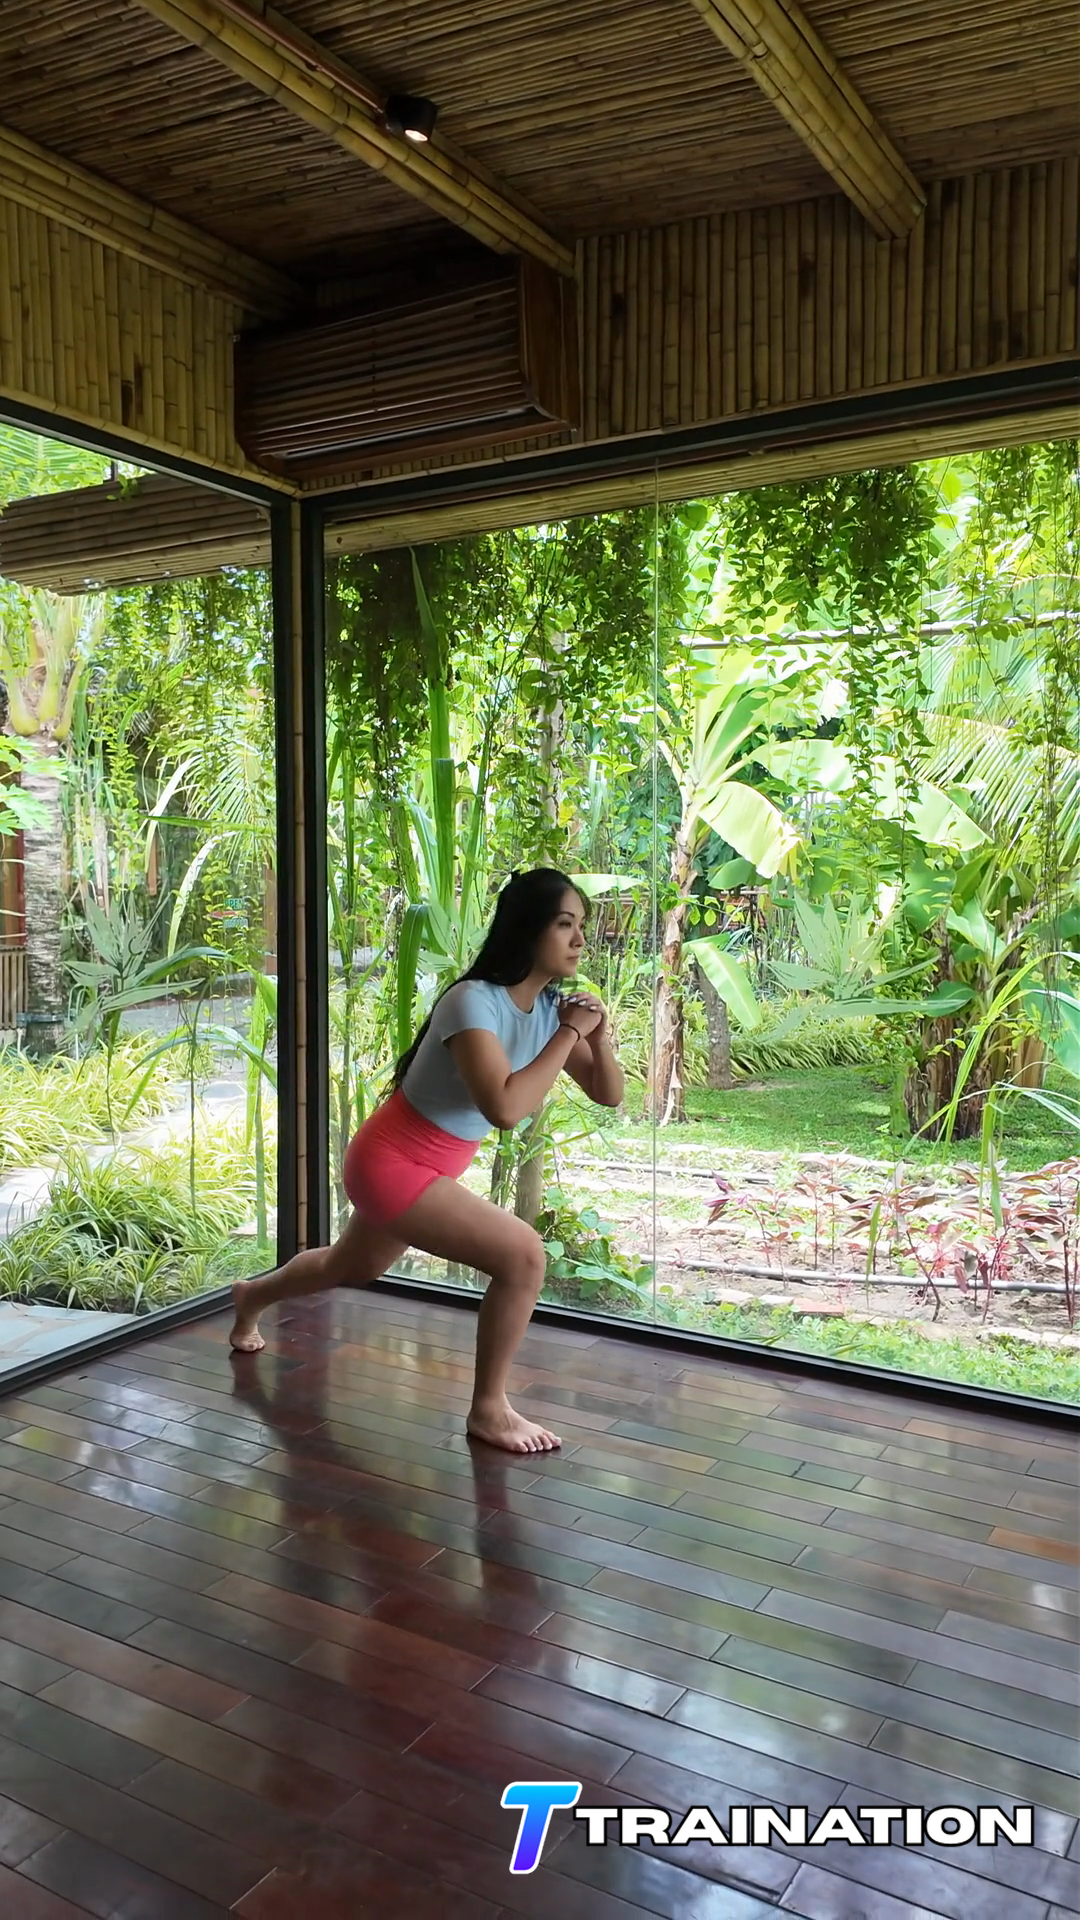
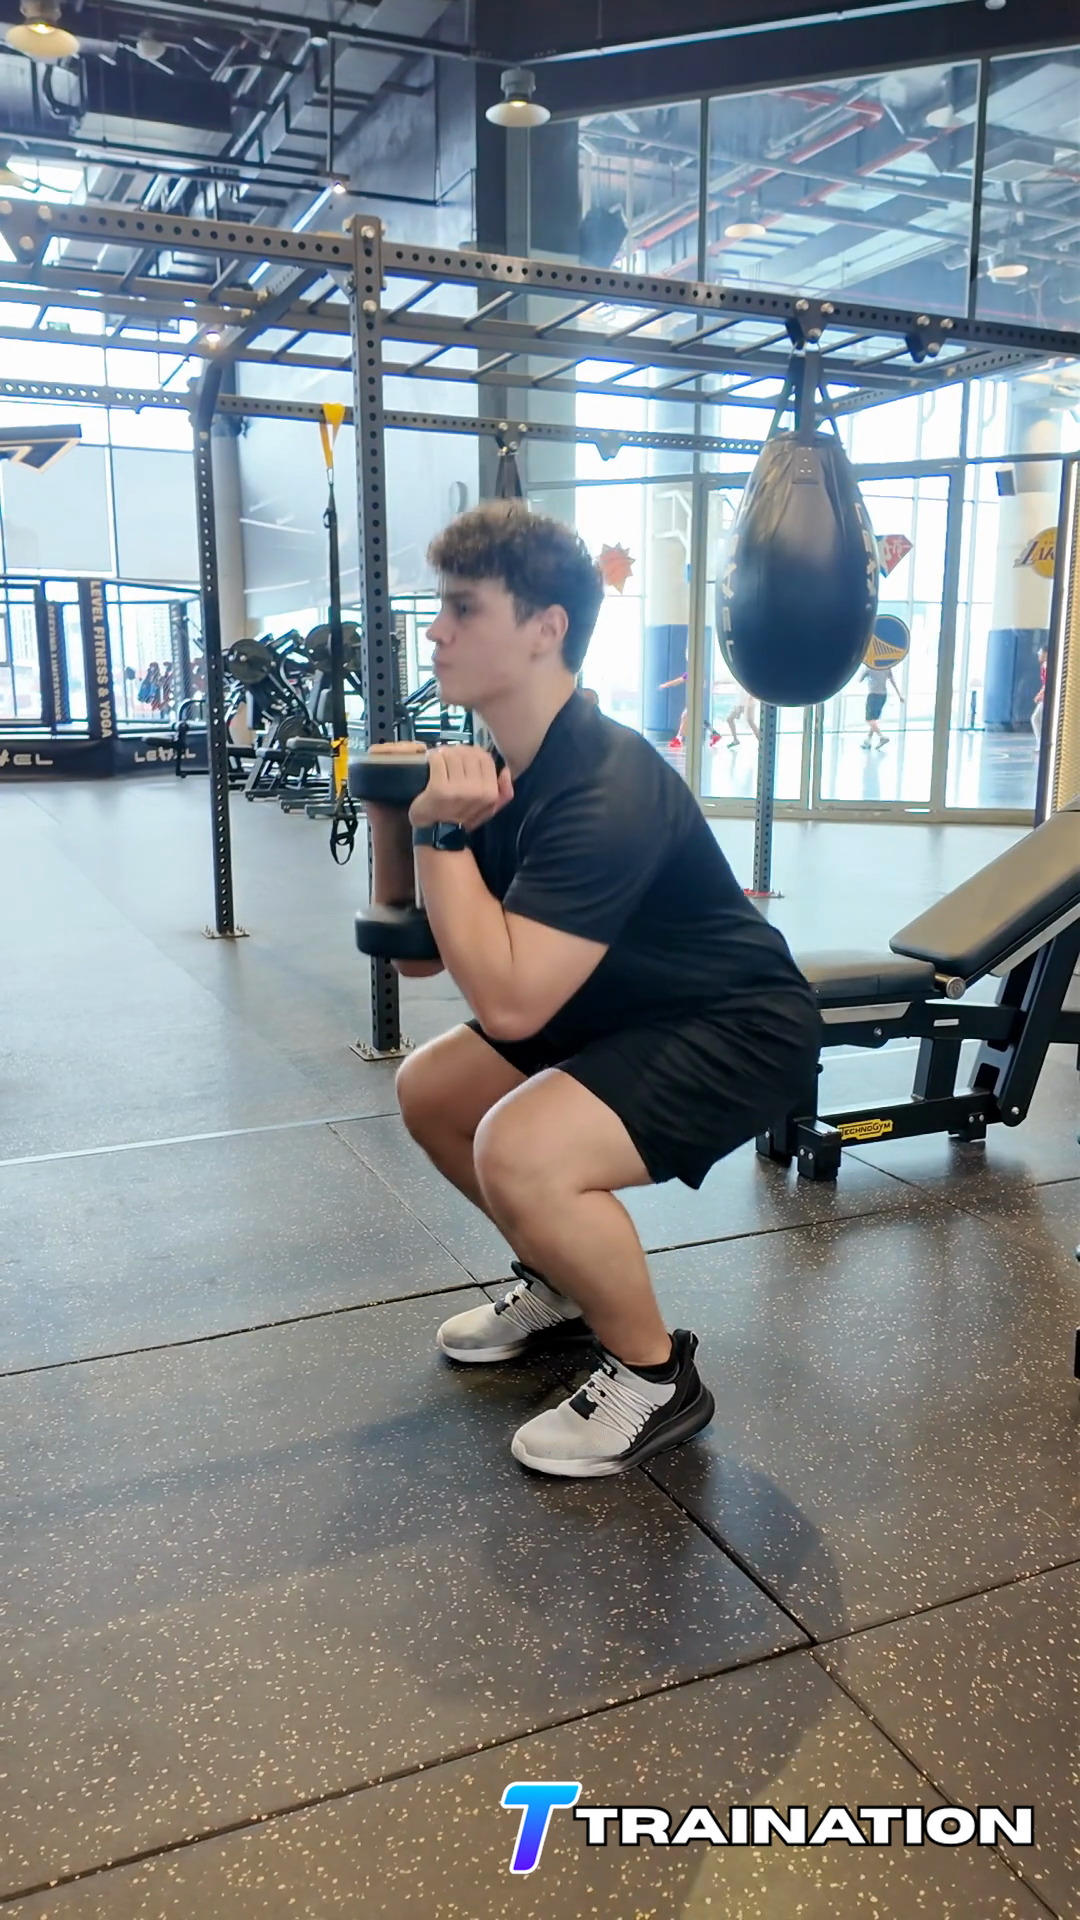
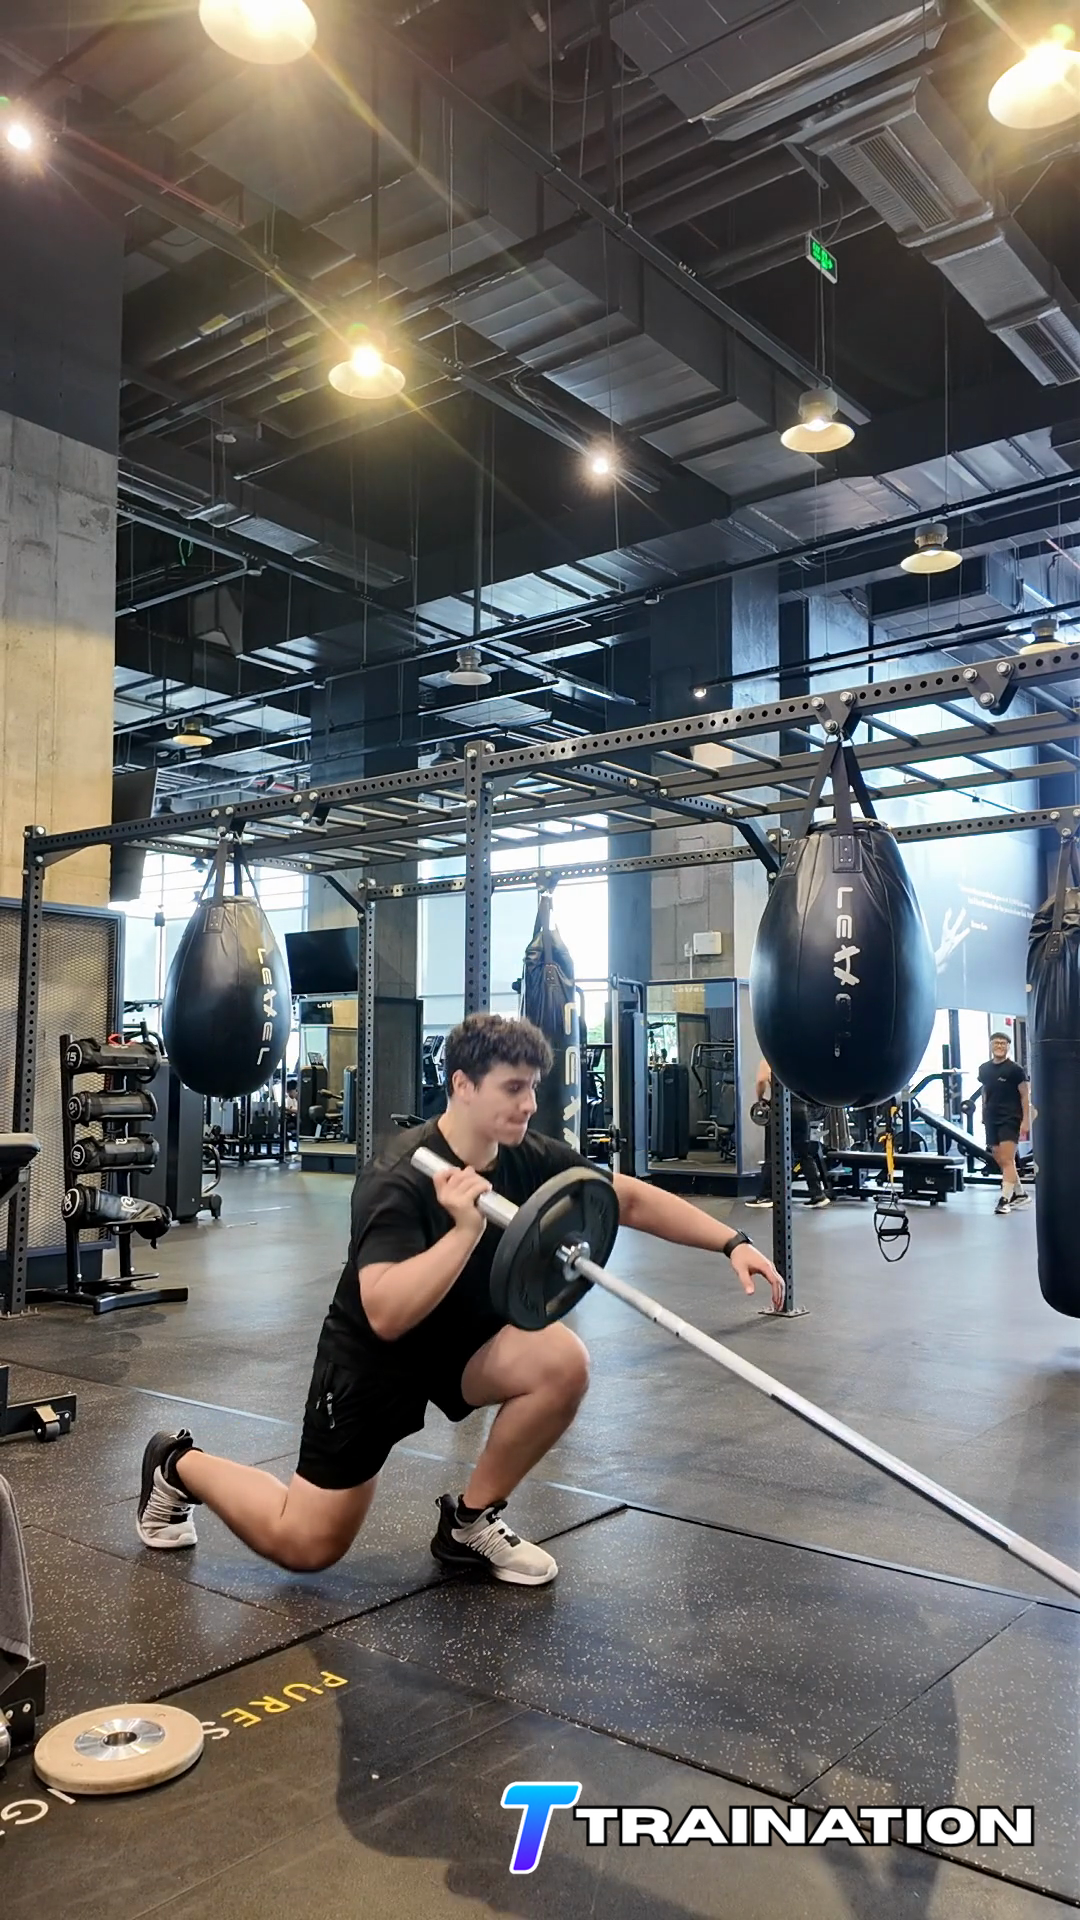
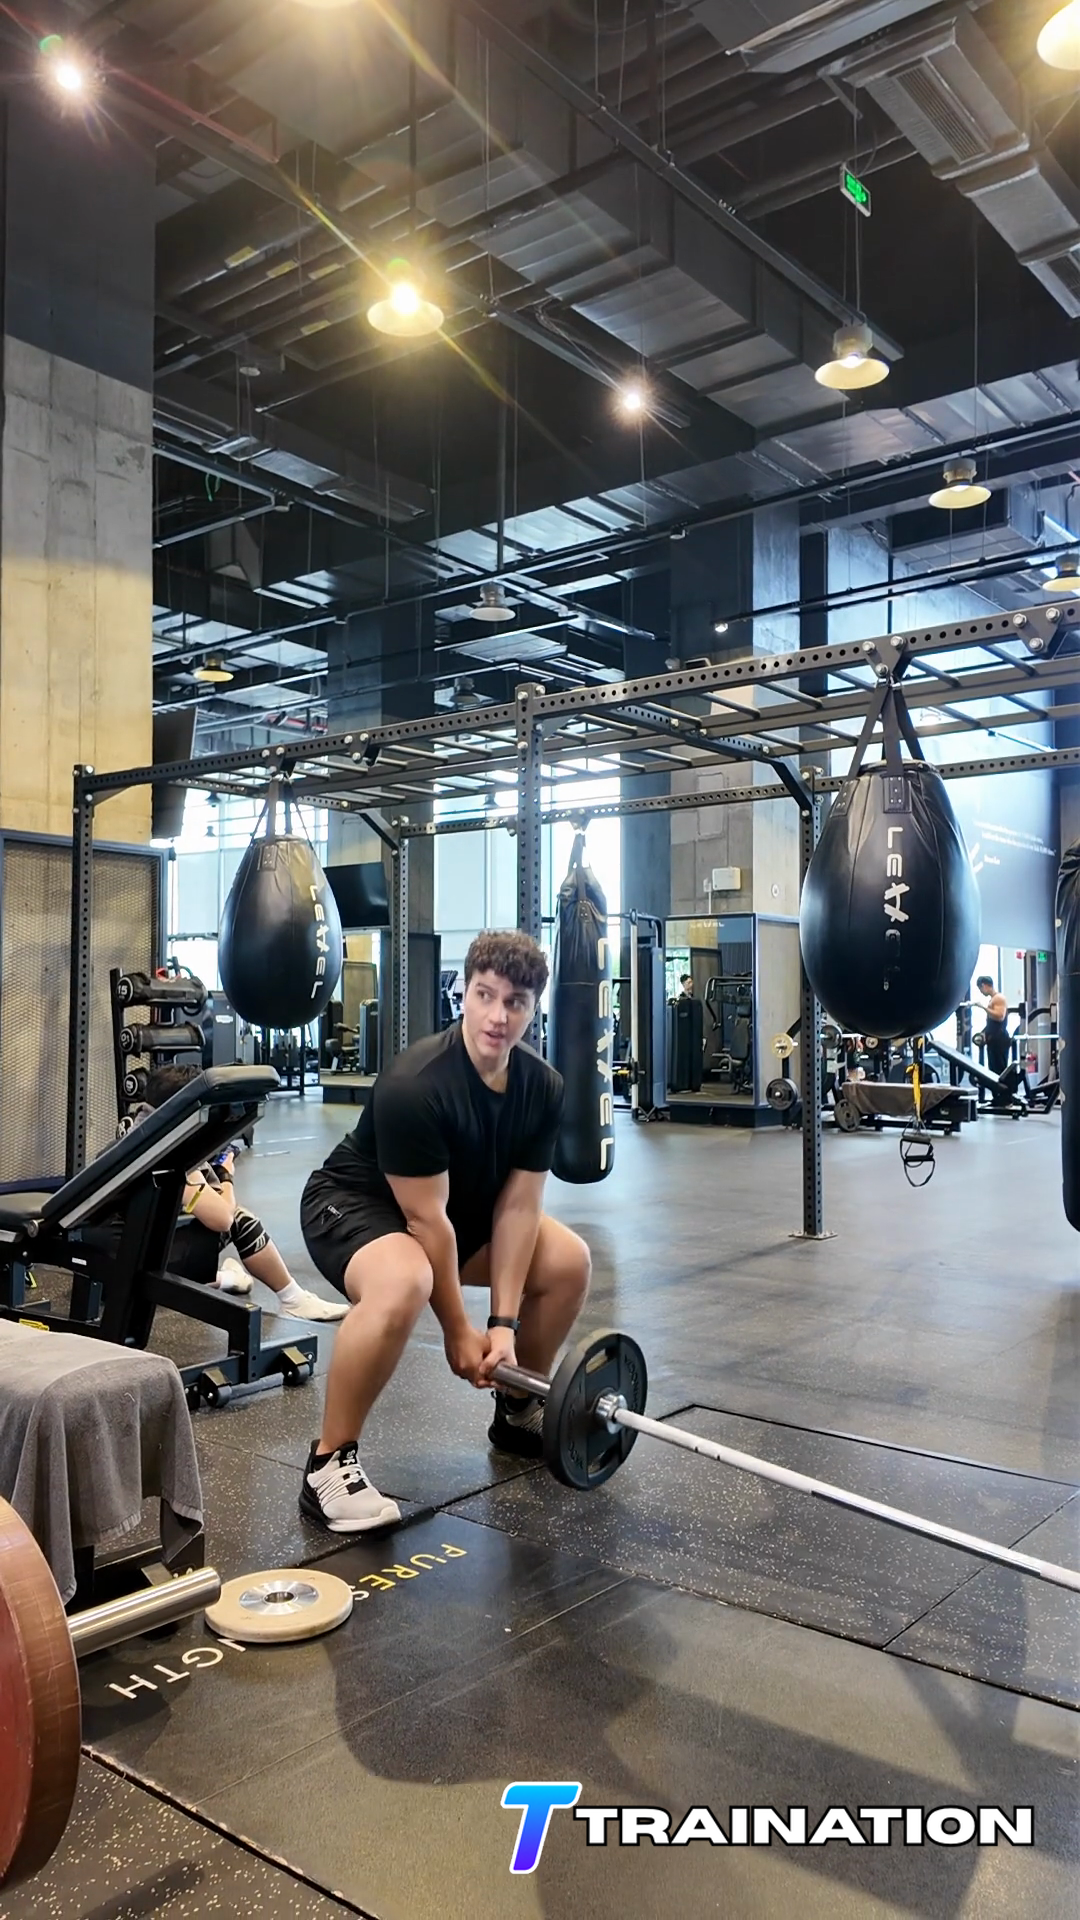
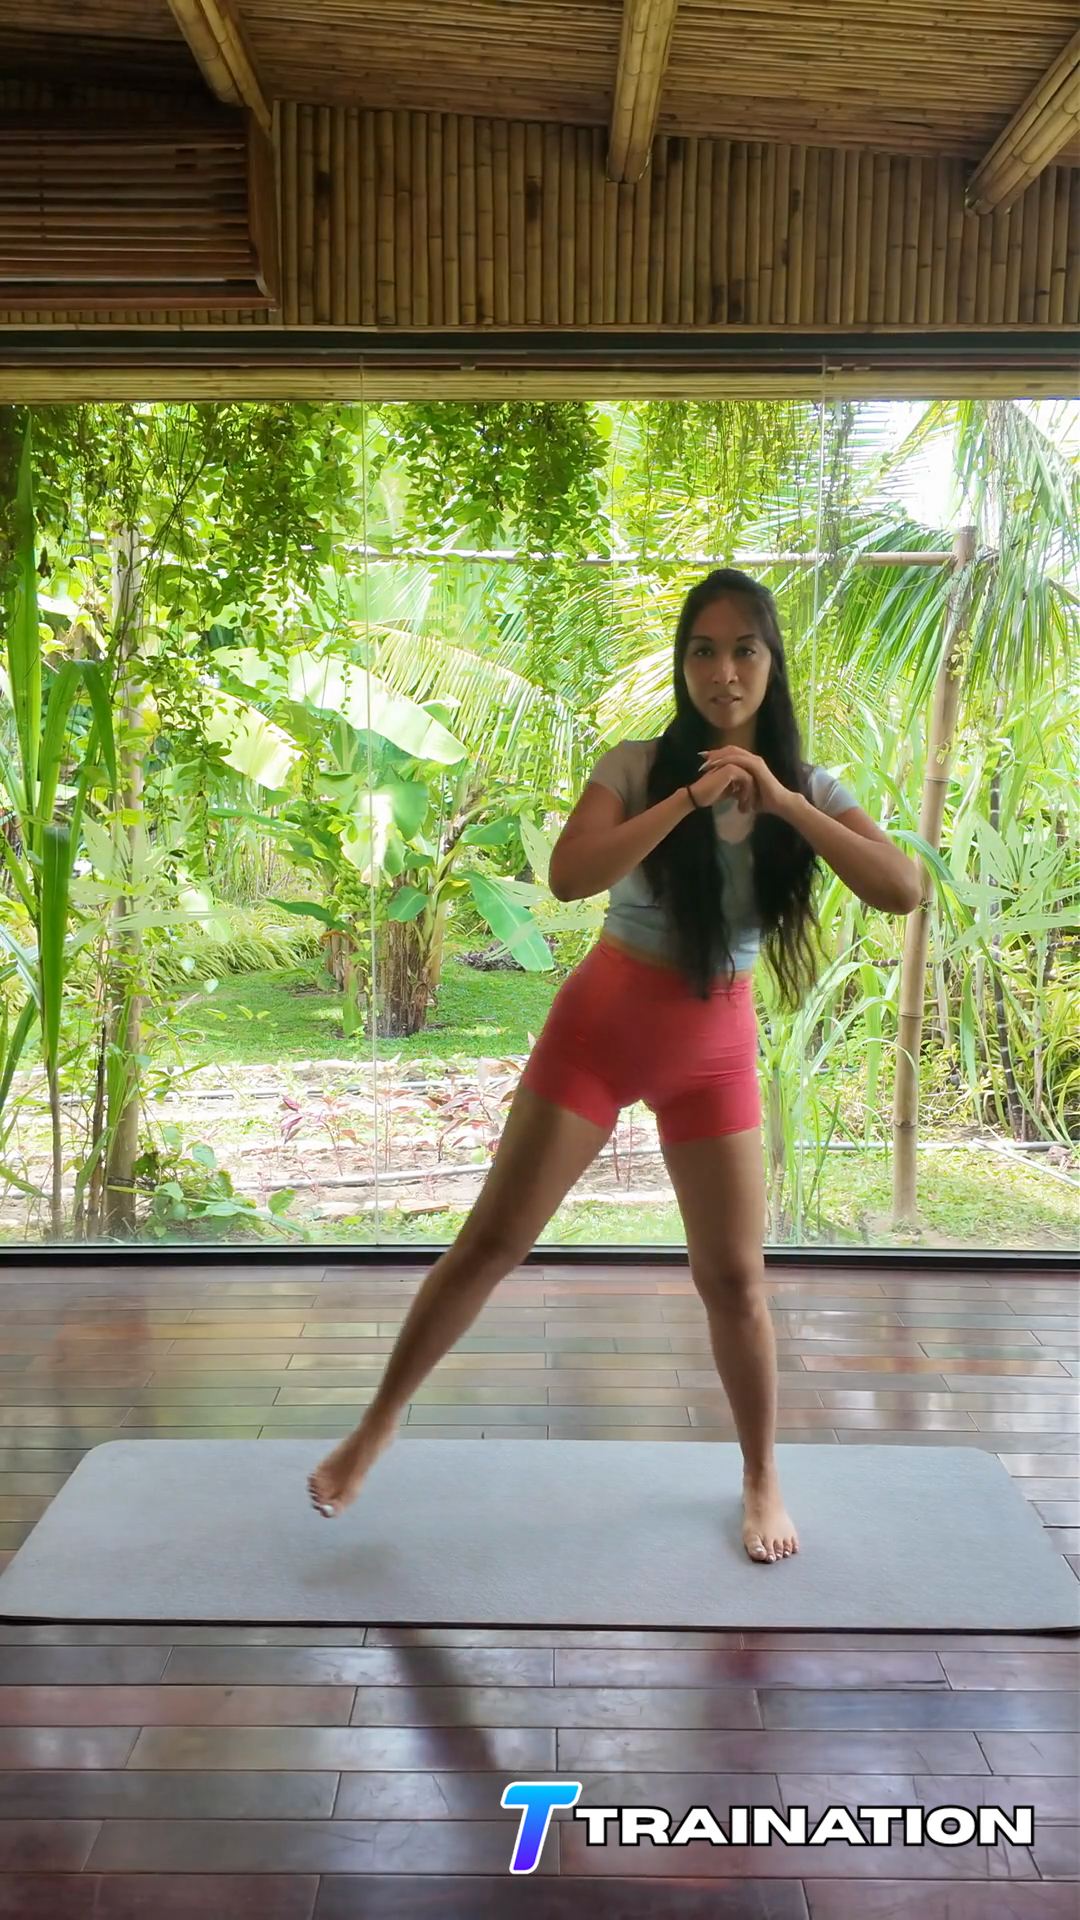
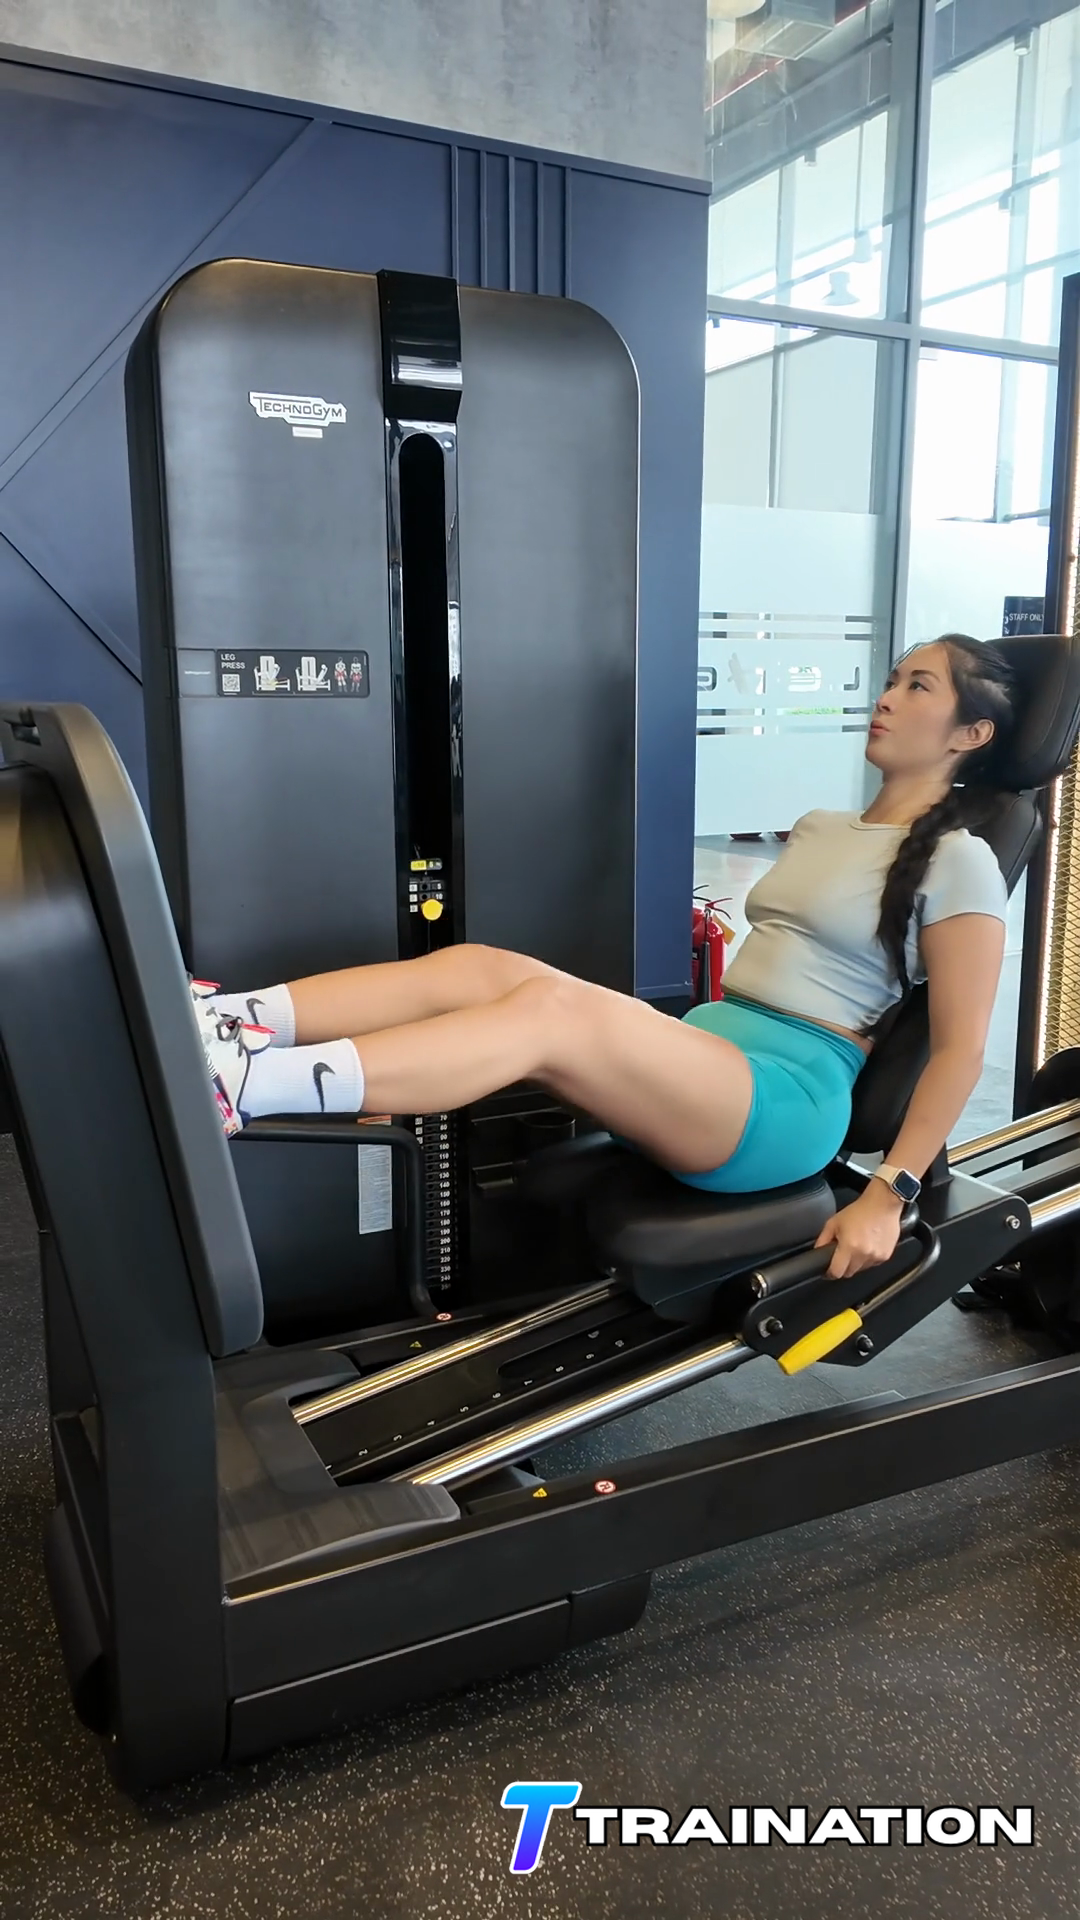
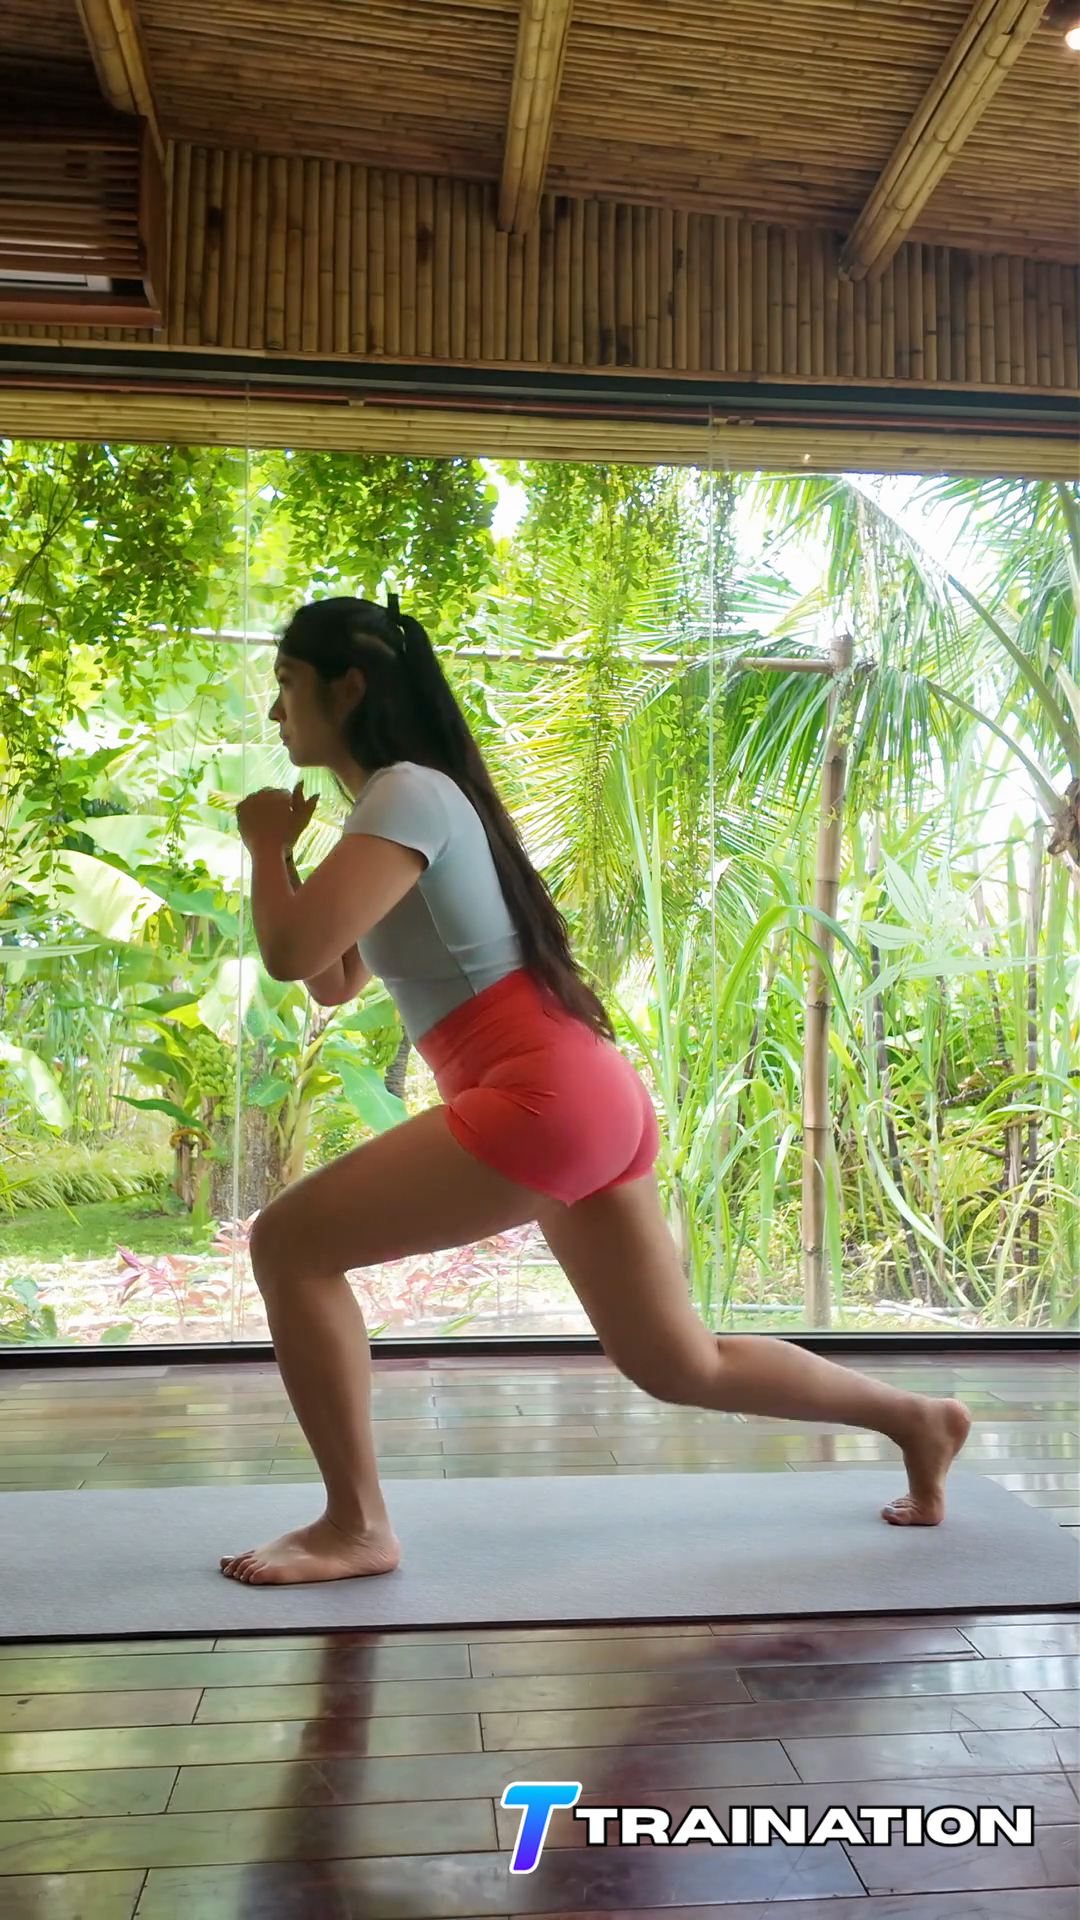
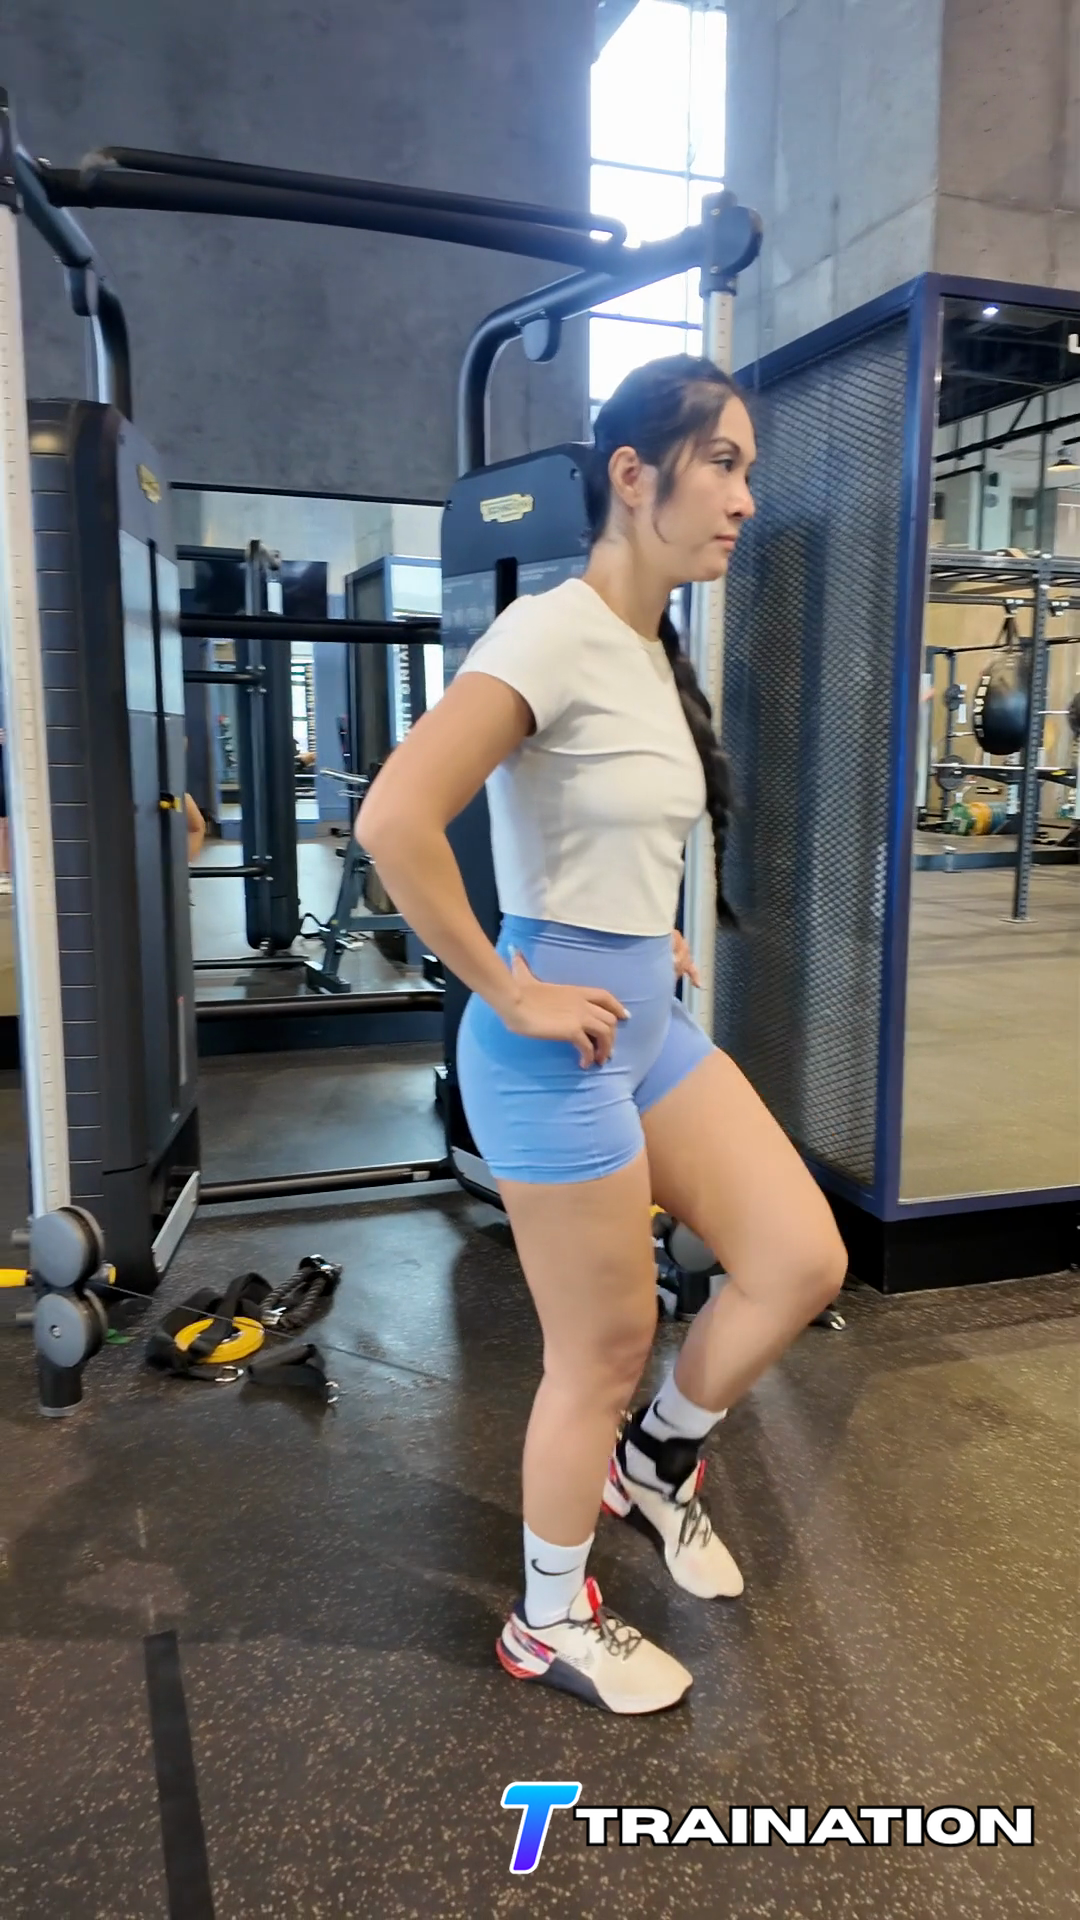
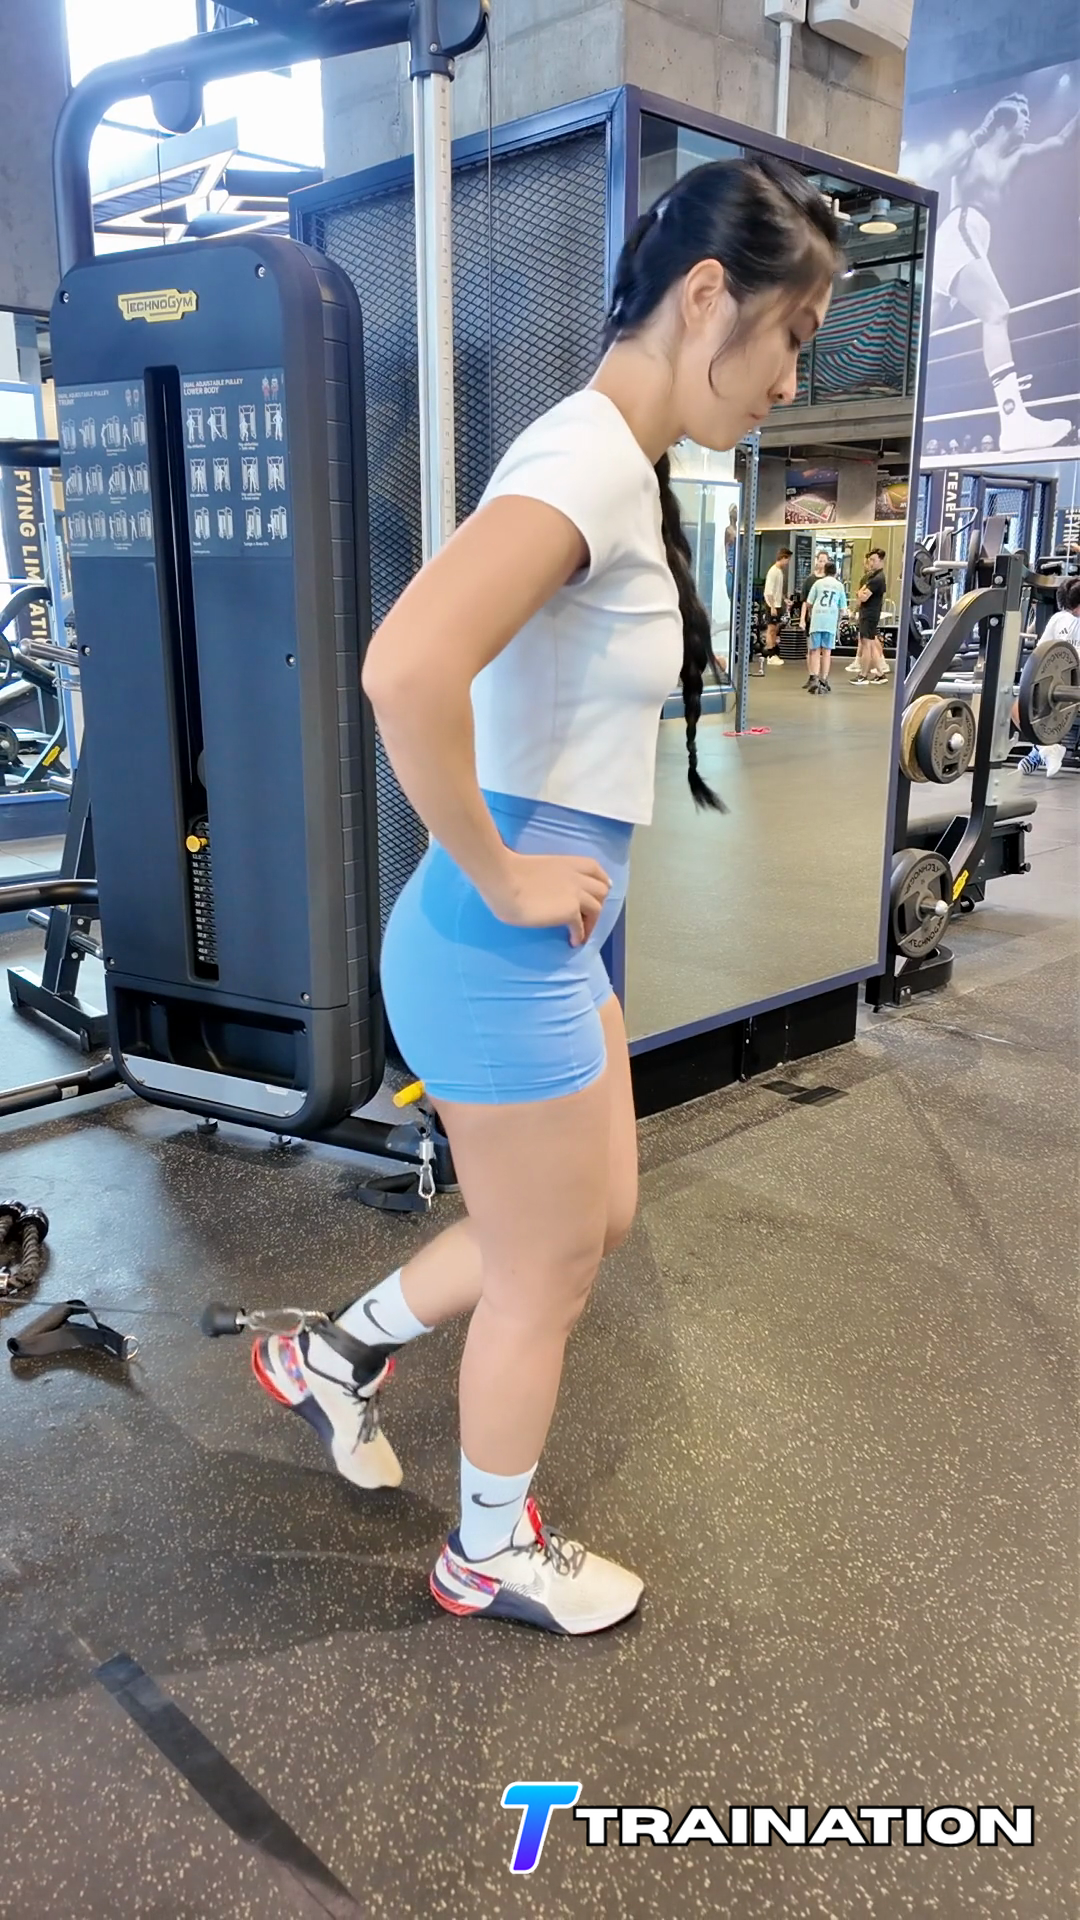
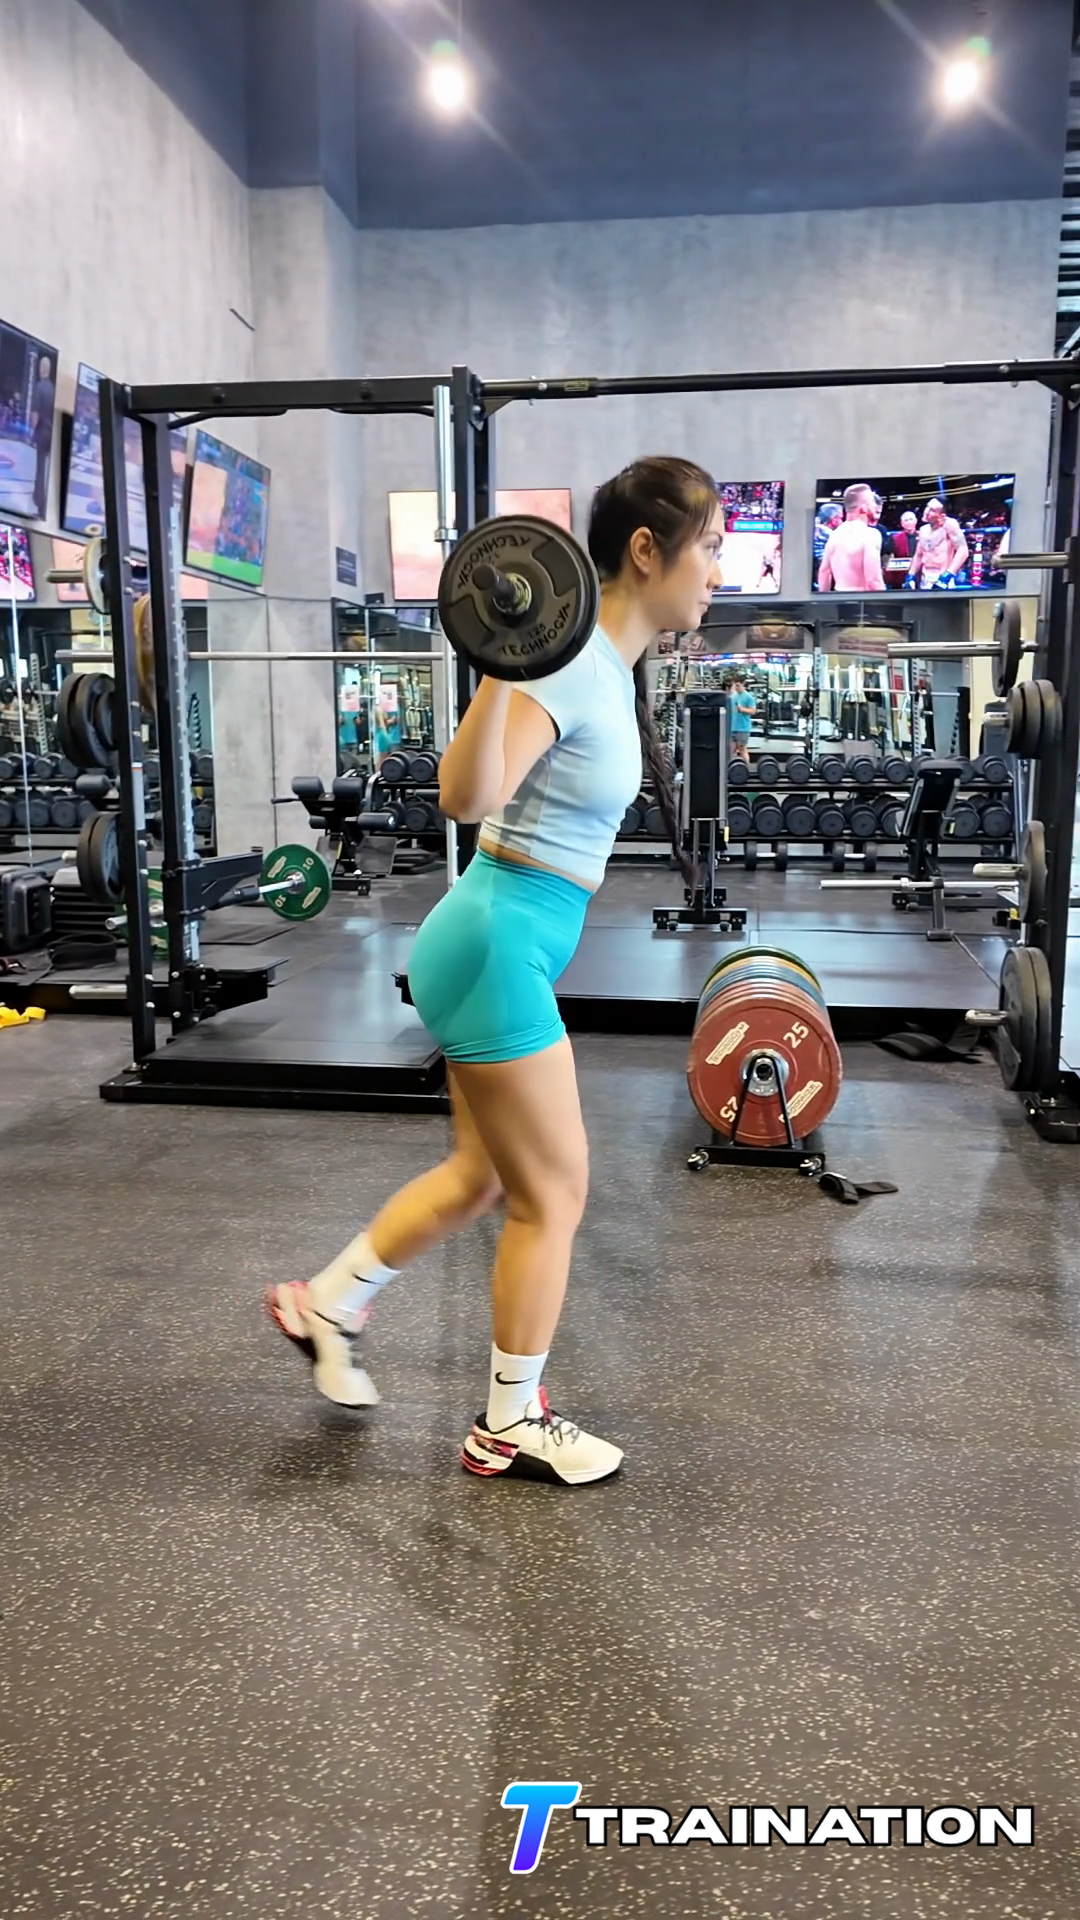
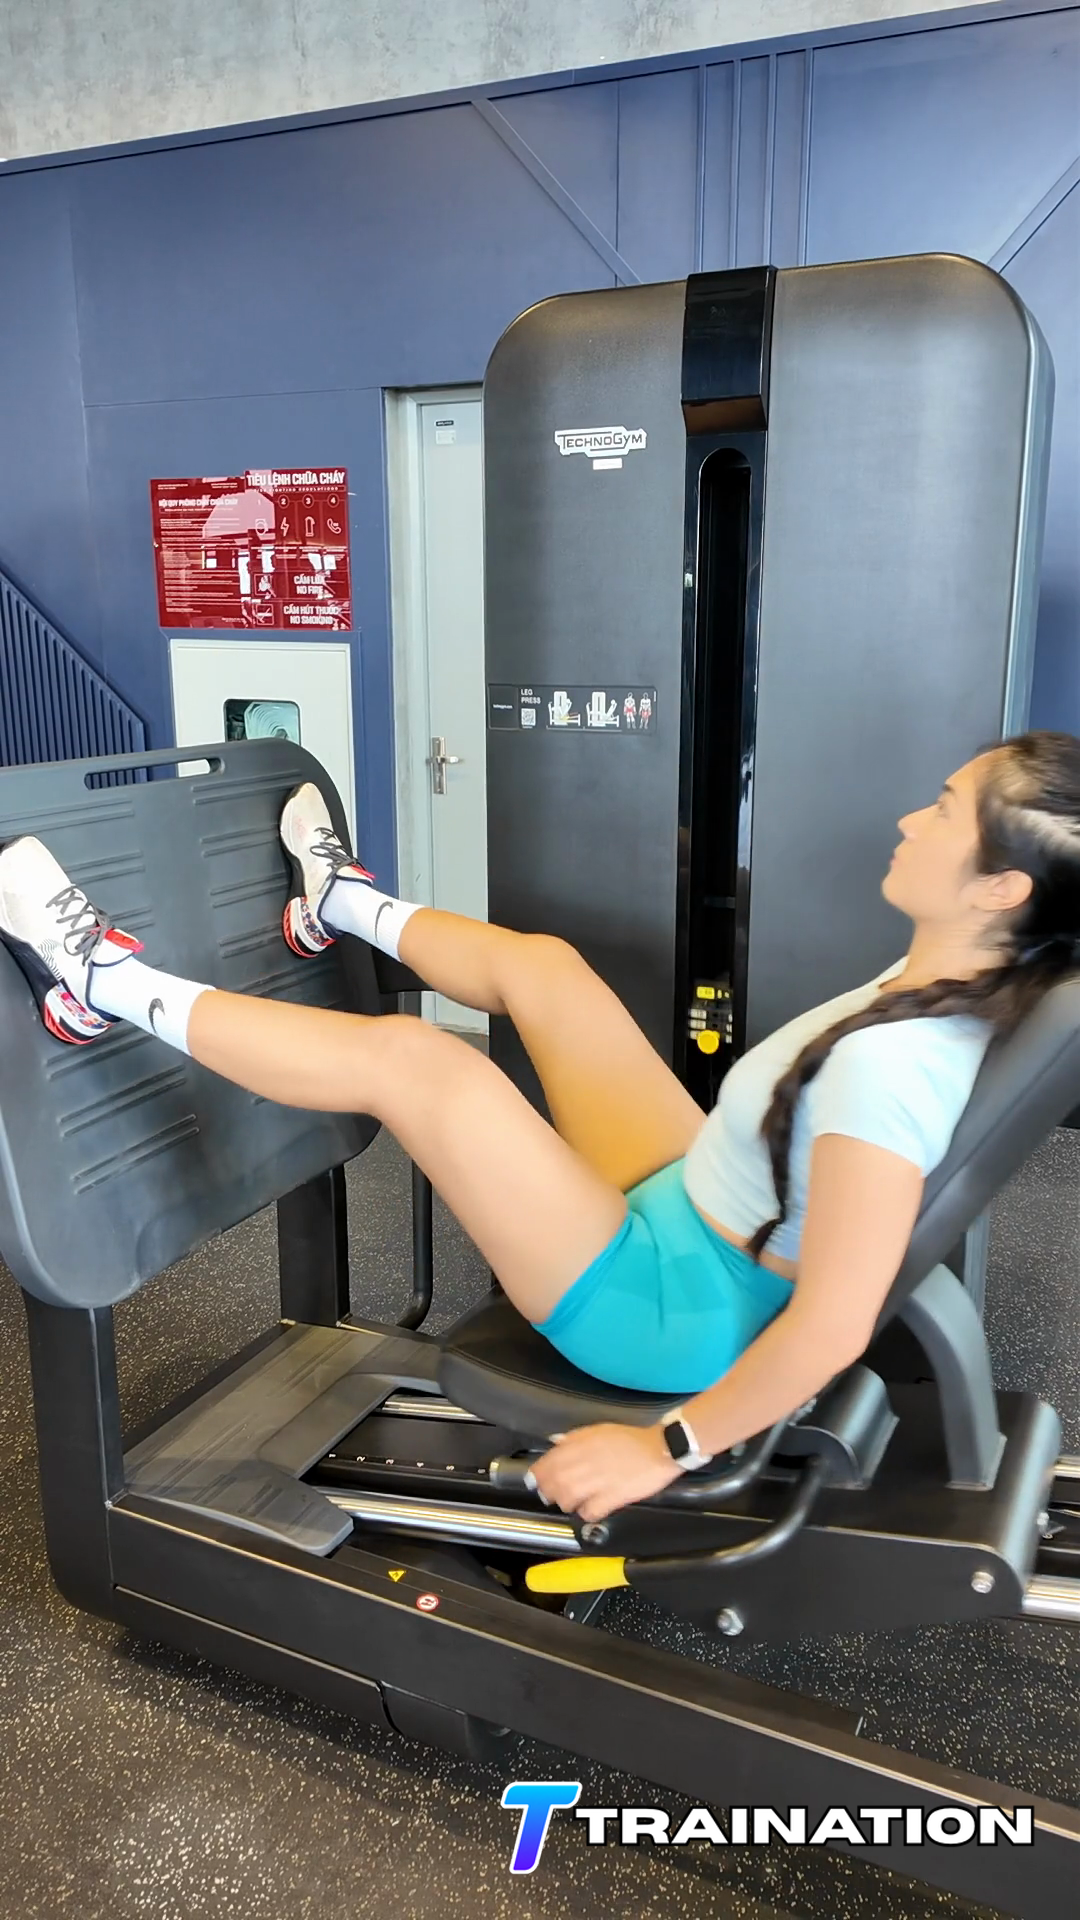
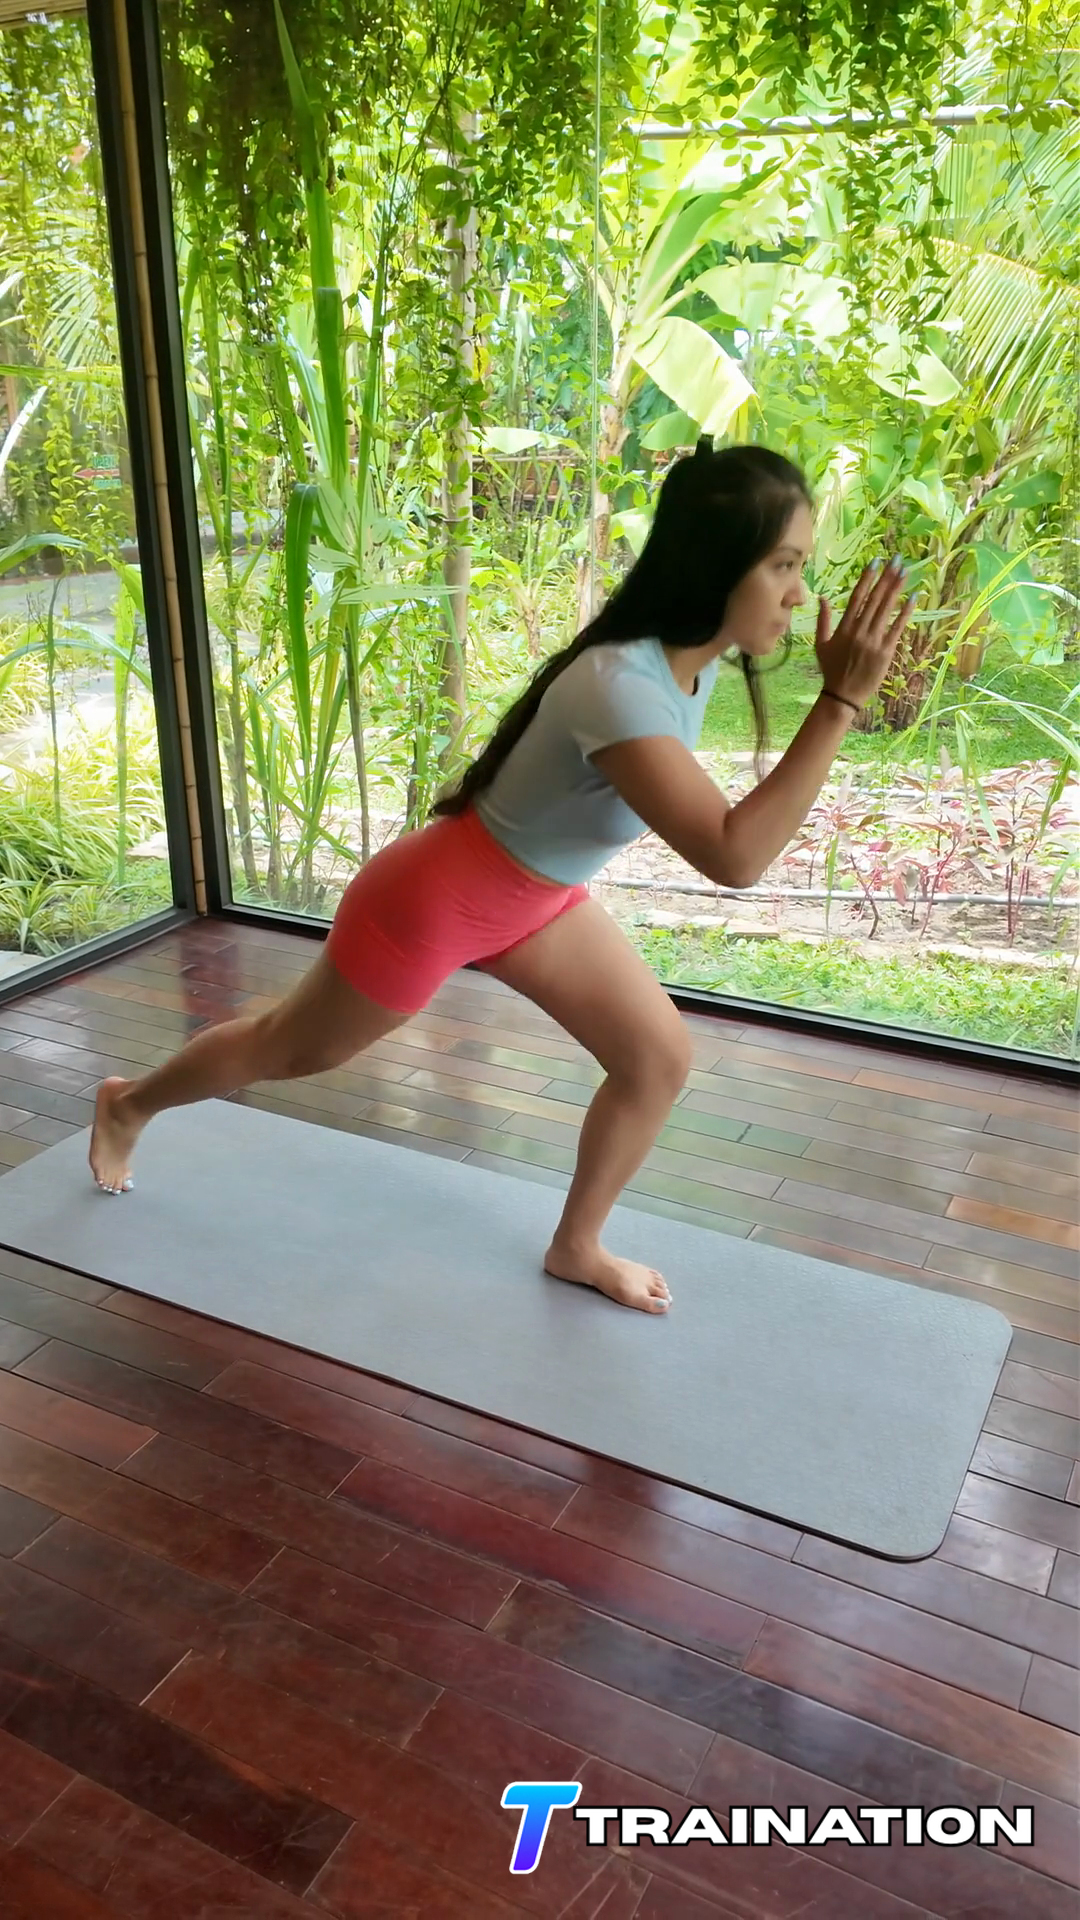
Reverse Lunge To Knee Drive combines a controlled lunge with an upper-body or balance challenge to train coordination and single-leg strength.
Primary musclesQuadriceps, Gluteus maximus
Secondary musclesHamstrings, Gluteus medius, Calves, Hip flexors
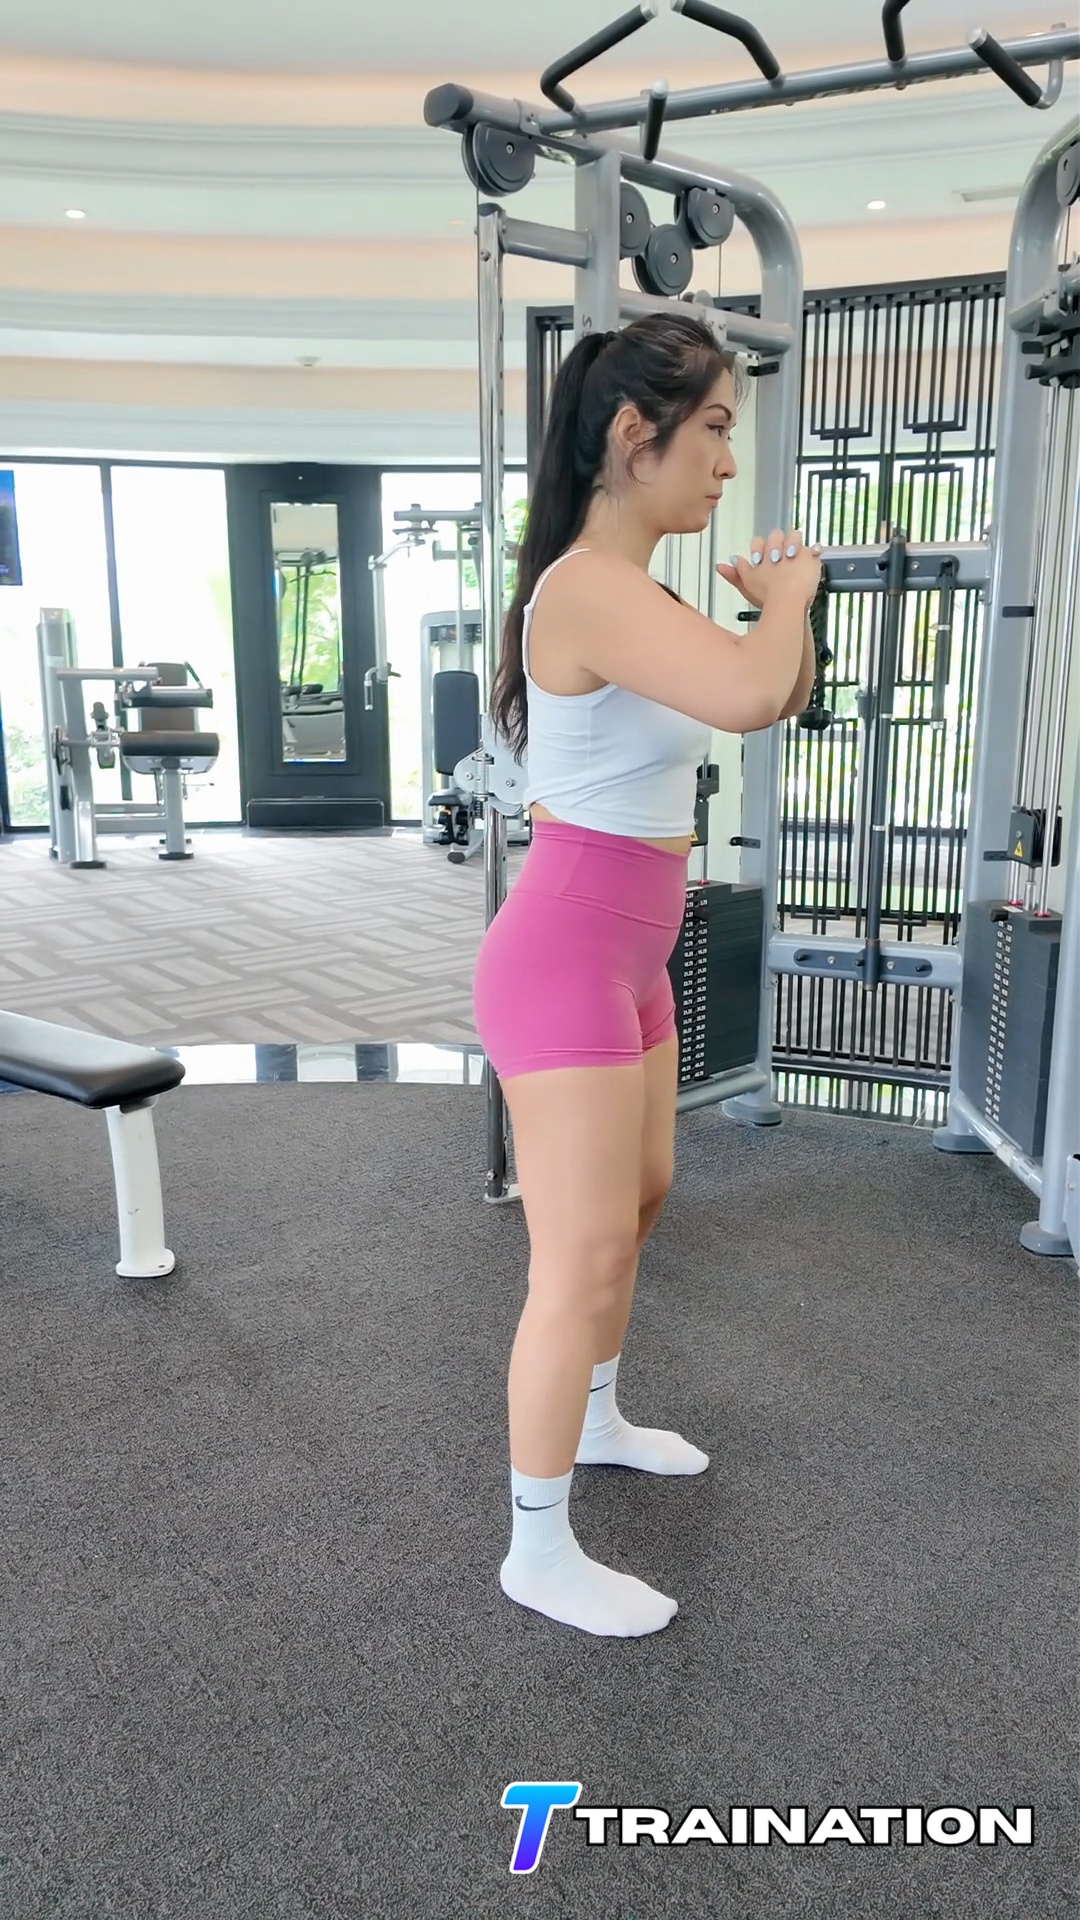
Follow the sequence in order, paying attention to the starting position, movement path, and finish described in each step.
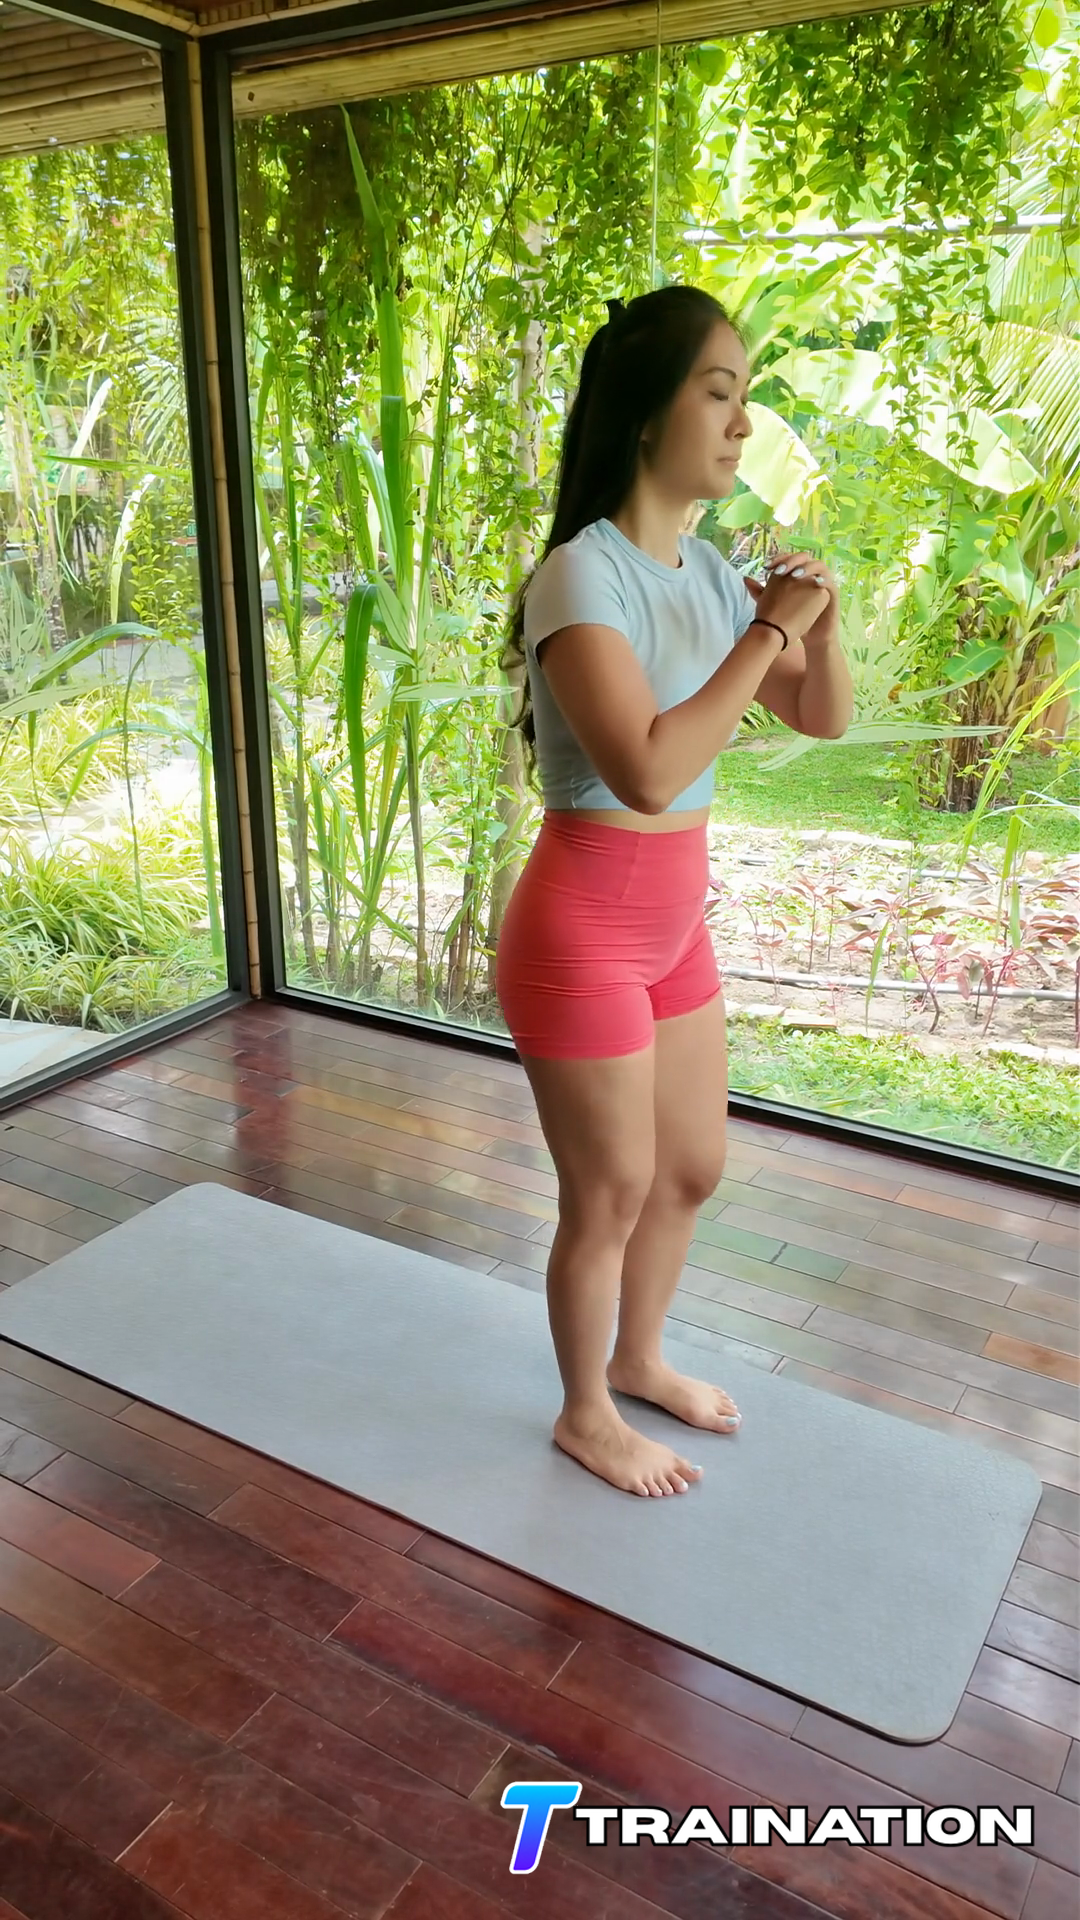
Stand tall with the feet about hip width, arms positioned for balance, and pressure spread across the whole supporting foot.
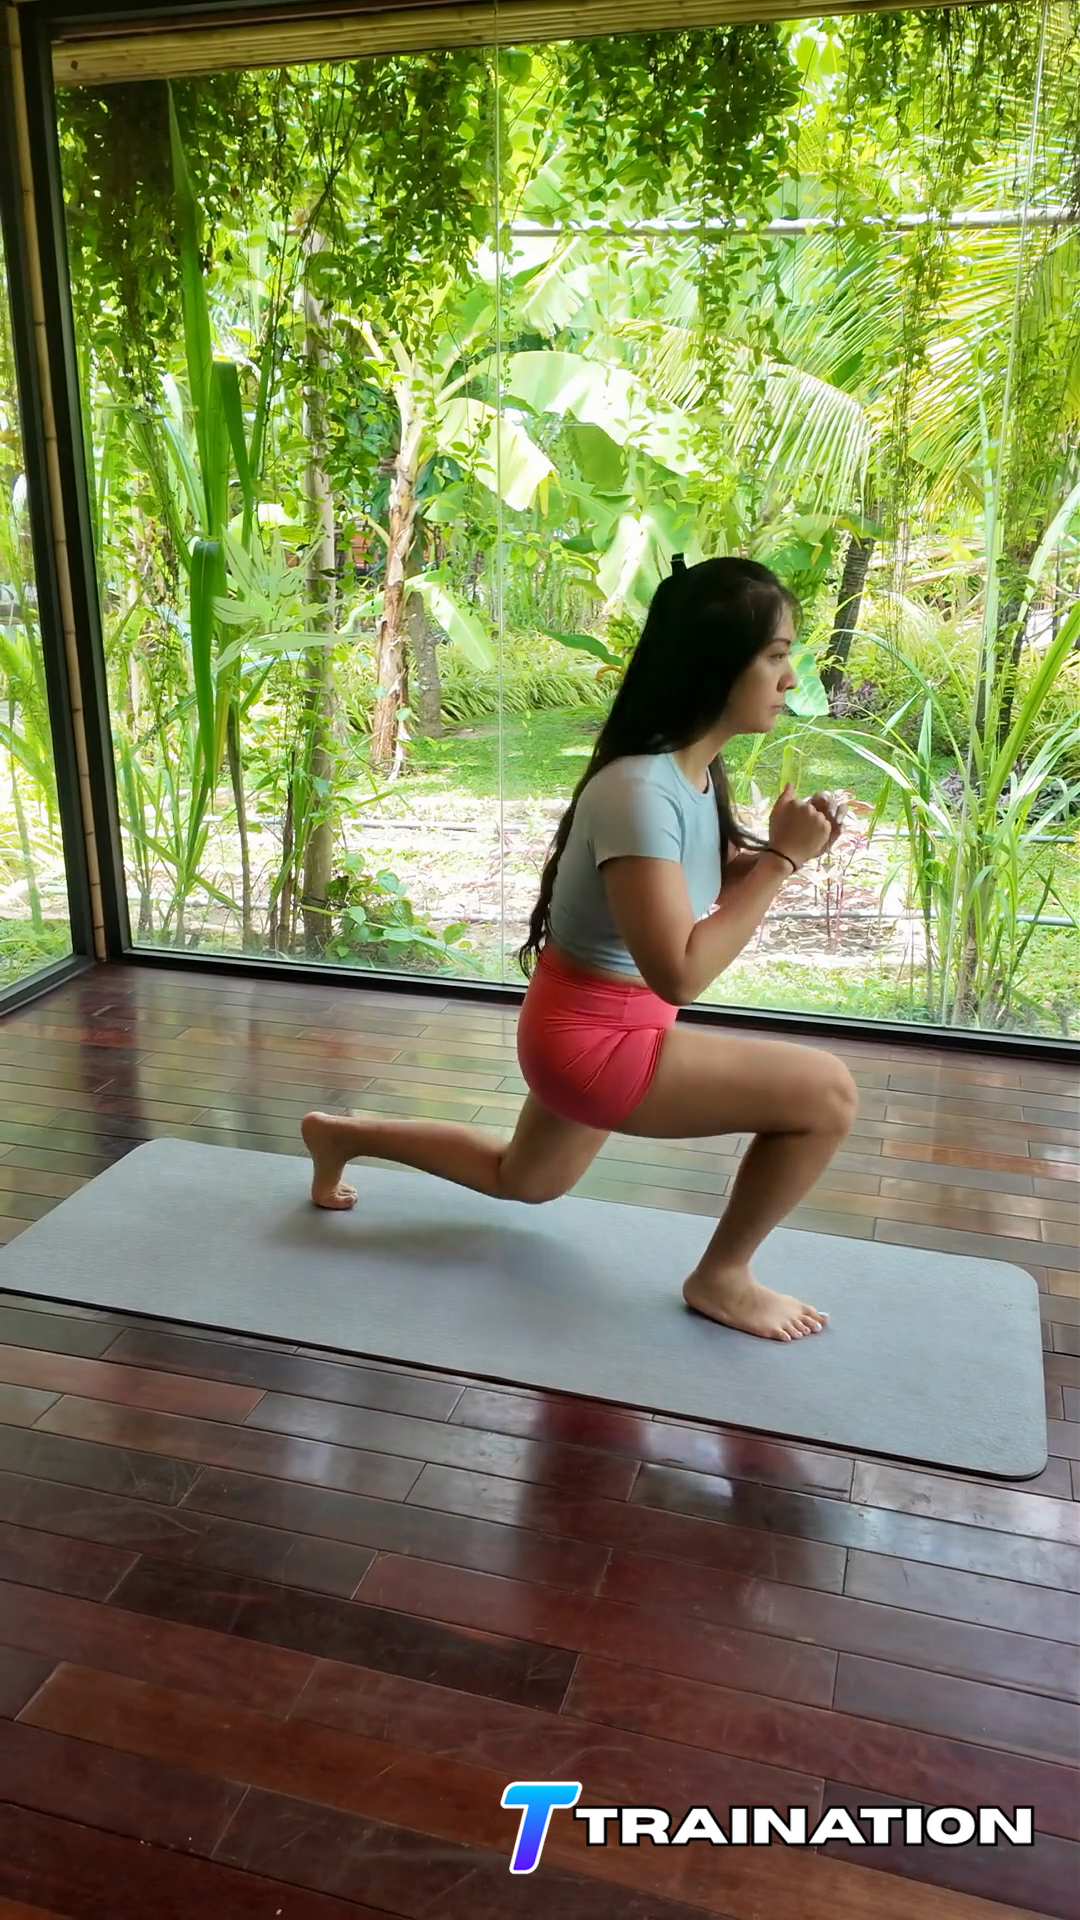
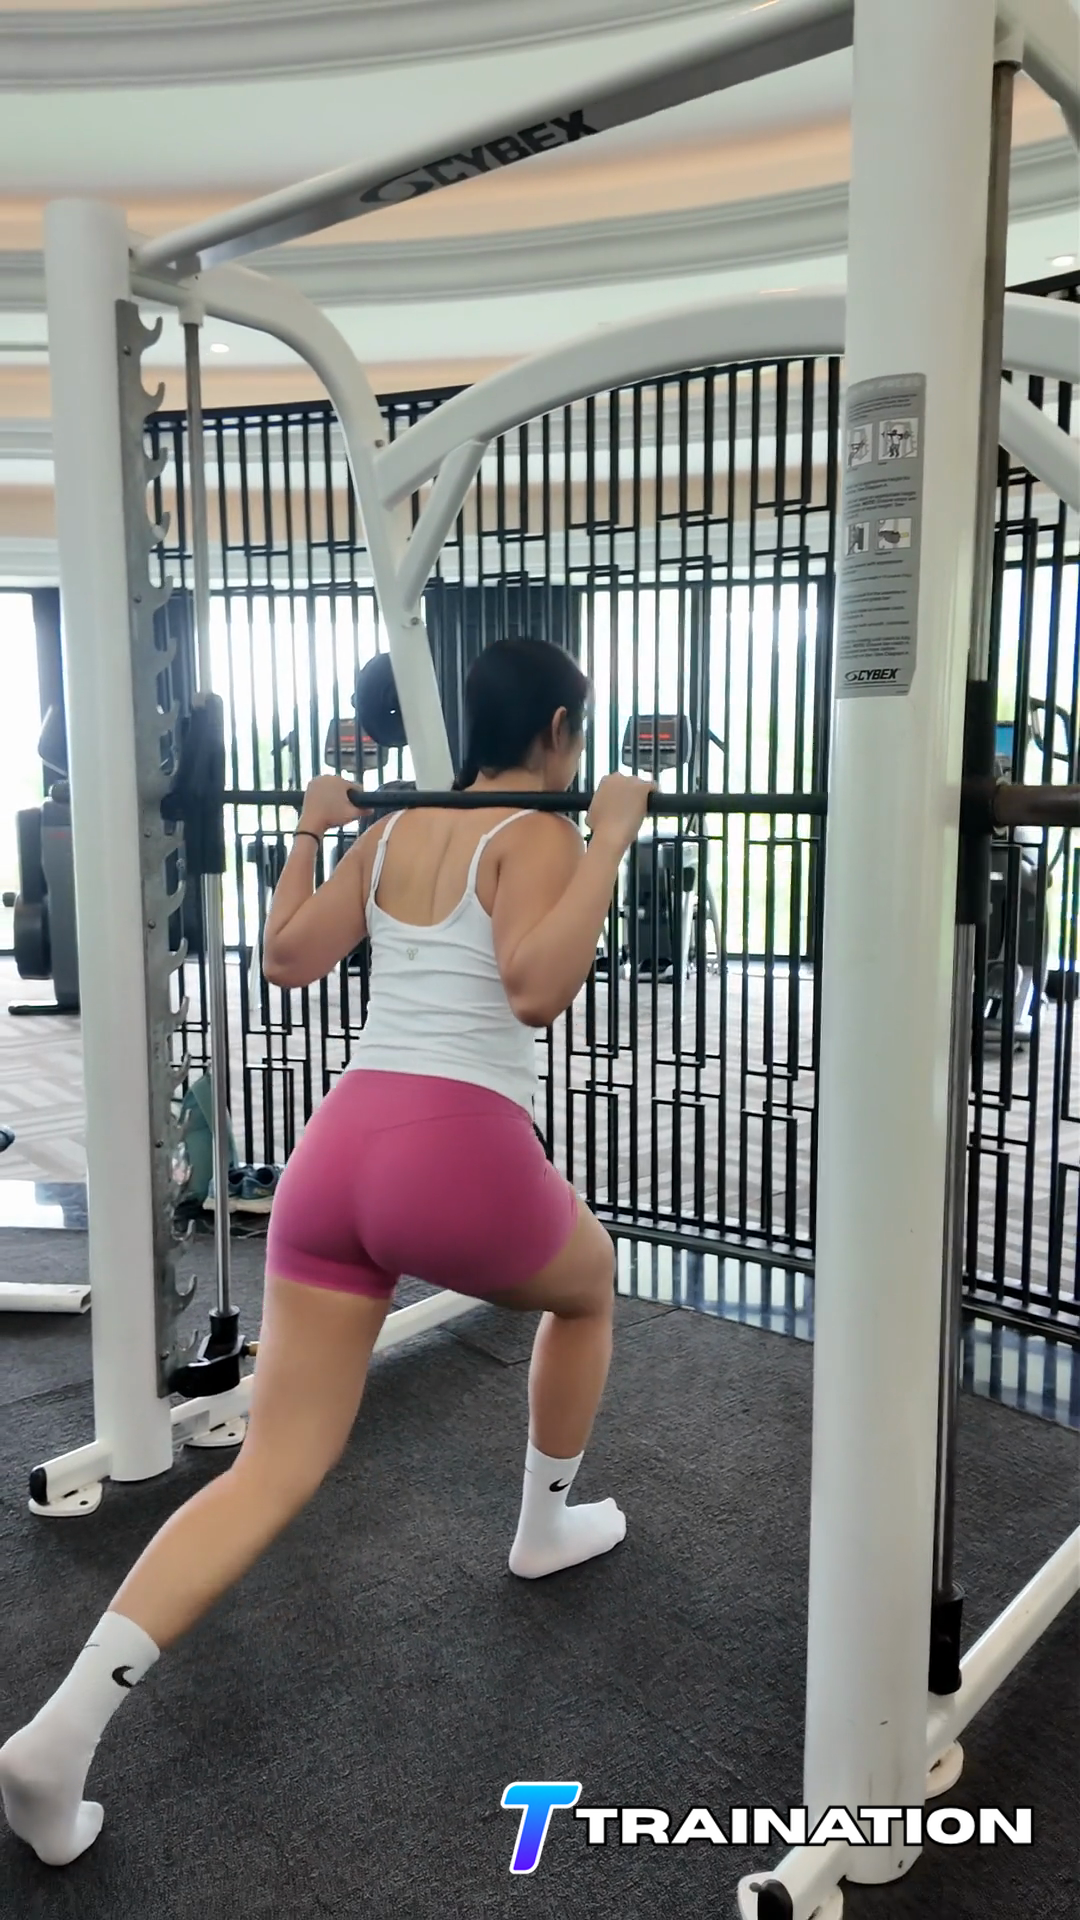
Brace the trunk, step one foot backward, and lower until both knees are comfortably bent and the front heel remains planted.
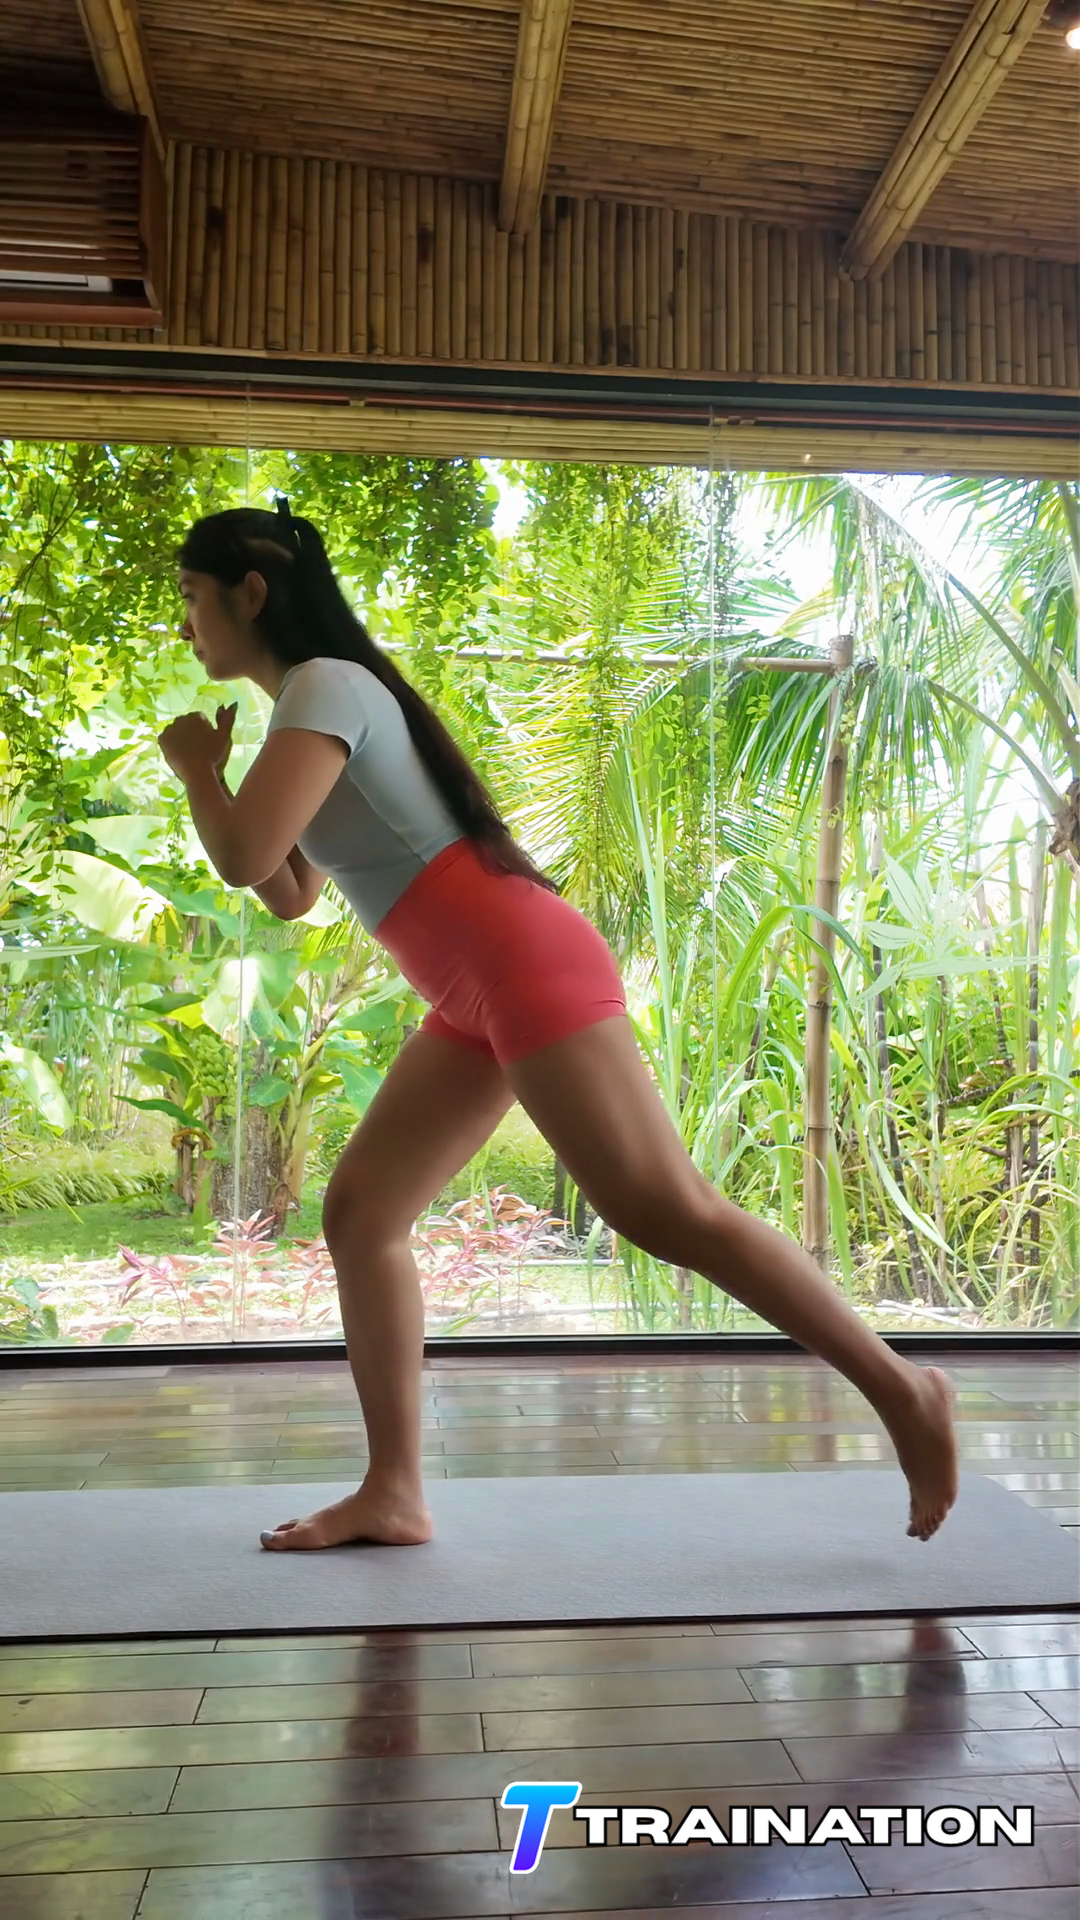
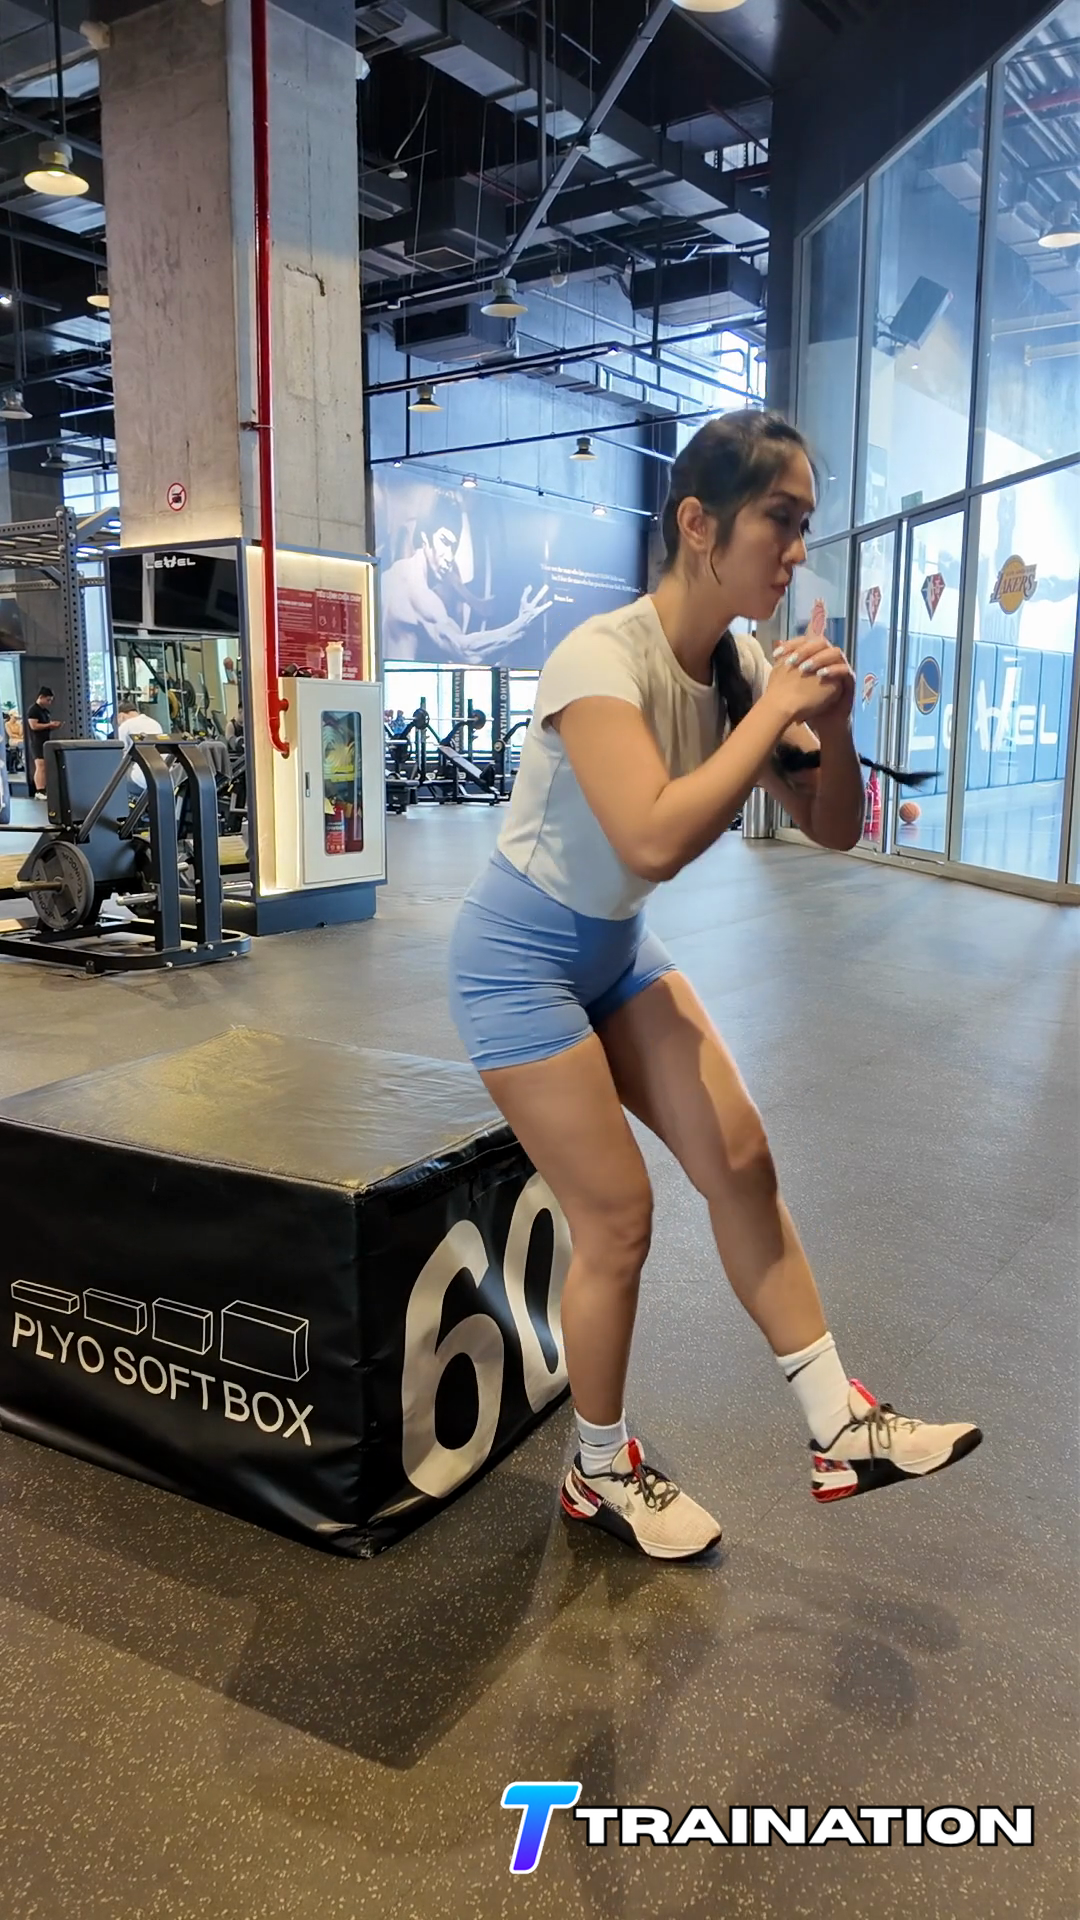
Push through the front foot to stand as the rear leg swings forward and the knee rises toward hip height.
Pause briefly on the supporting leg with the pelvis level and the torso upright.
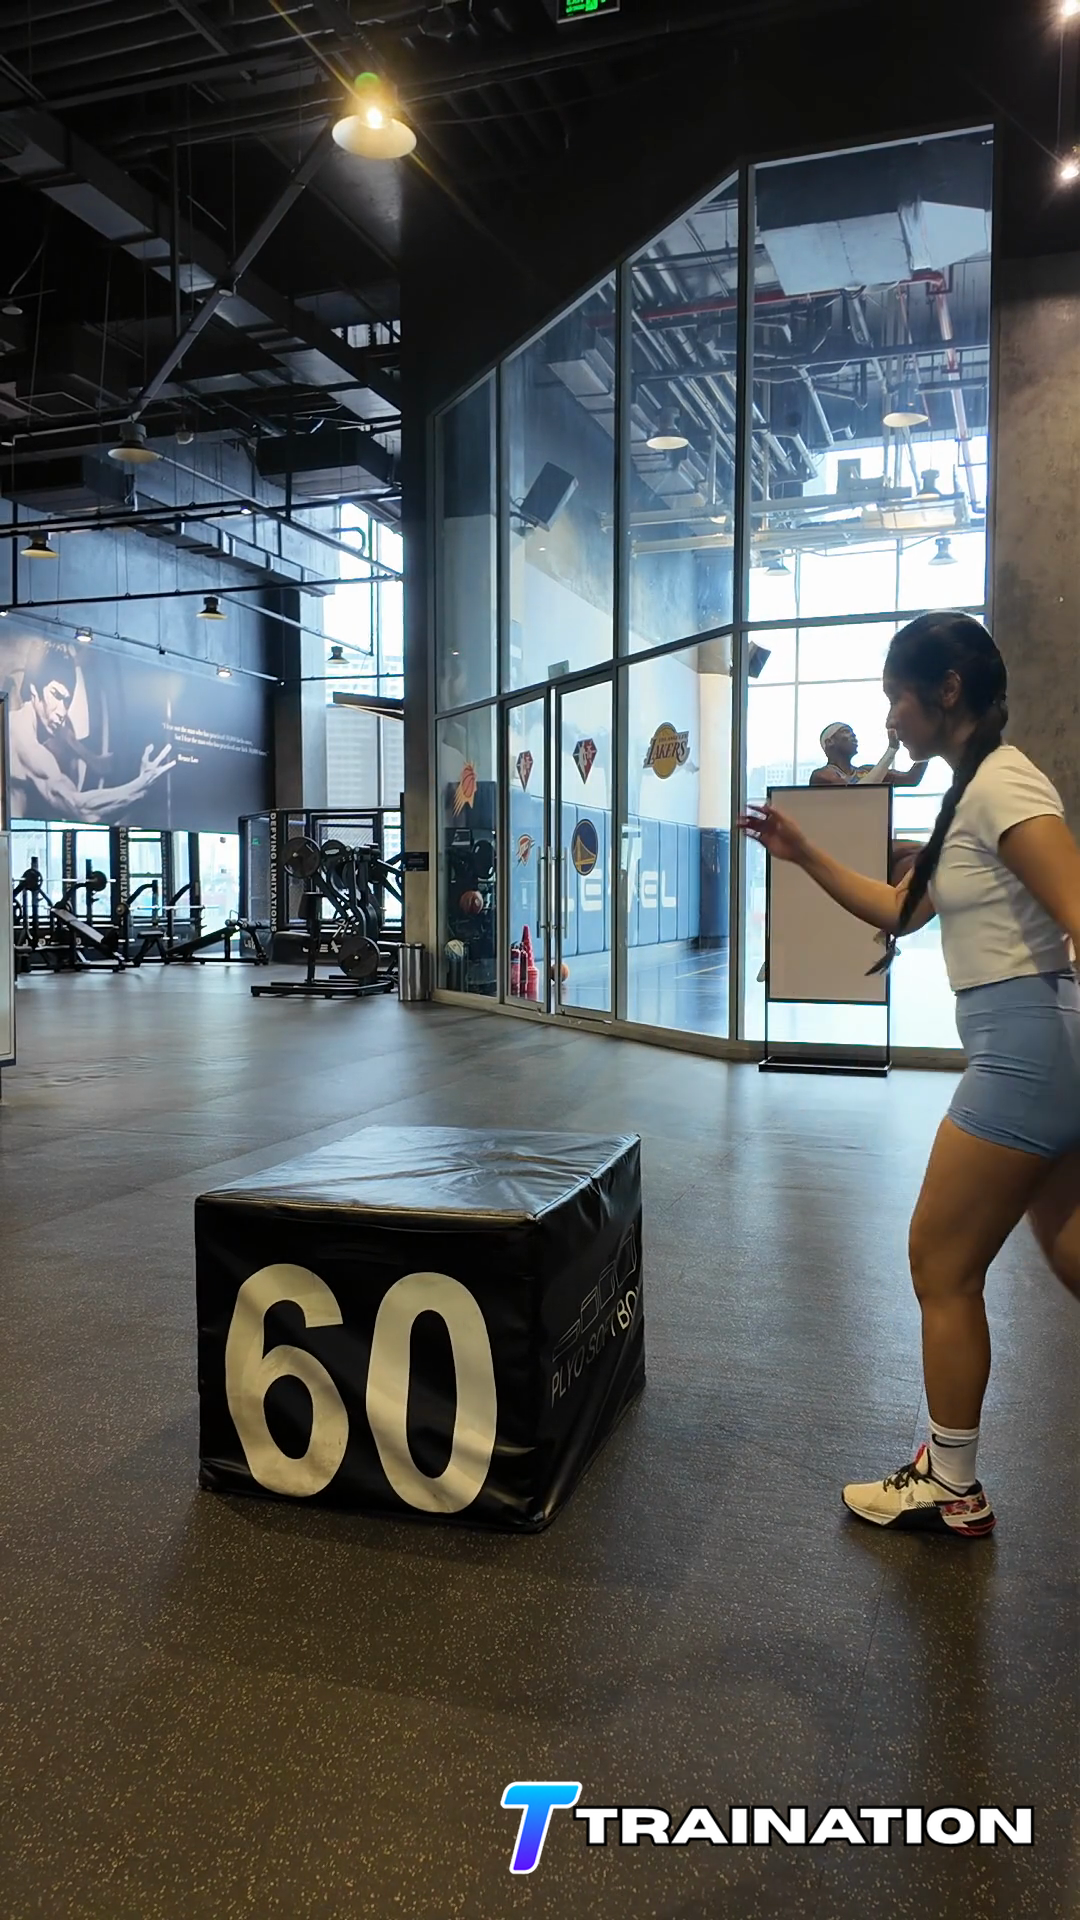
Step the raised leg directly back into the next repetition, then complete the same number of repetitions on the other side.
Finish the knee drive under control before stepping back into the next lunge.
Keep the supporting knee aligned with the toes during the lunge and knee drive.
Raise the knee from a tall torso without pushing the hips forward.
Use the same backward step and knee-drive height on both sides.
Place Reverse Lunge To Knee Drive in the middle of a full-body session or a technique circuit after each component has been learned separately.
Use once or twice per week when the combination directly supports the program; otherwise train the component movements separately.
| Goal | Sets | Reps or time | Rest | Effort and execution |
|---|---|---|---|---|
| Technique | 2–4 | 4–6 per side | 90–150 sec | Use the load the weakest component controls |
| Full-body accessory | 2–4 | 6–10 per side | 90–180 sec | Keep 2–3 clean reps in reserve |
Scale the movement
Hold a stable support or use an easier setup while learning the movement.
Use a shorter pain-free range and expand it only as control improves.
Slow the lowering phase without changing the start, finish, or joint alignment.
Add a brief pause at the hardest controlled position before increasing load.
Turn Reverse Lunge To Knee Drive and the rest of your exercise library into repeatable client programs.
Explore the workout builder