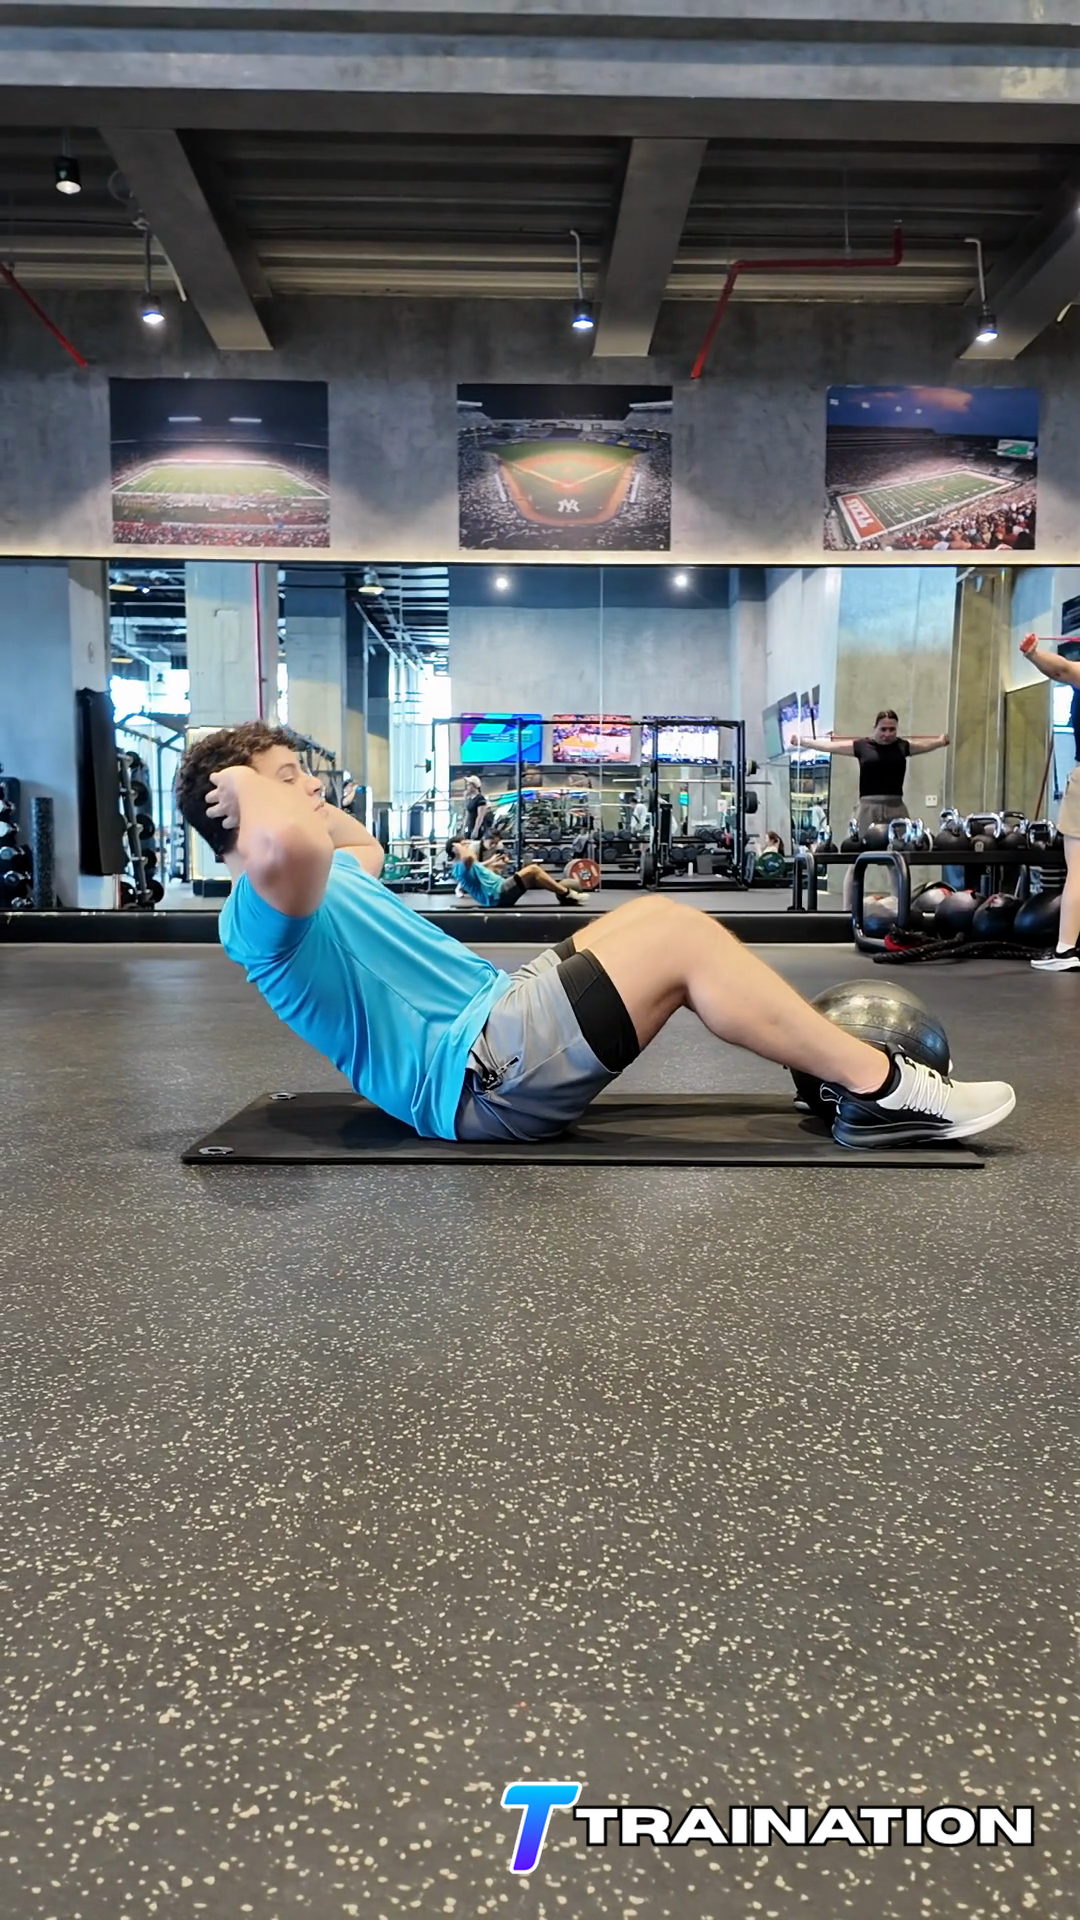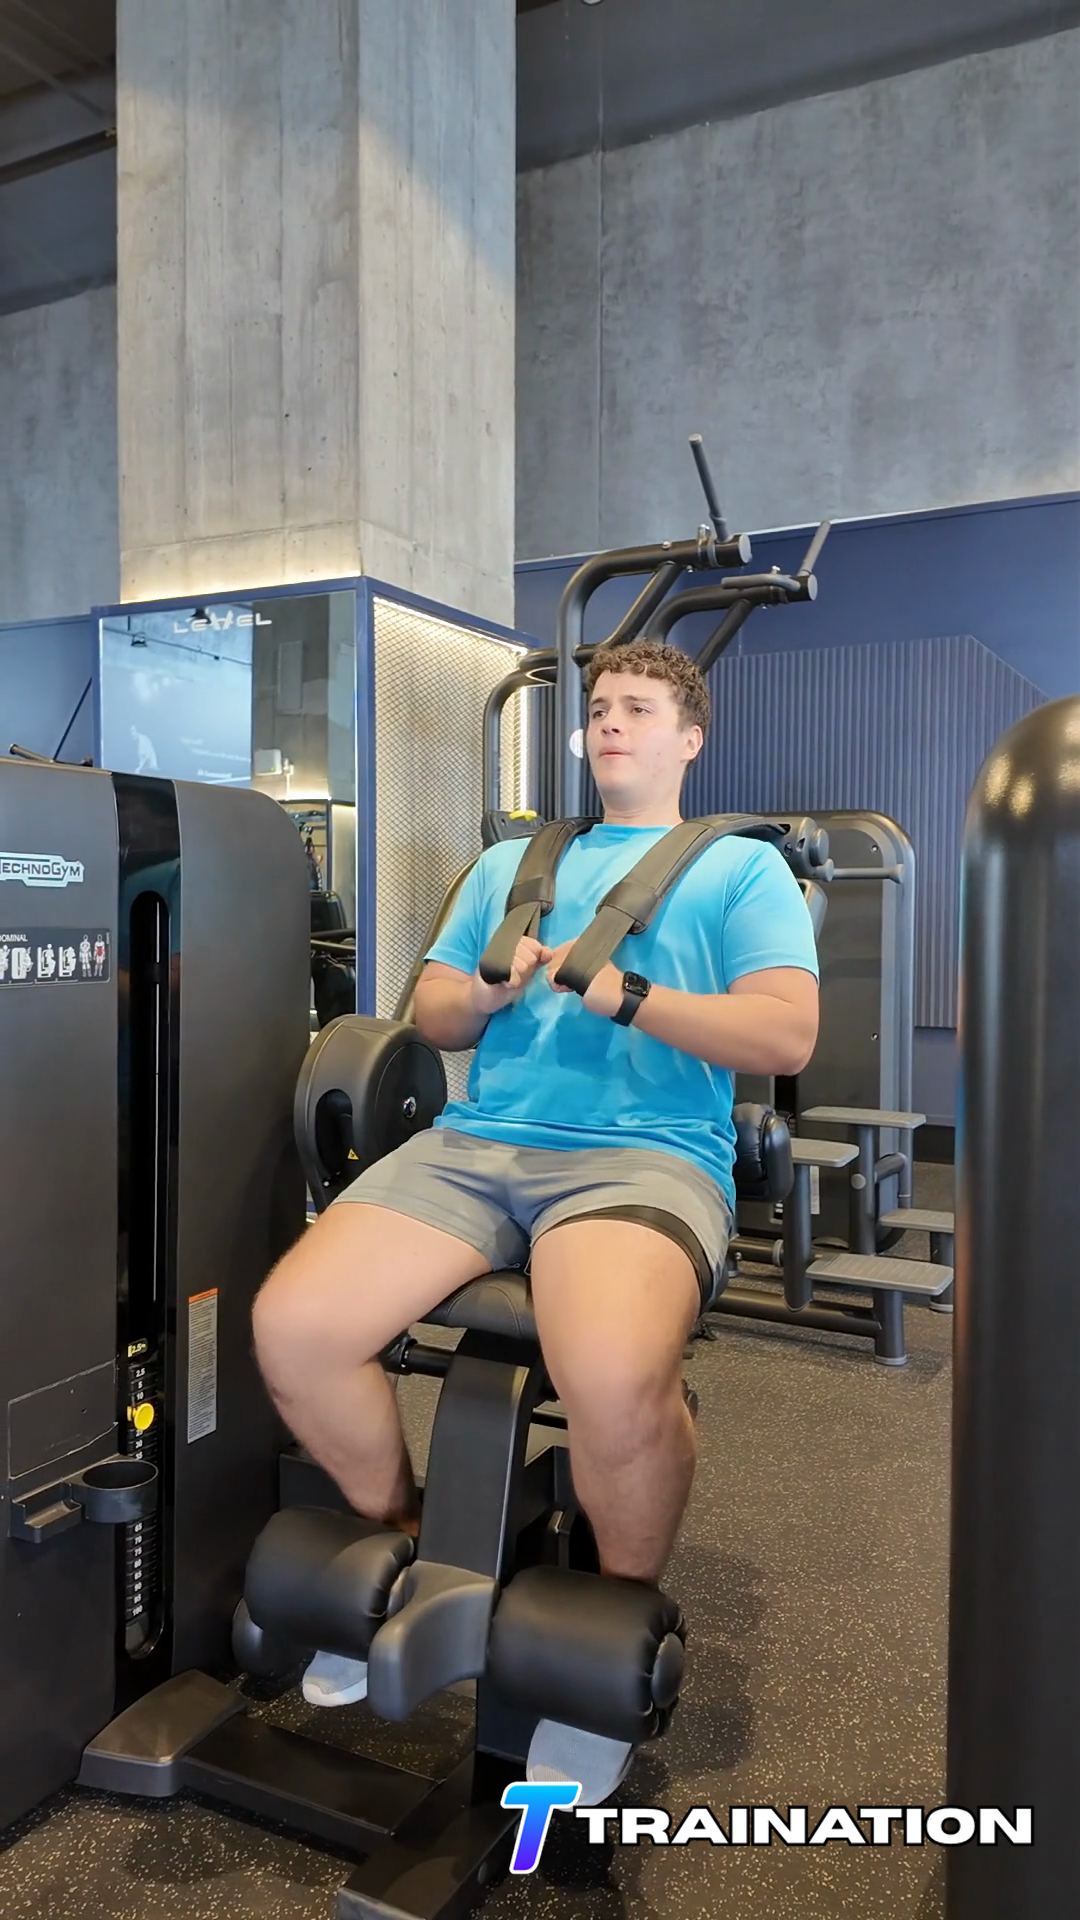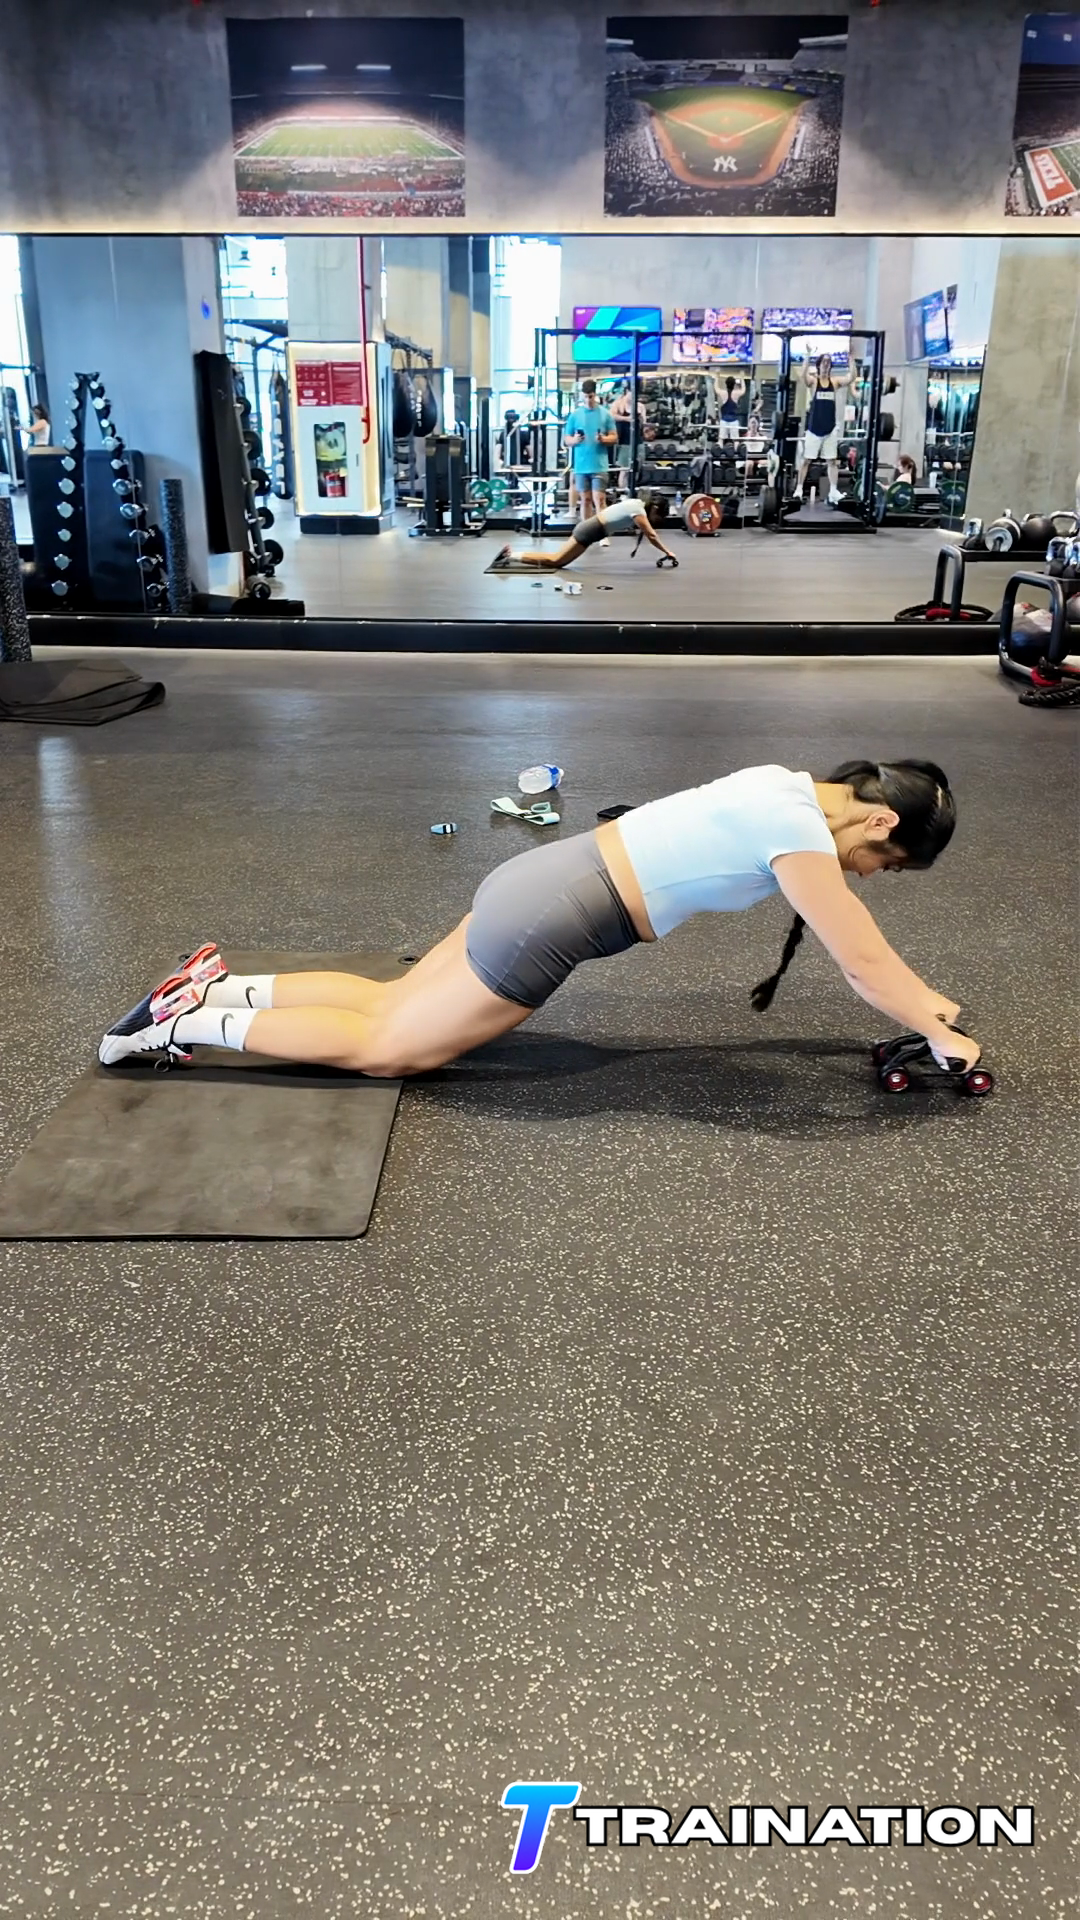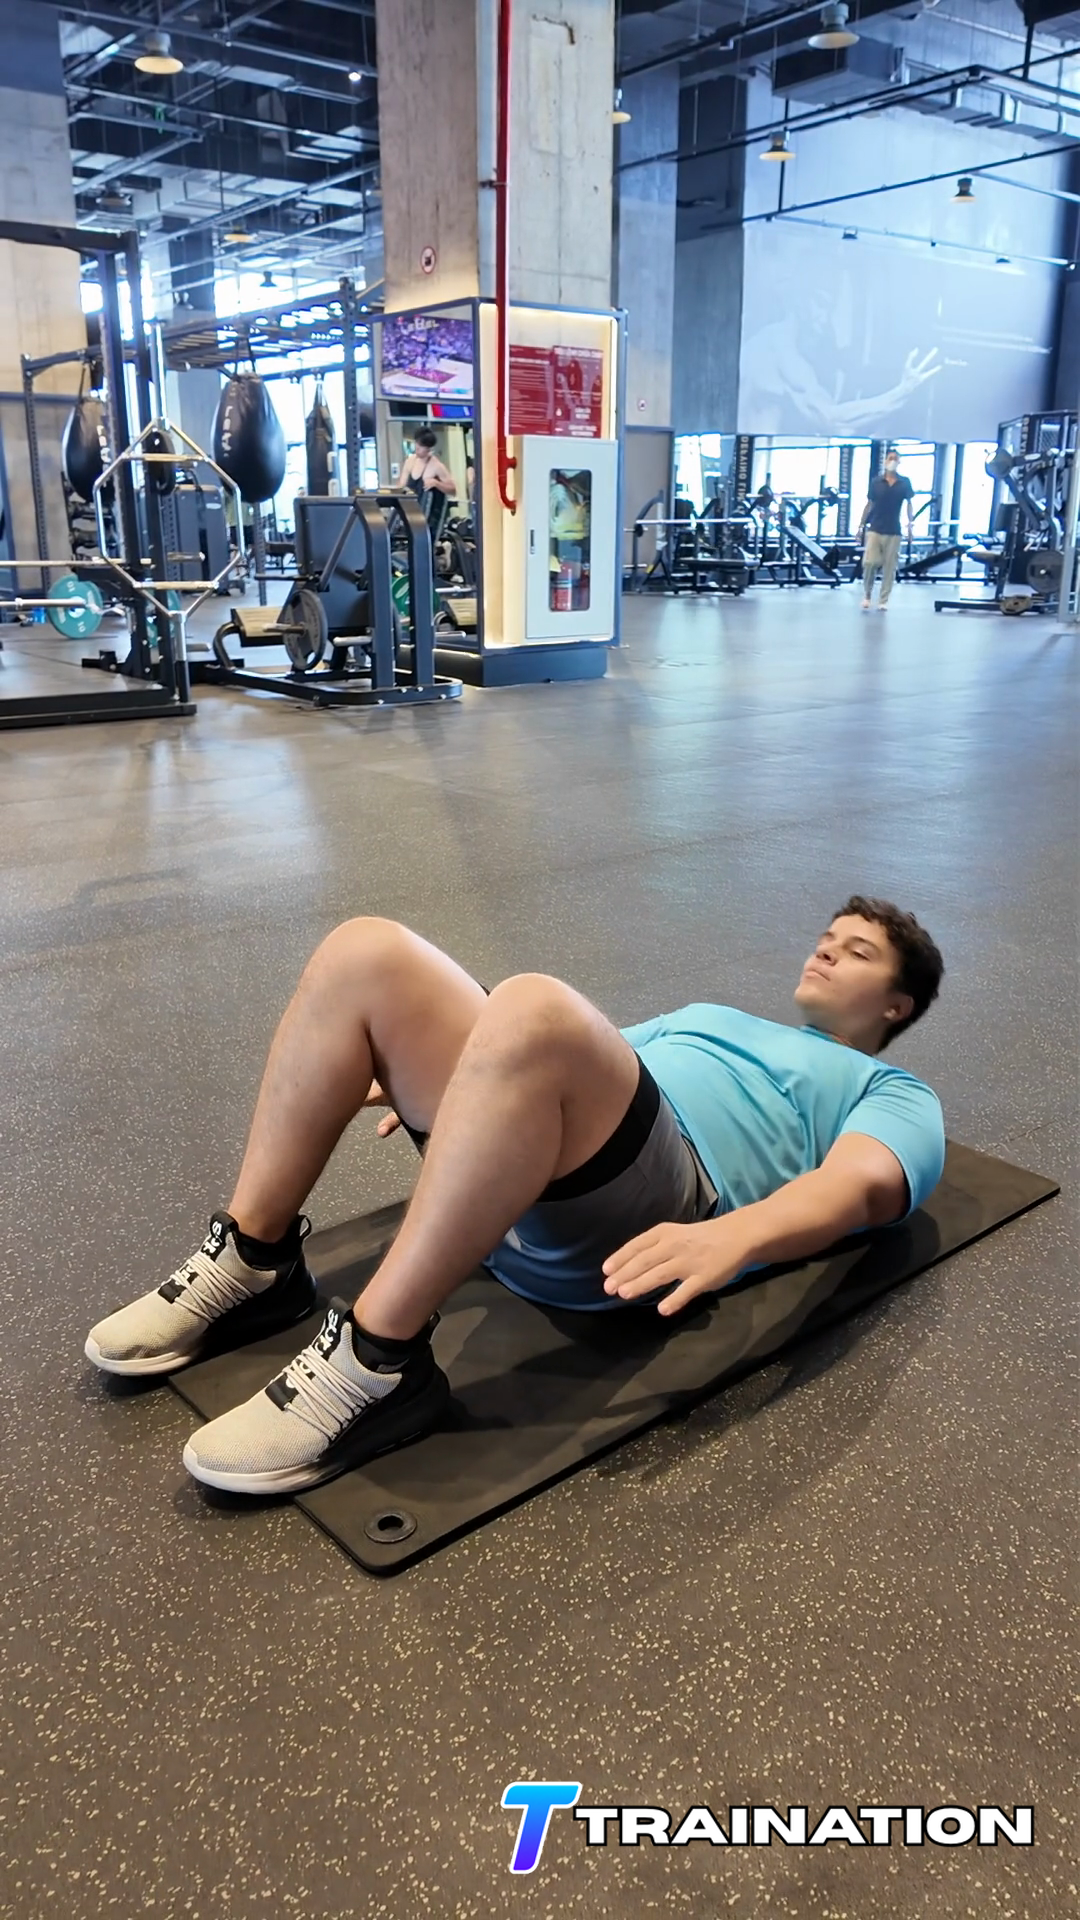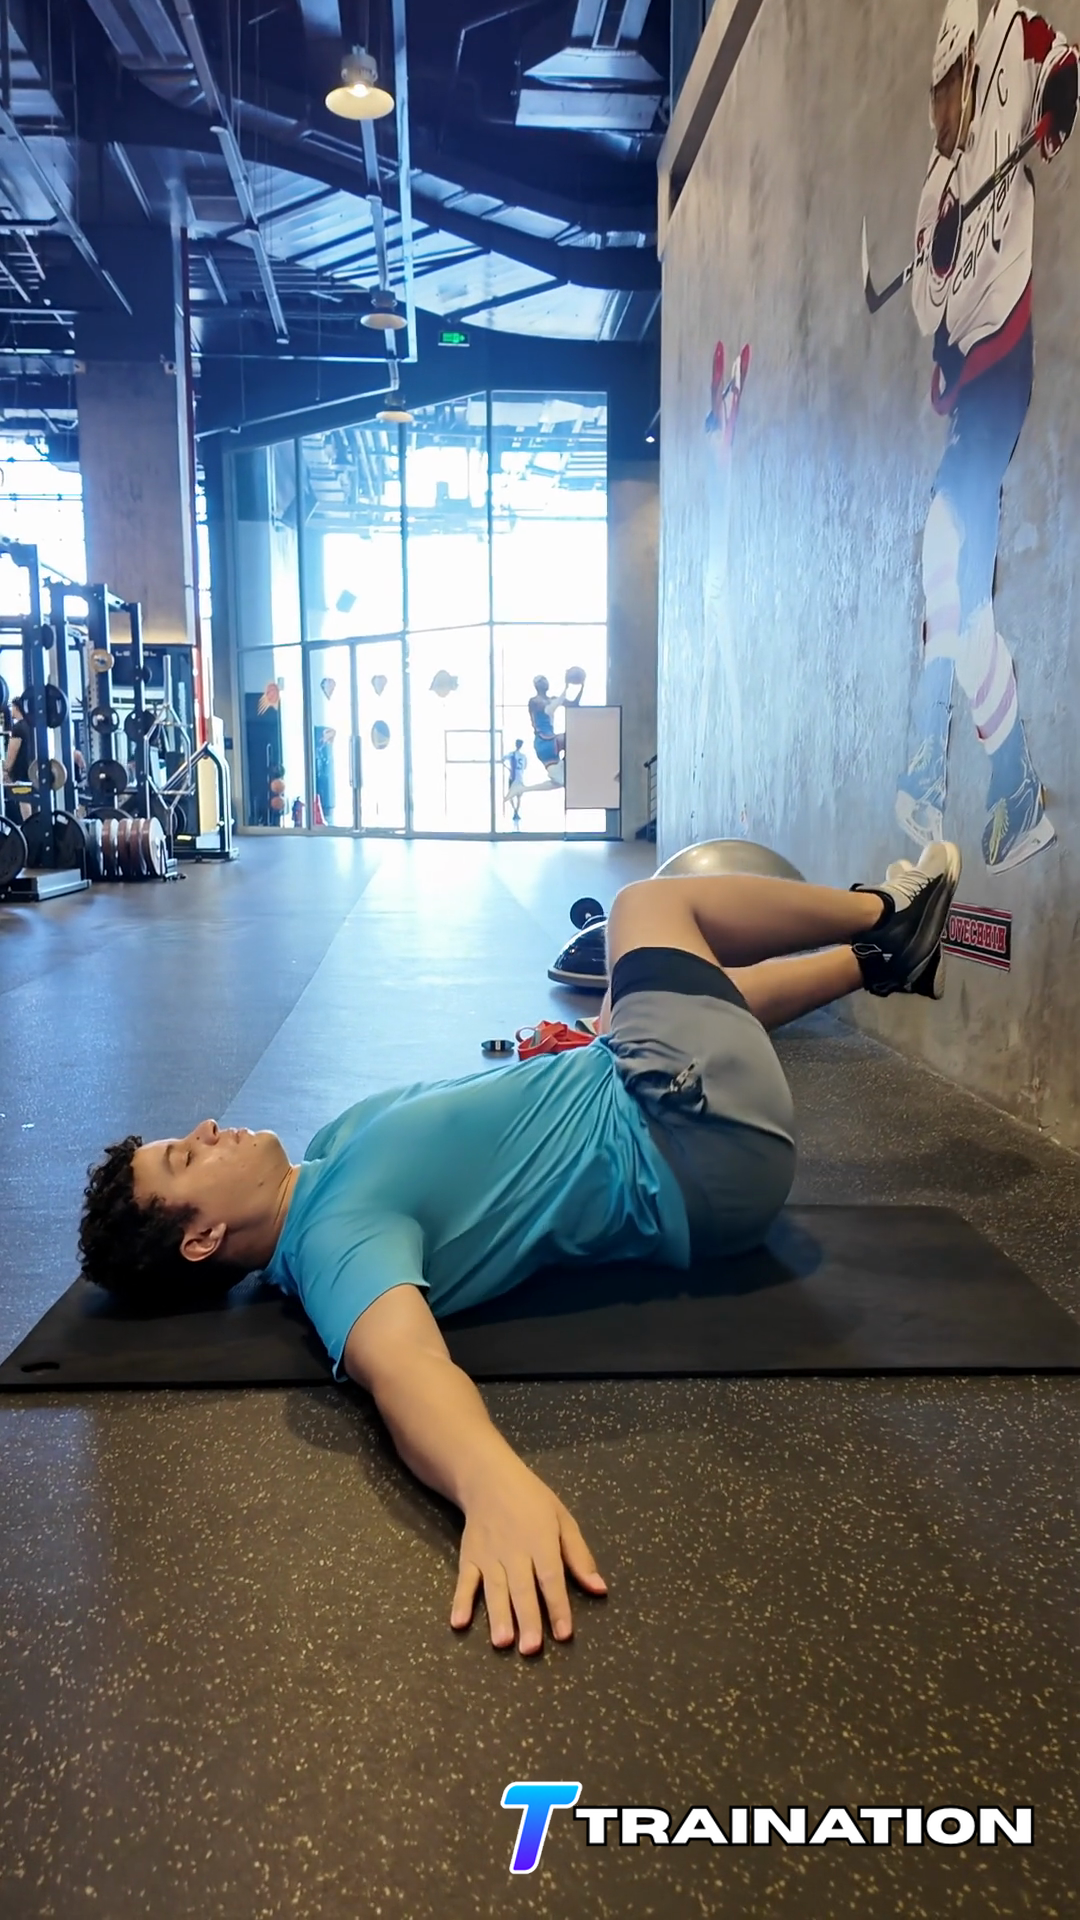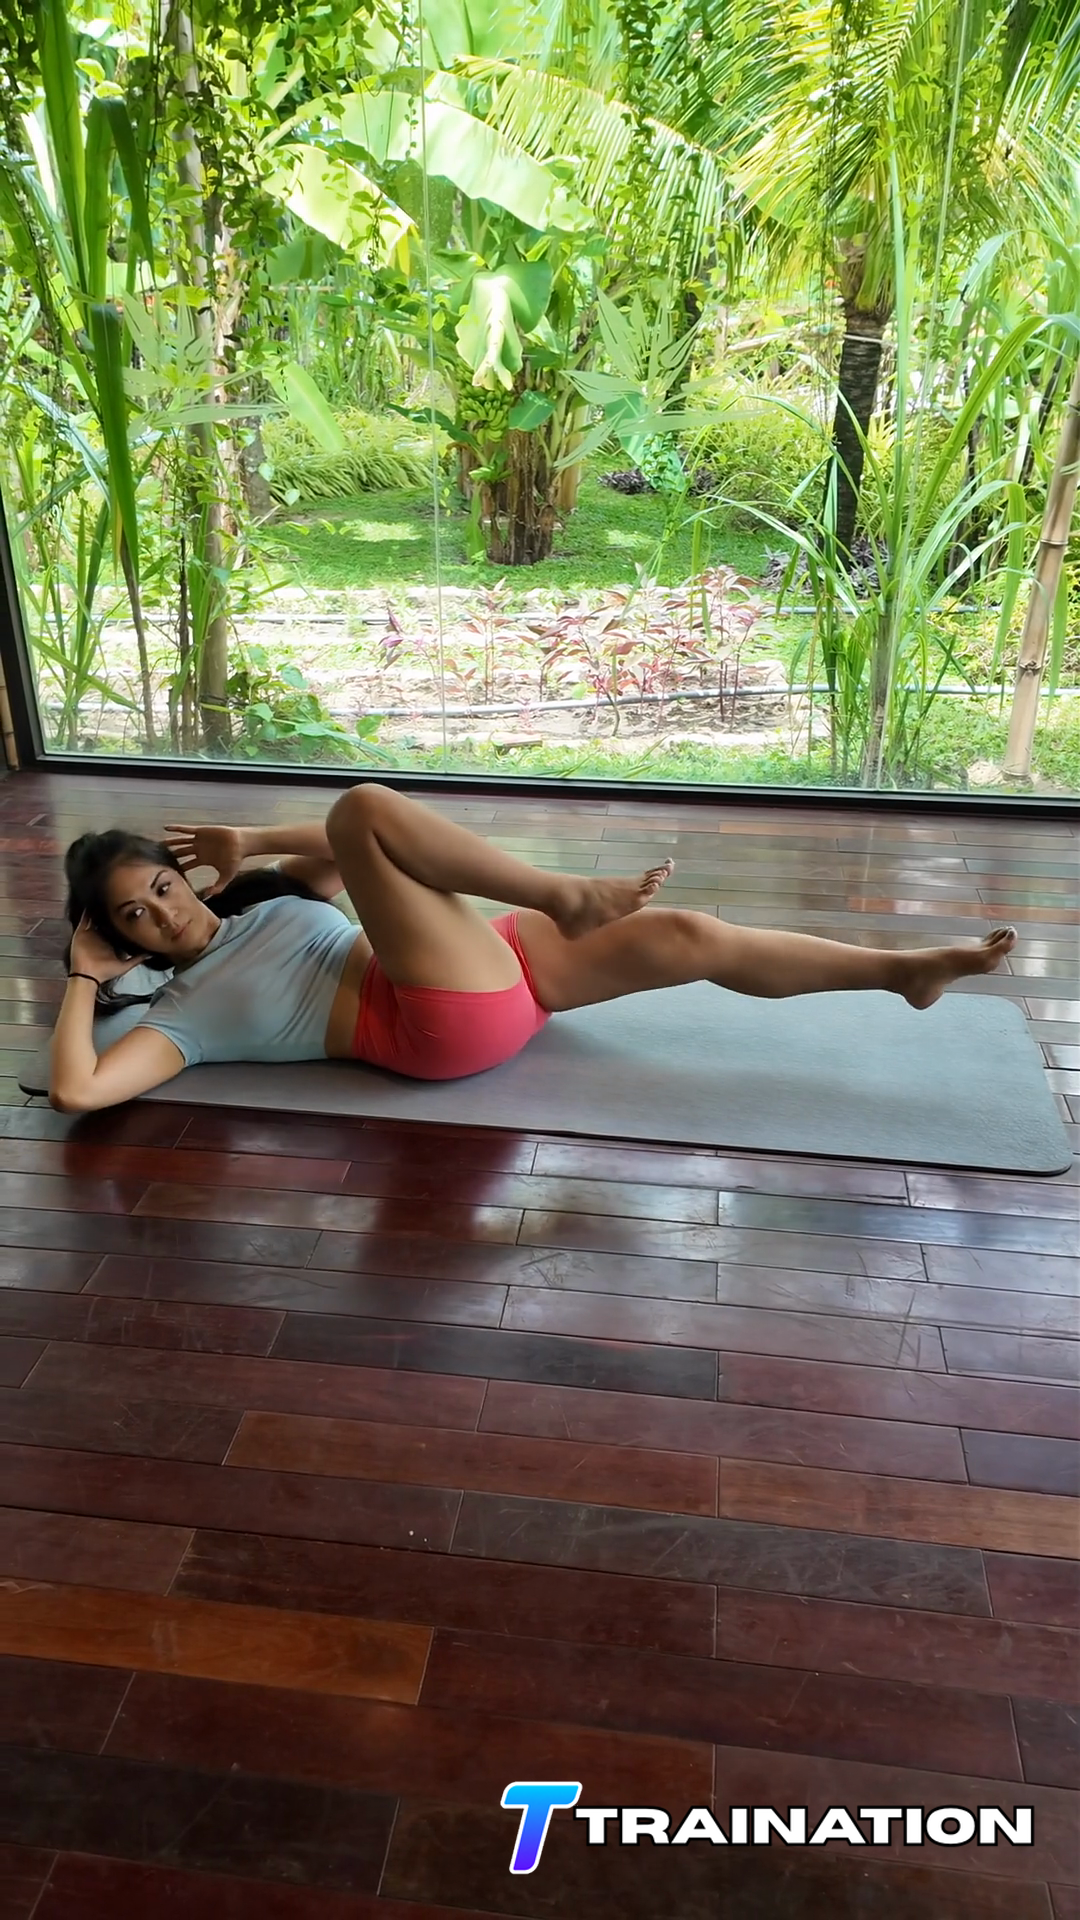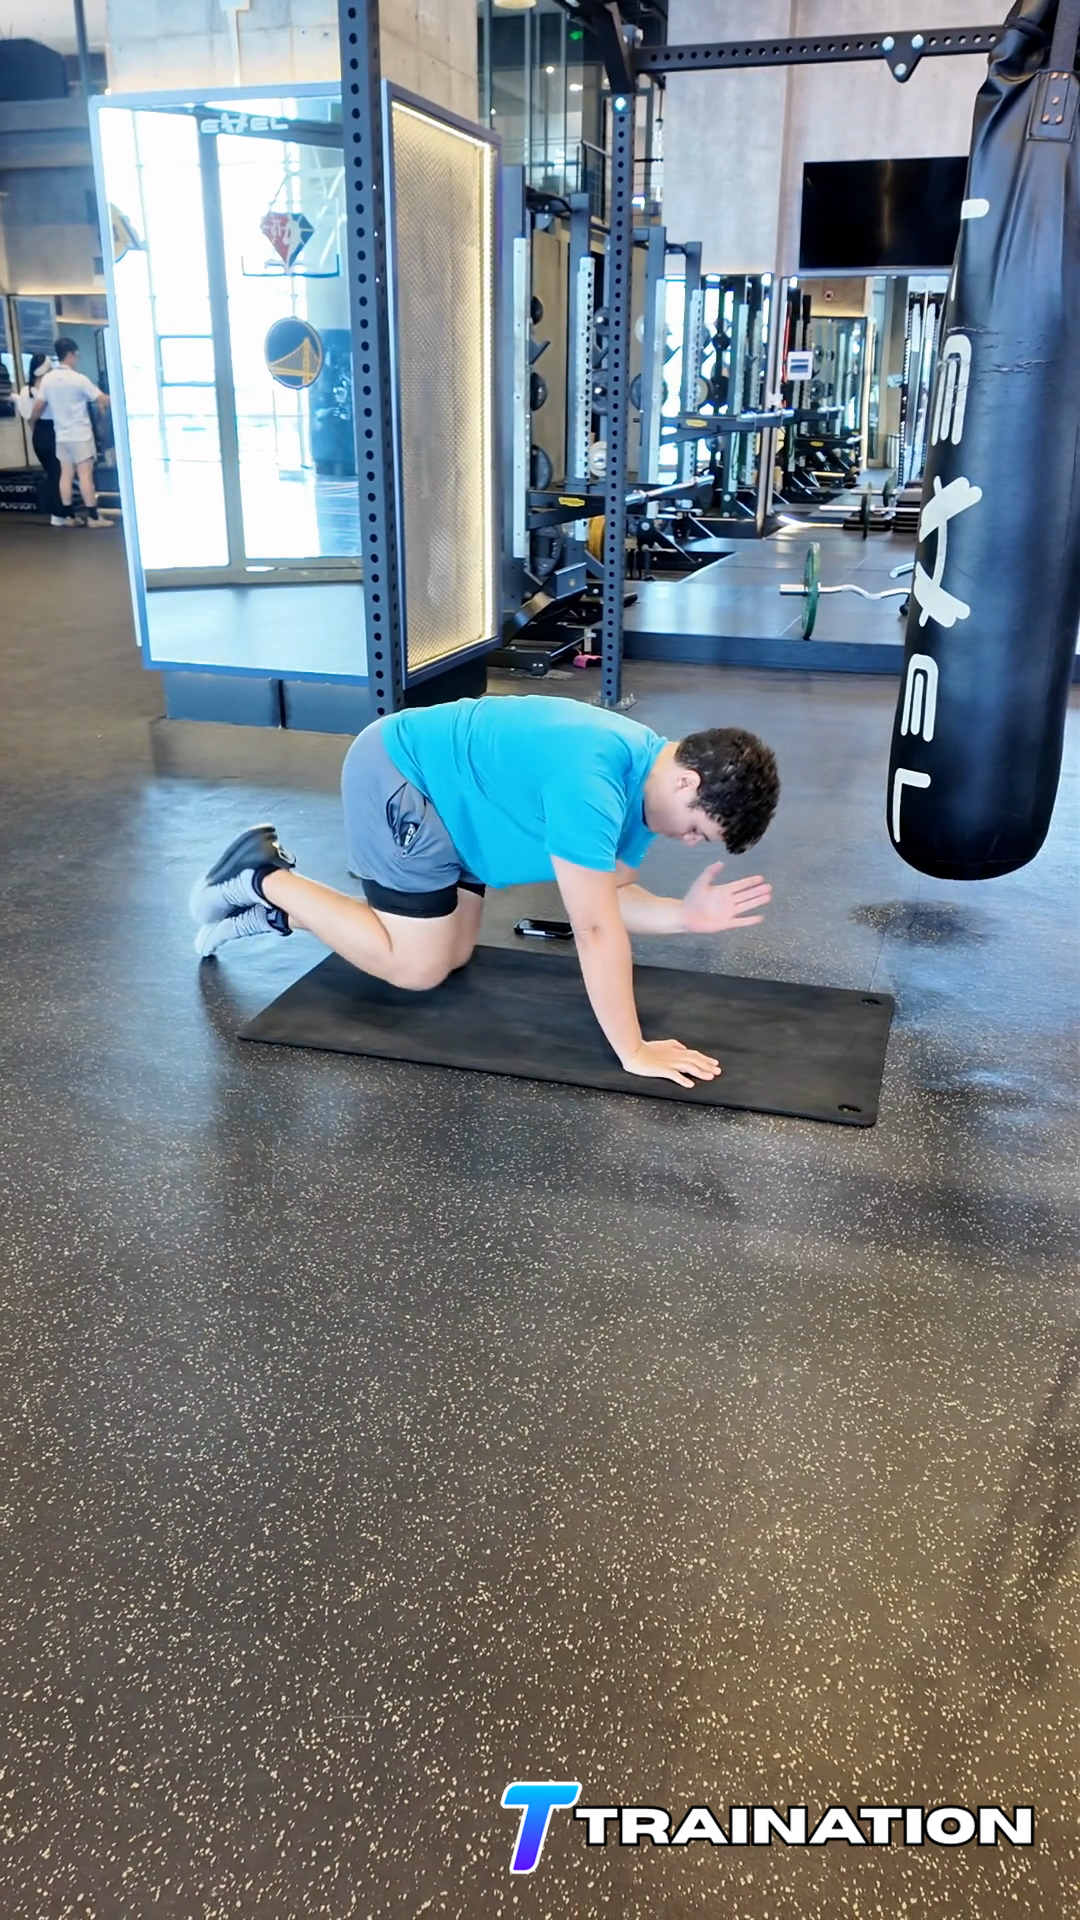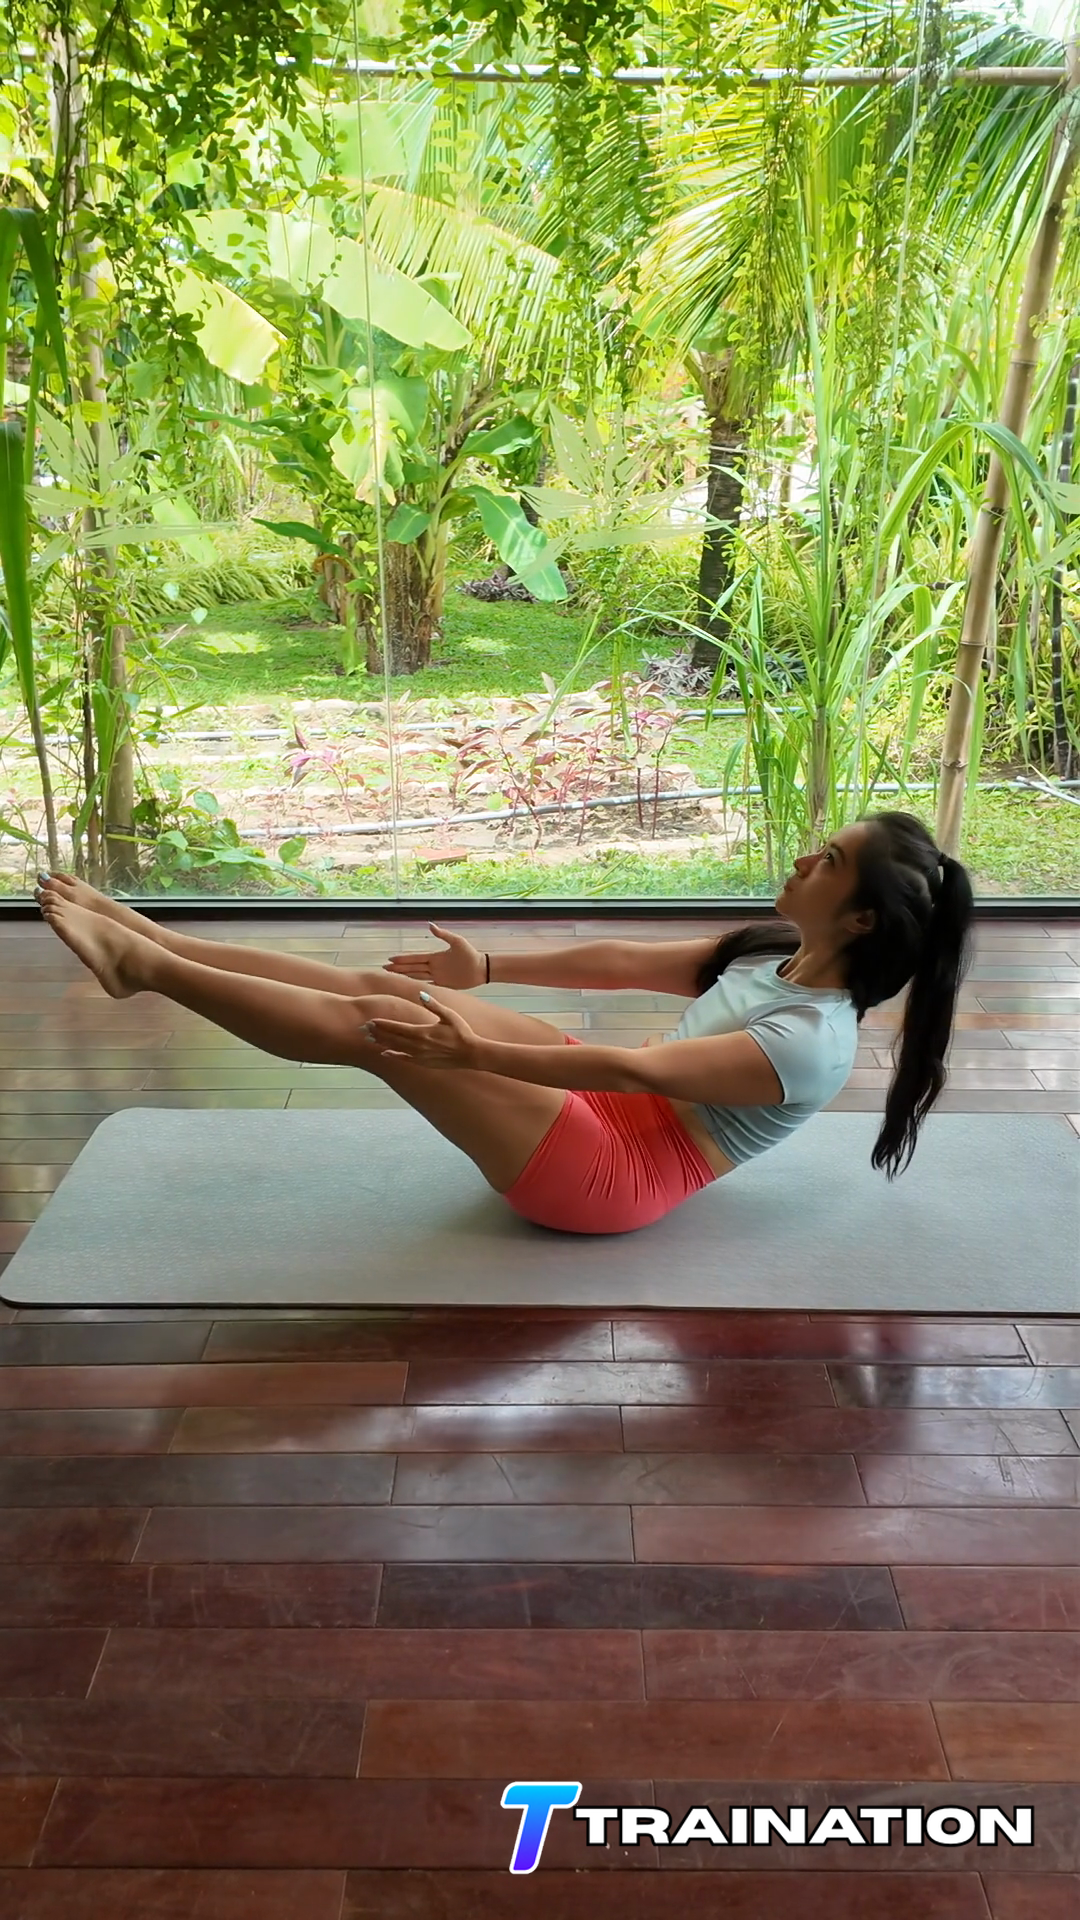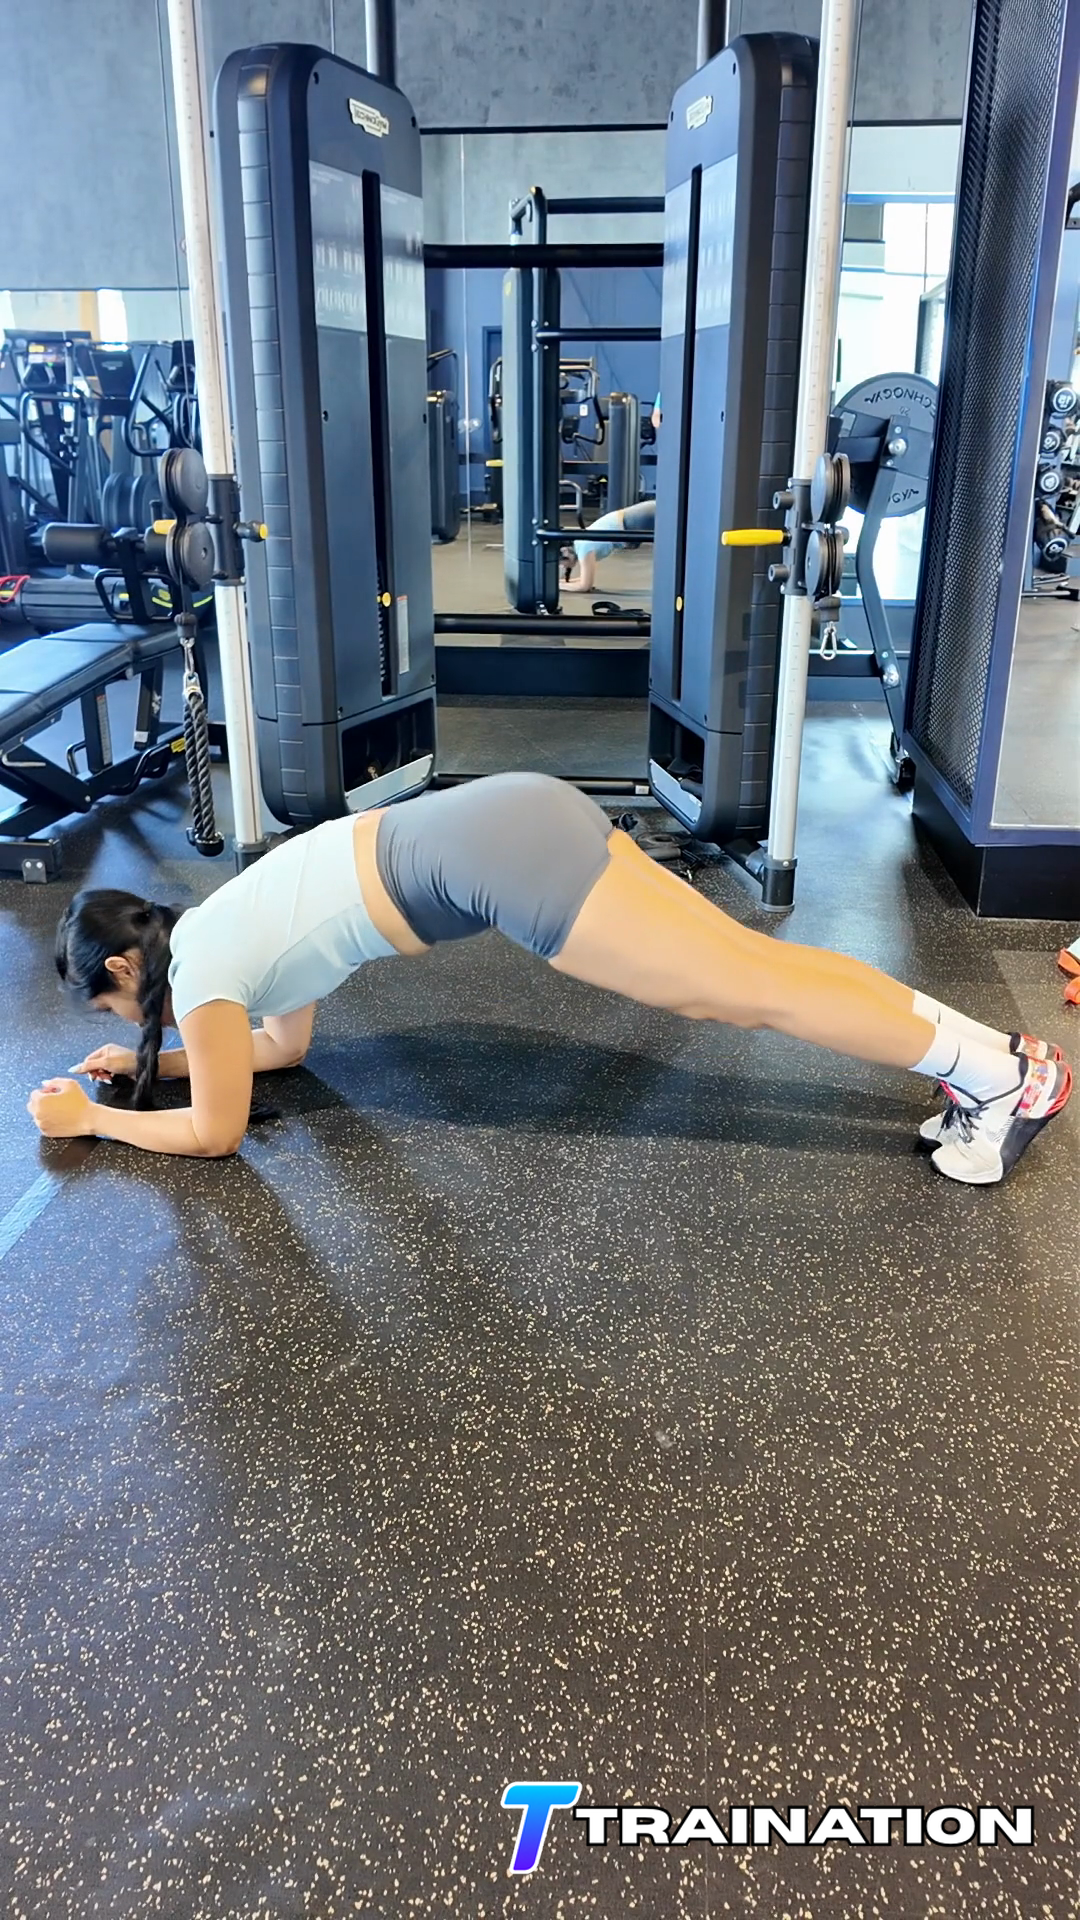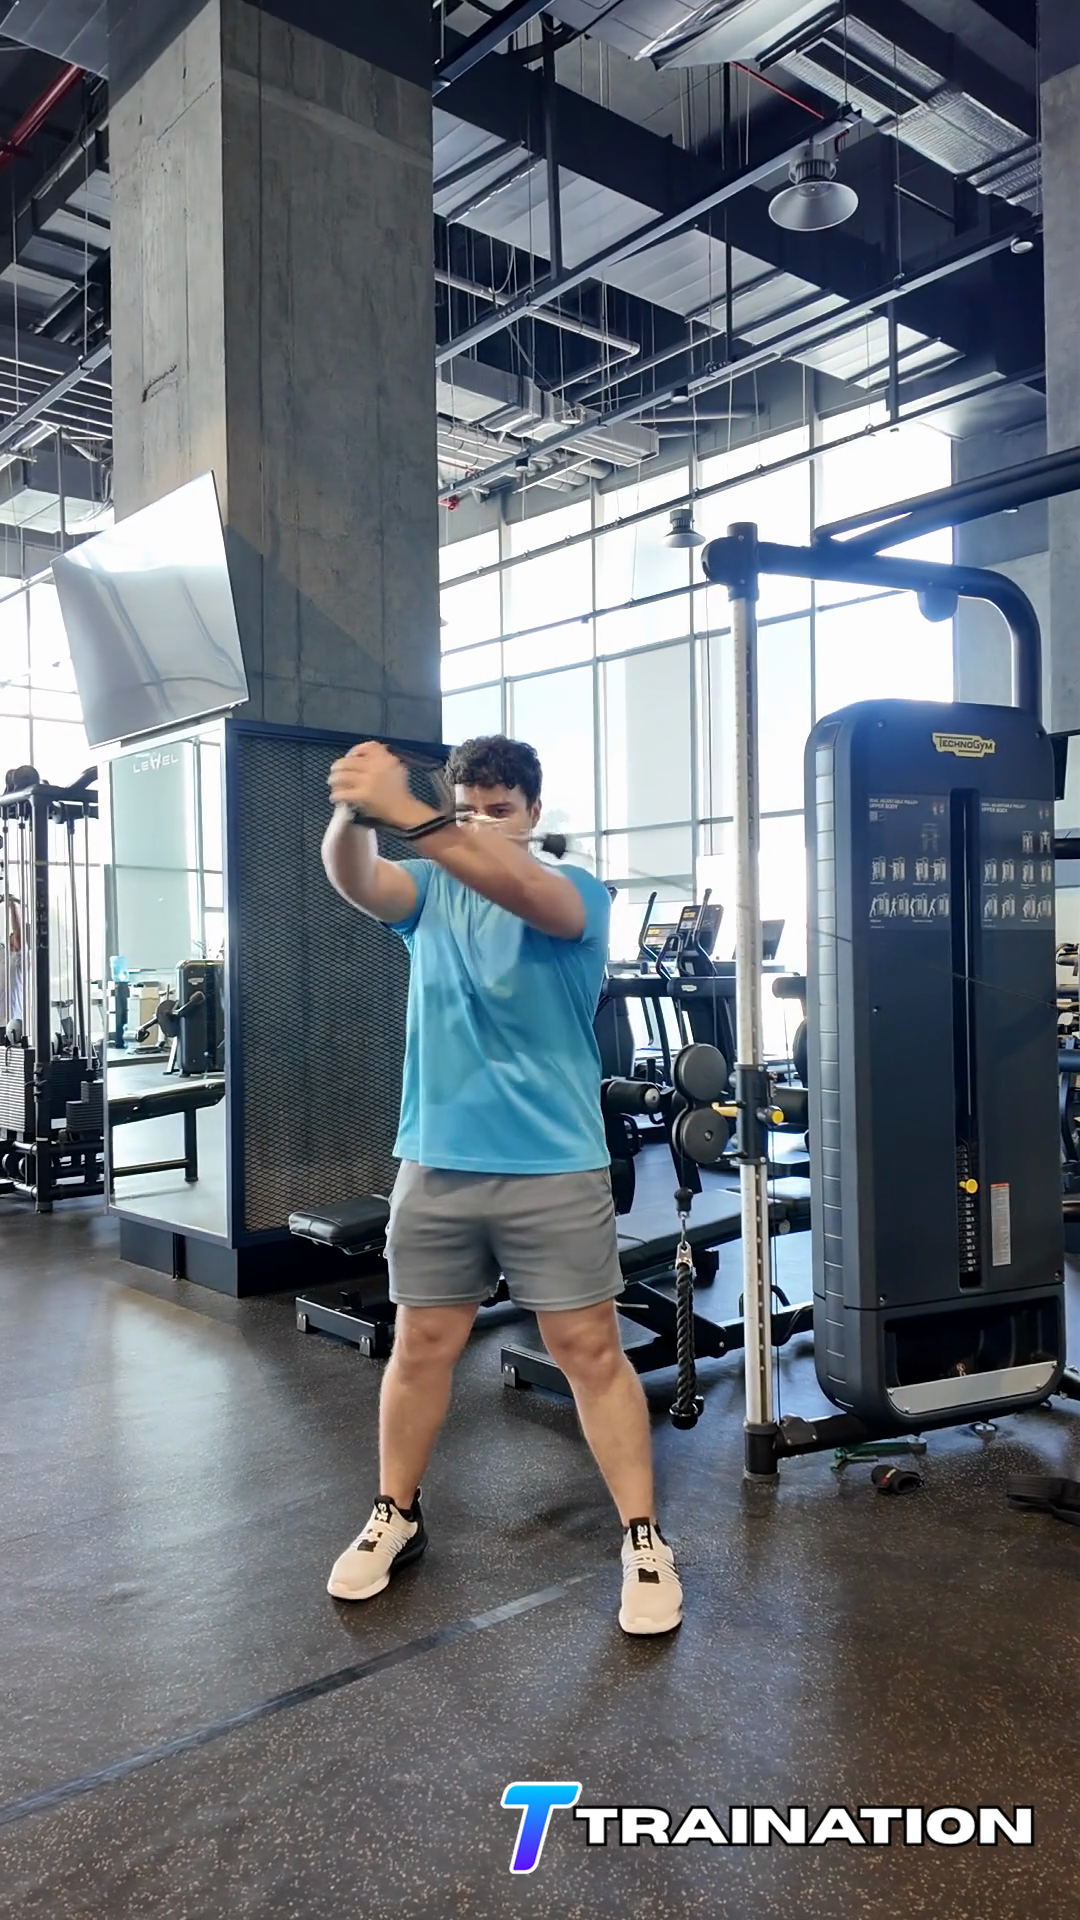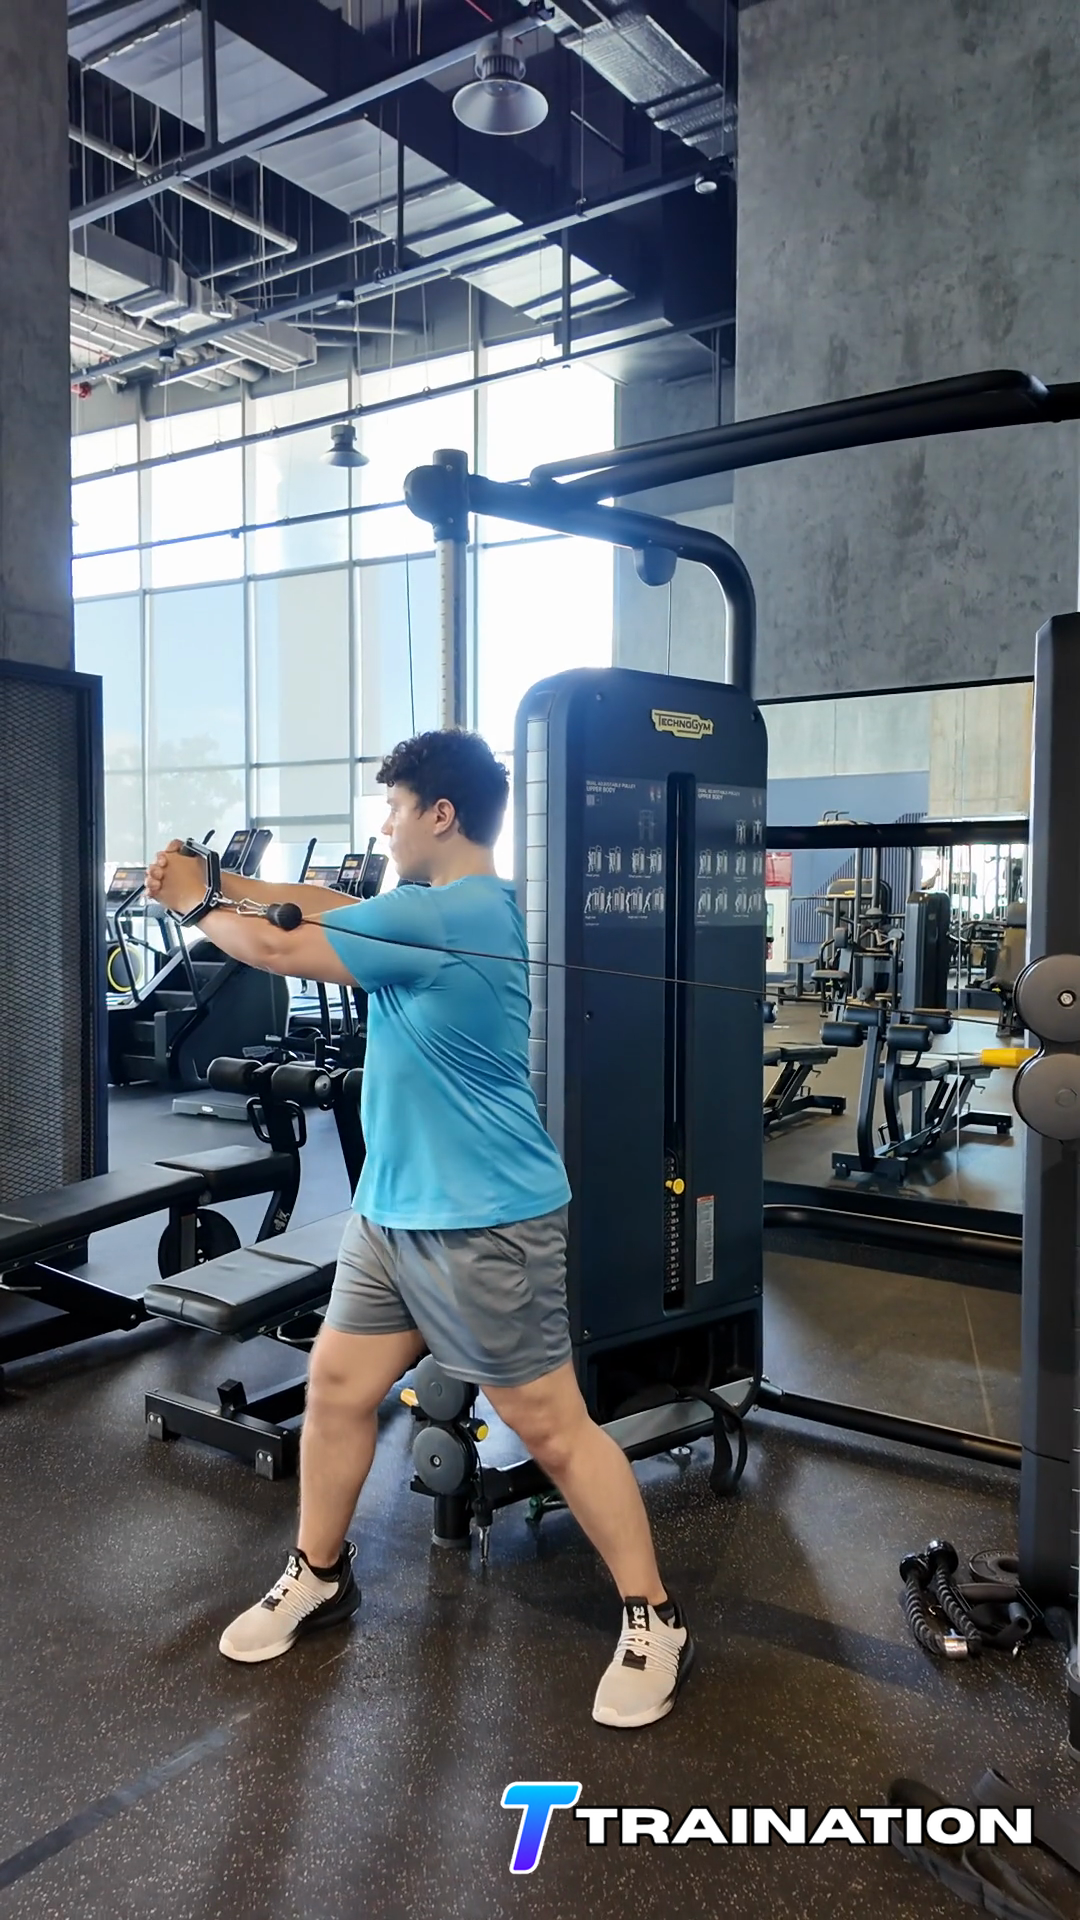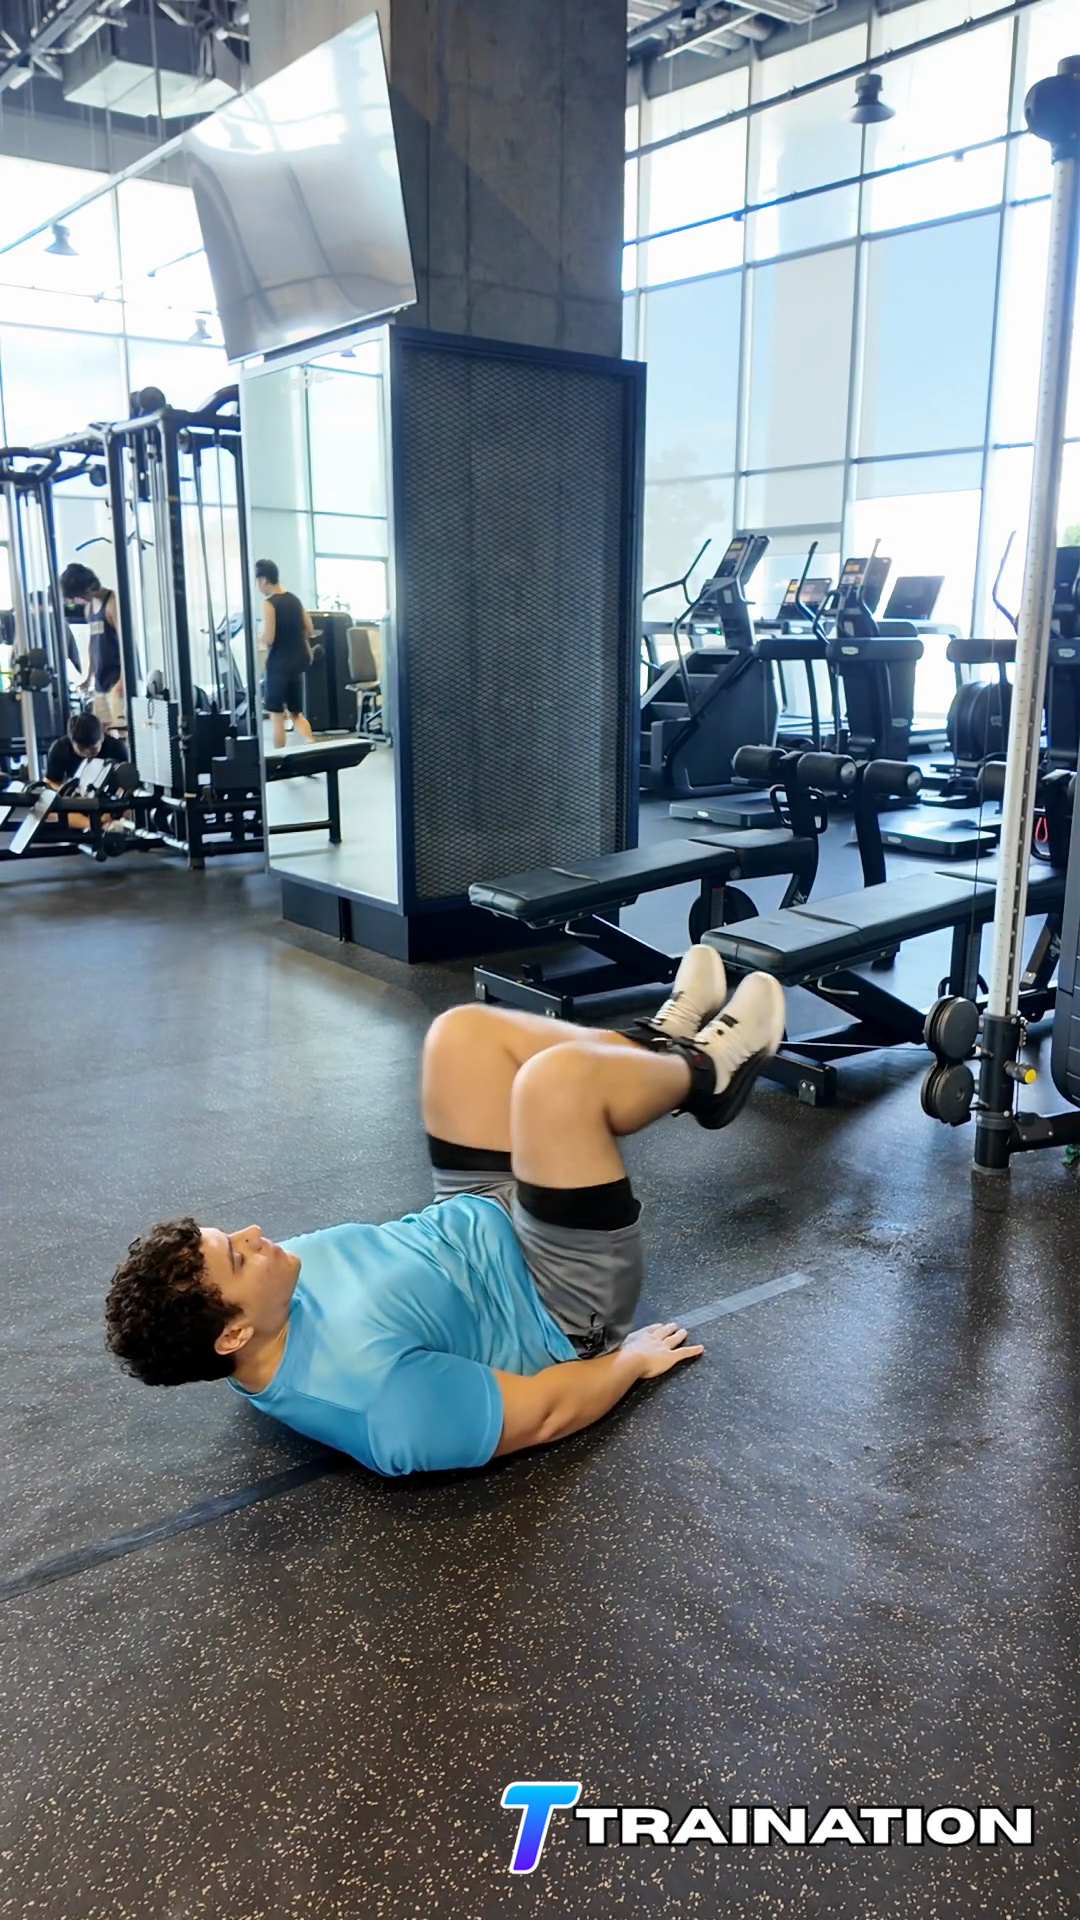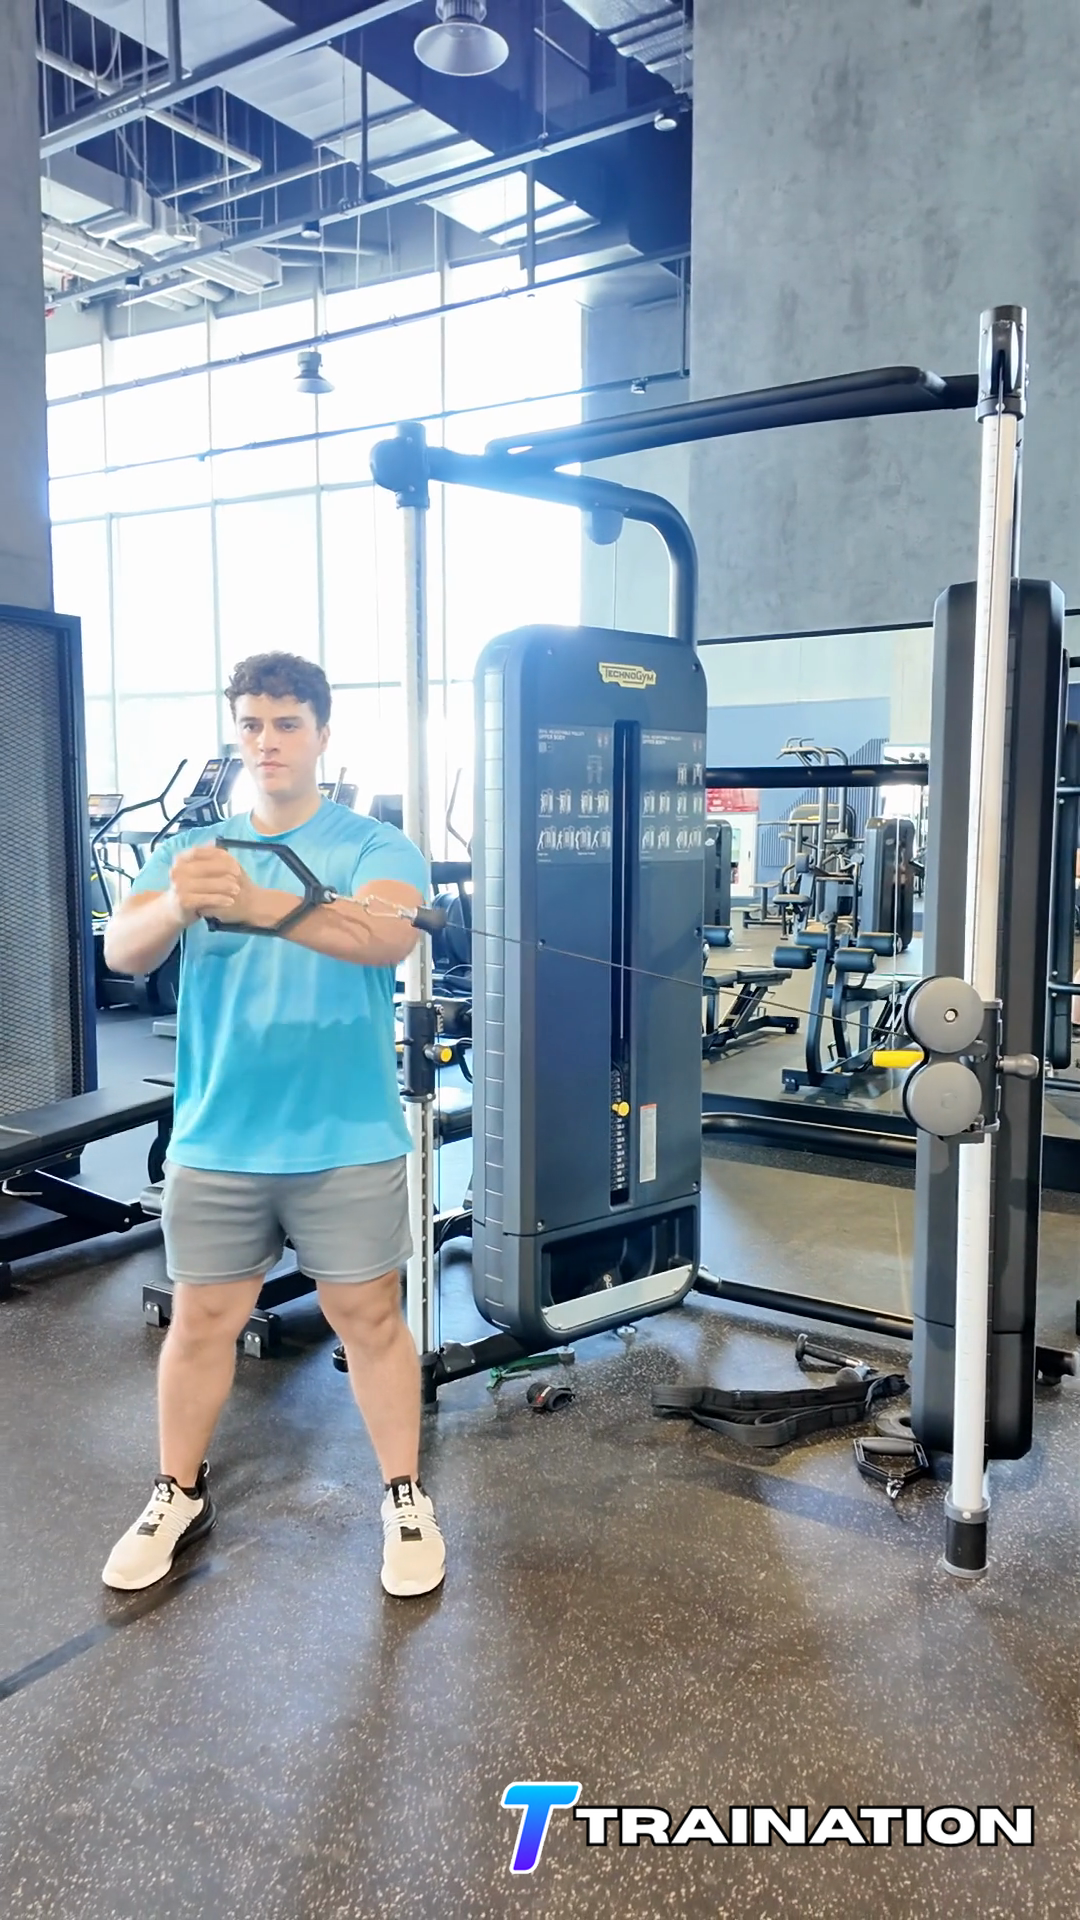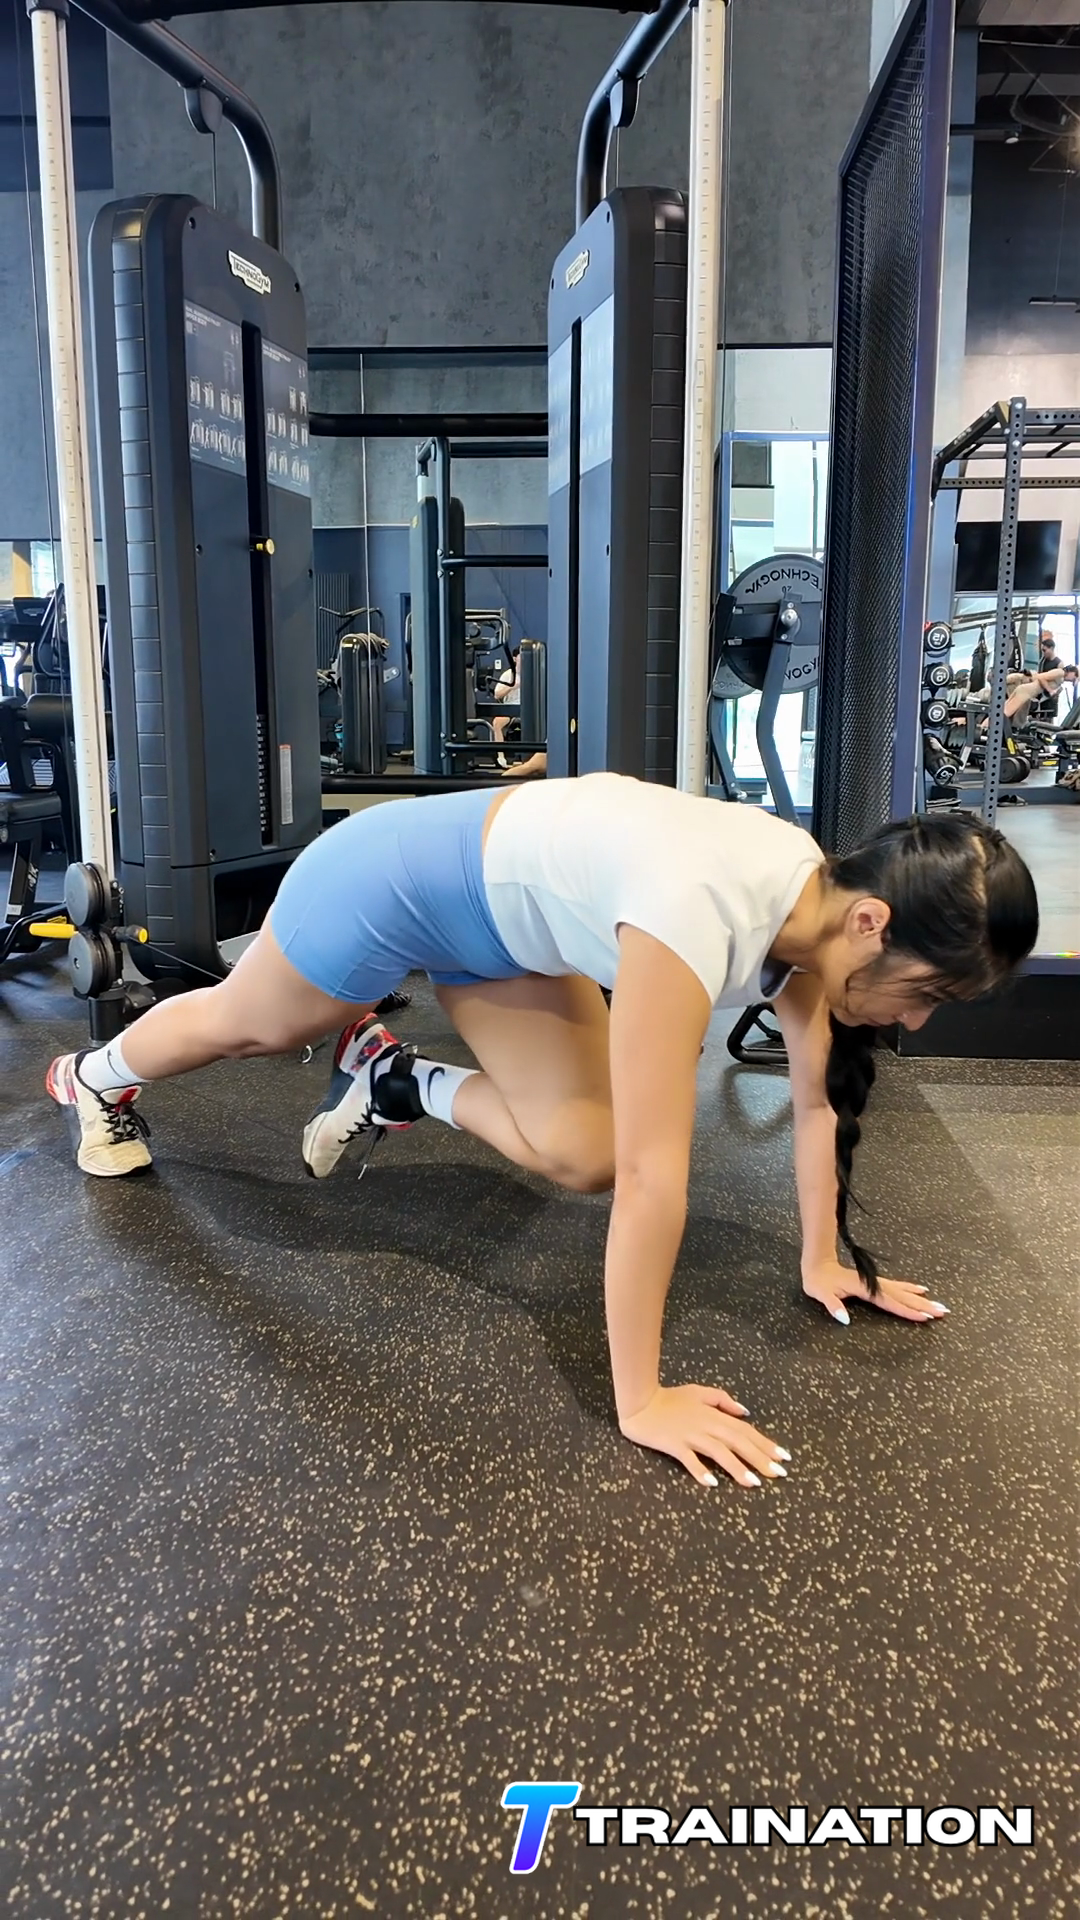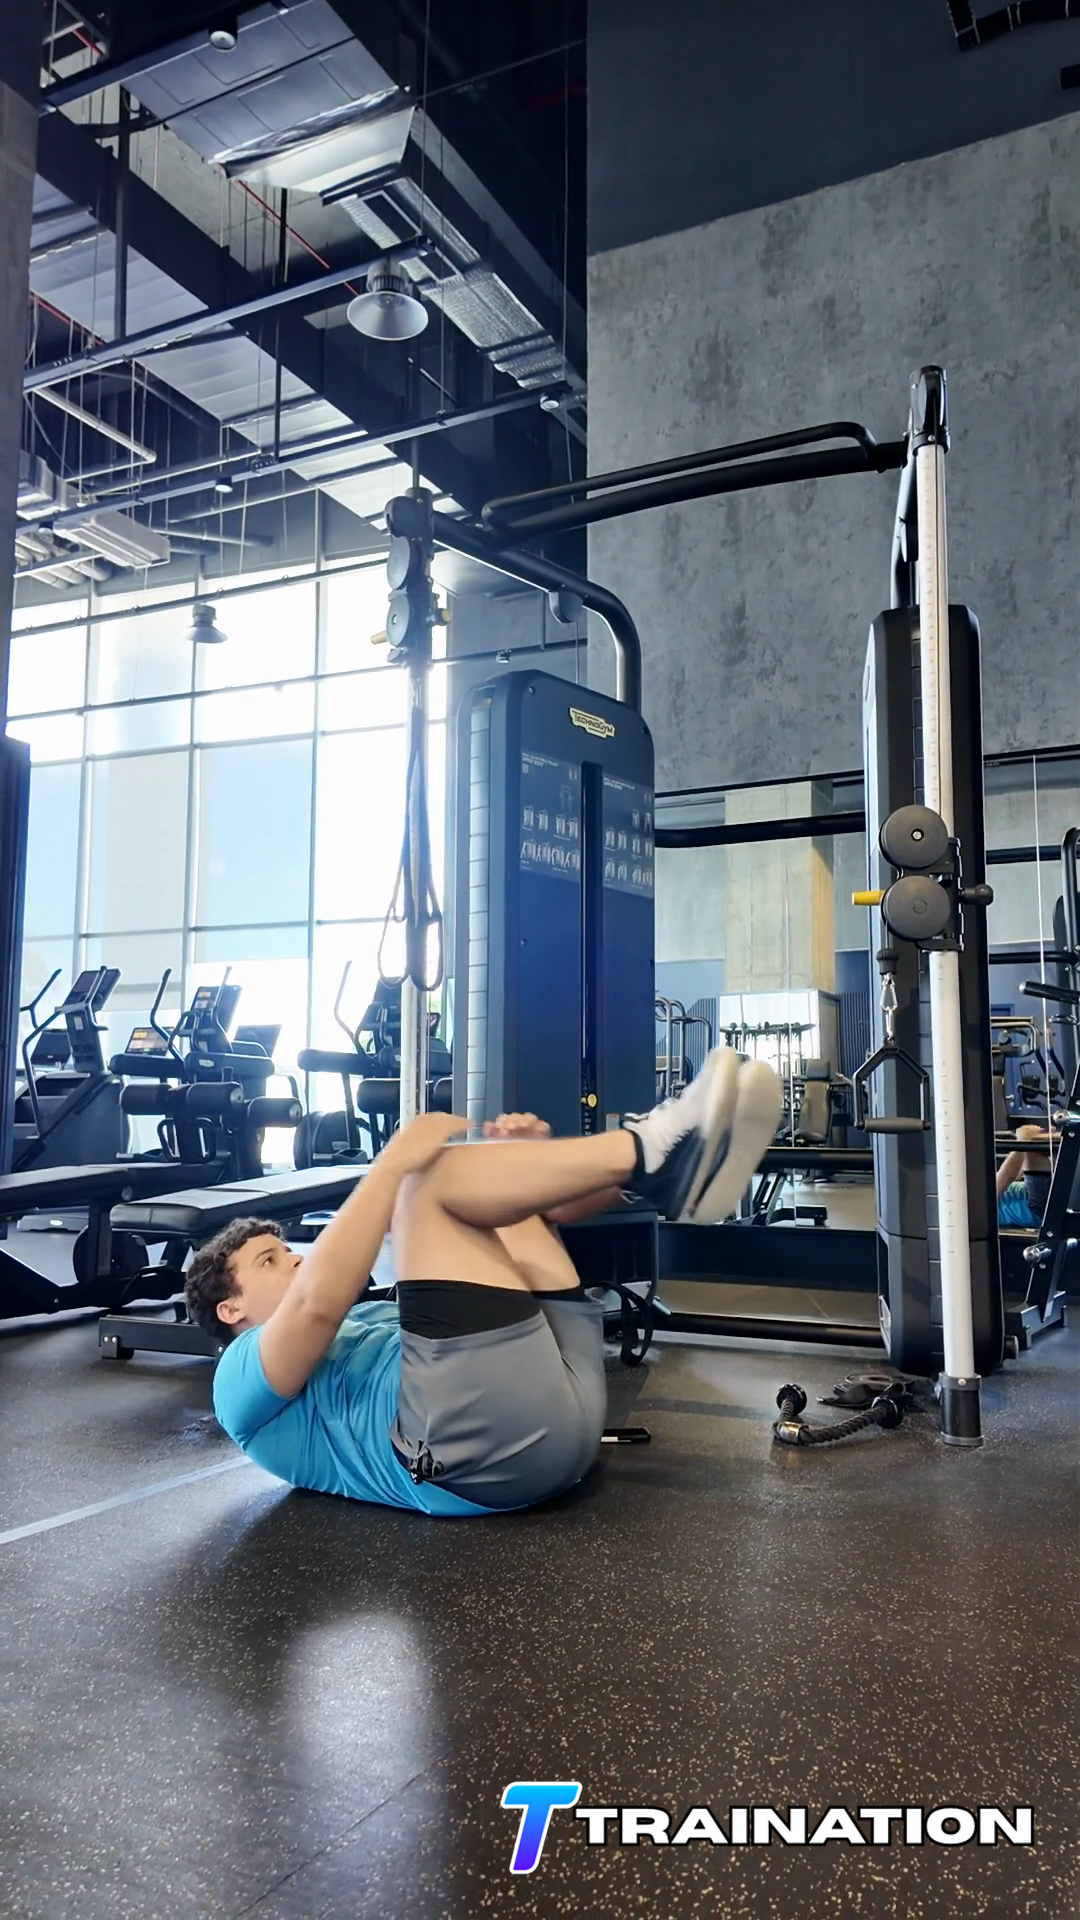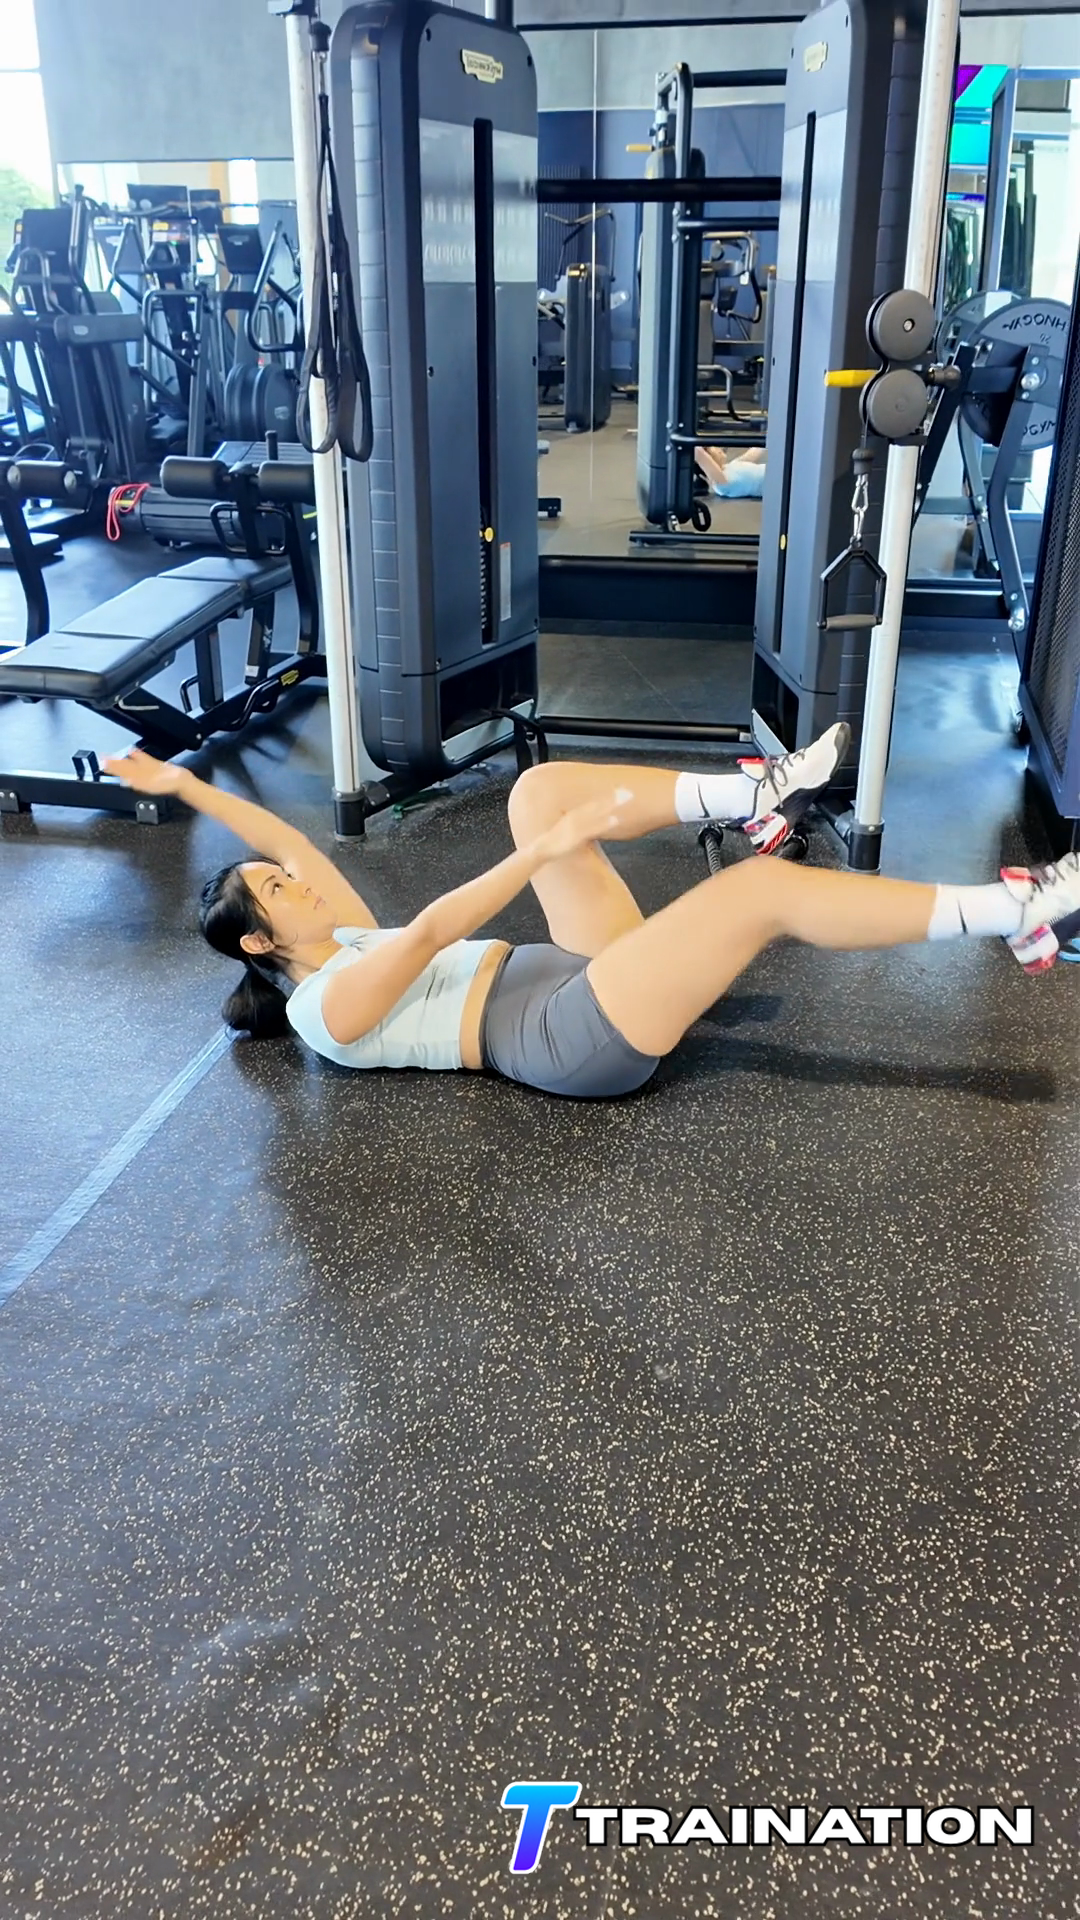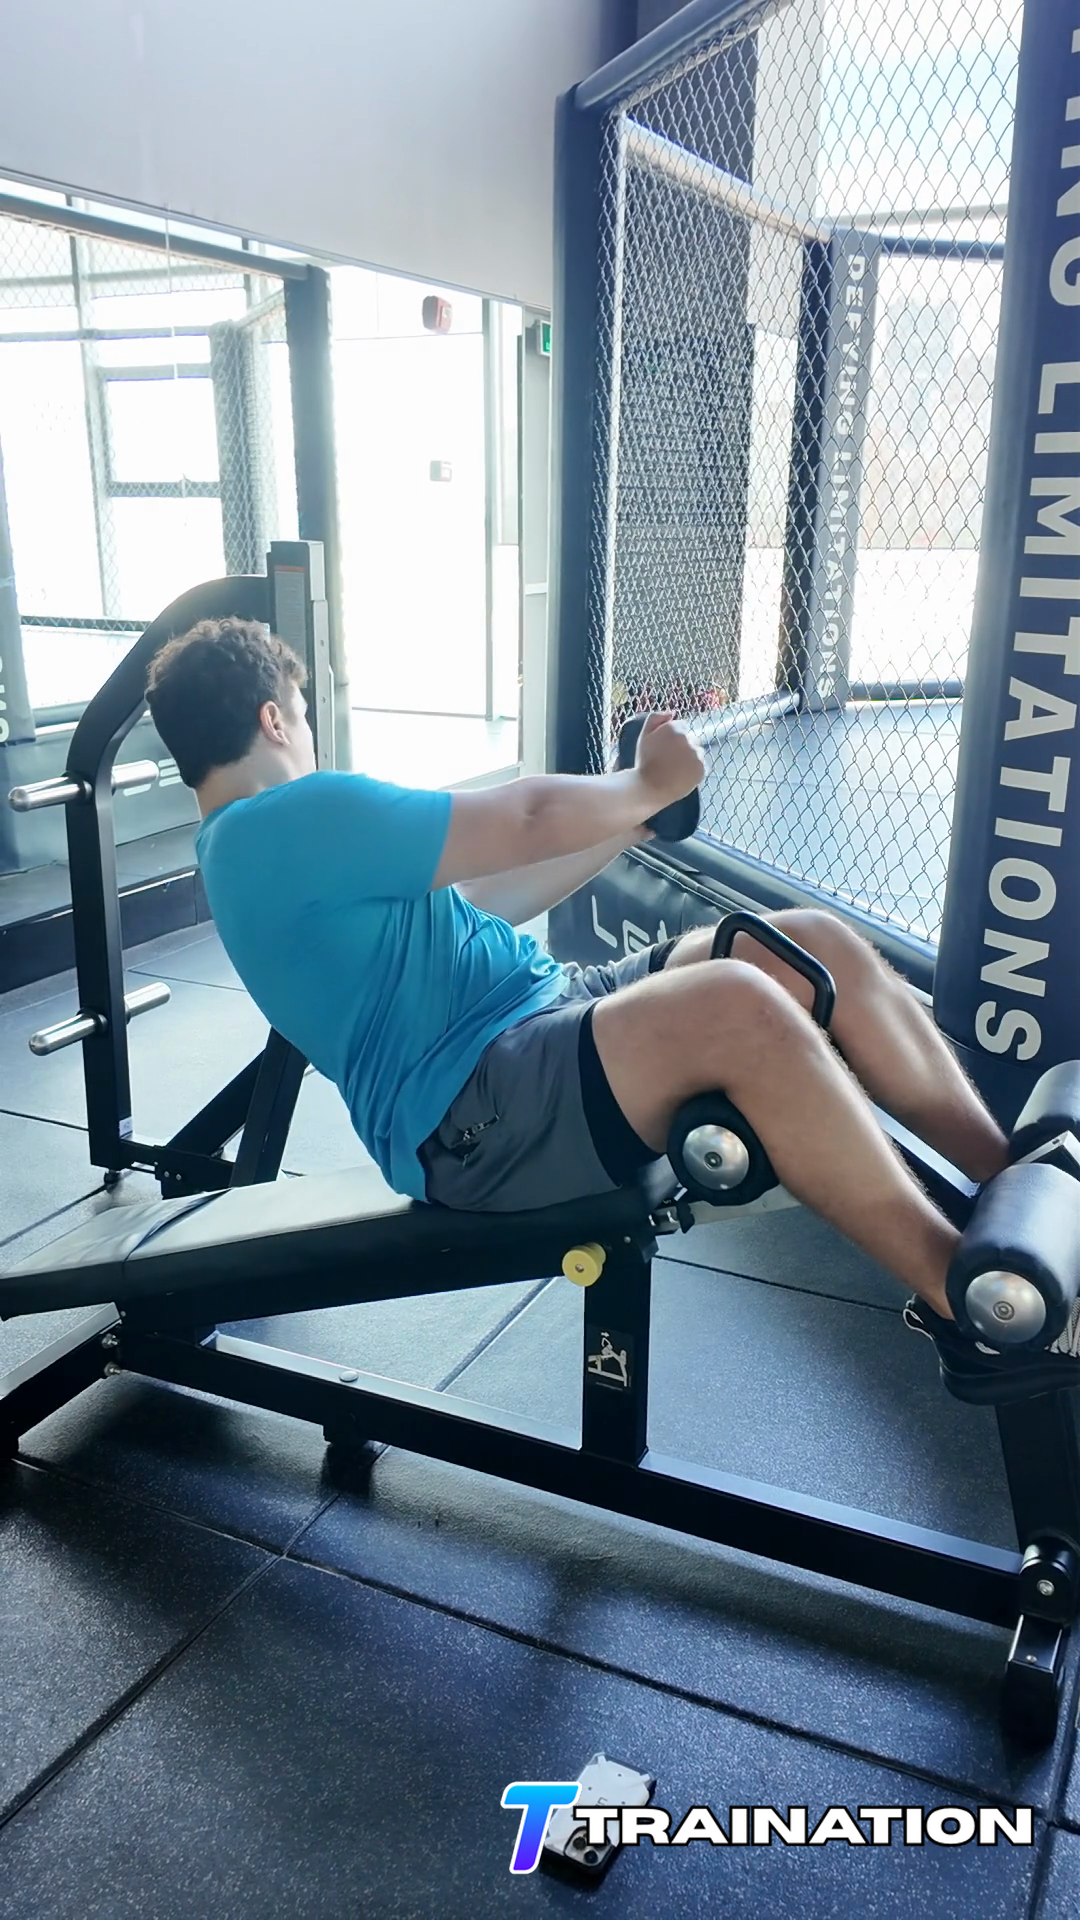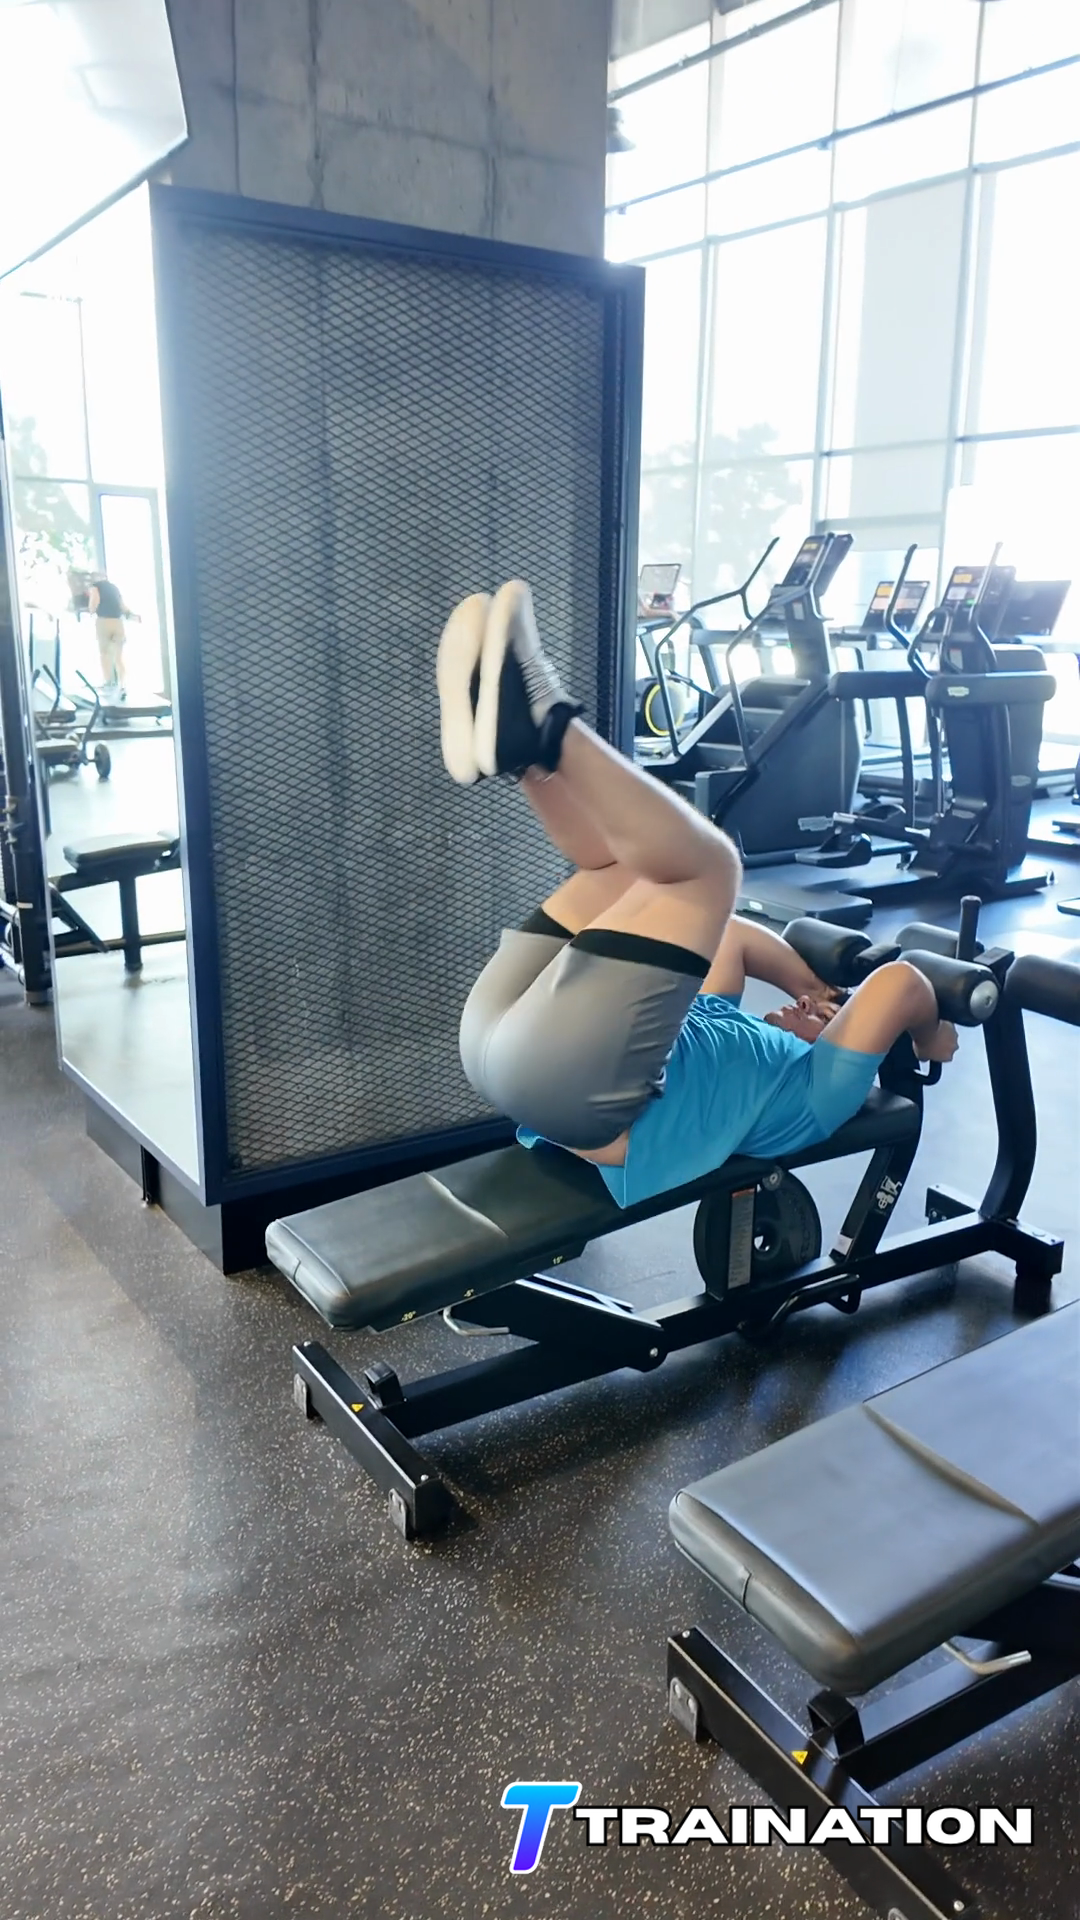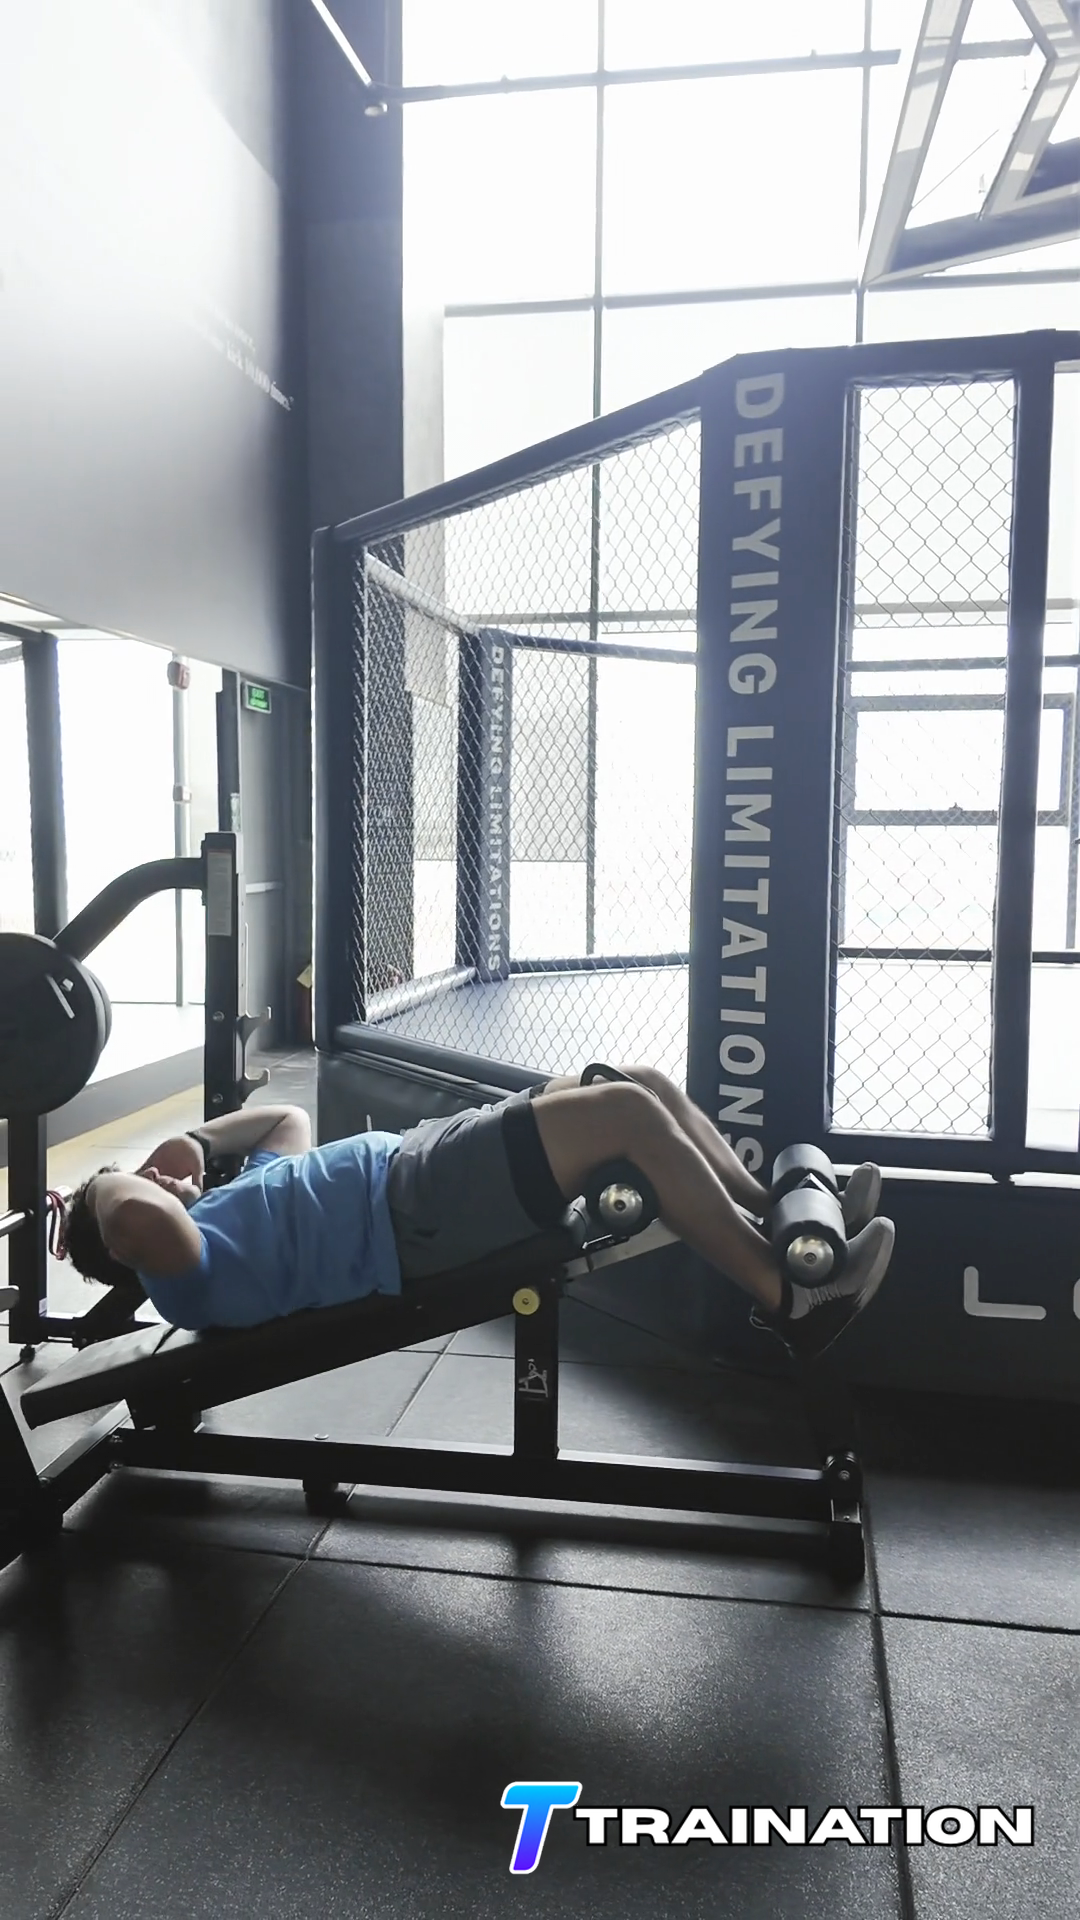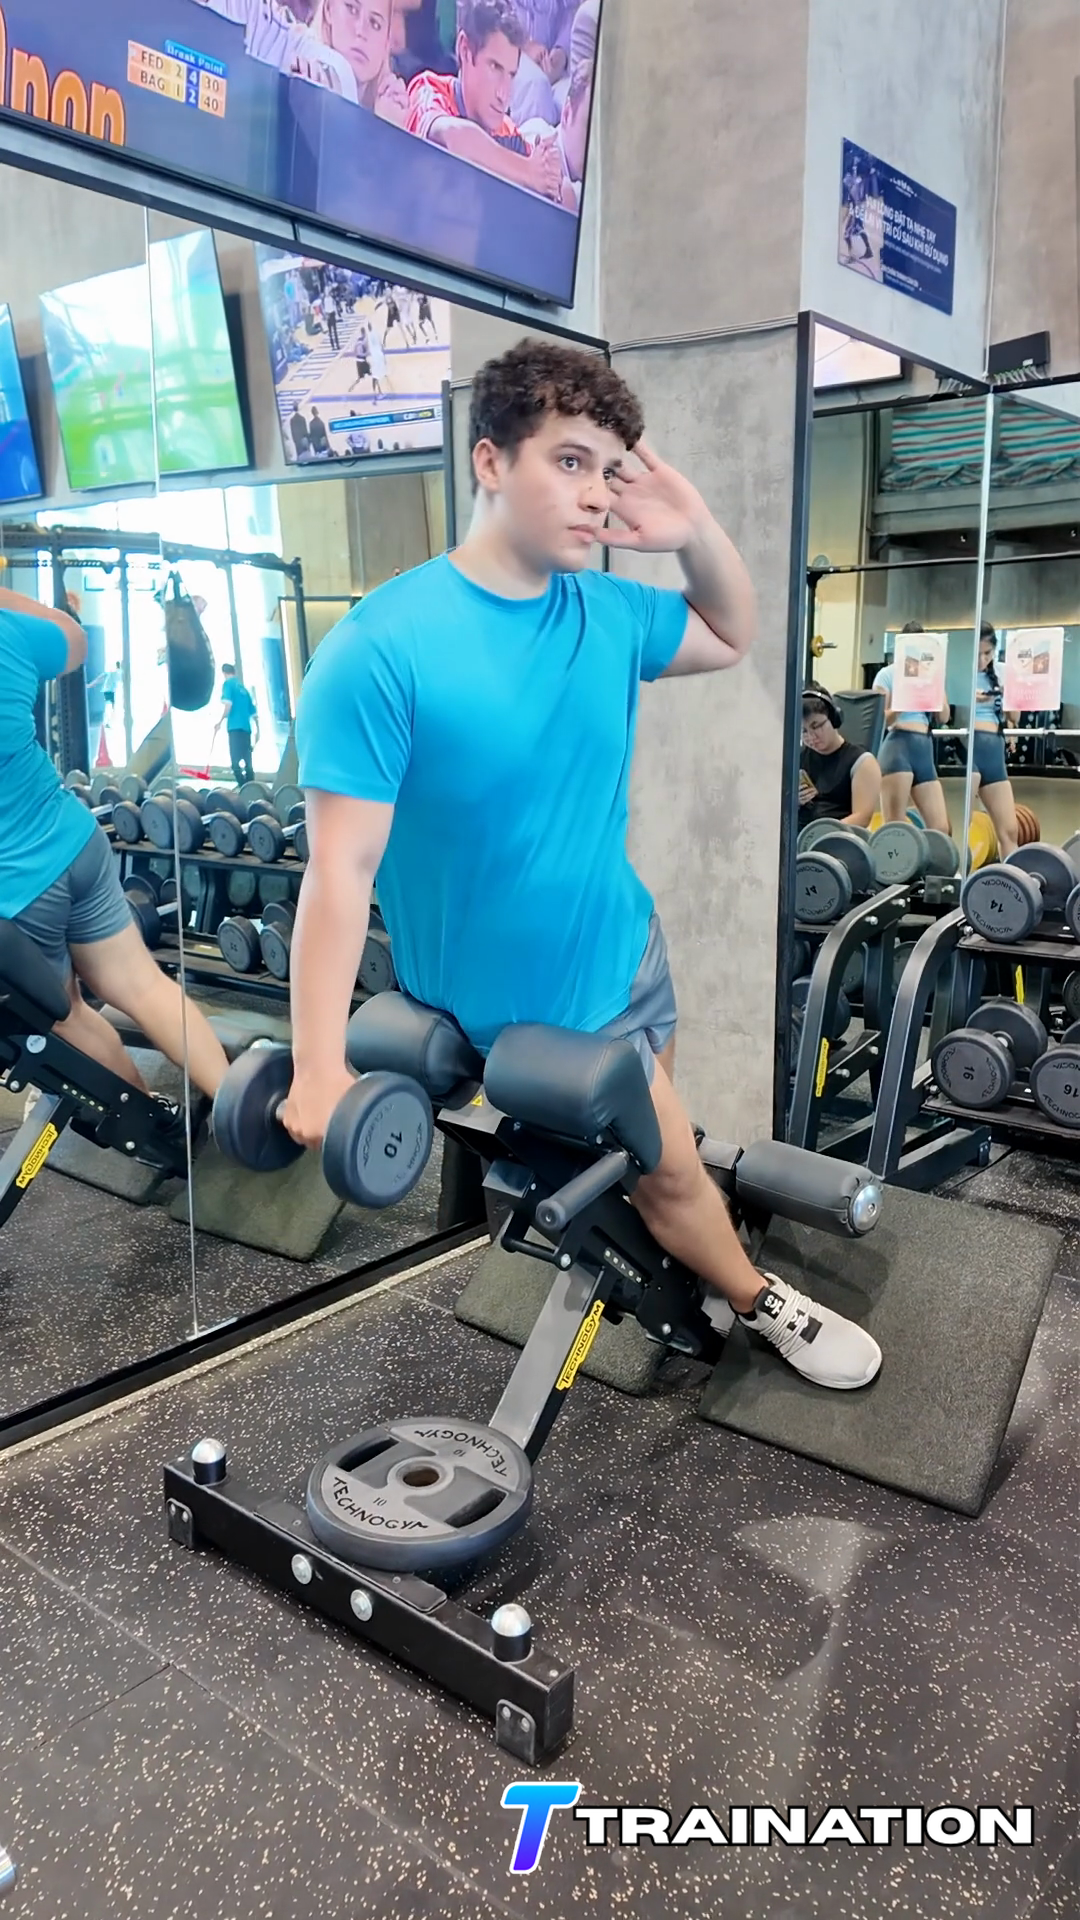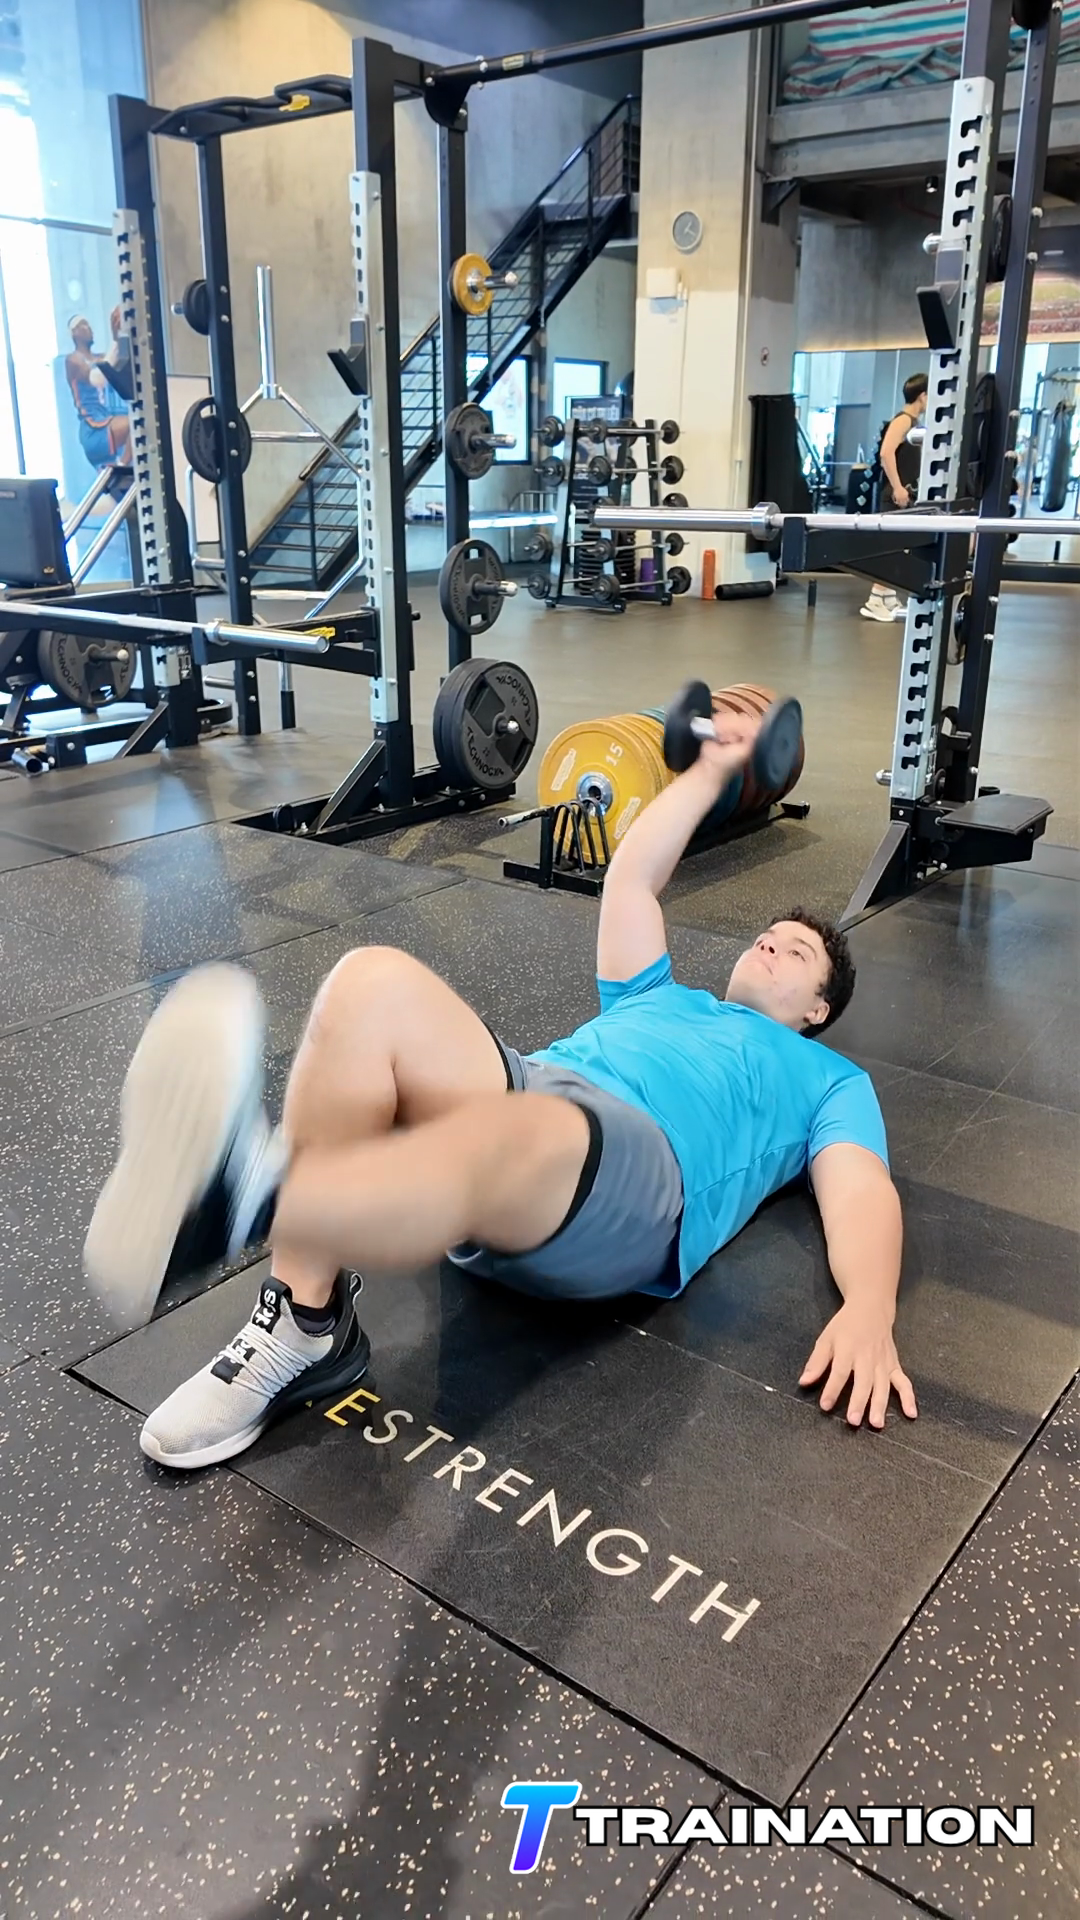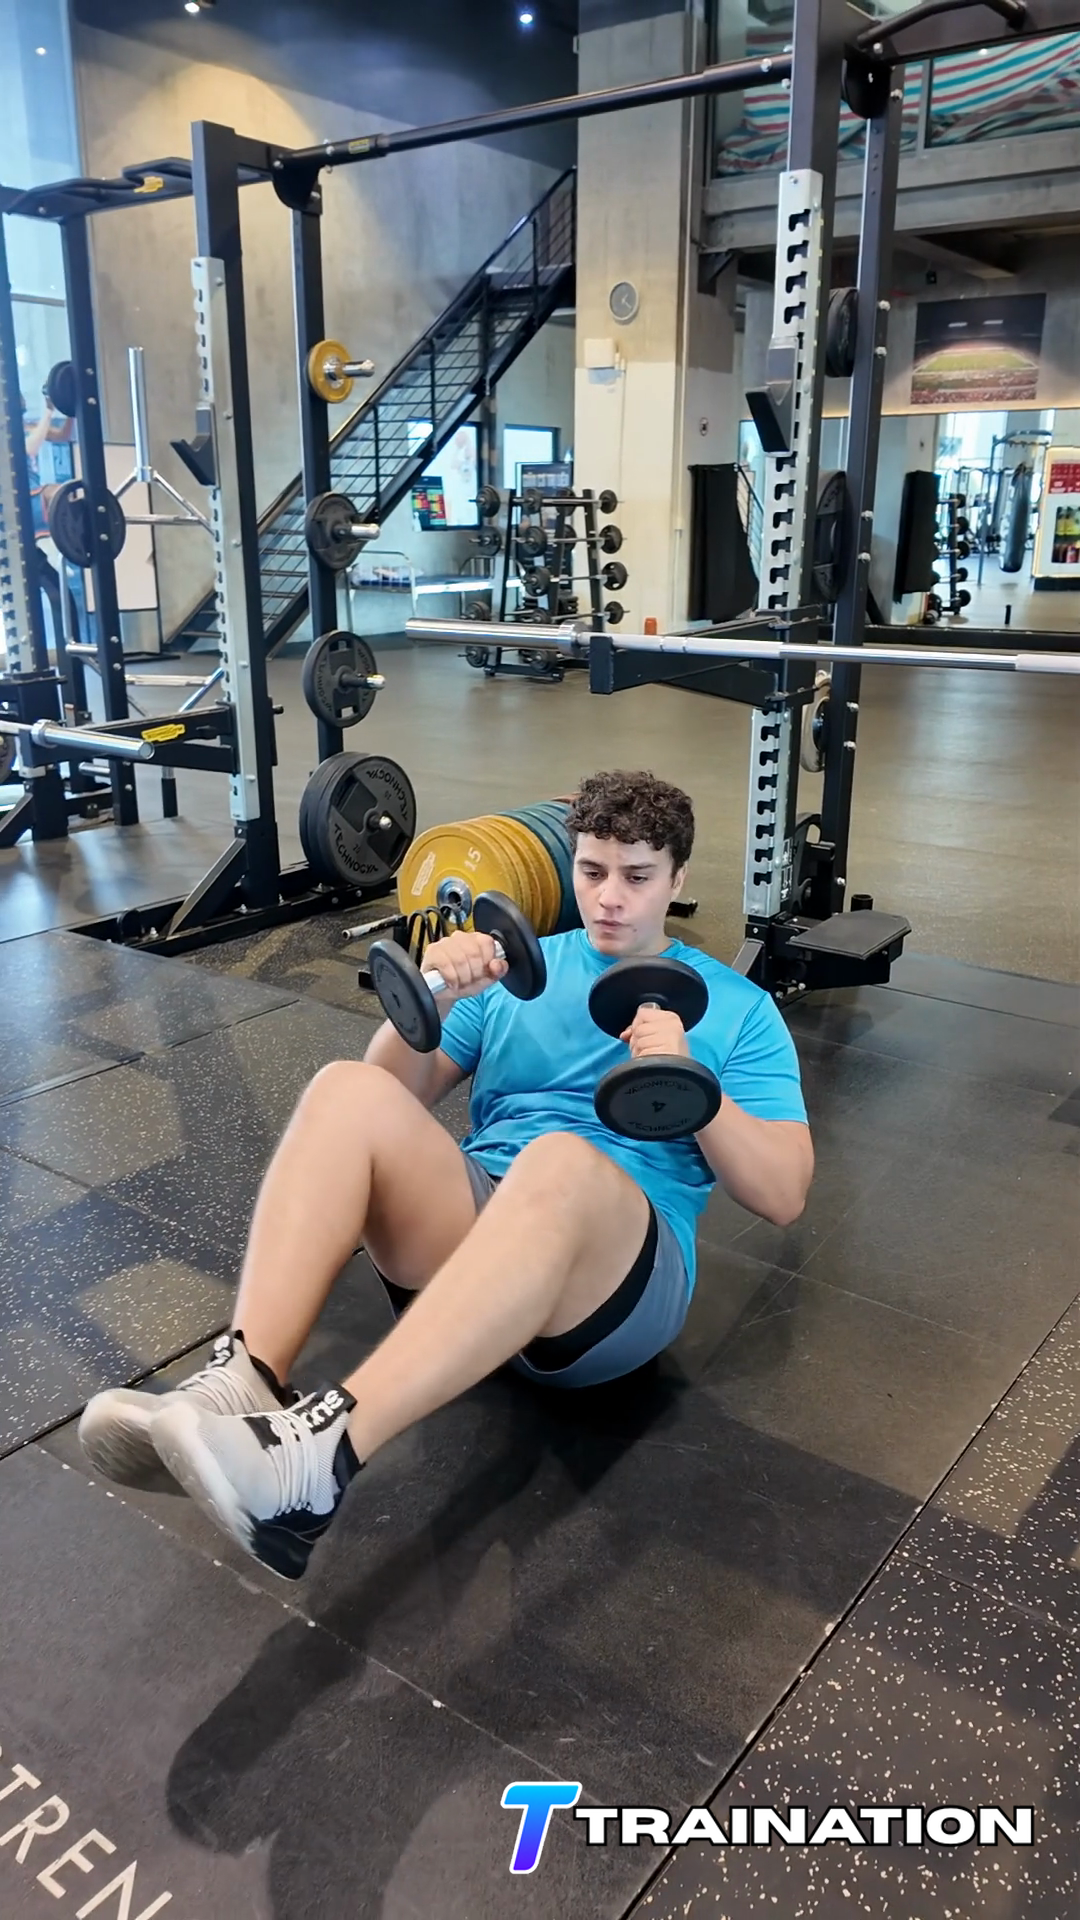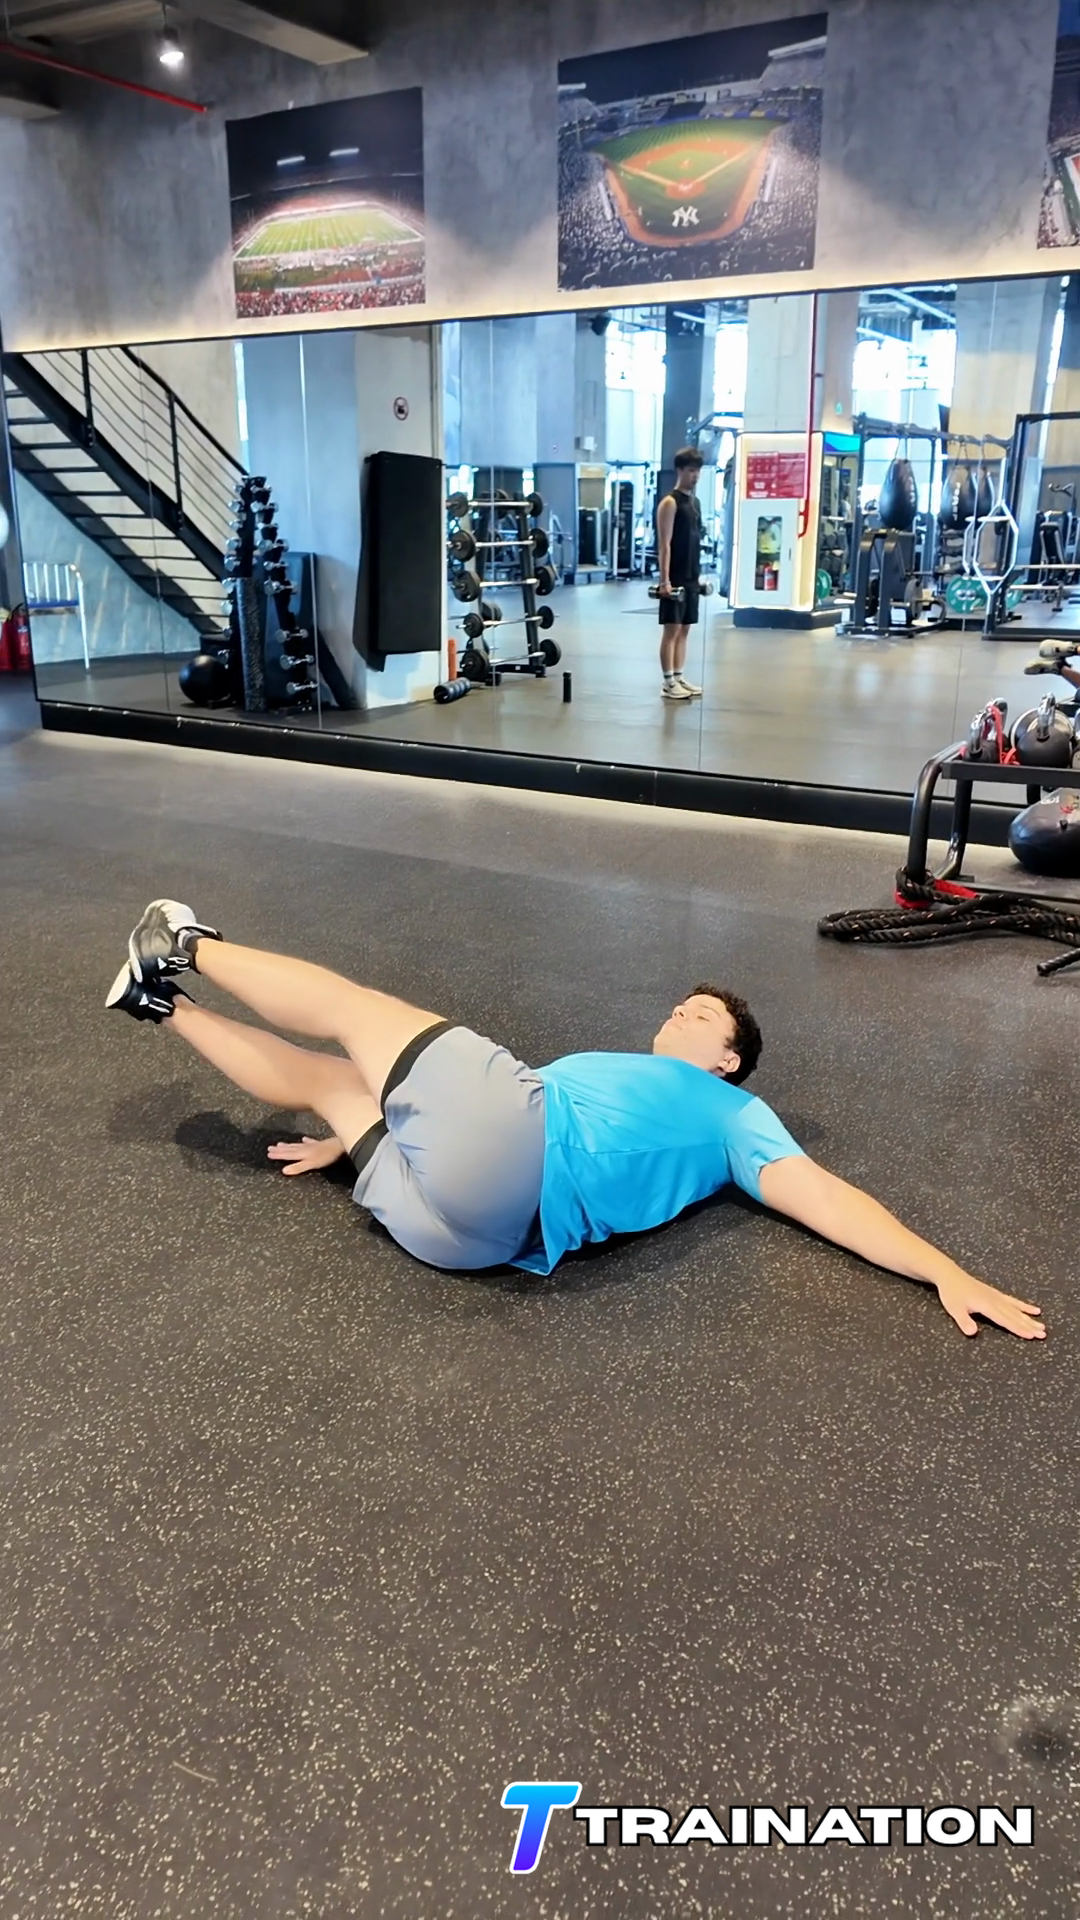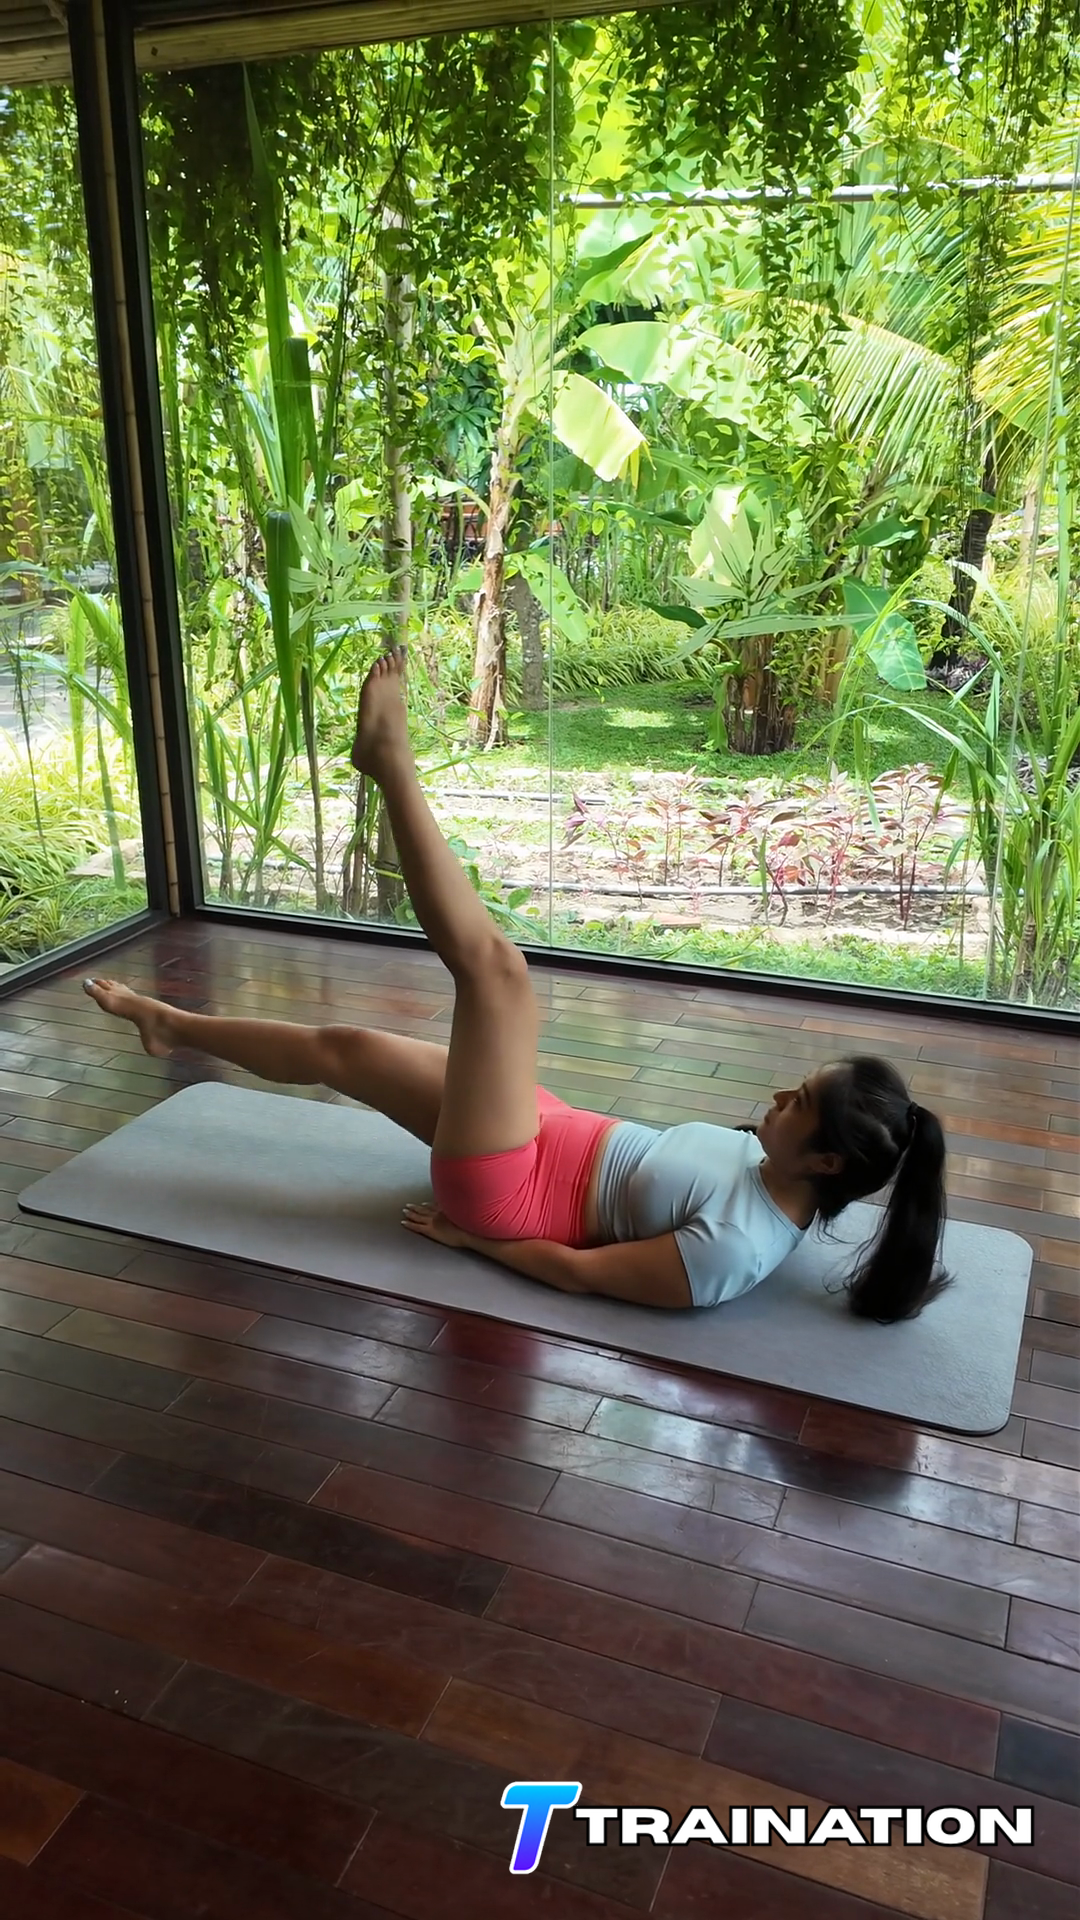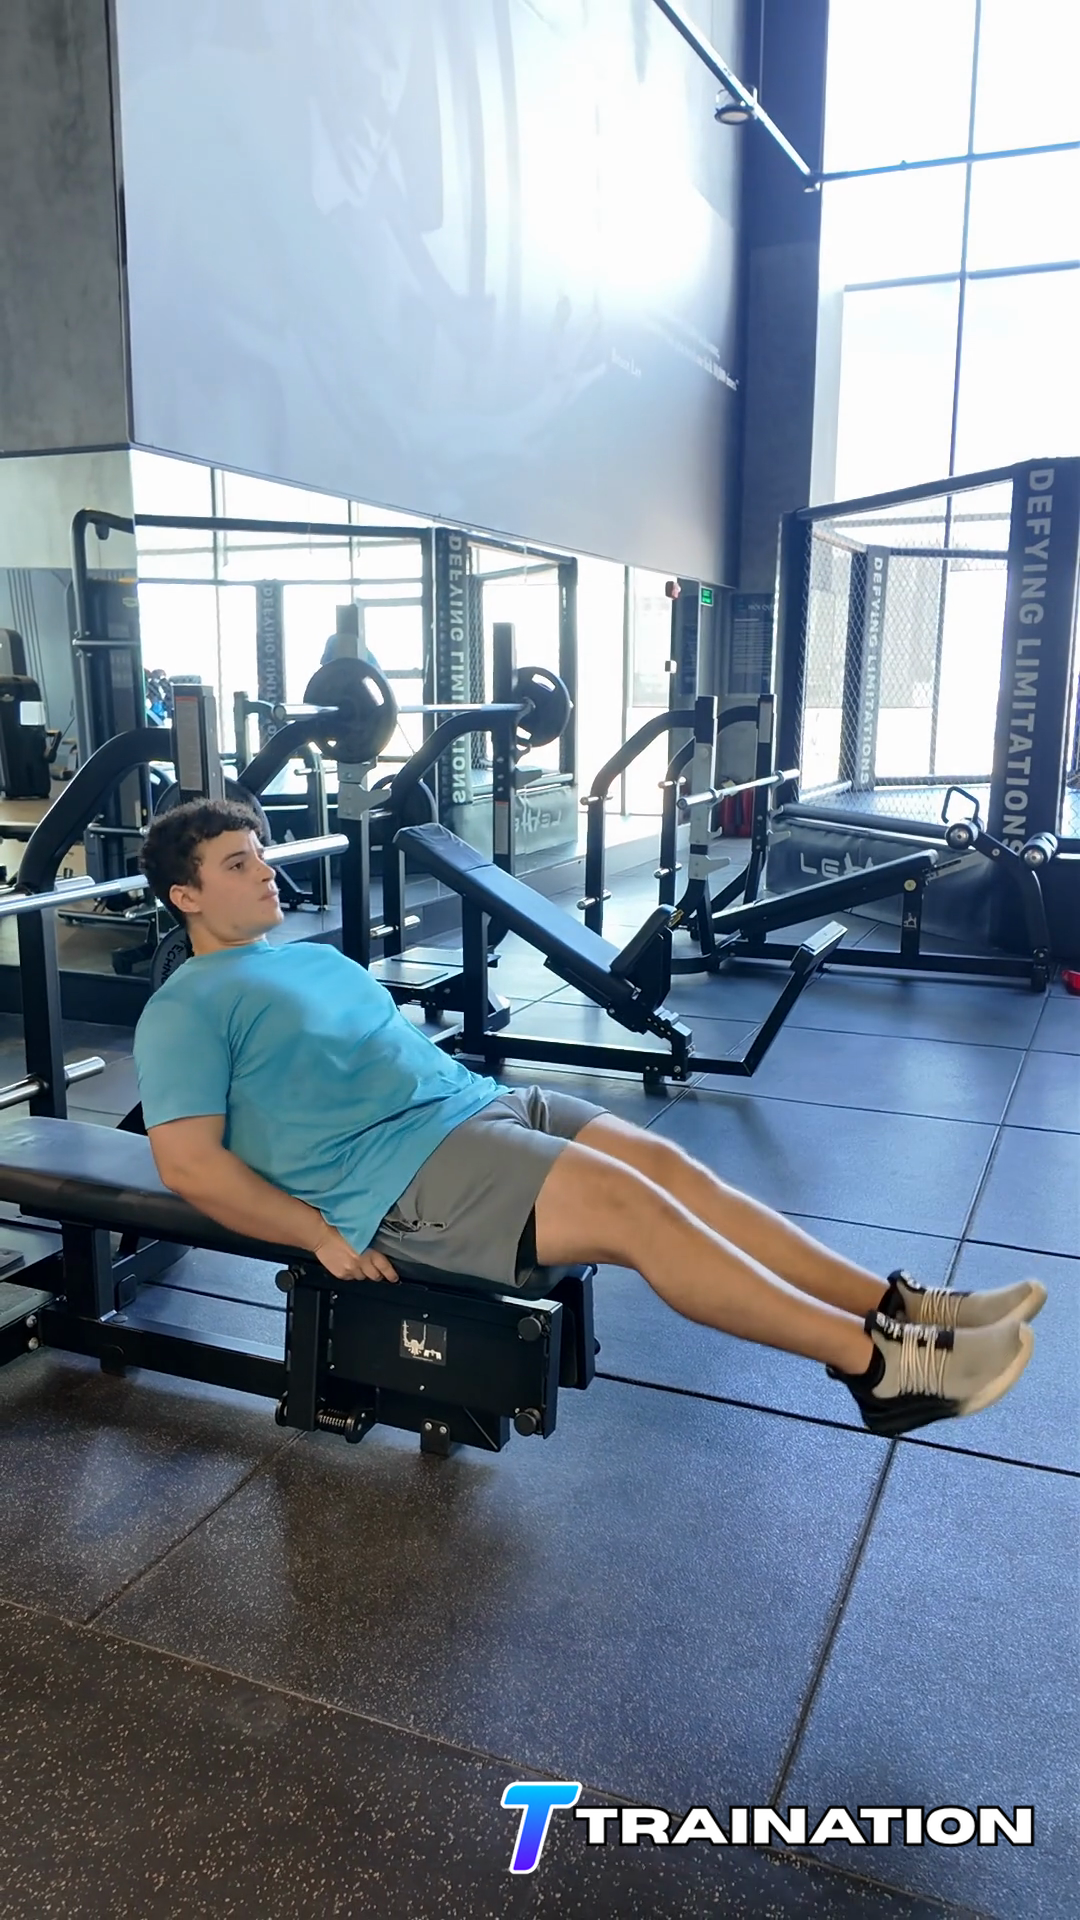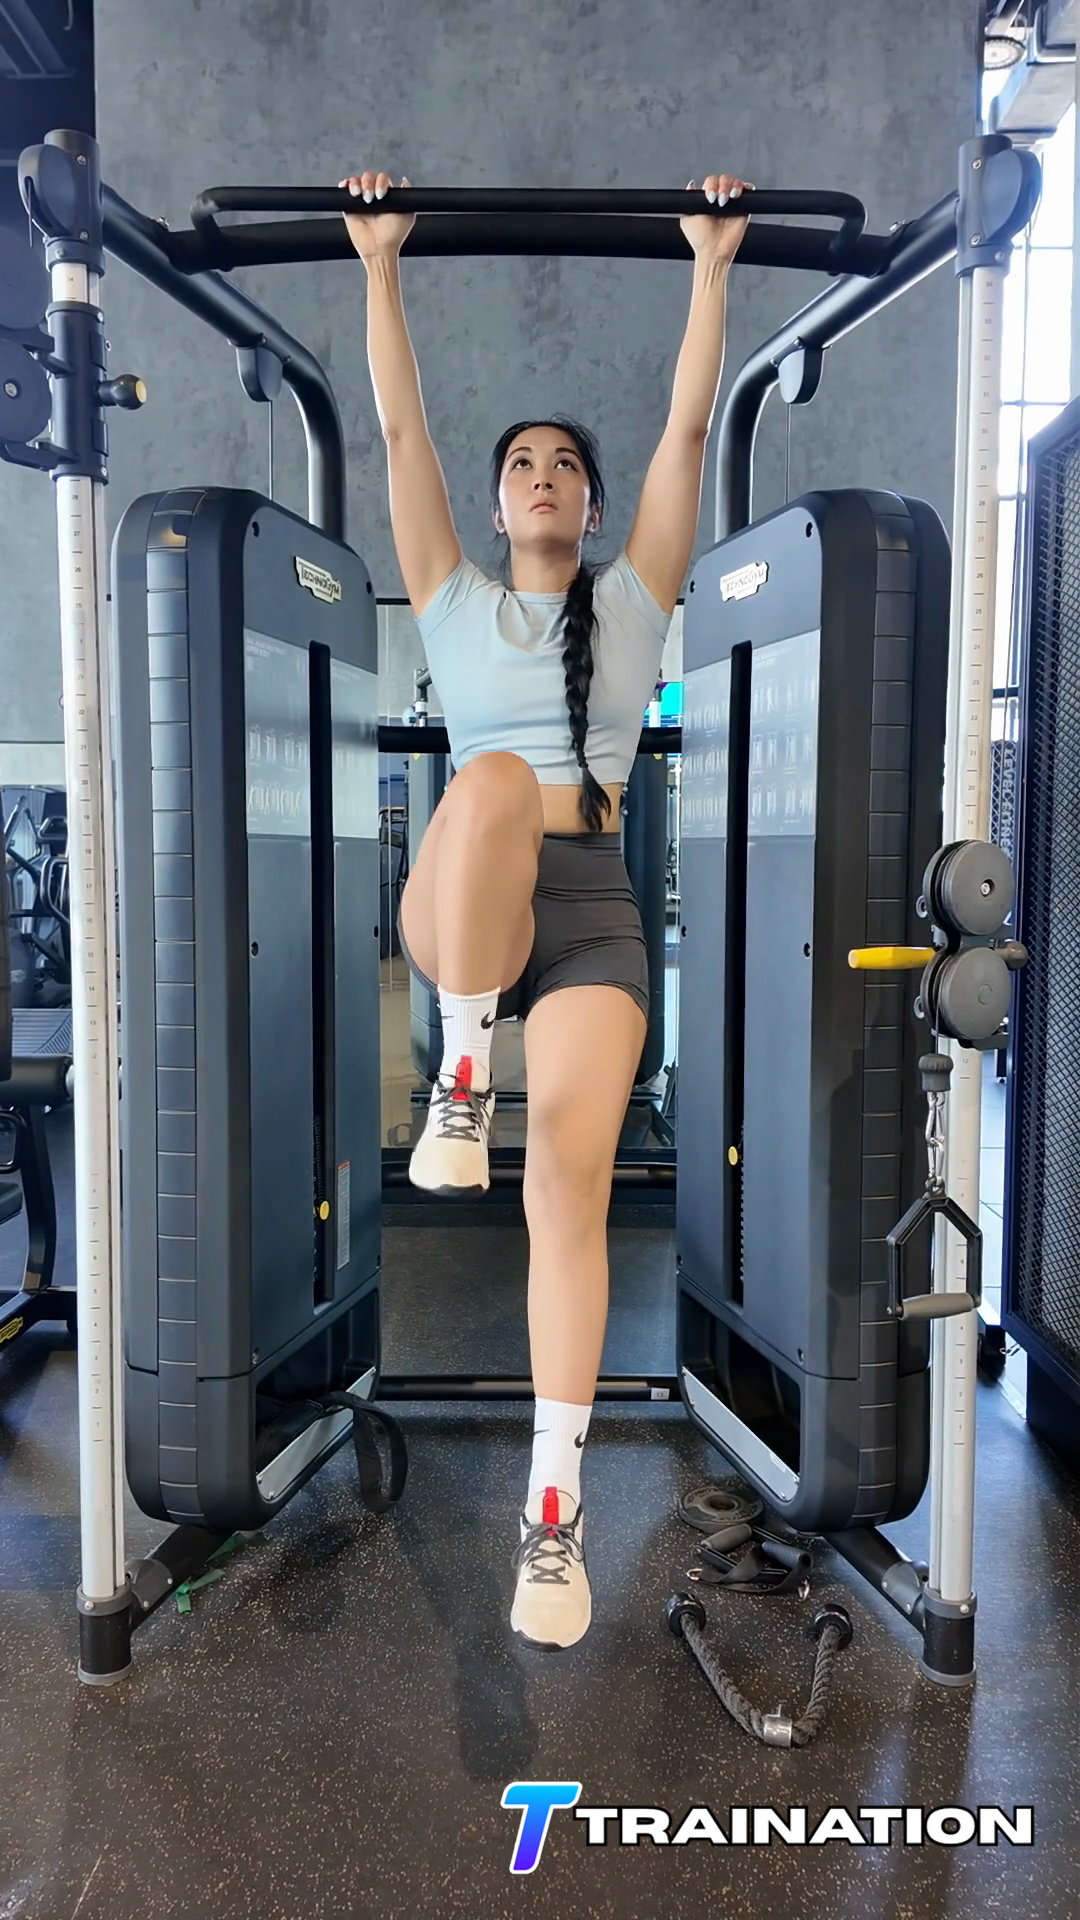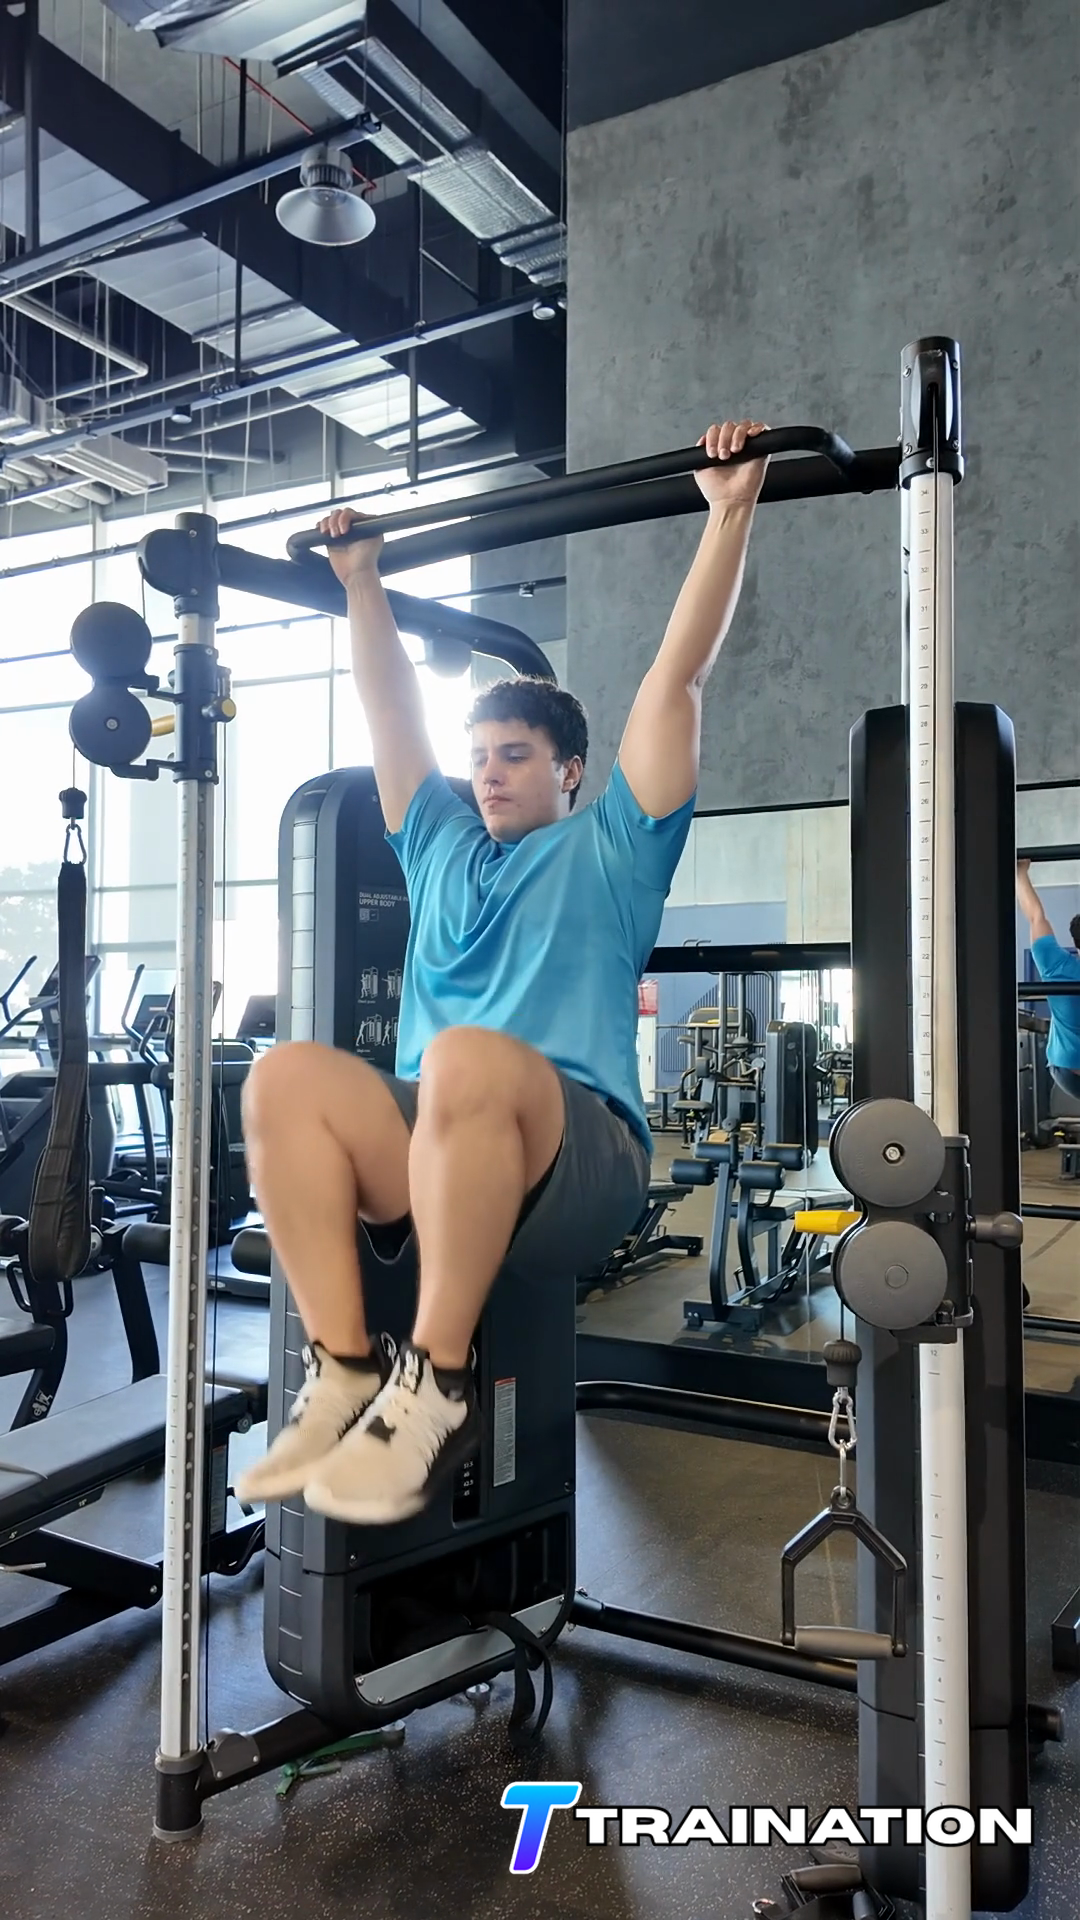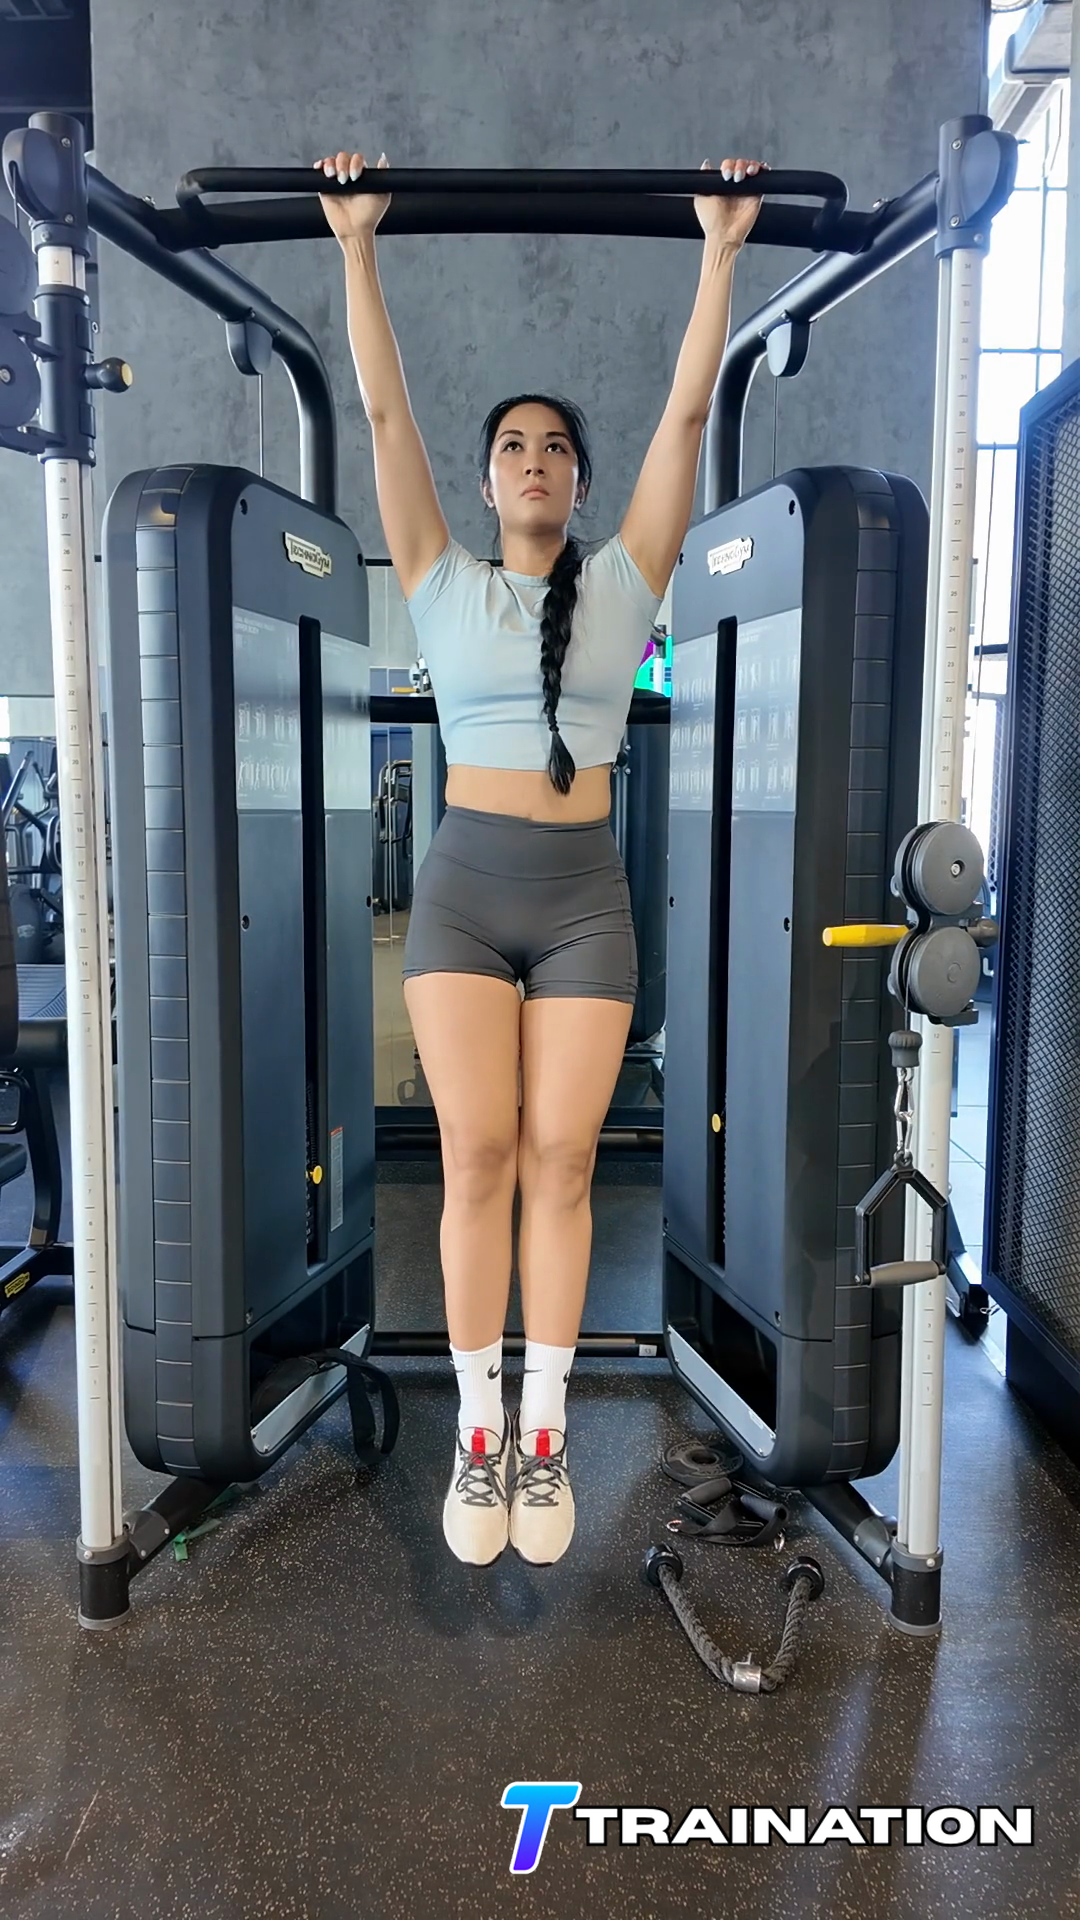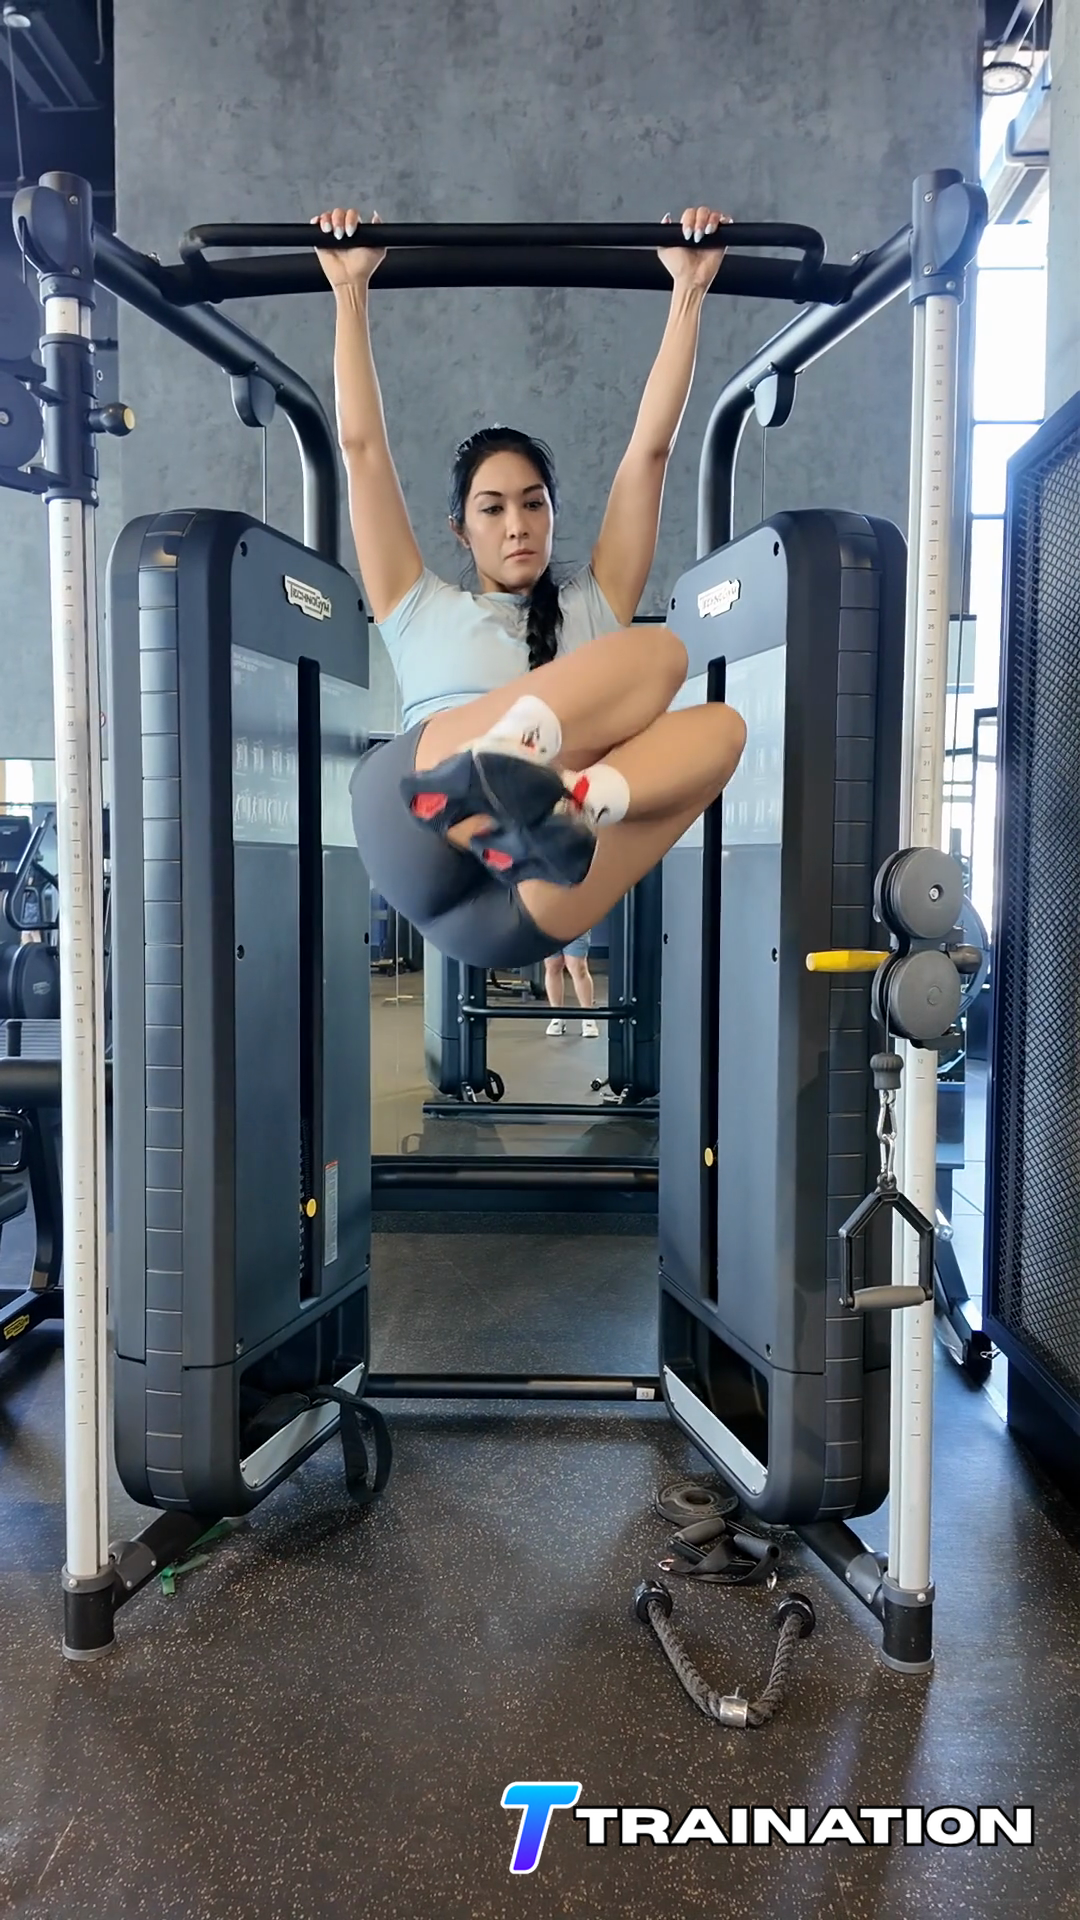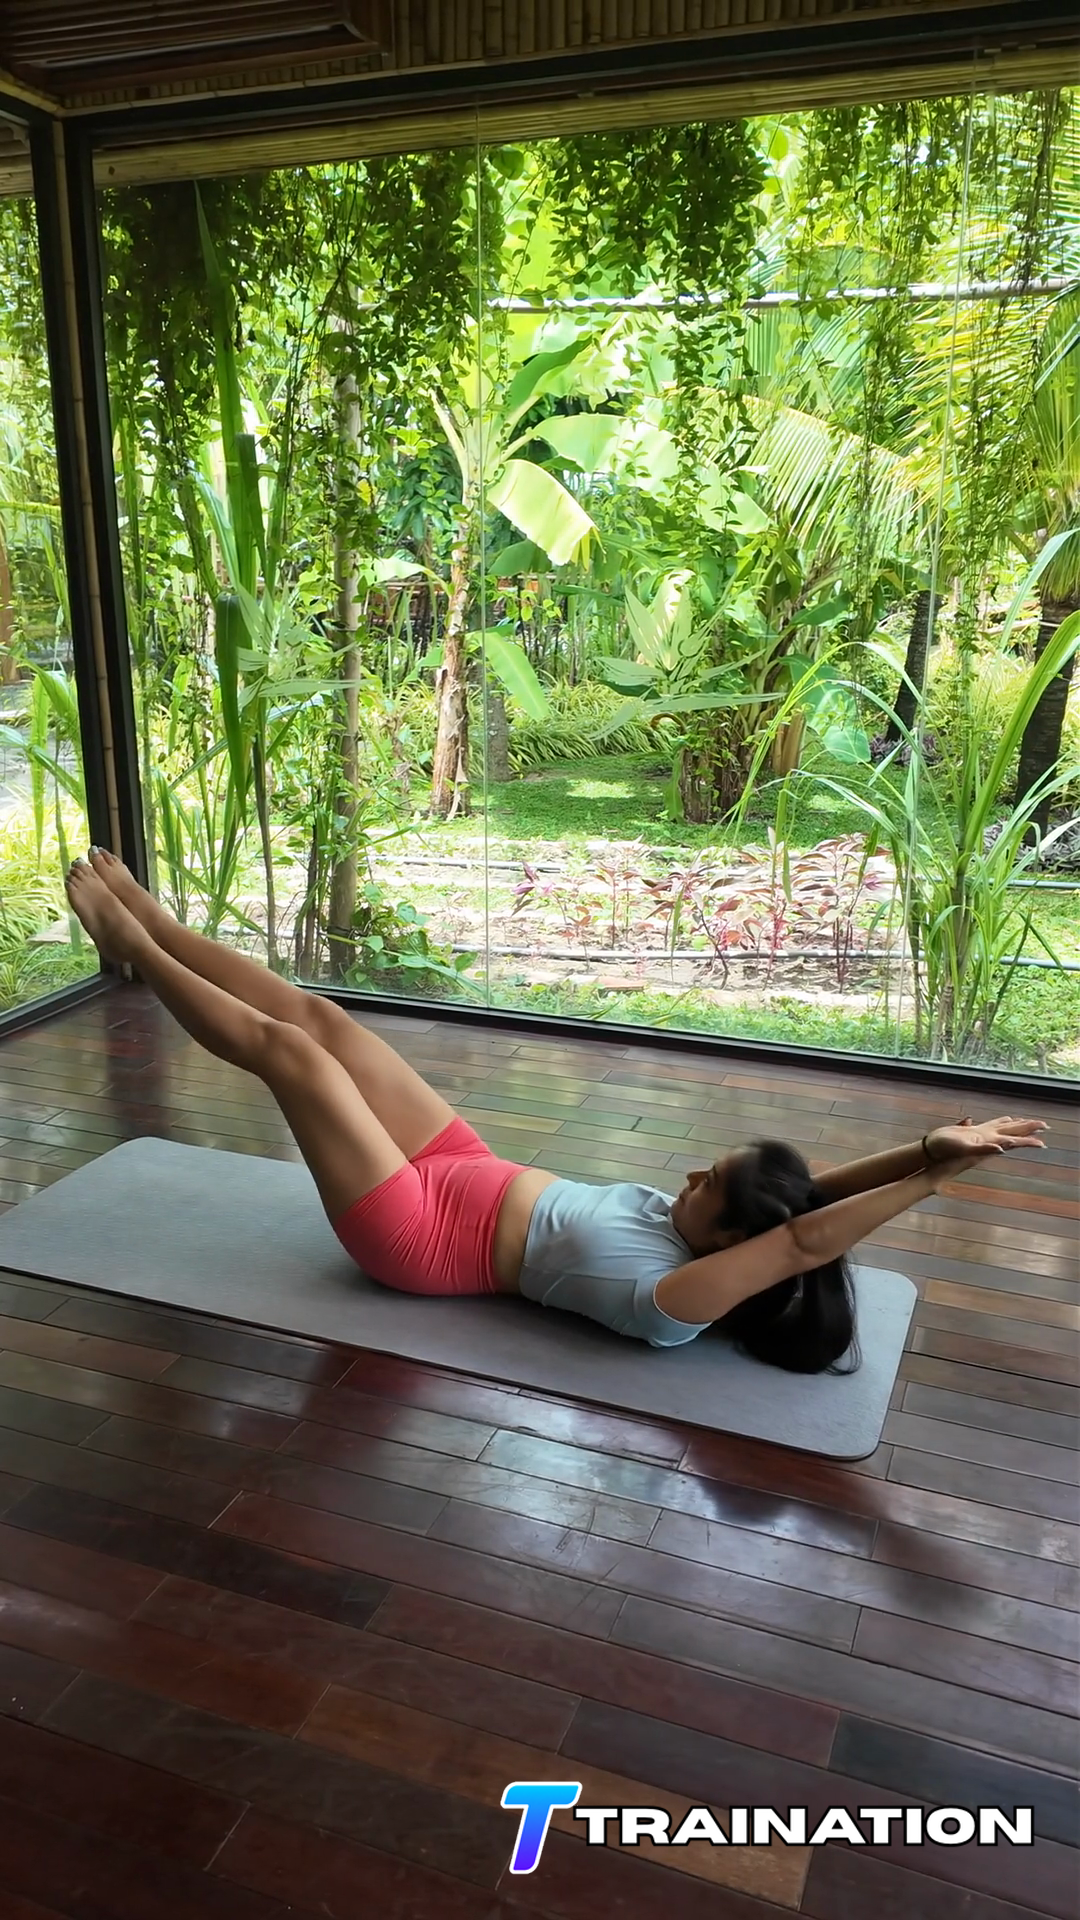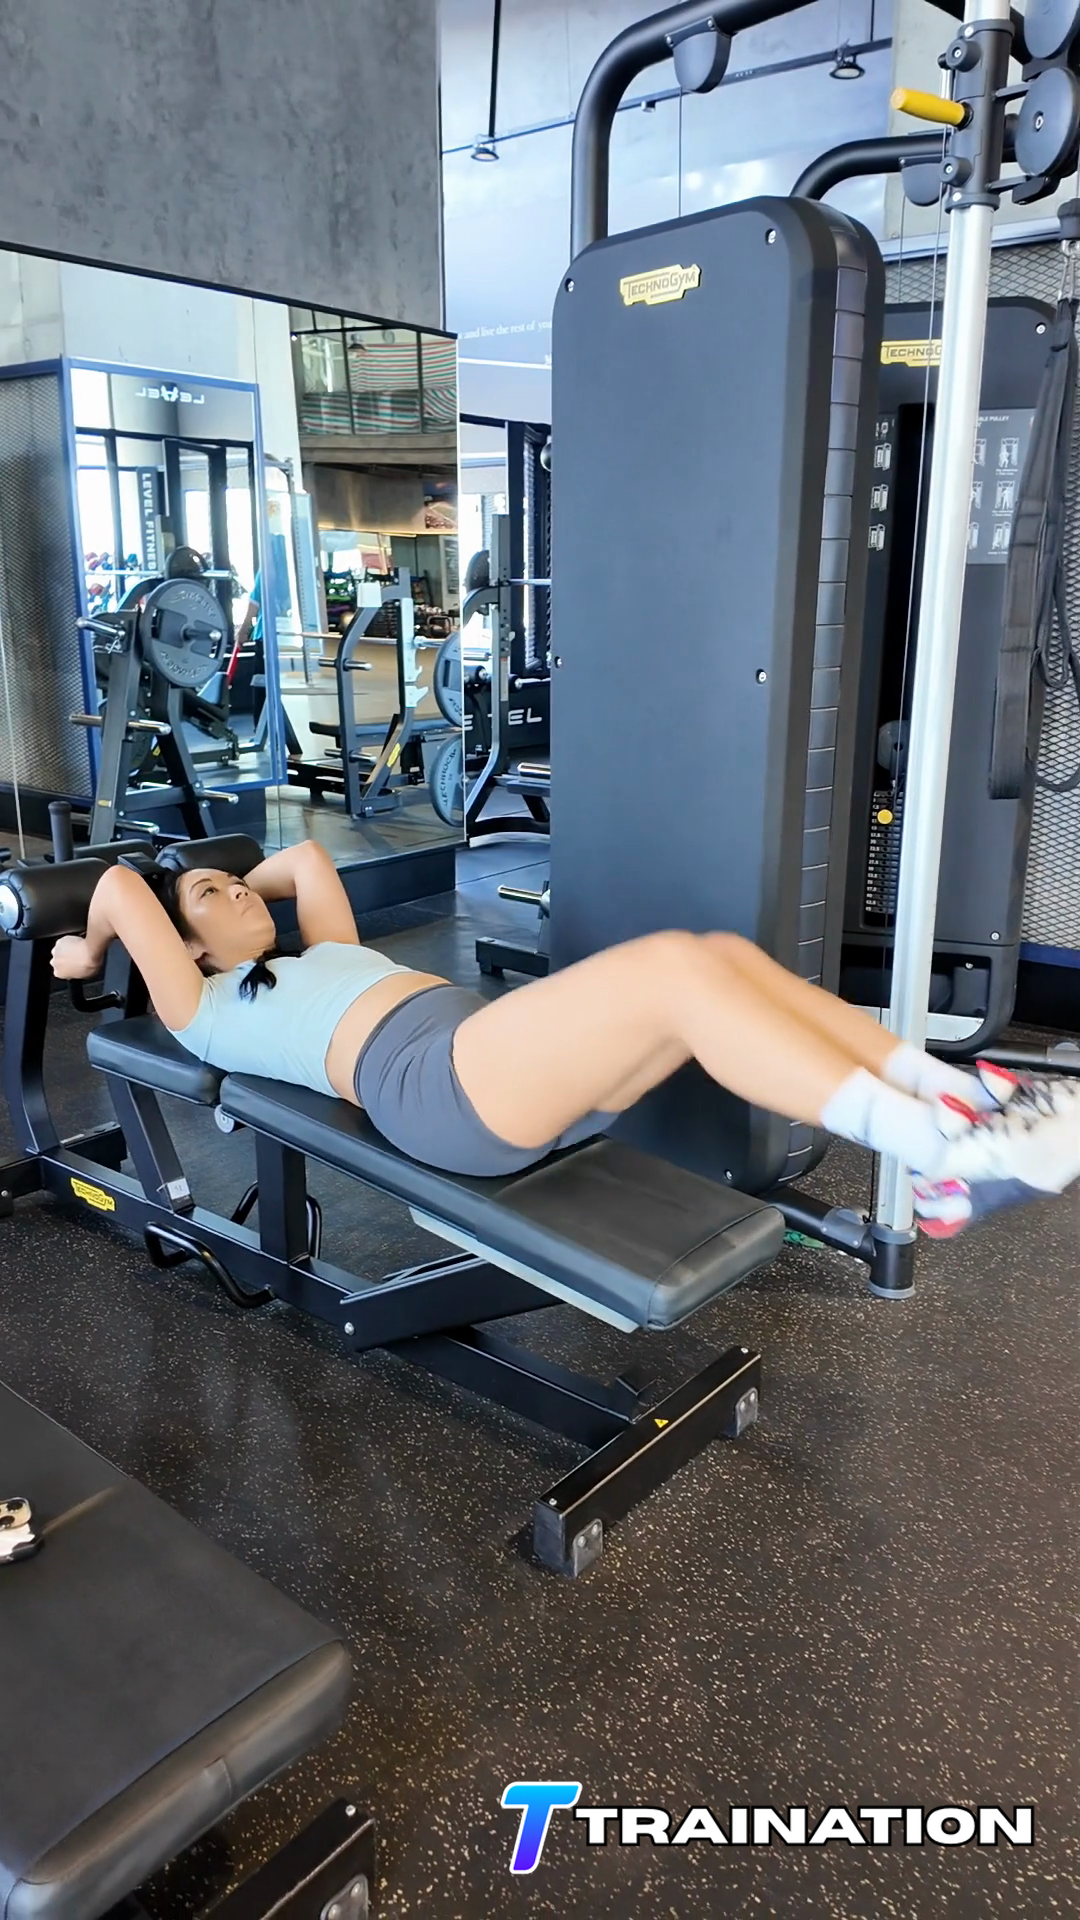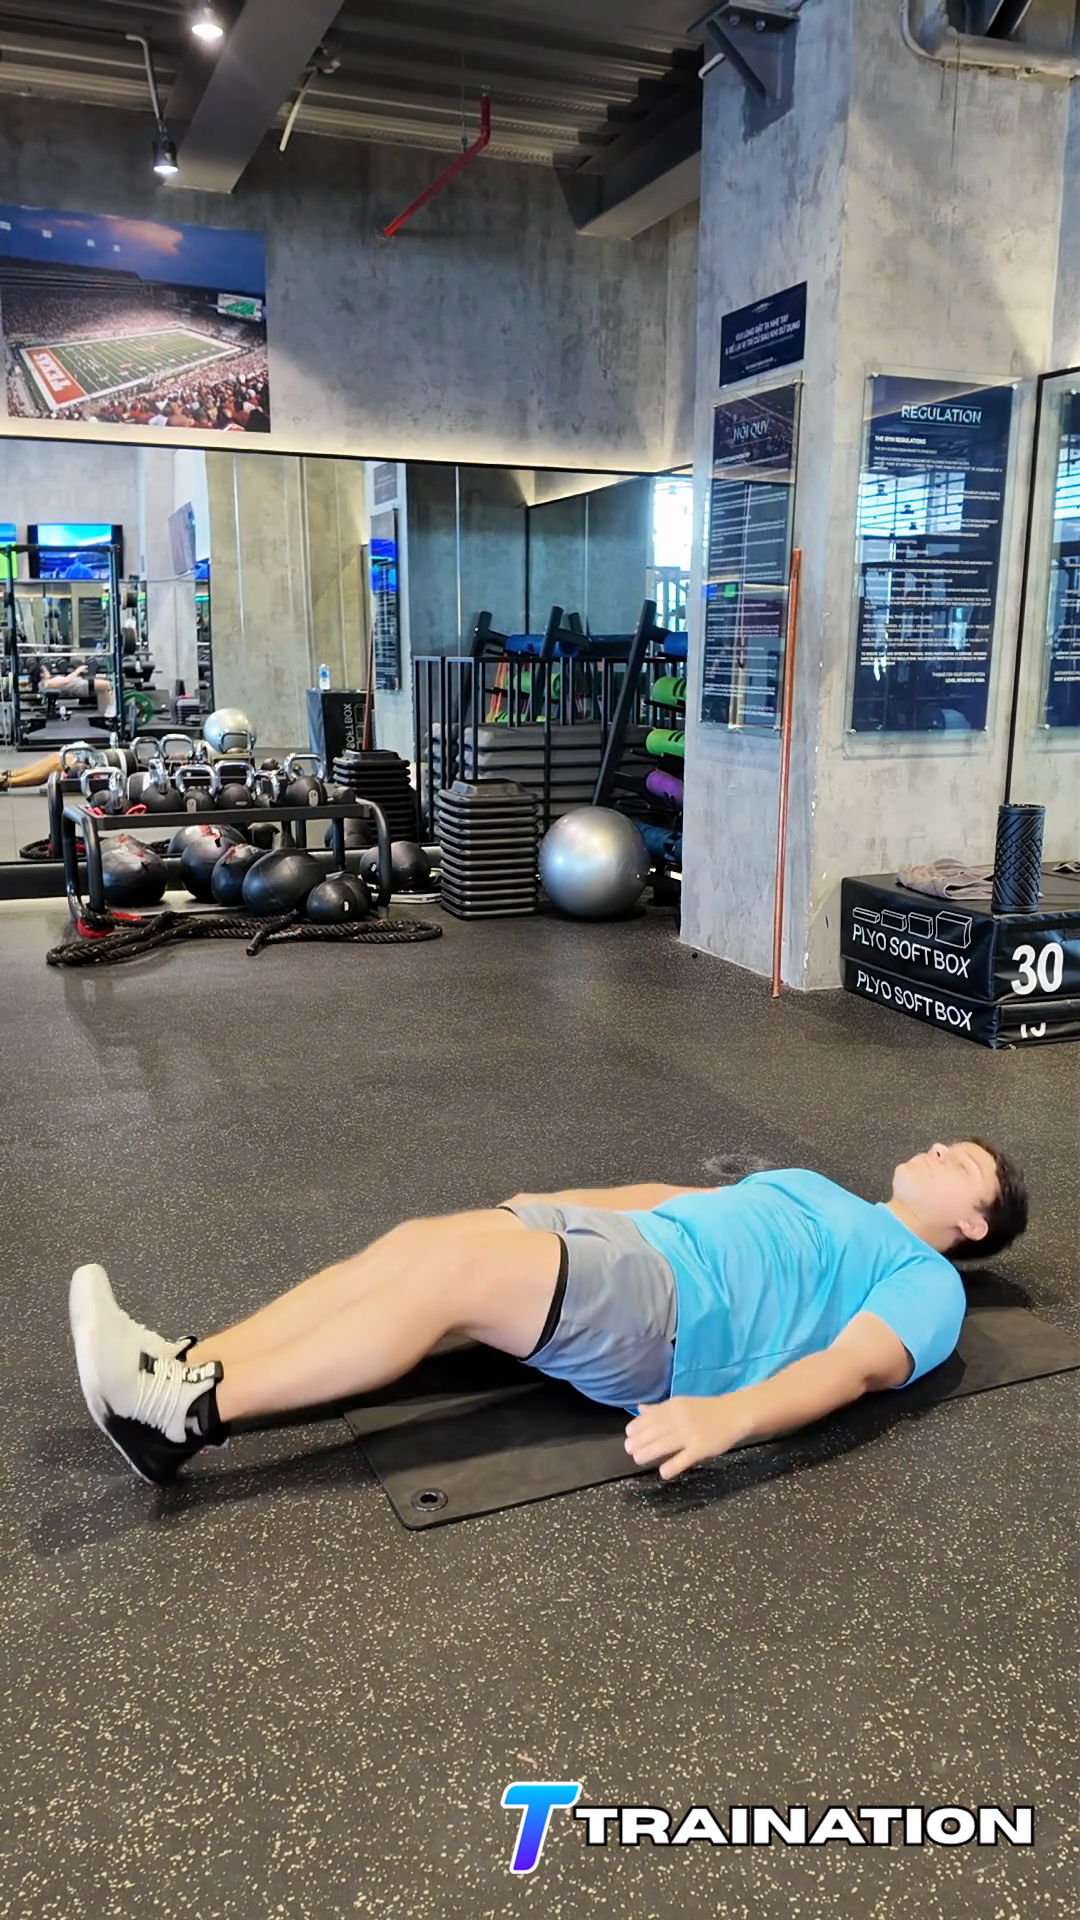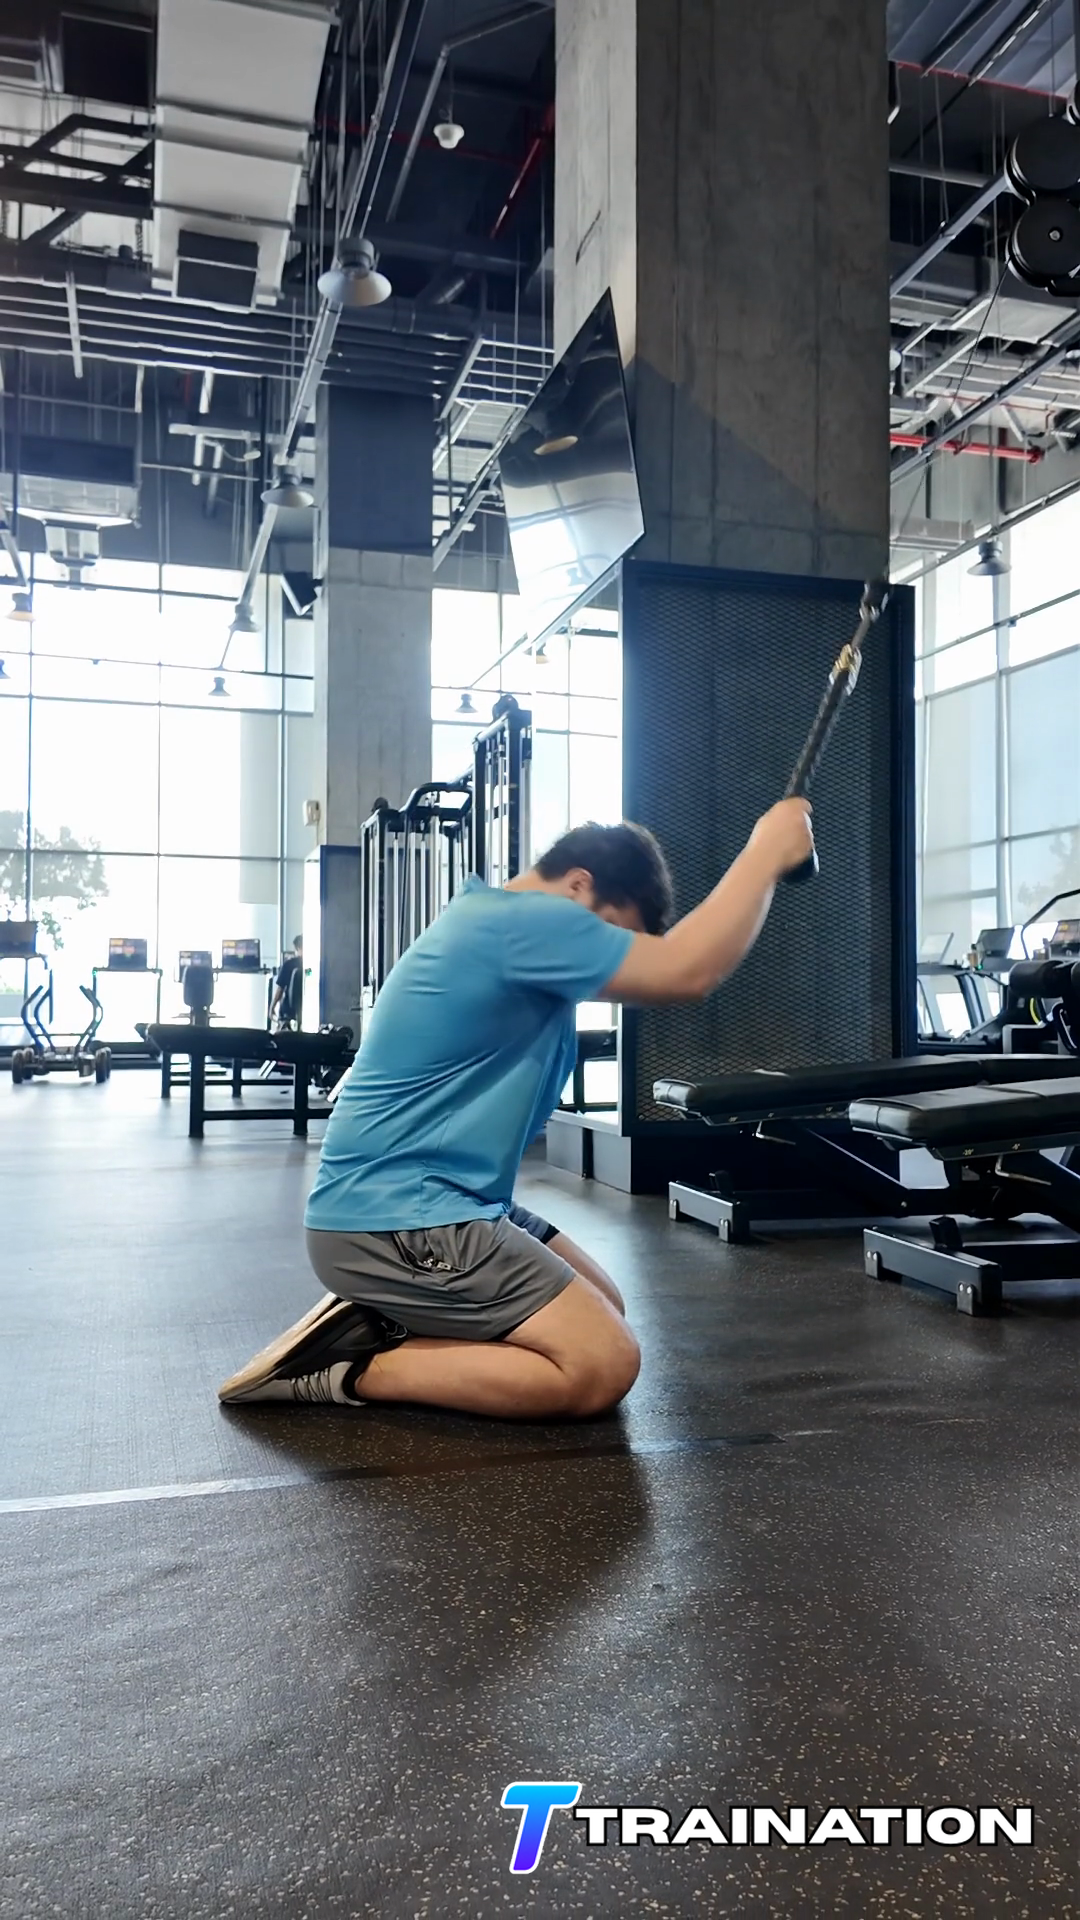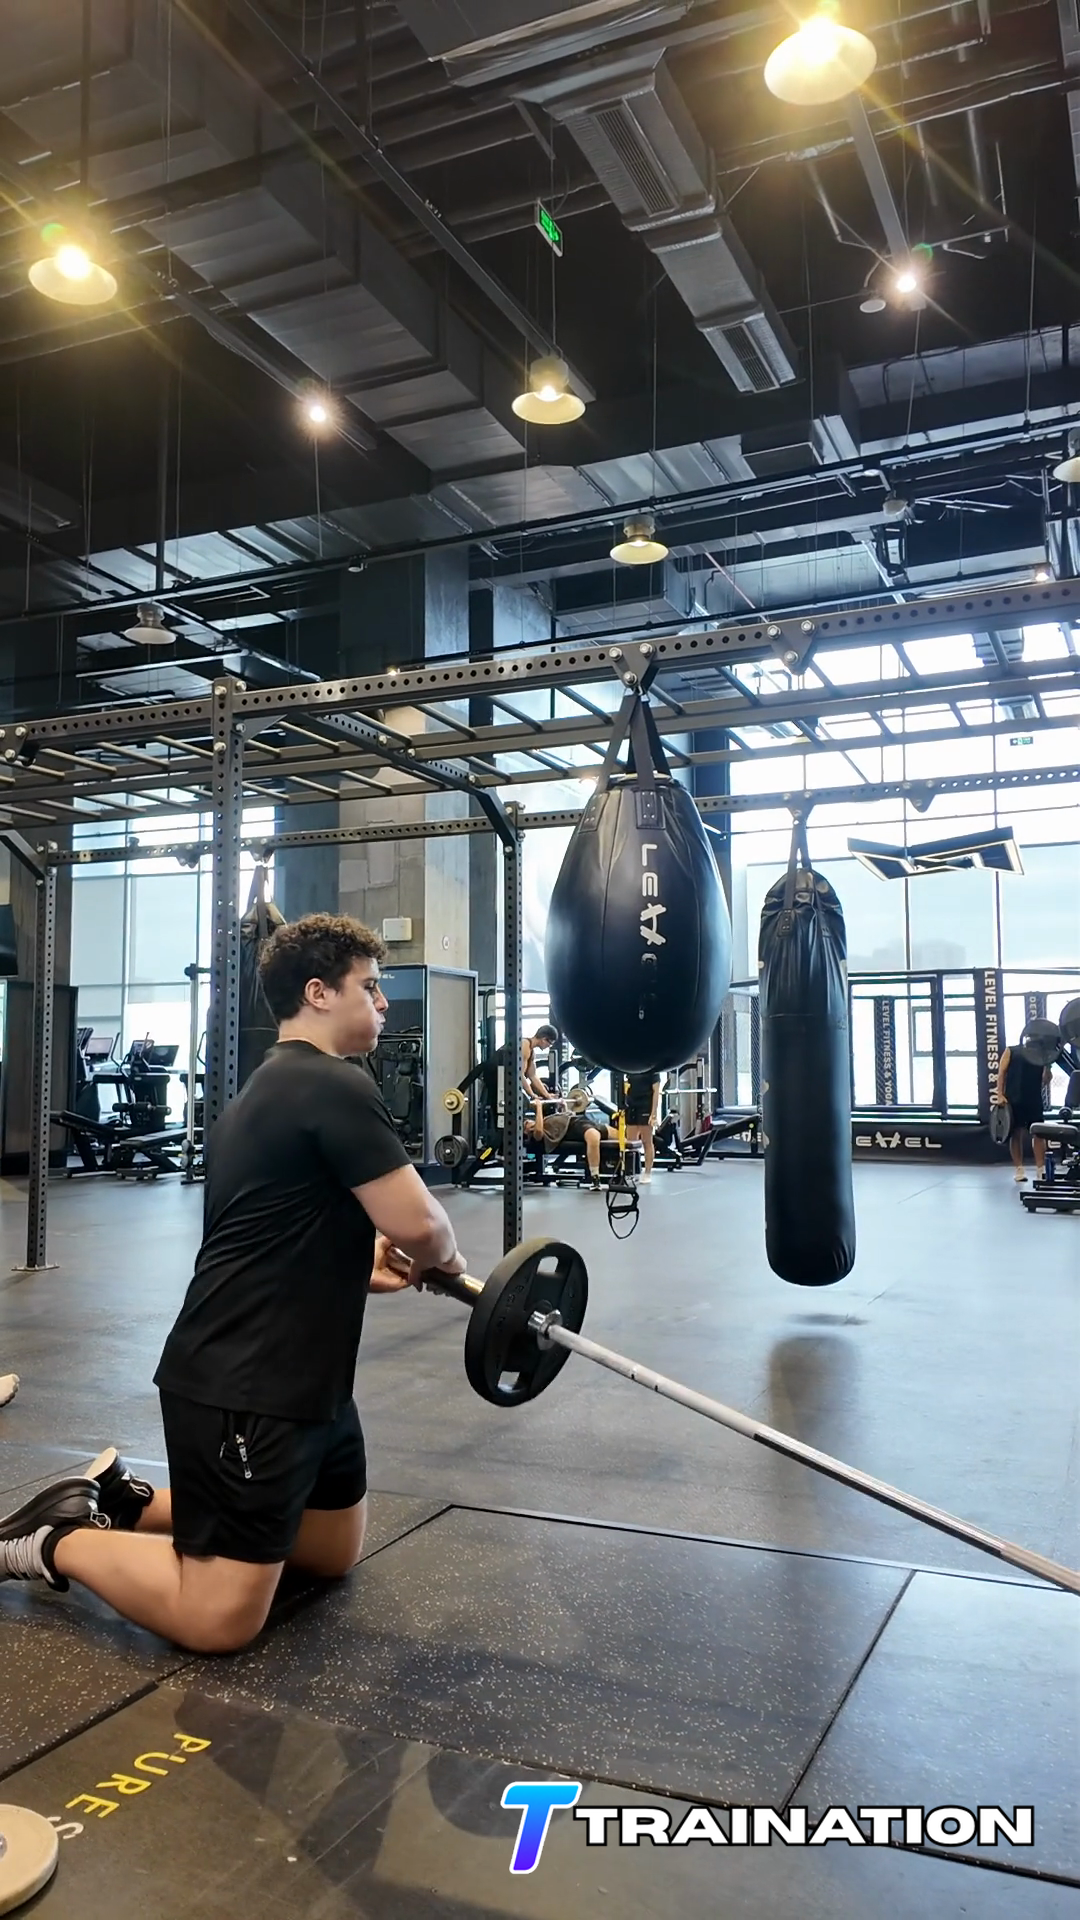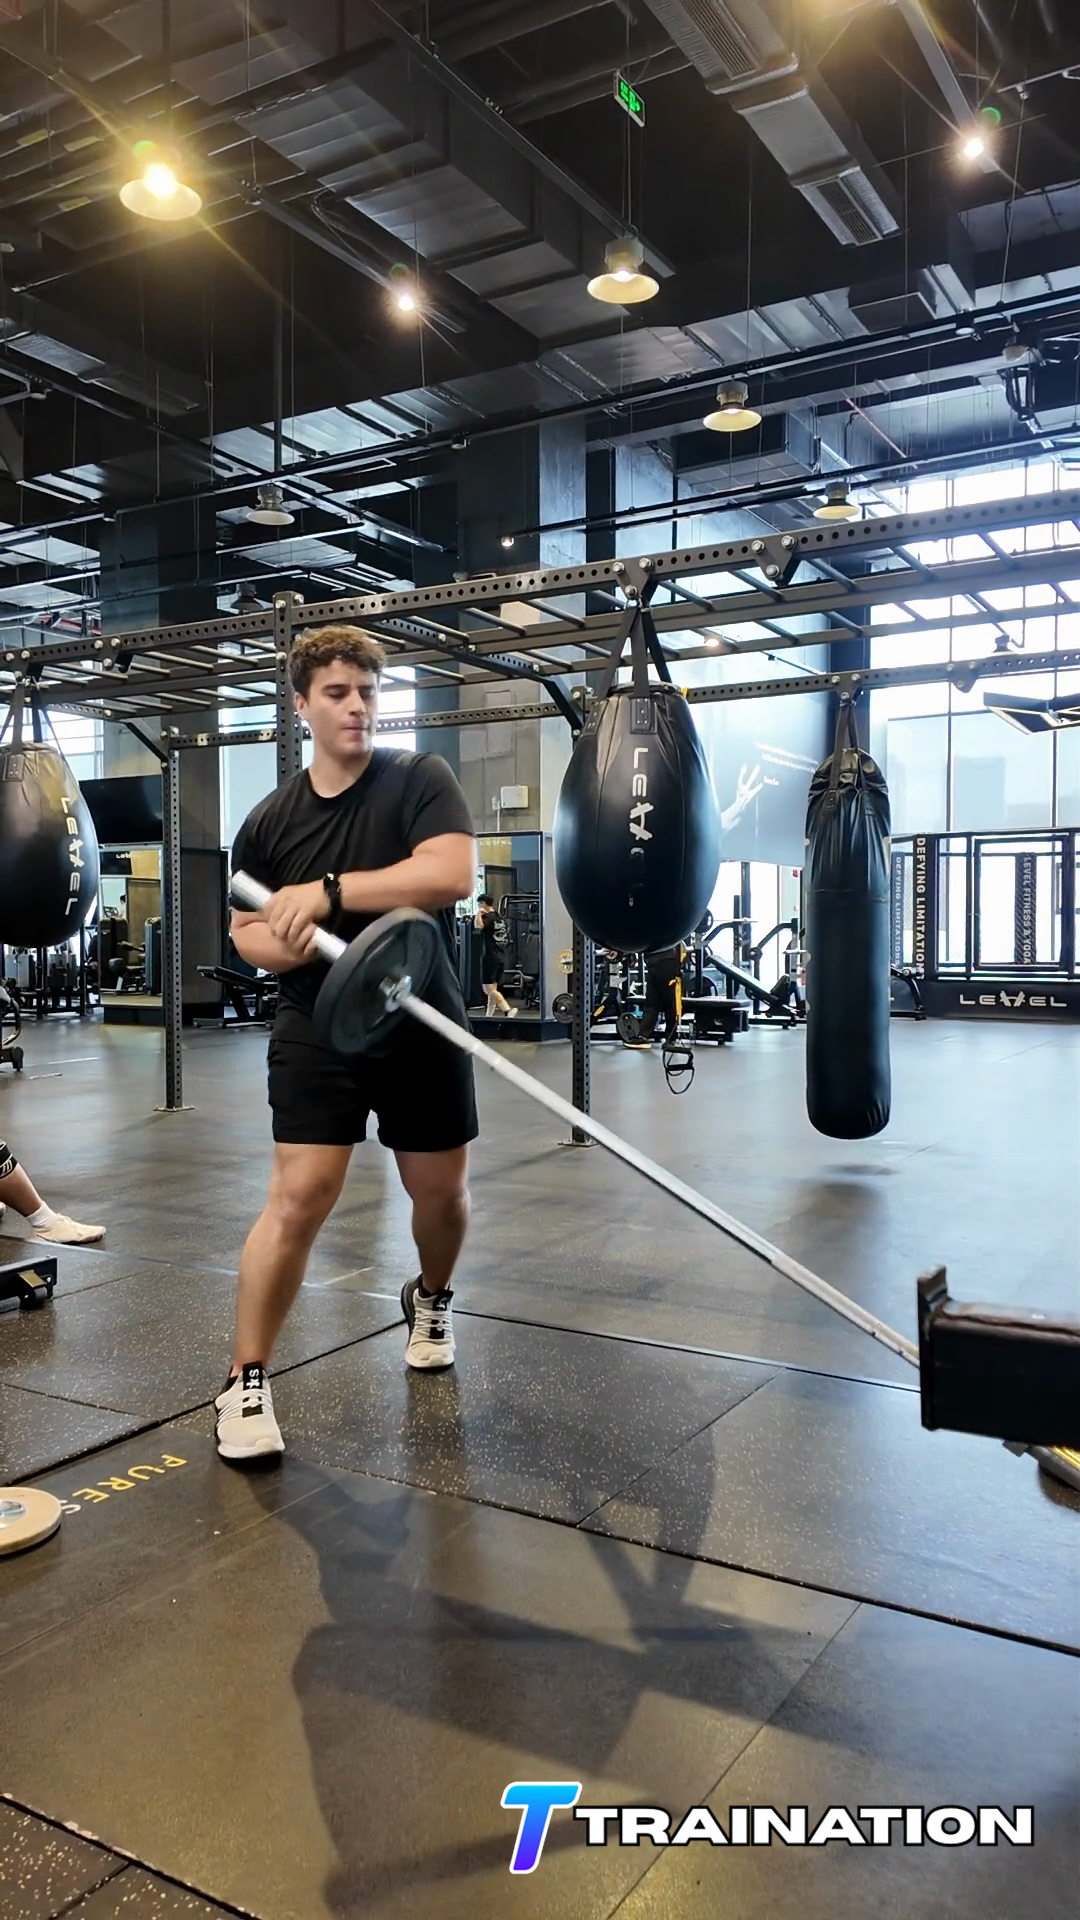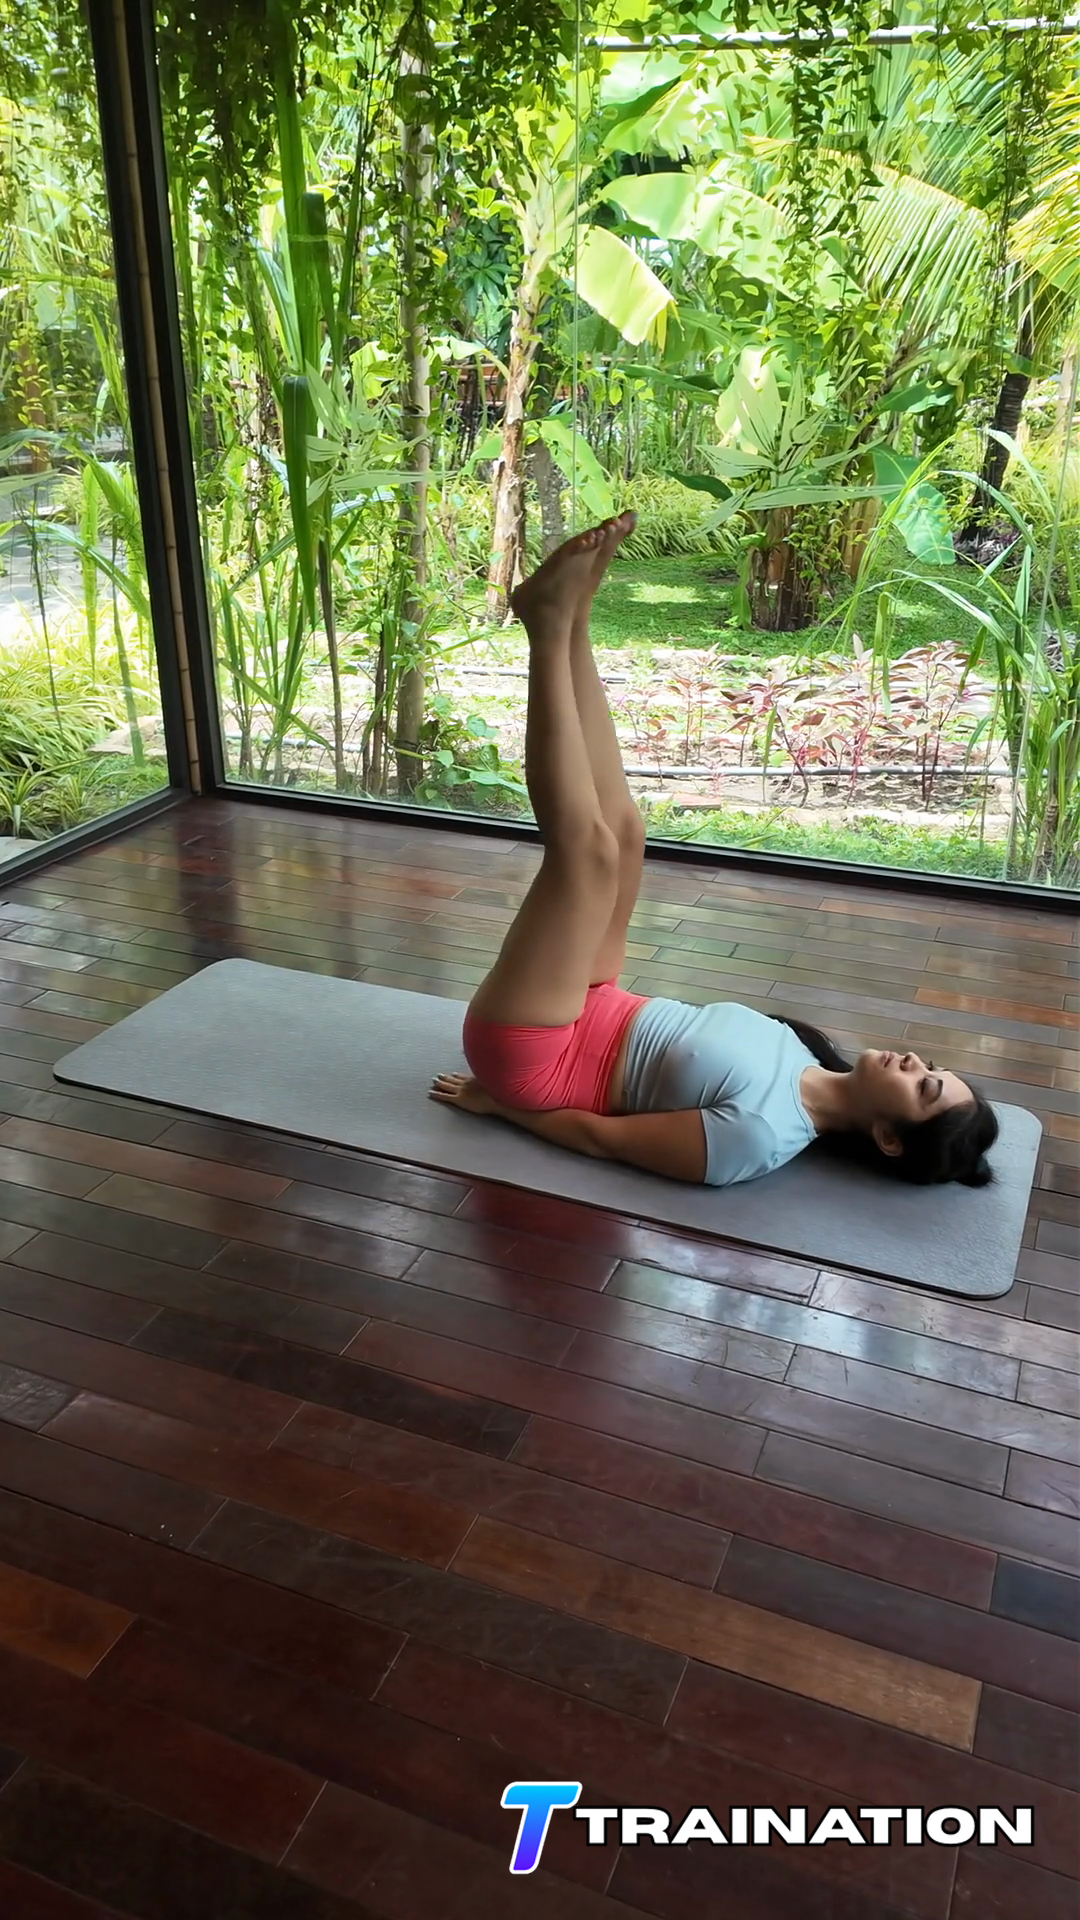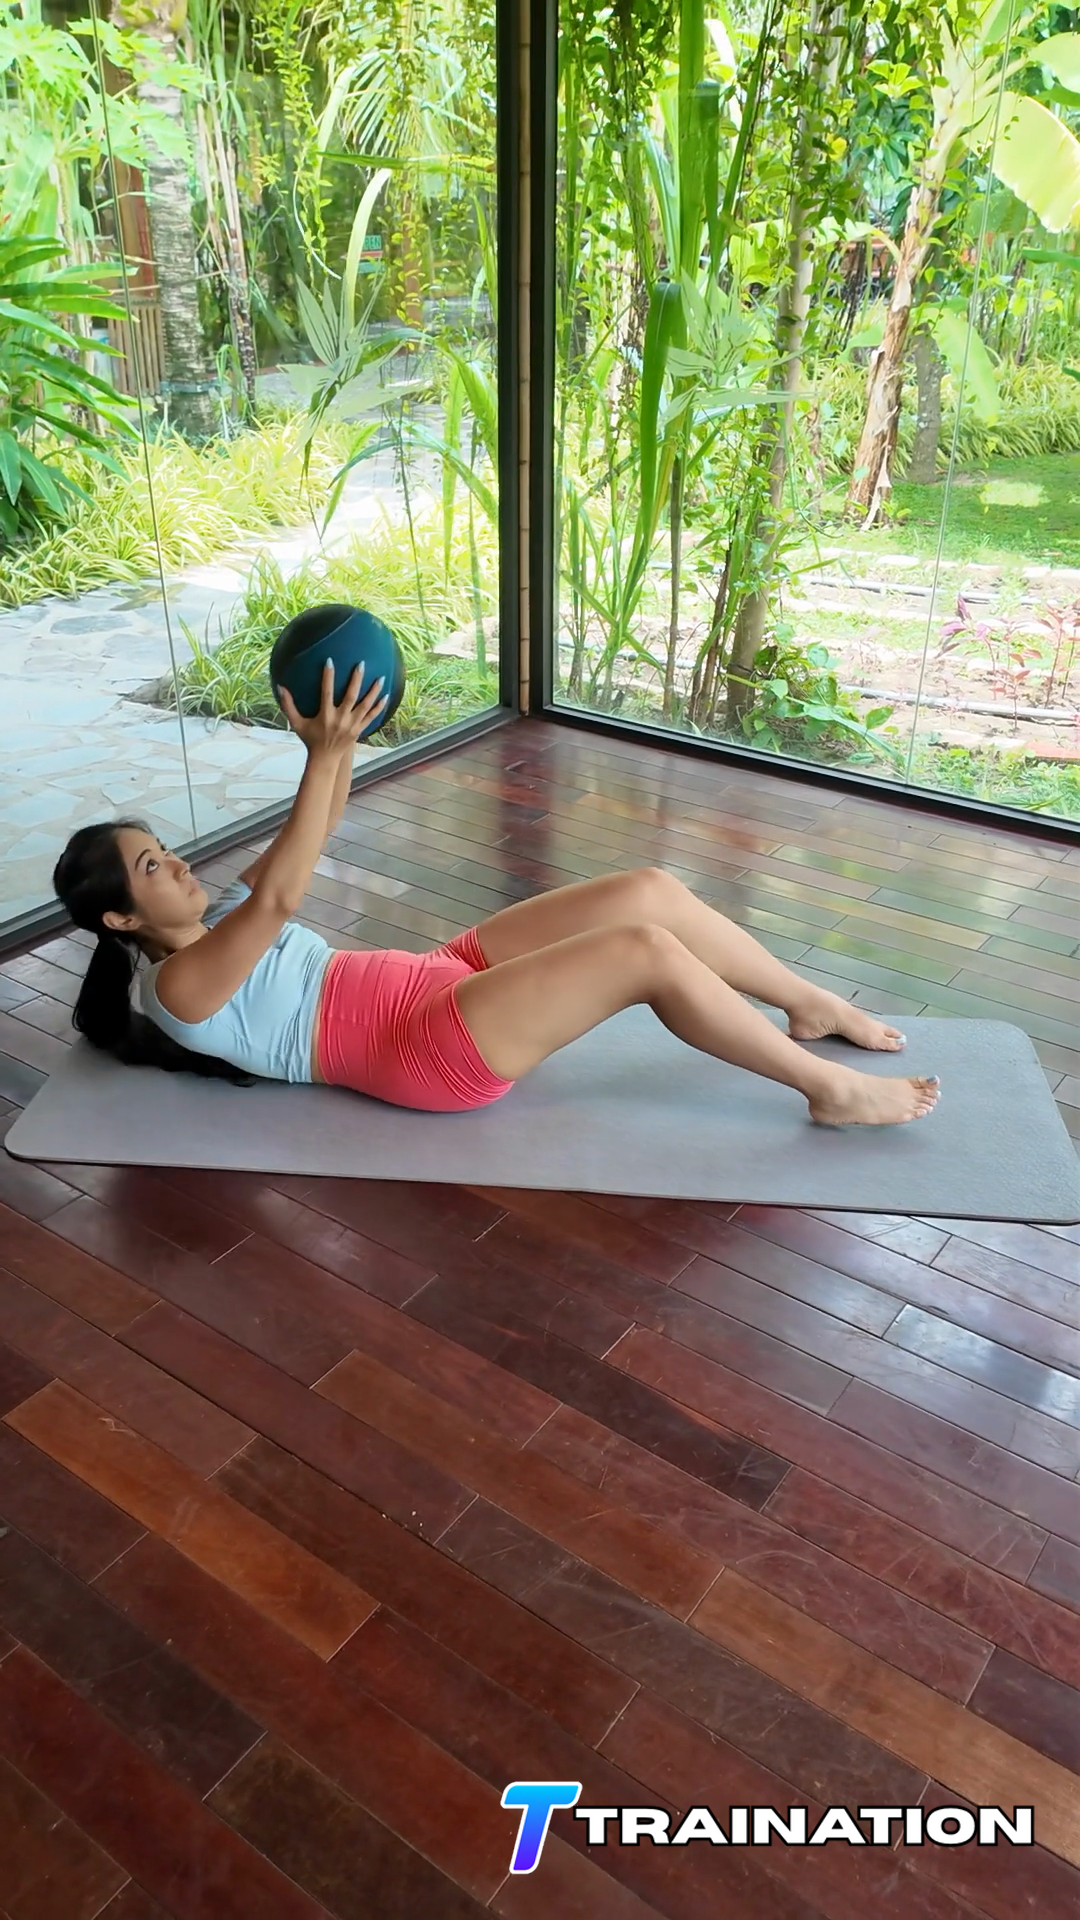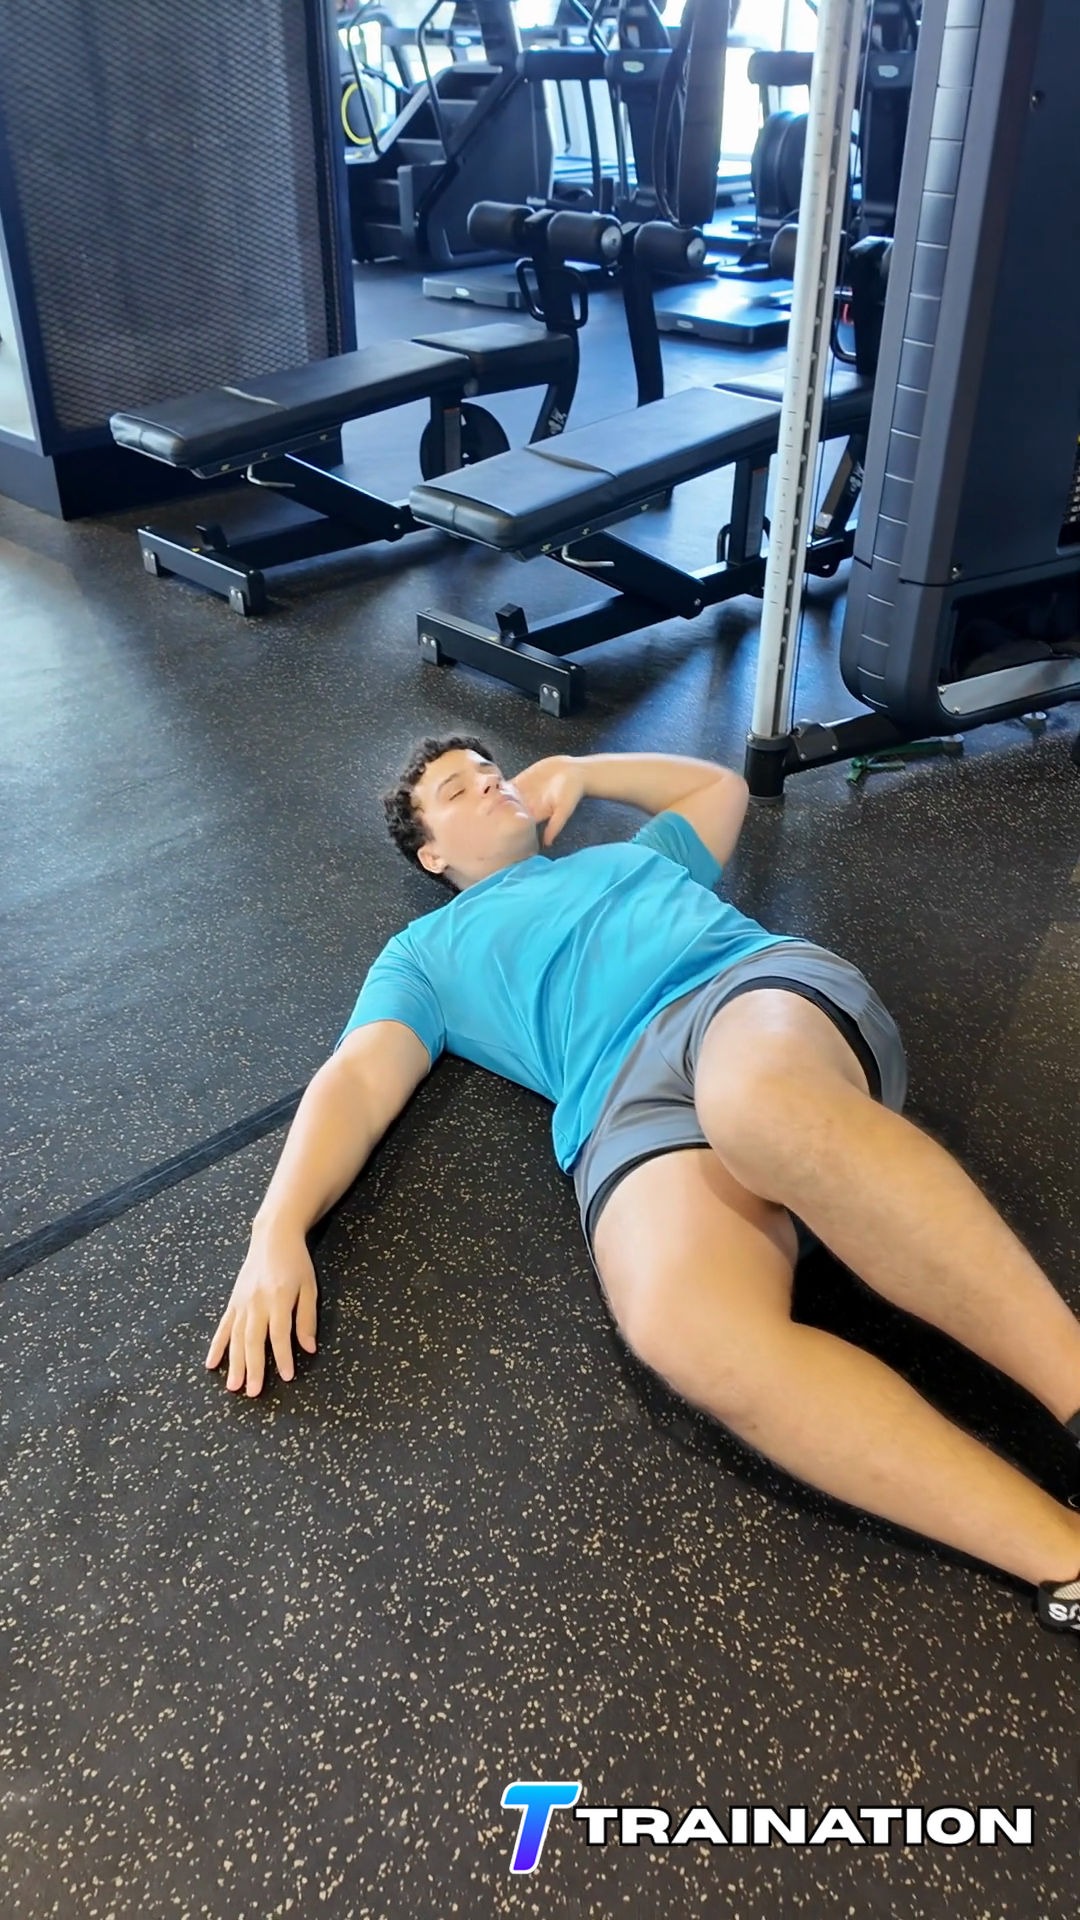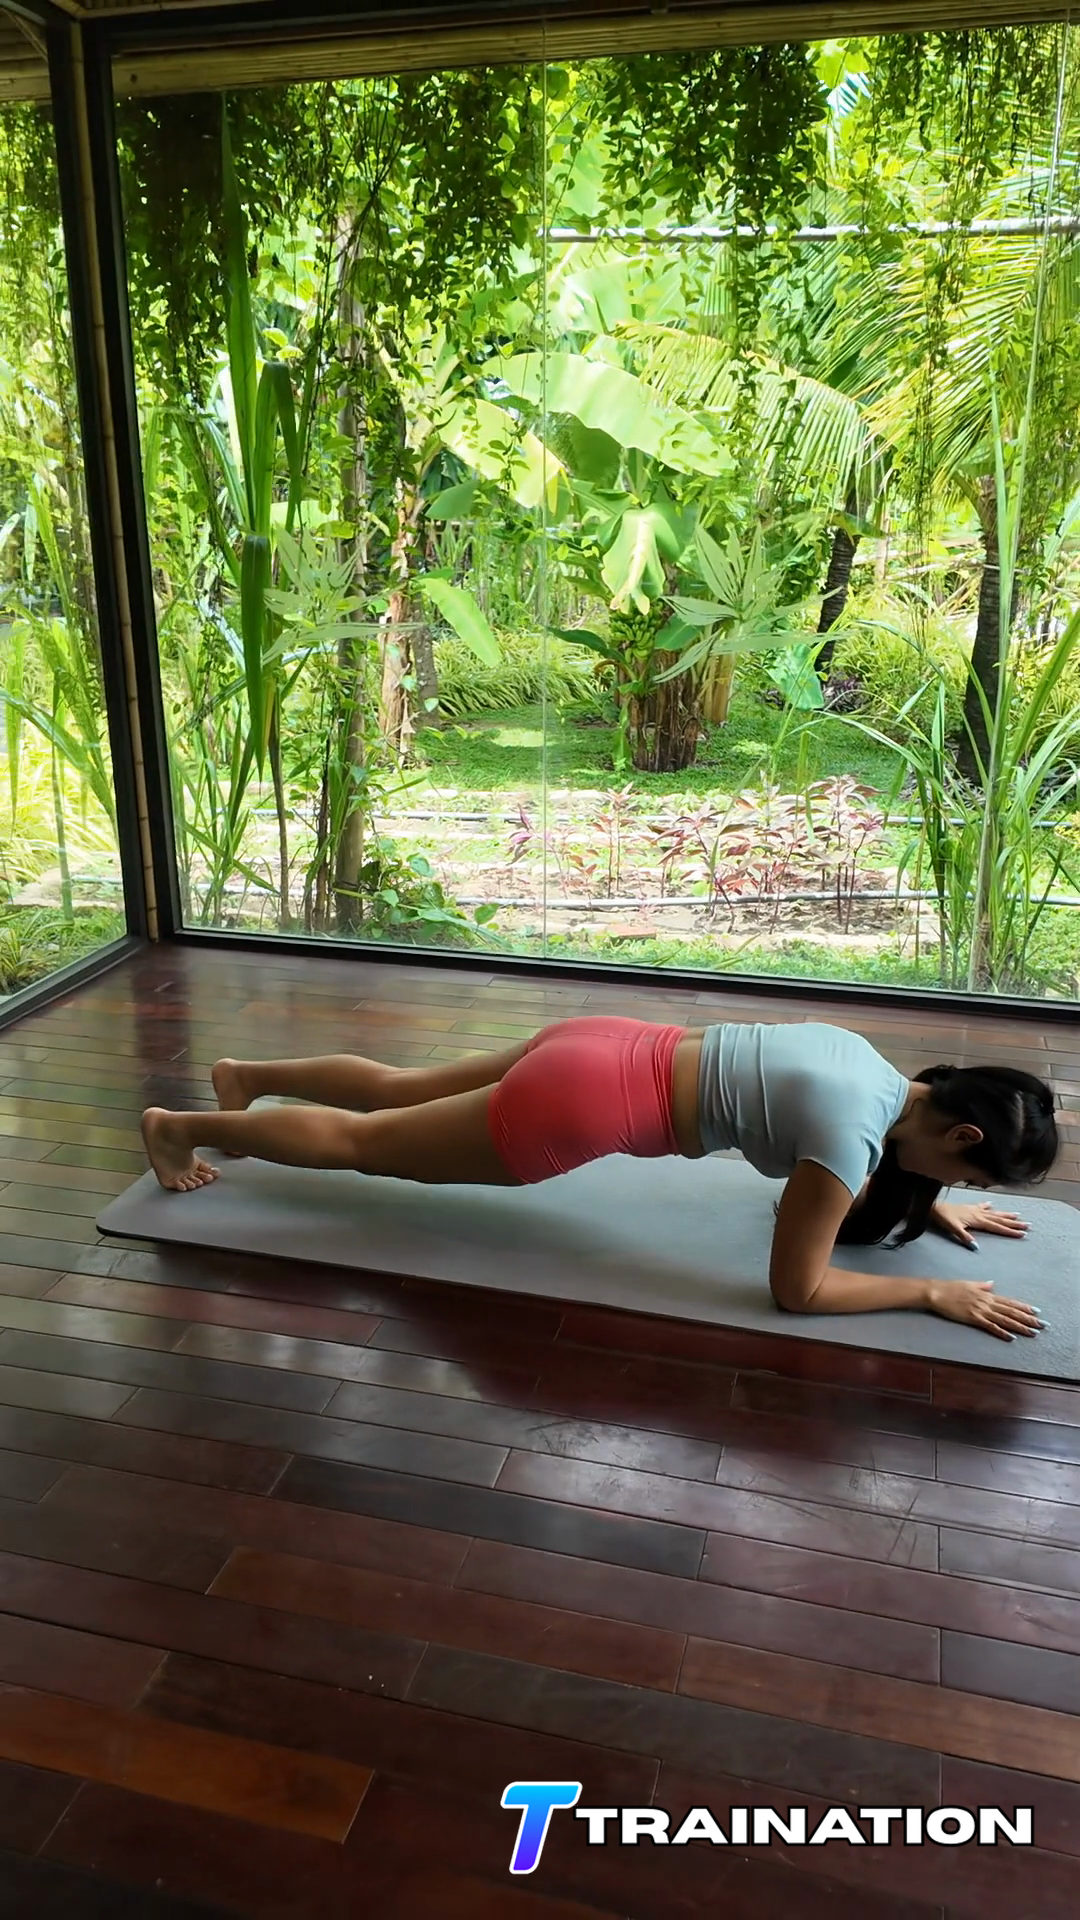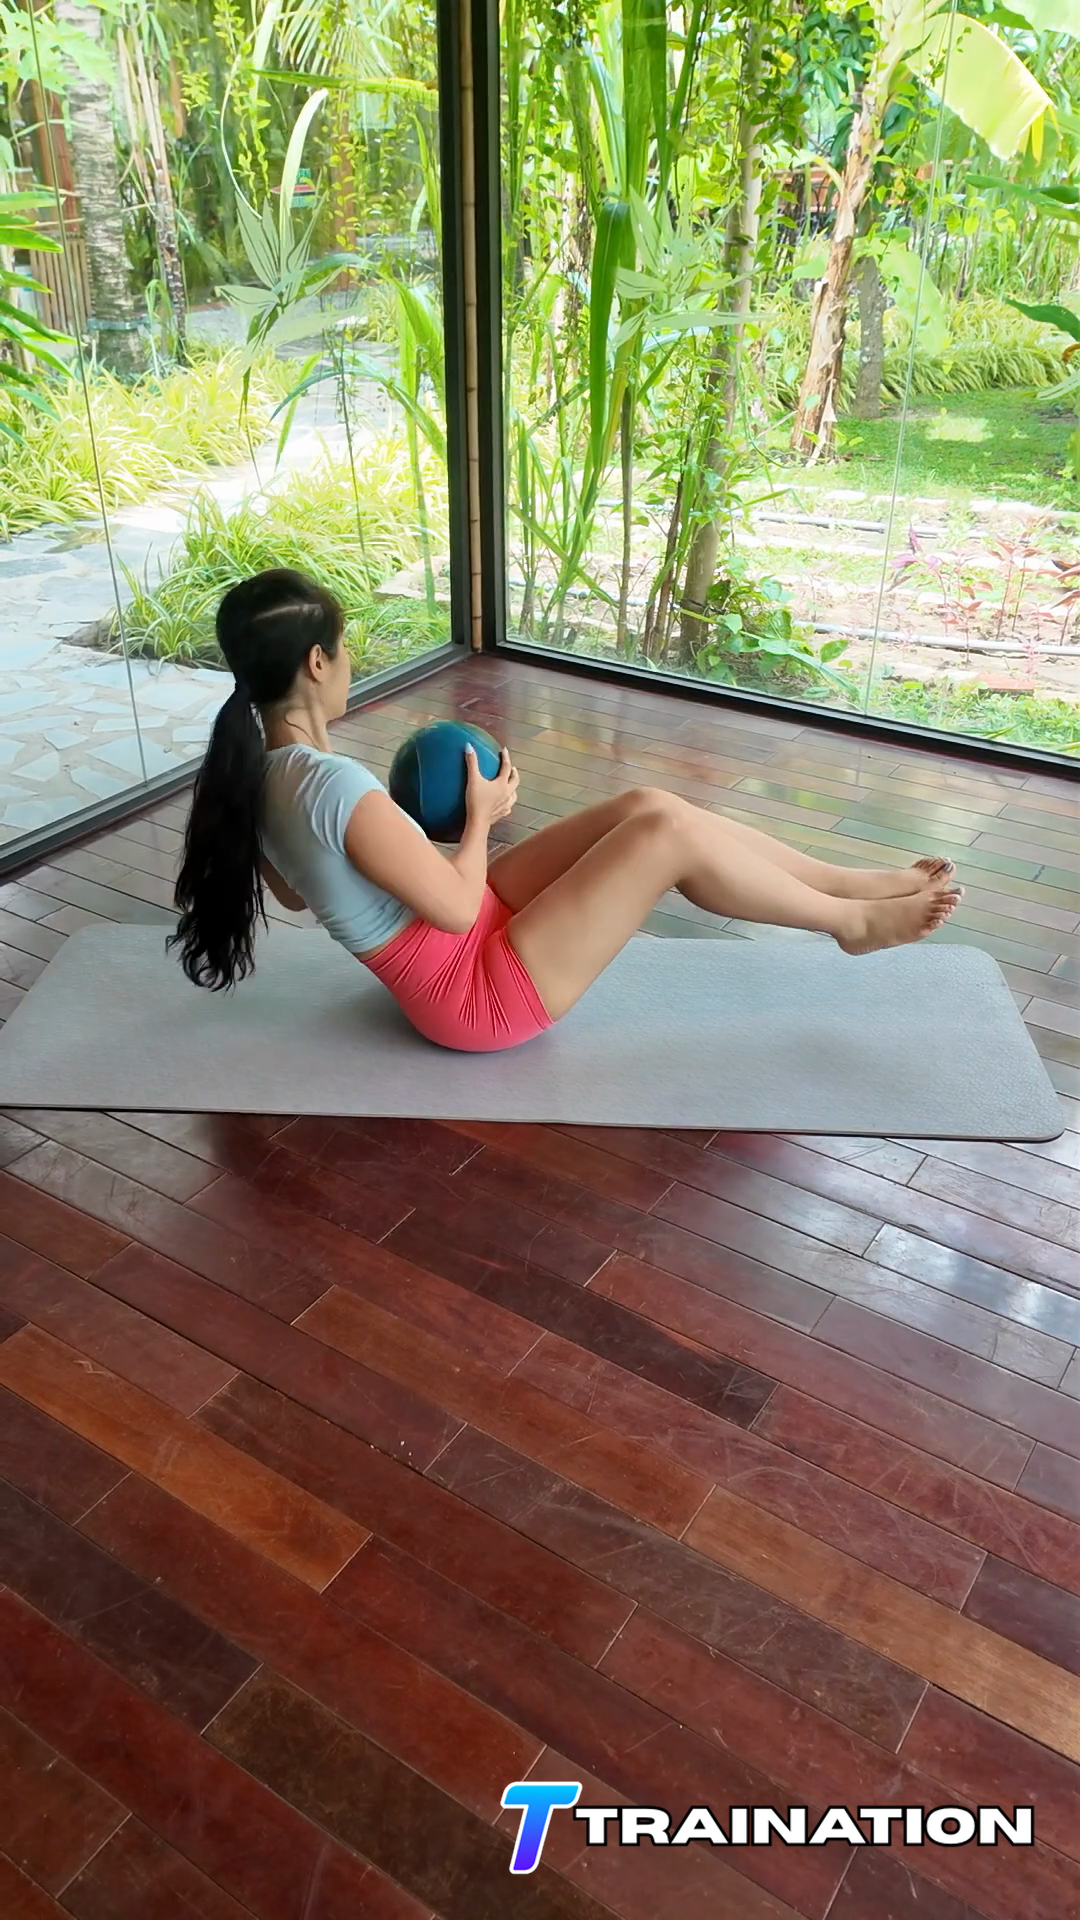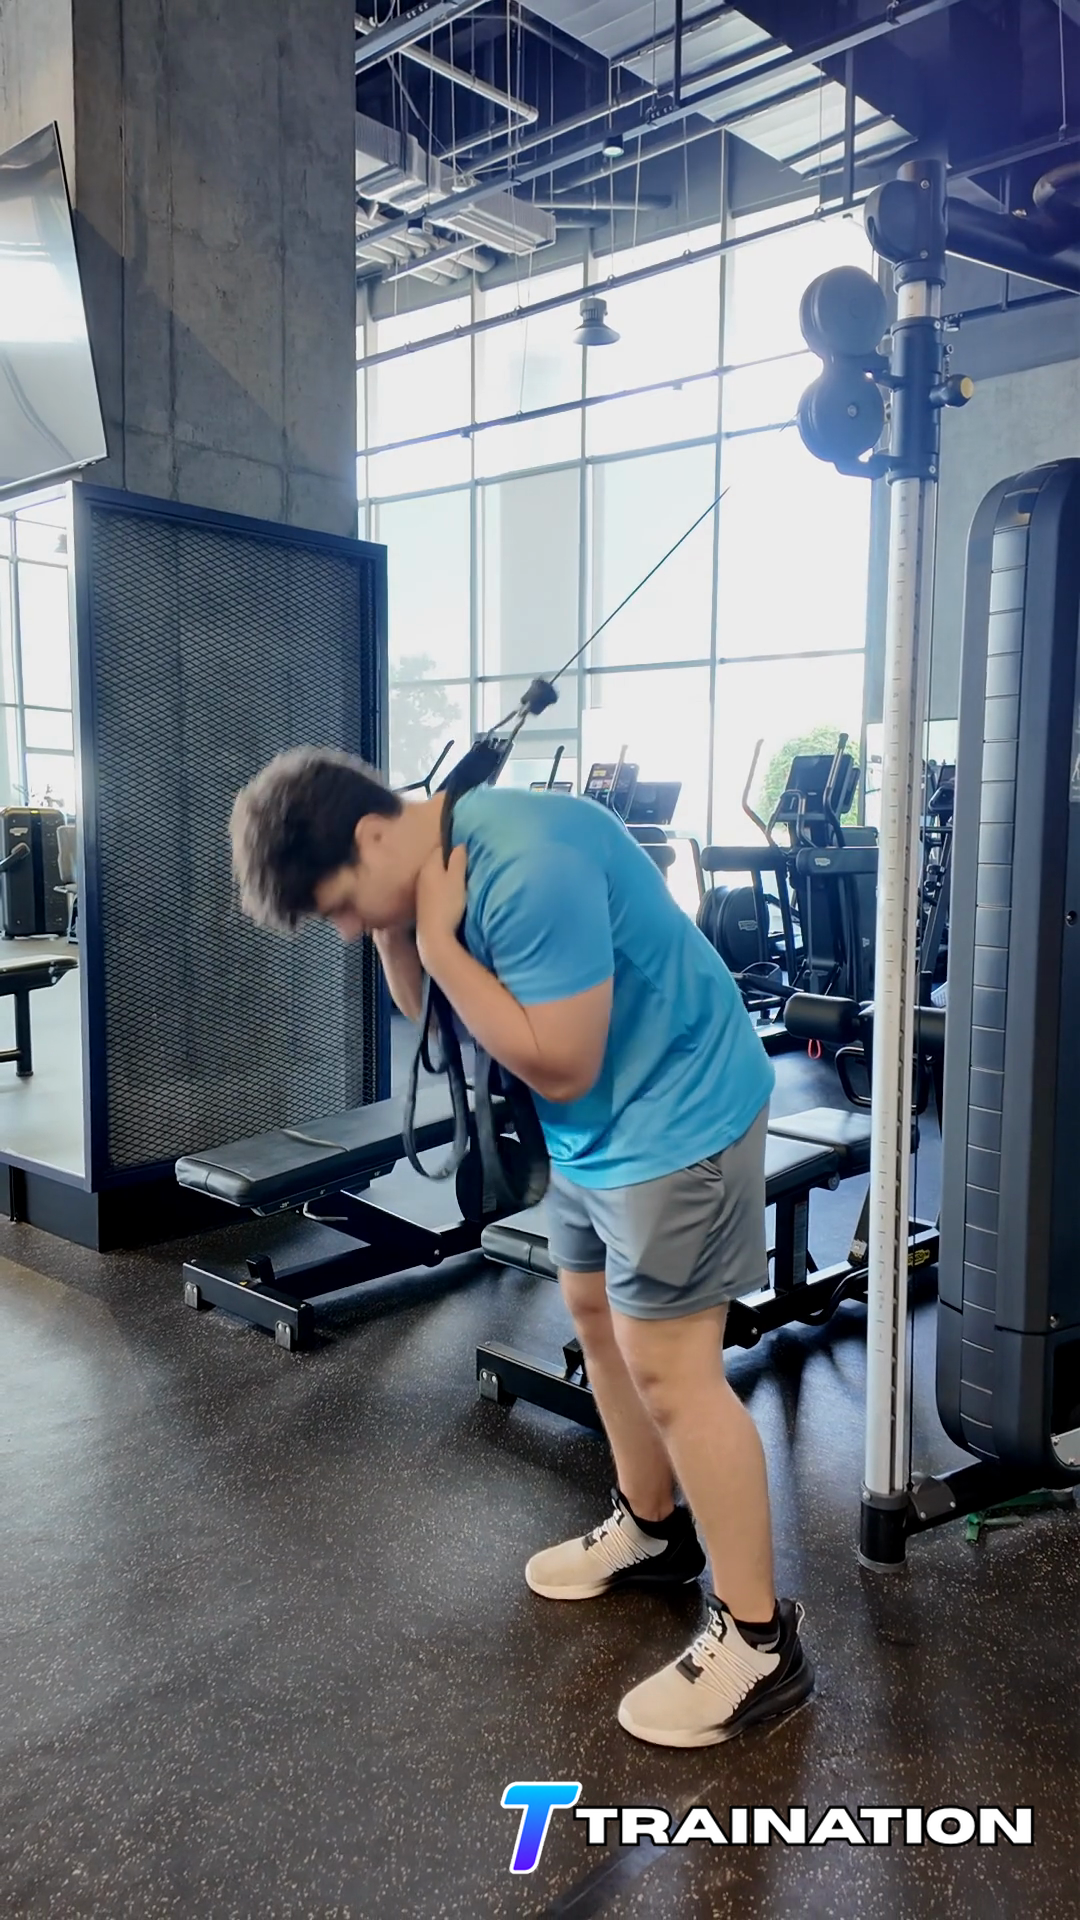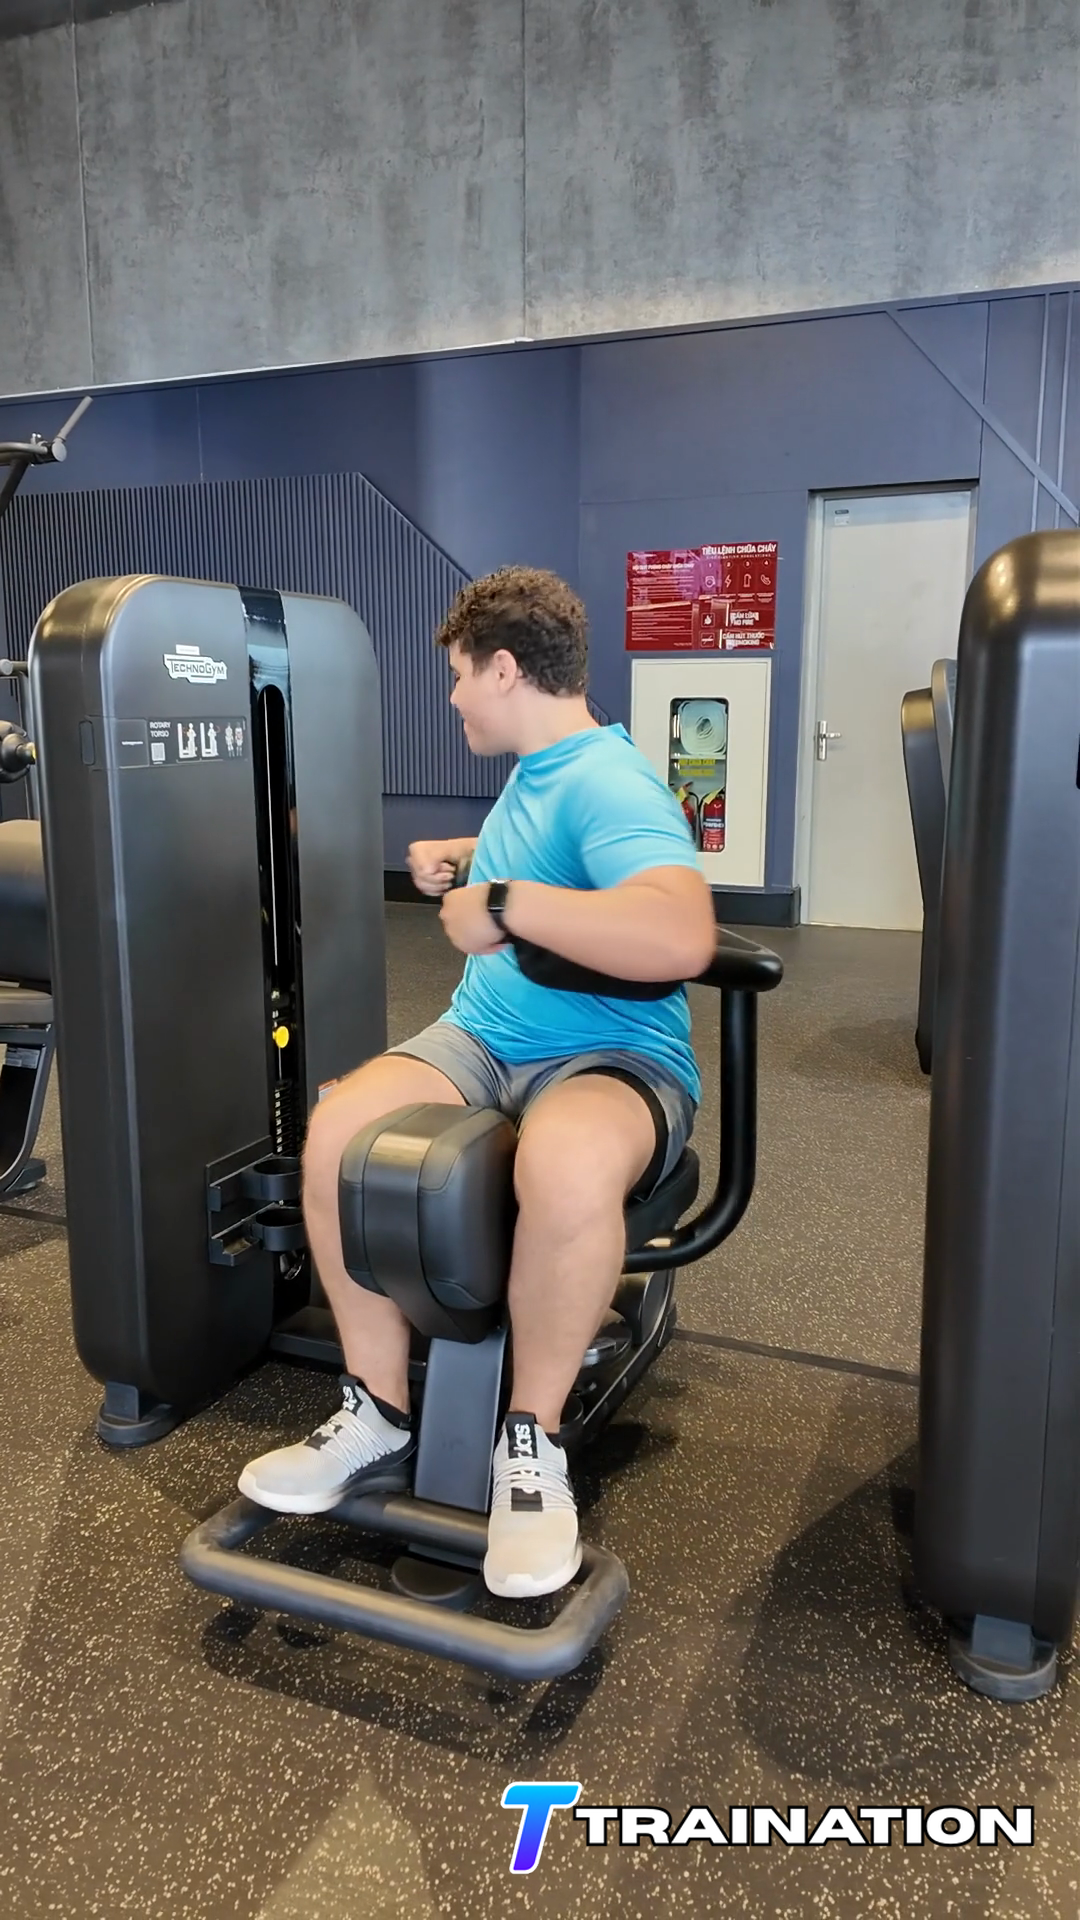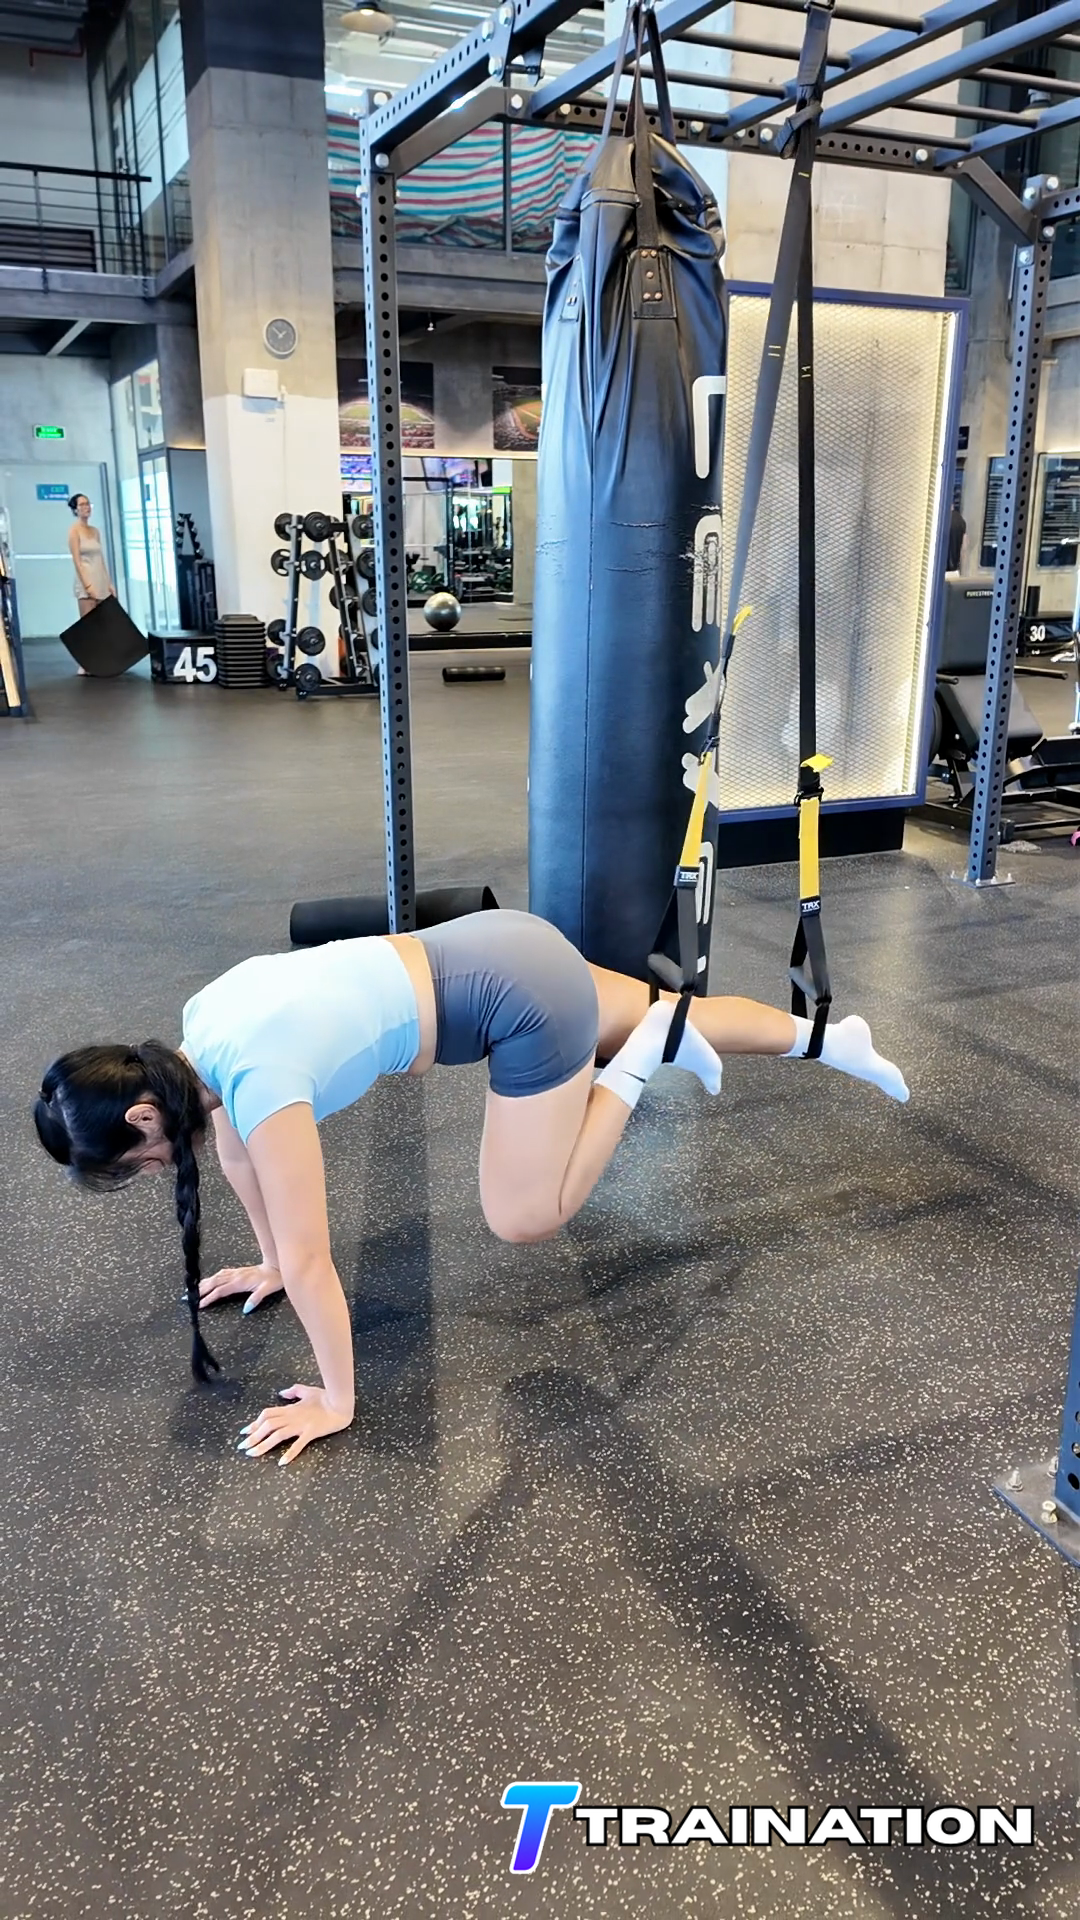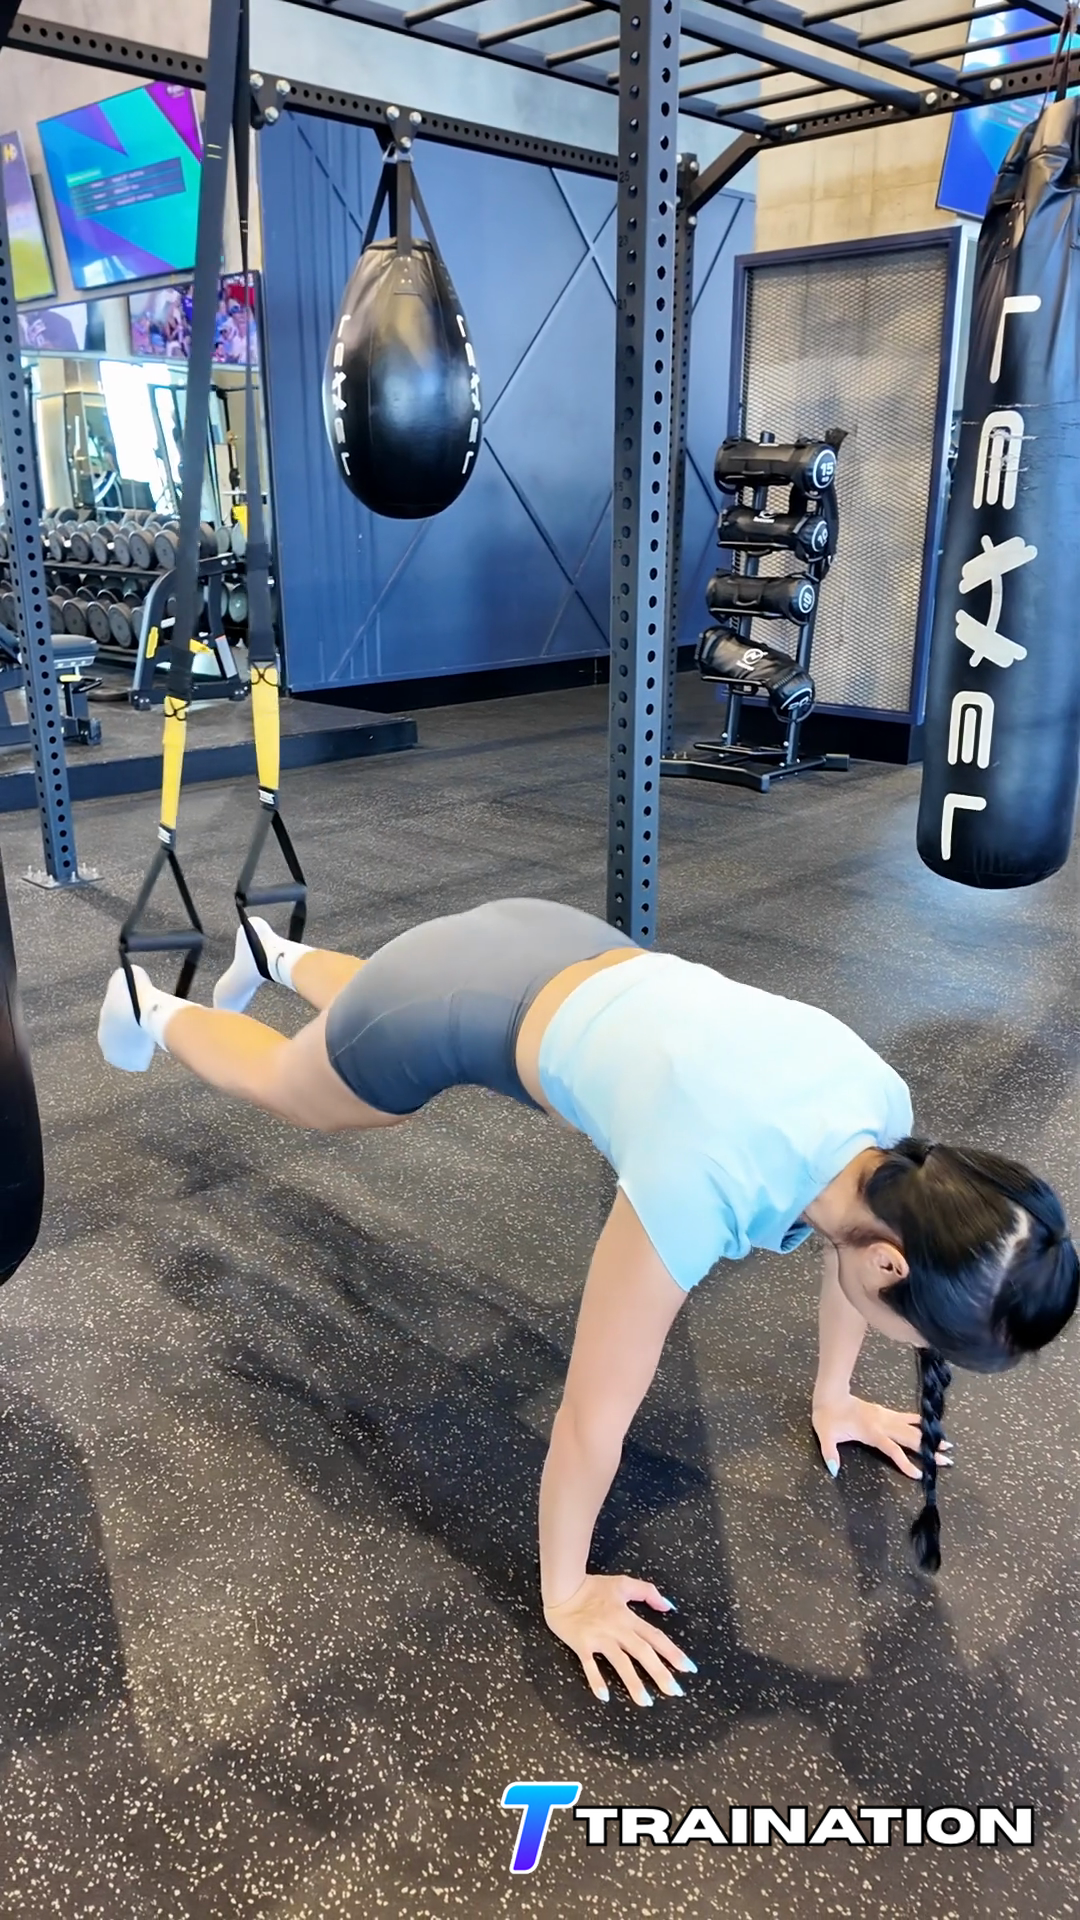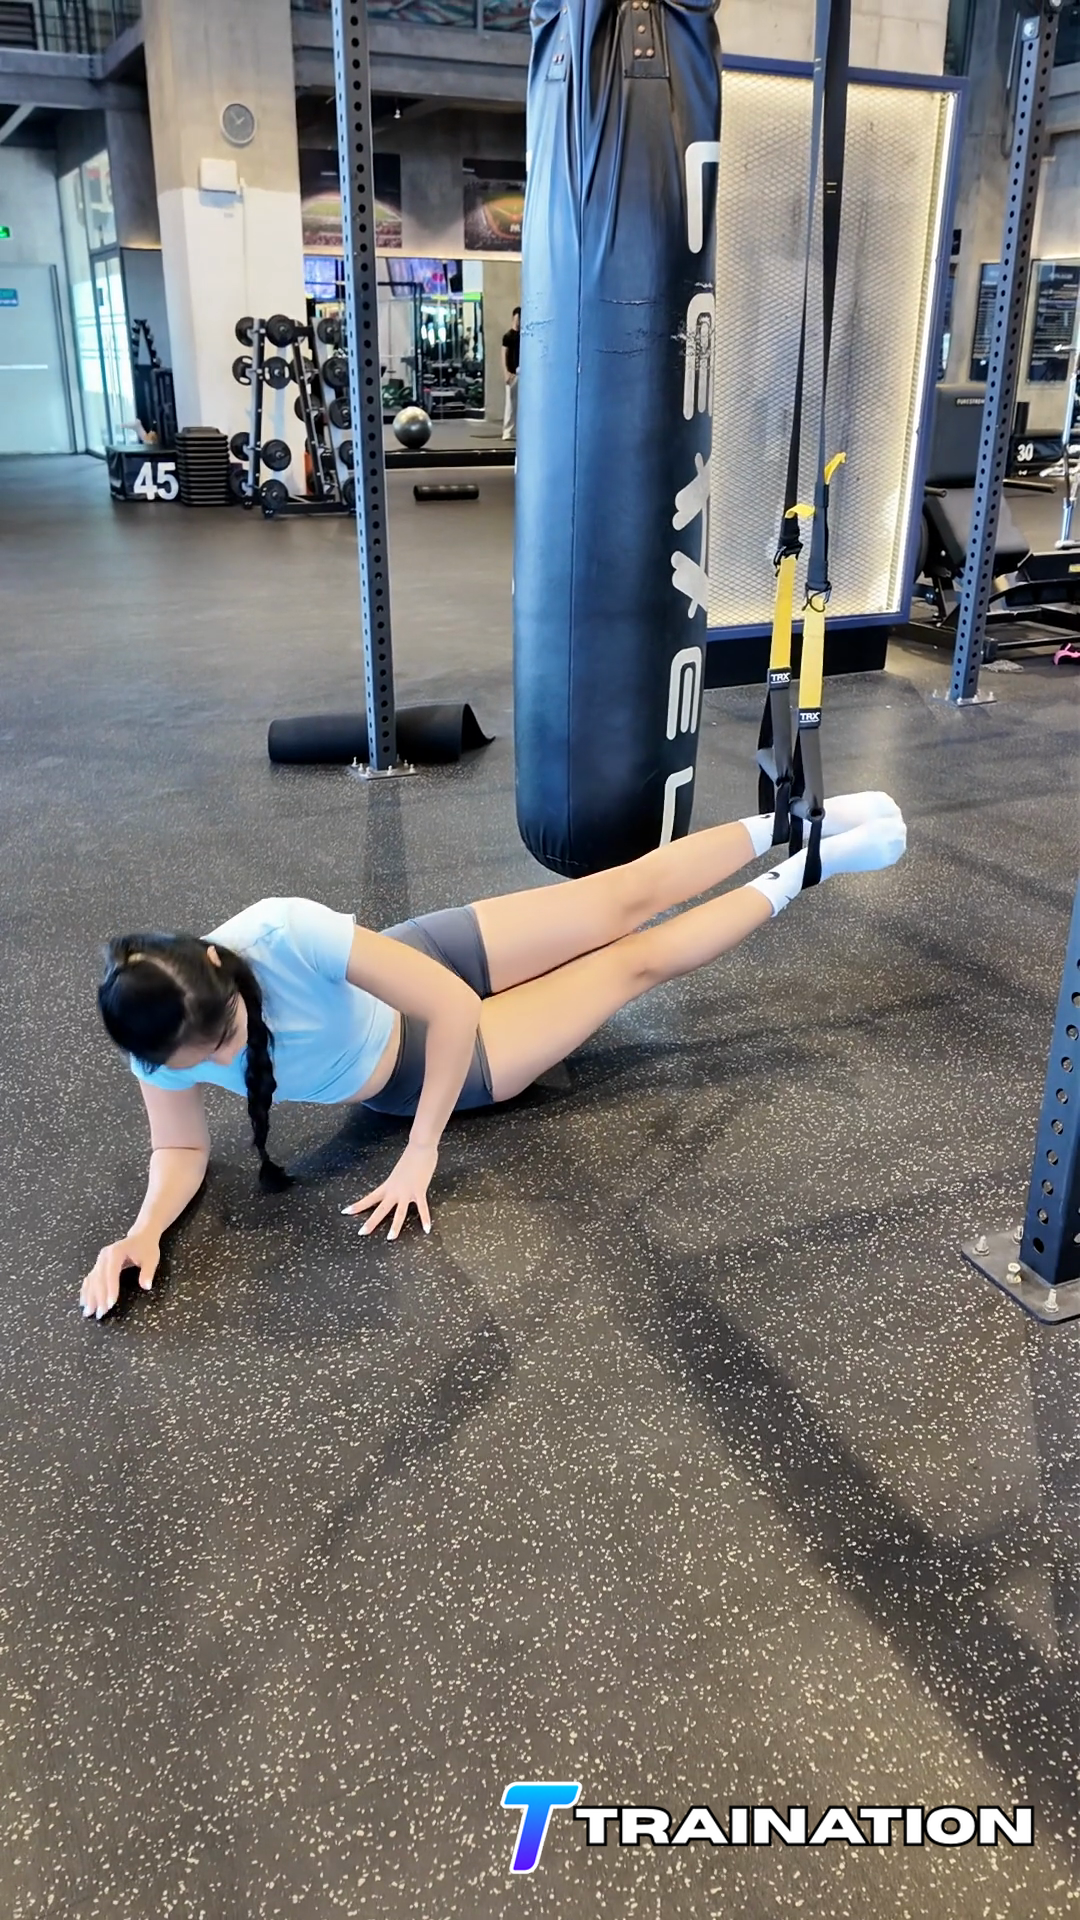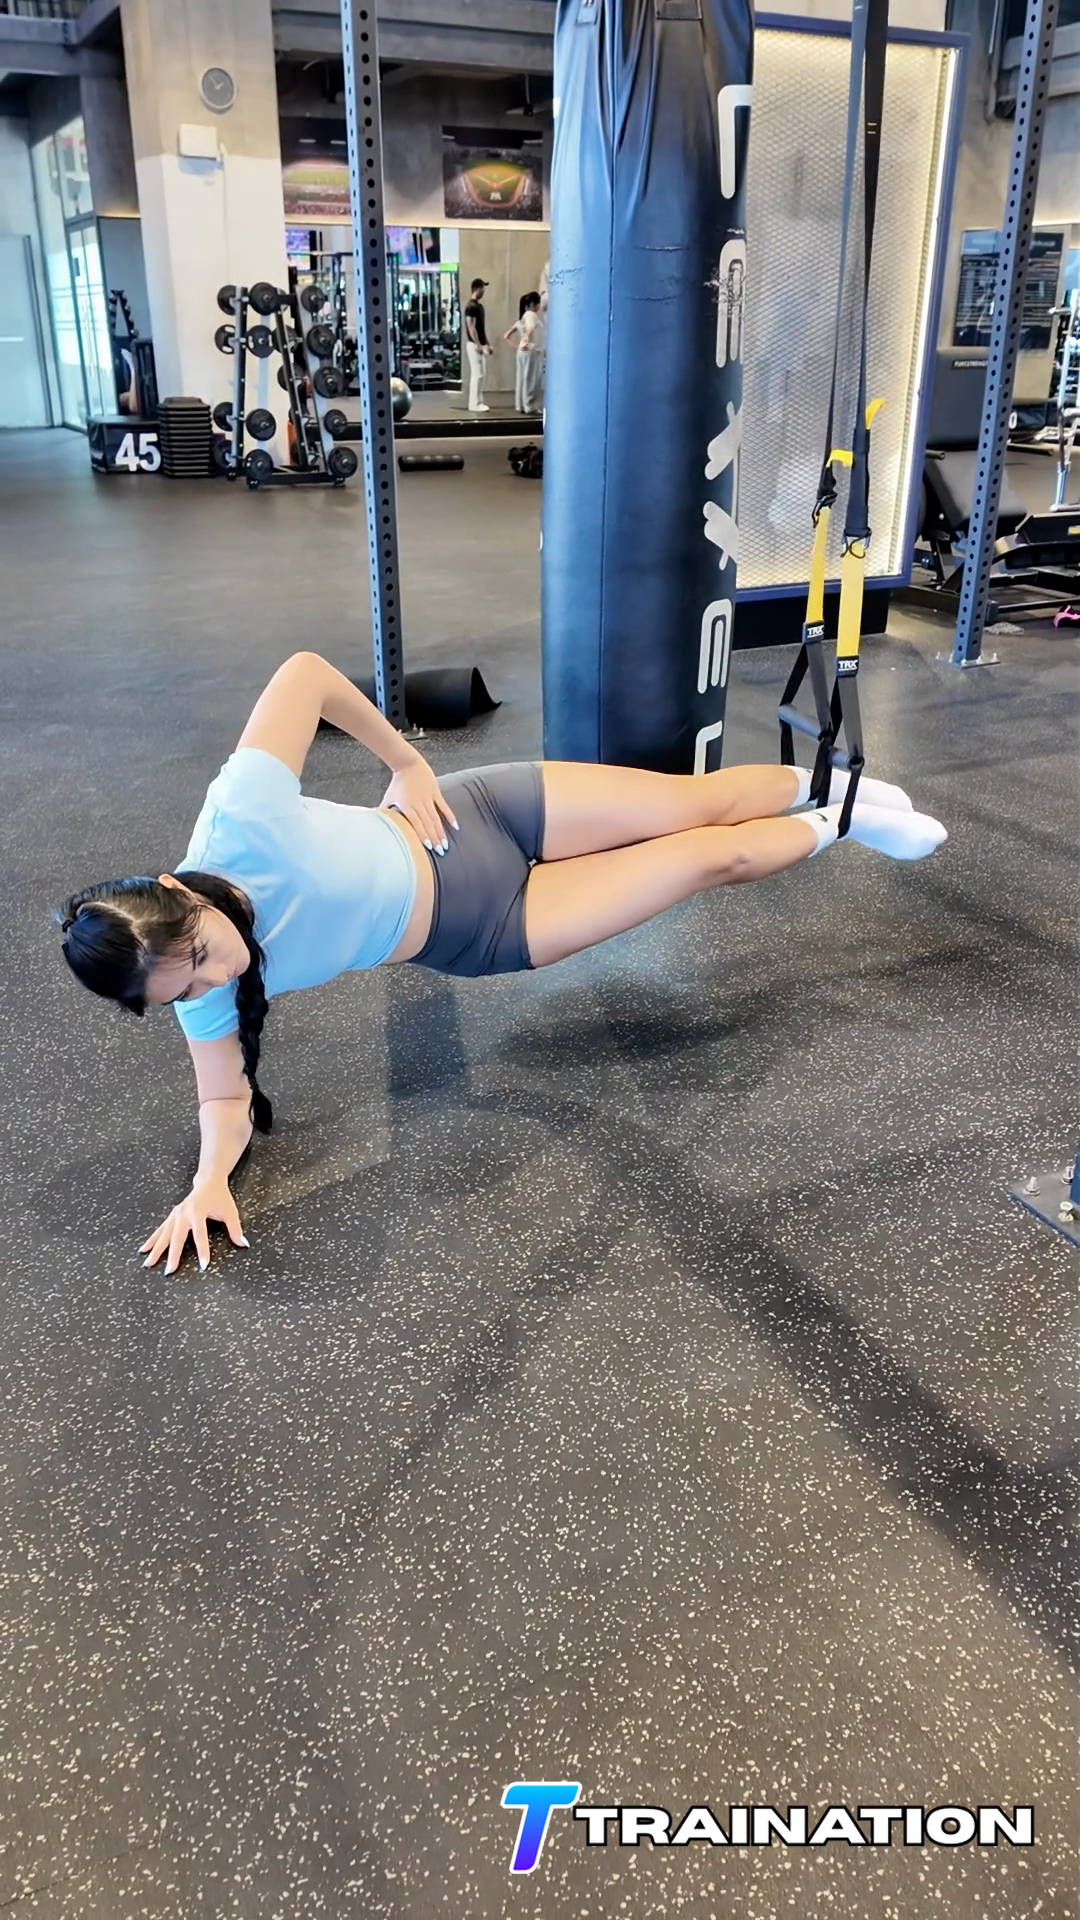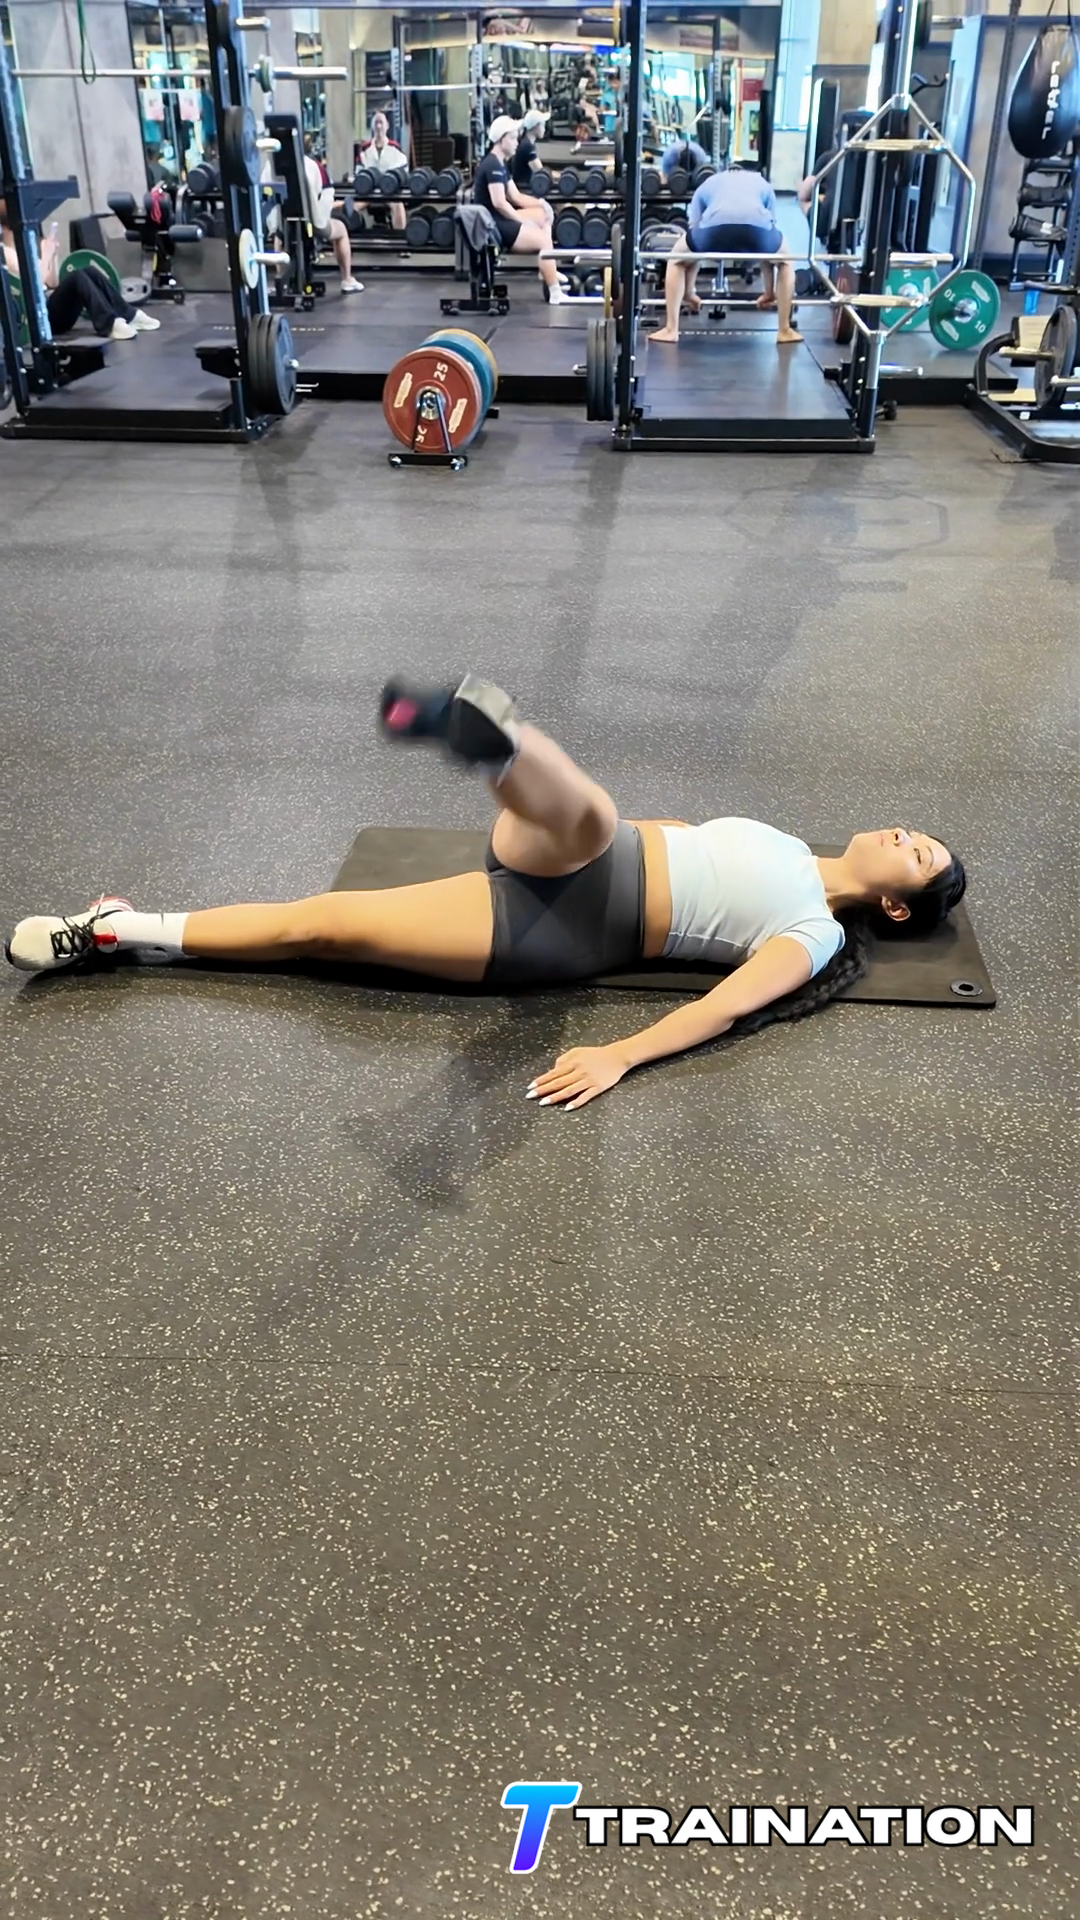
Holding after position is lost
End the set when the hips sag, rise, or turn, or when the lower back arches. Do not keep holding just to reach a set time.
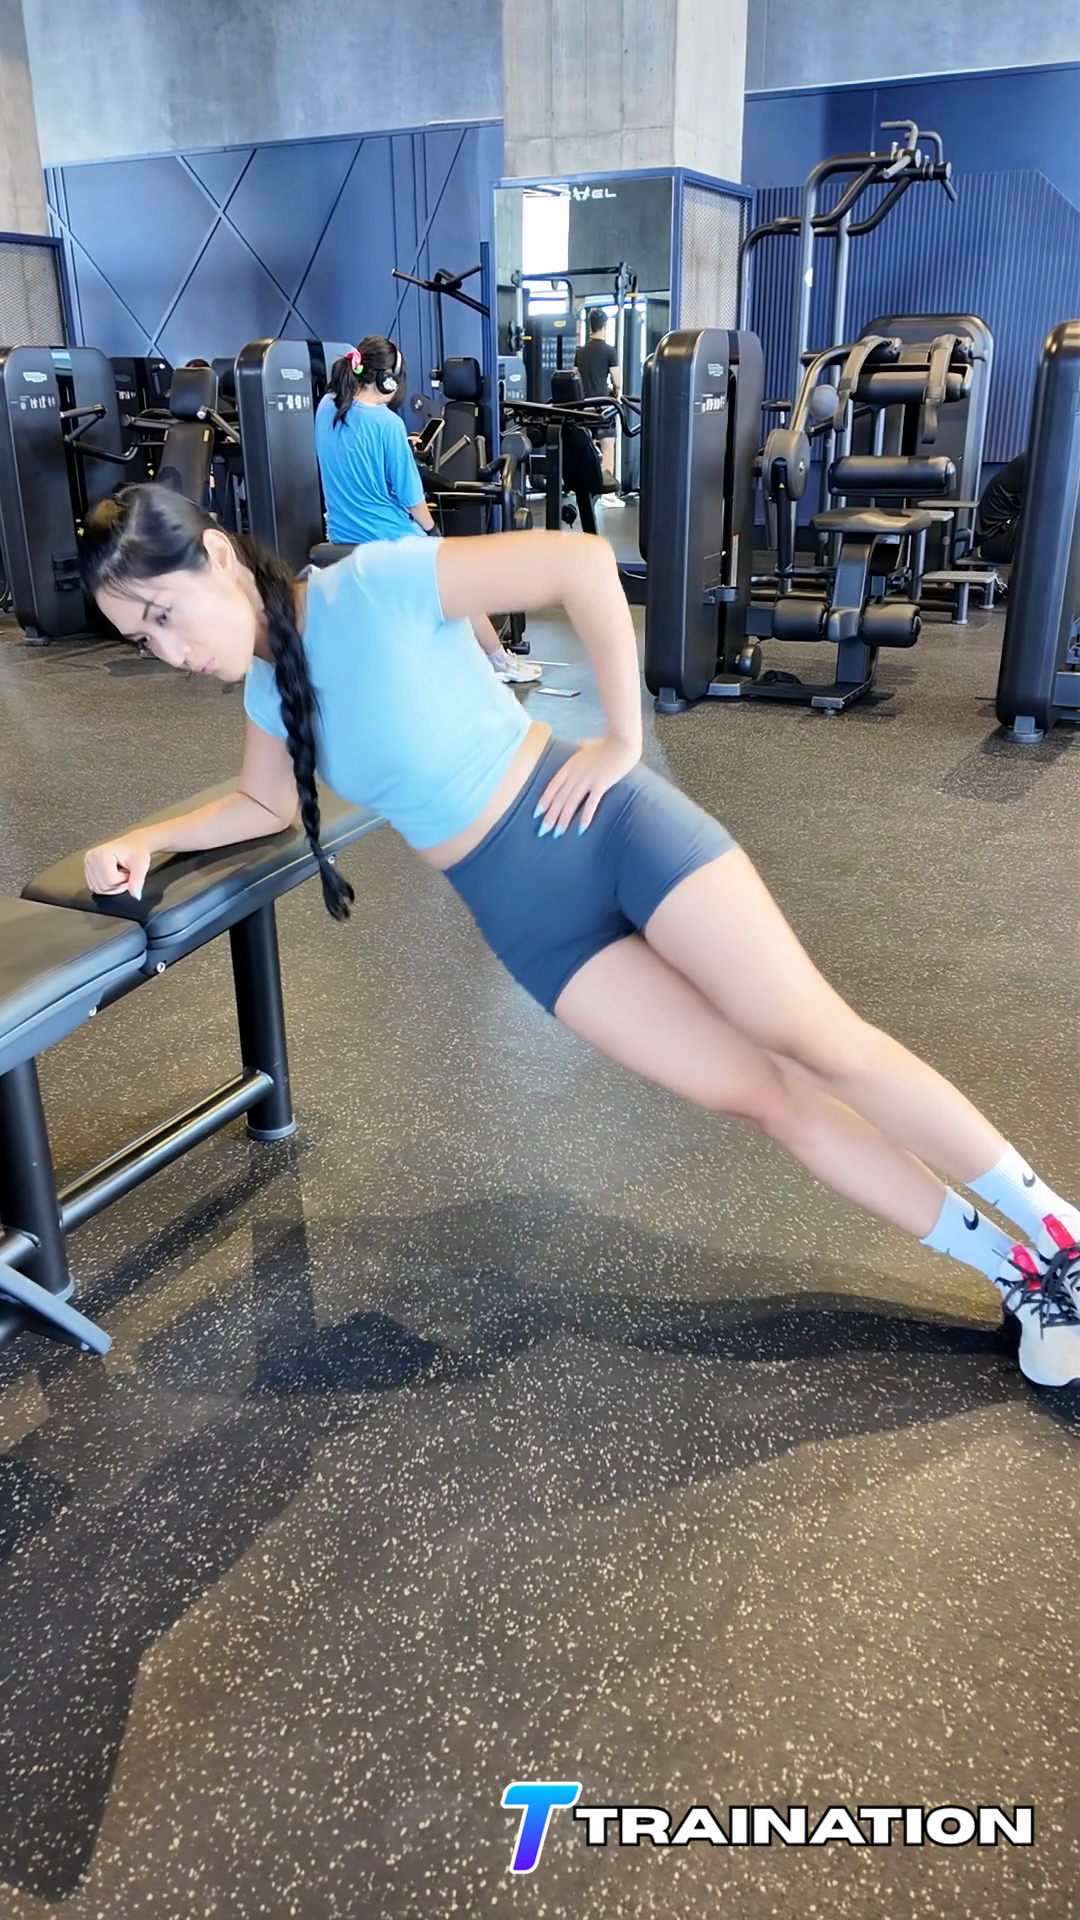
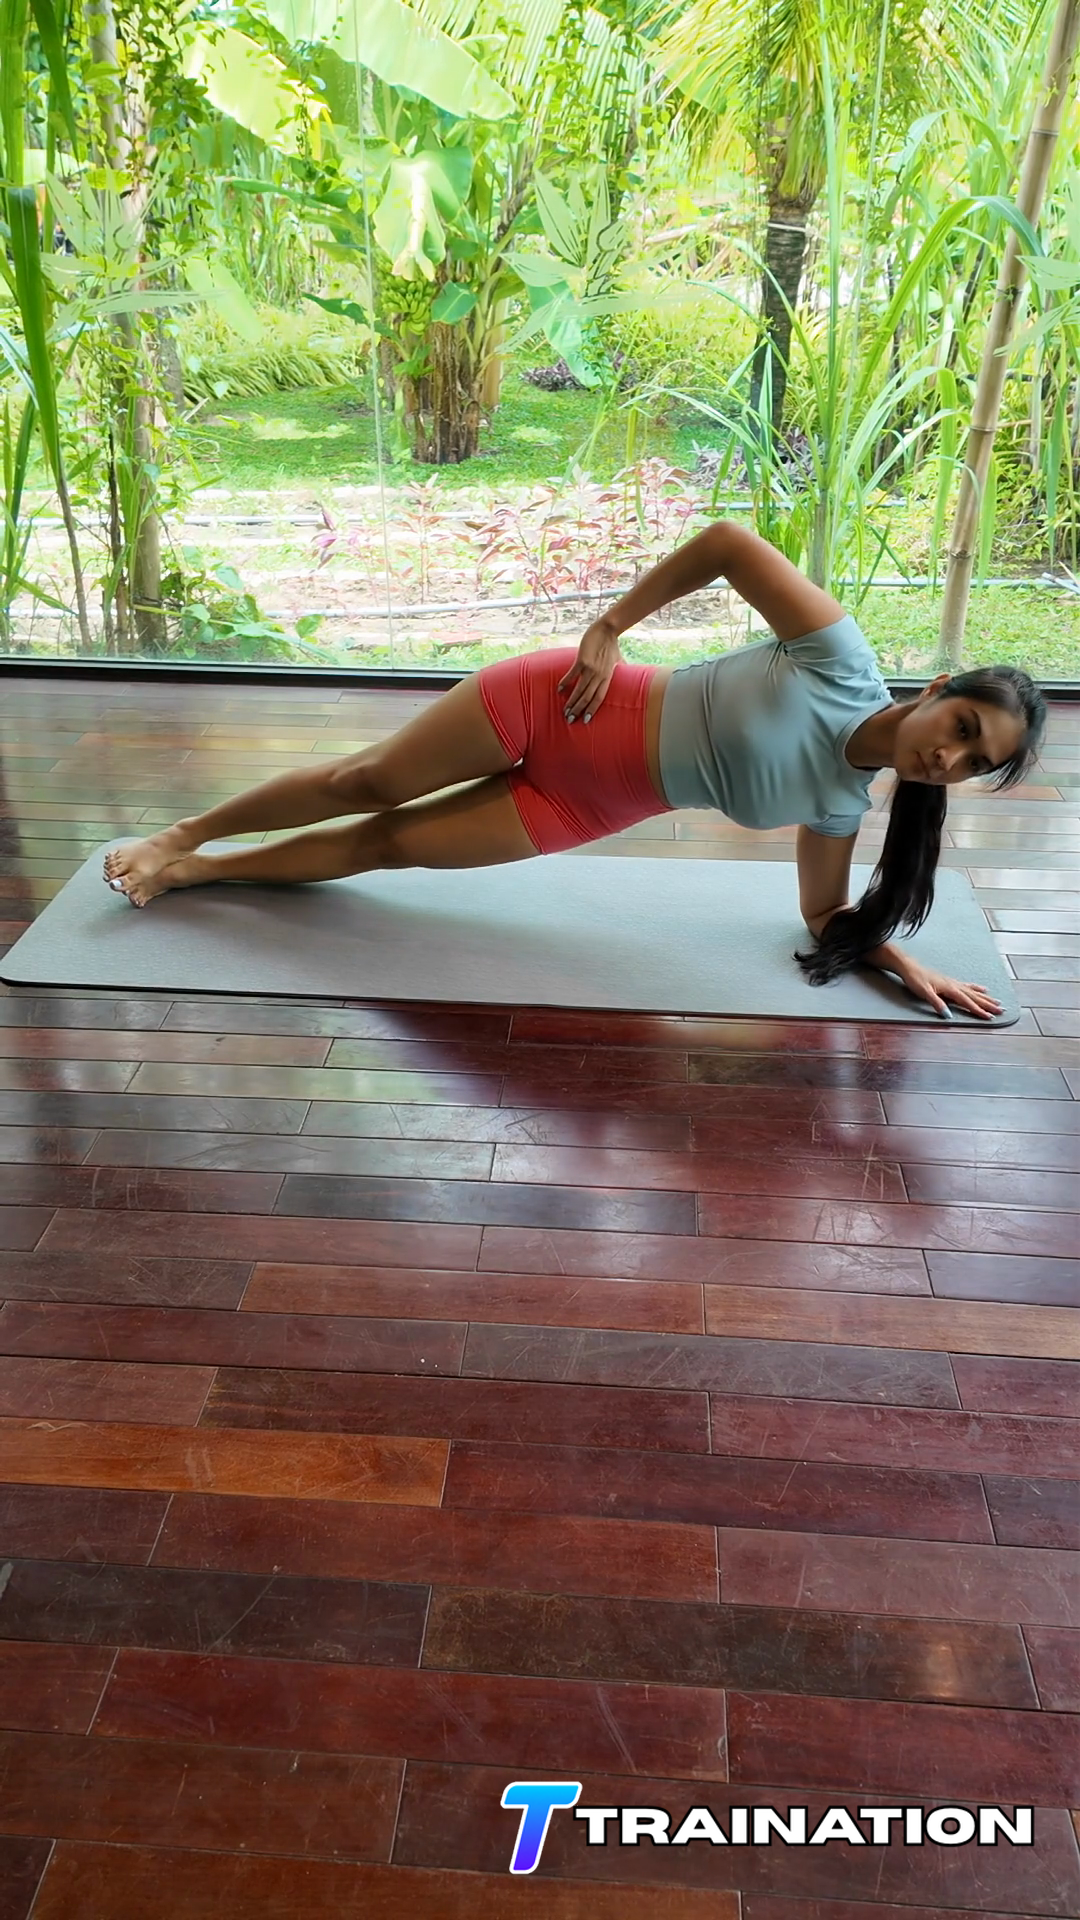
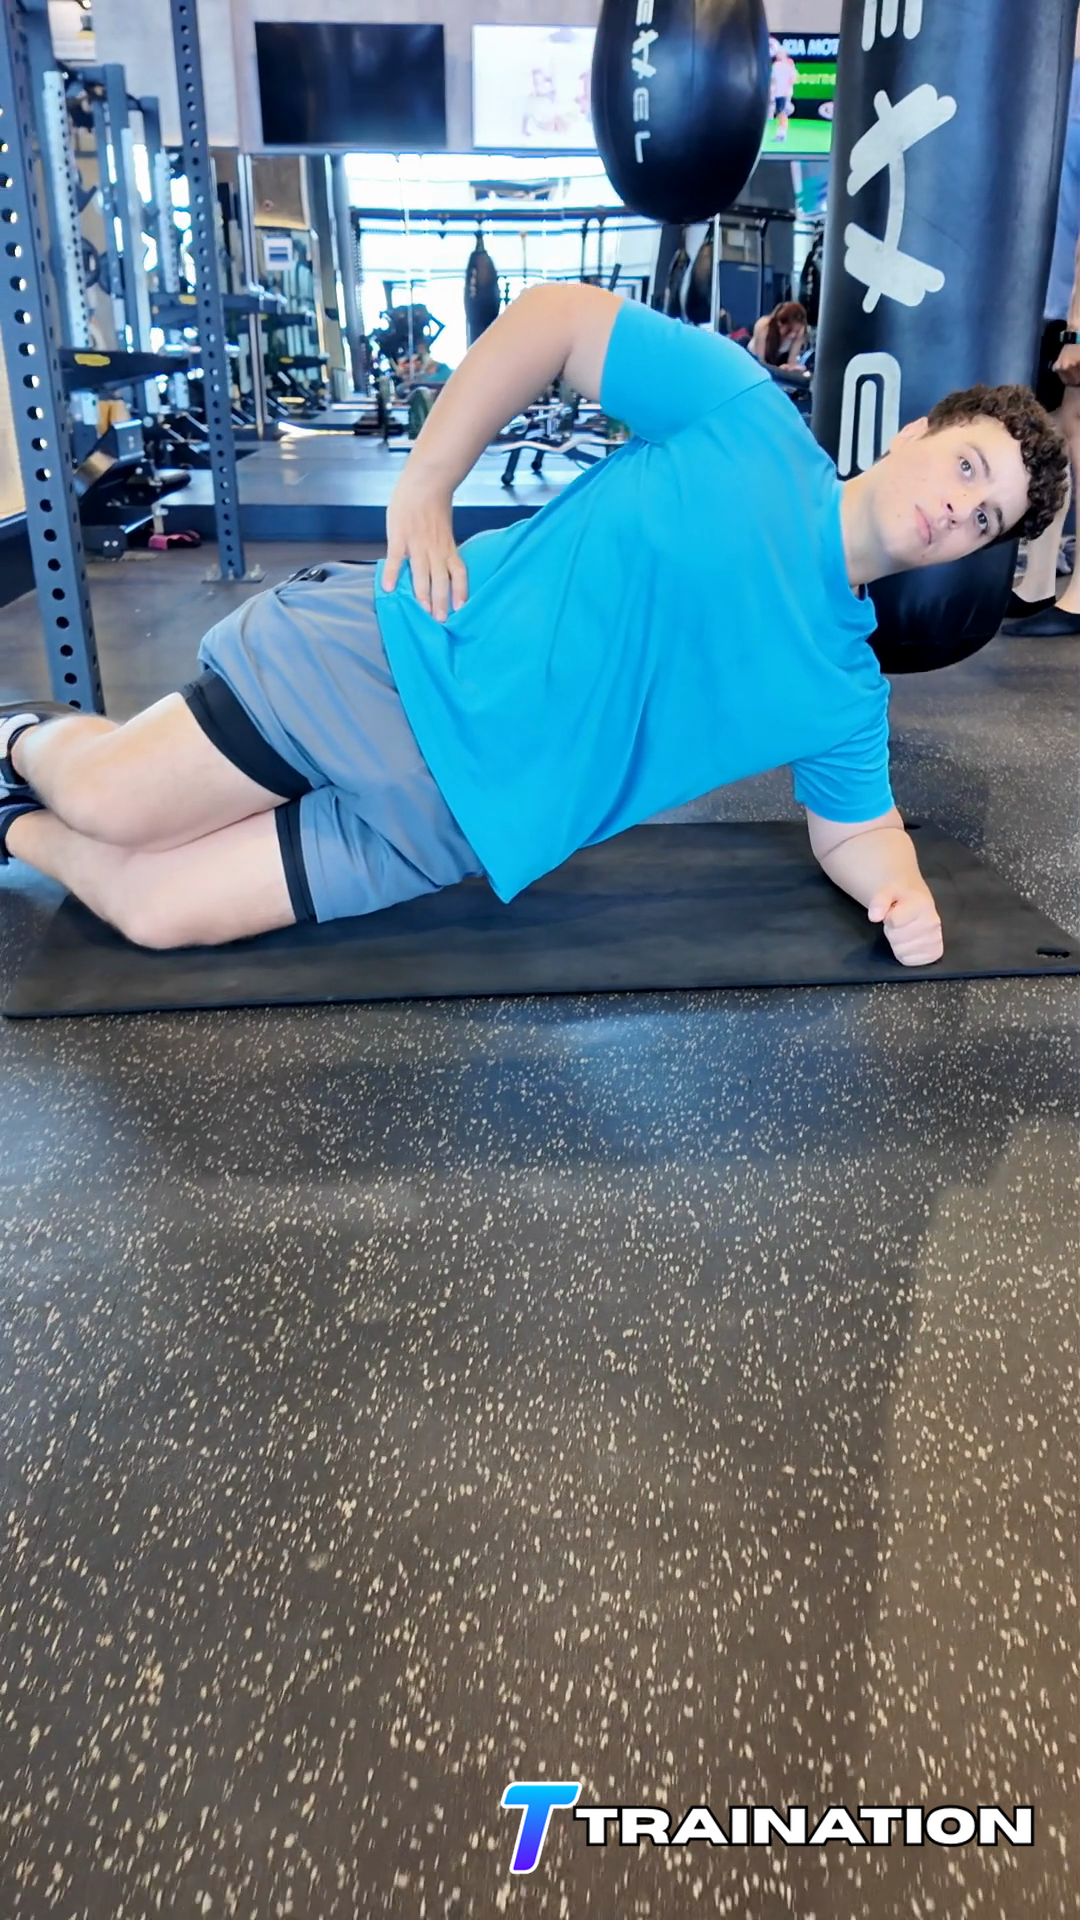
Bent Knee Side Plank trains the trunk to resist unwanted extension or rotation while the body maintains a specific support position.
Primary musclesObliques, Transverse abdominis
Secondary musclesGluteus medius, Quadratus lumborum, Shoulders
Follow the sequence in order, paying attention to the starting position, movement path, and finish described in each step.
For Bent Knee Side Plank, support the body on one forearm or hand with the shoulder stacked above it and the hips facing forward.
Tighten the core as if preparing for a gentle push, squeeze the glutes, and remove any sag or large arch from the lower back.
Breathe behind the brace and hold only while the original body position remains unchanged.
Keep pressure even through the support points and avoid shifting work into the neck, wrists, or lower back.
End the hold under control when the hips rotate, rise, or sag.
End the set when the hips sag, rise, or turn, or when the lower back arches. Do not keep holding just to reach a set time.
Maintain abdominal tension while taking small, regular breaths.
Press through the support points and keep the neck long.
Shorten the body position or use knee support if the shoulders, pelvis, and spine cannot remain aligned.
Place Bent Knee Side Plank after the main compound lifts, in a focused core block, or beside an exercise that does not require a fresh trunk.
Use two to four times per week while accounting for trunk work already supplied by squats, hinges, carries, and overhead lifting.
| Goal | Sets | Reps or time | Rest | Effort and execution |
|---|---|---|---|---|
| Control / technique | 2–3 | 10–20 sec | 45–75 sec | Stop well before position changes |
| Strength / endurance | 2–4 | 20–45 sec | 60–90 sec | Stop while 1–3 good-form reps are still possible |
Scale the movement
Use the knees, a higher surface, or bent arms or legs to make the hold easier while keeping the same body position.
Use floor support to learn rib and pelvis control with one limb moving at a time.
Move the hands or feet farther from the body only while your position and breathing stay the same.
Add a small external or stability demand after the base hold is repeatable.
Turn Bent Knee Side Plank and the rest of your exercise library into repeatable client programs.
Explore the workout builder