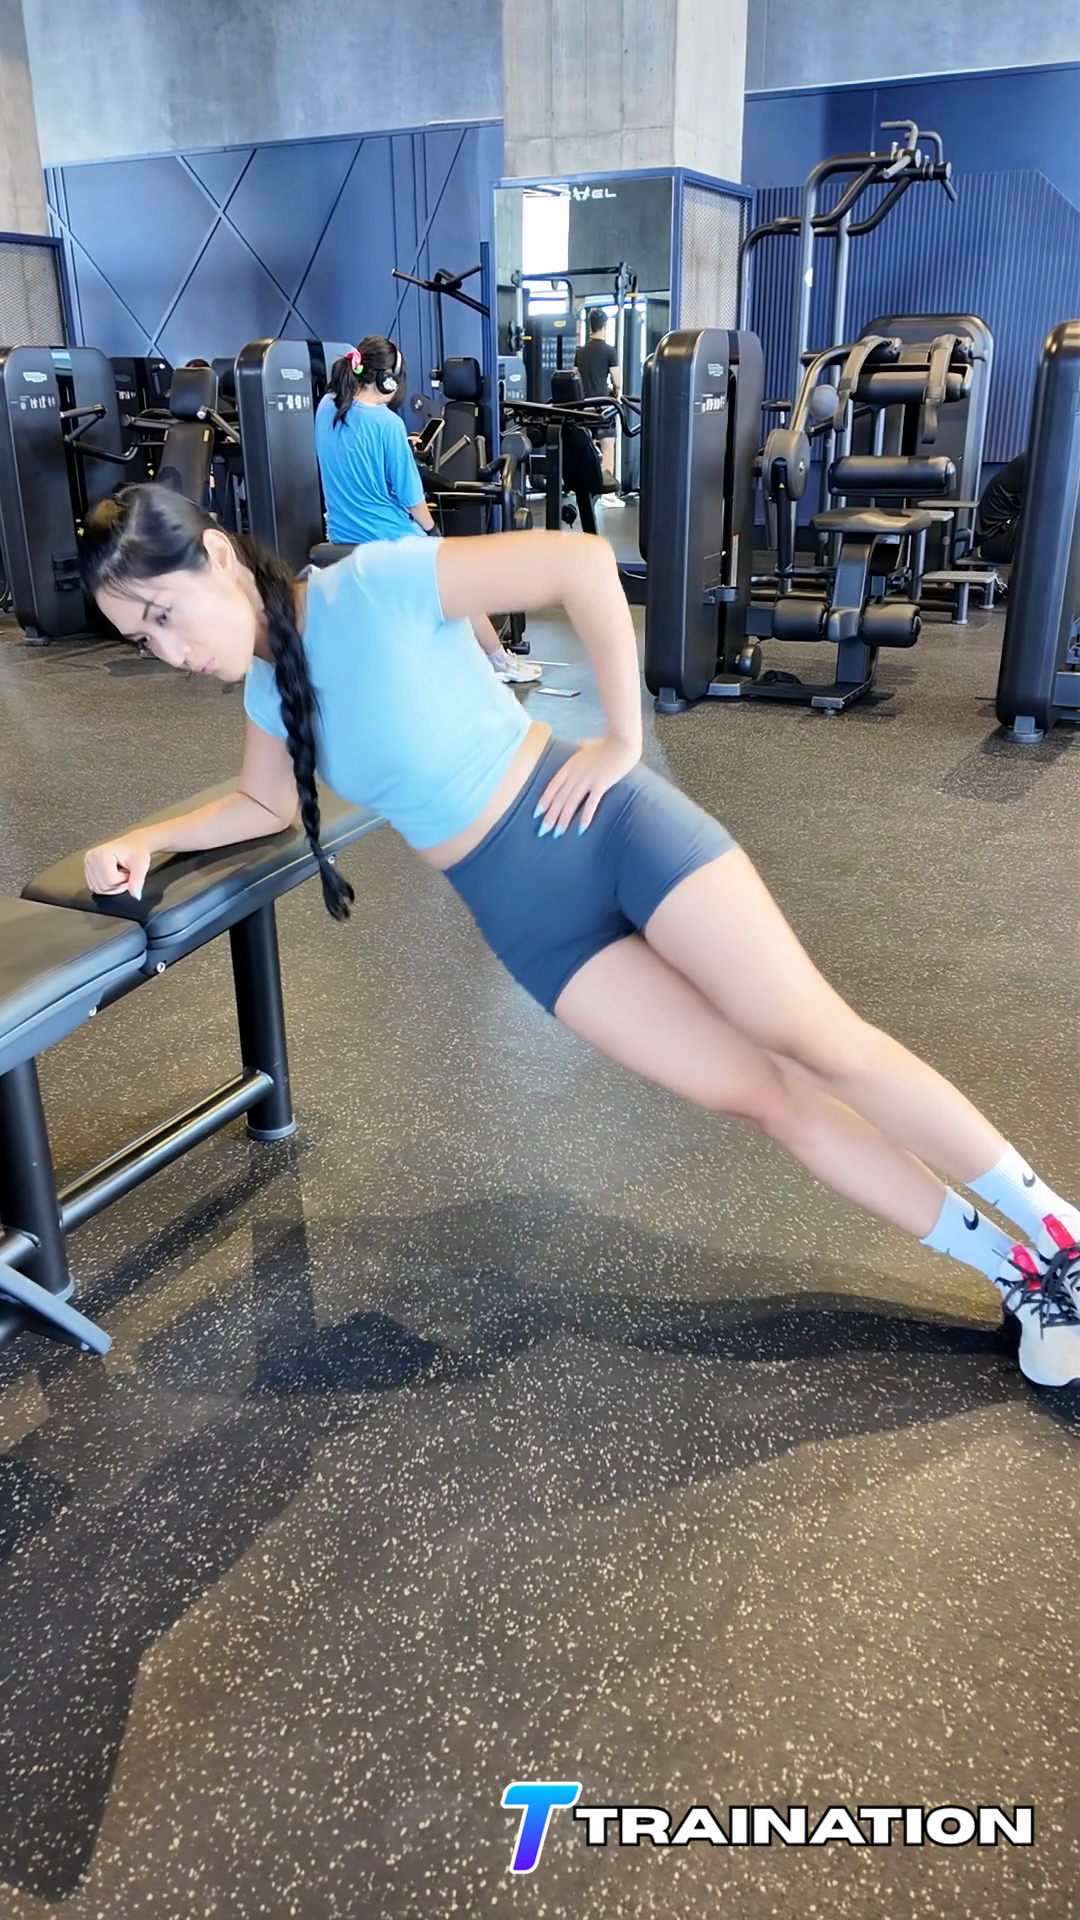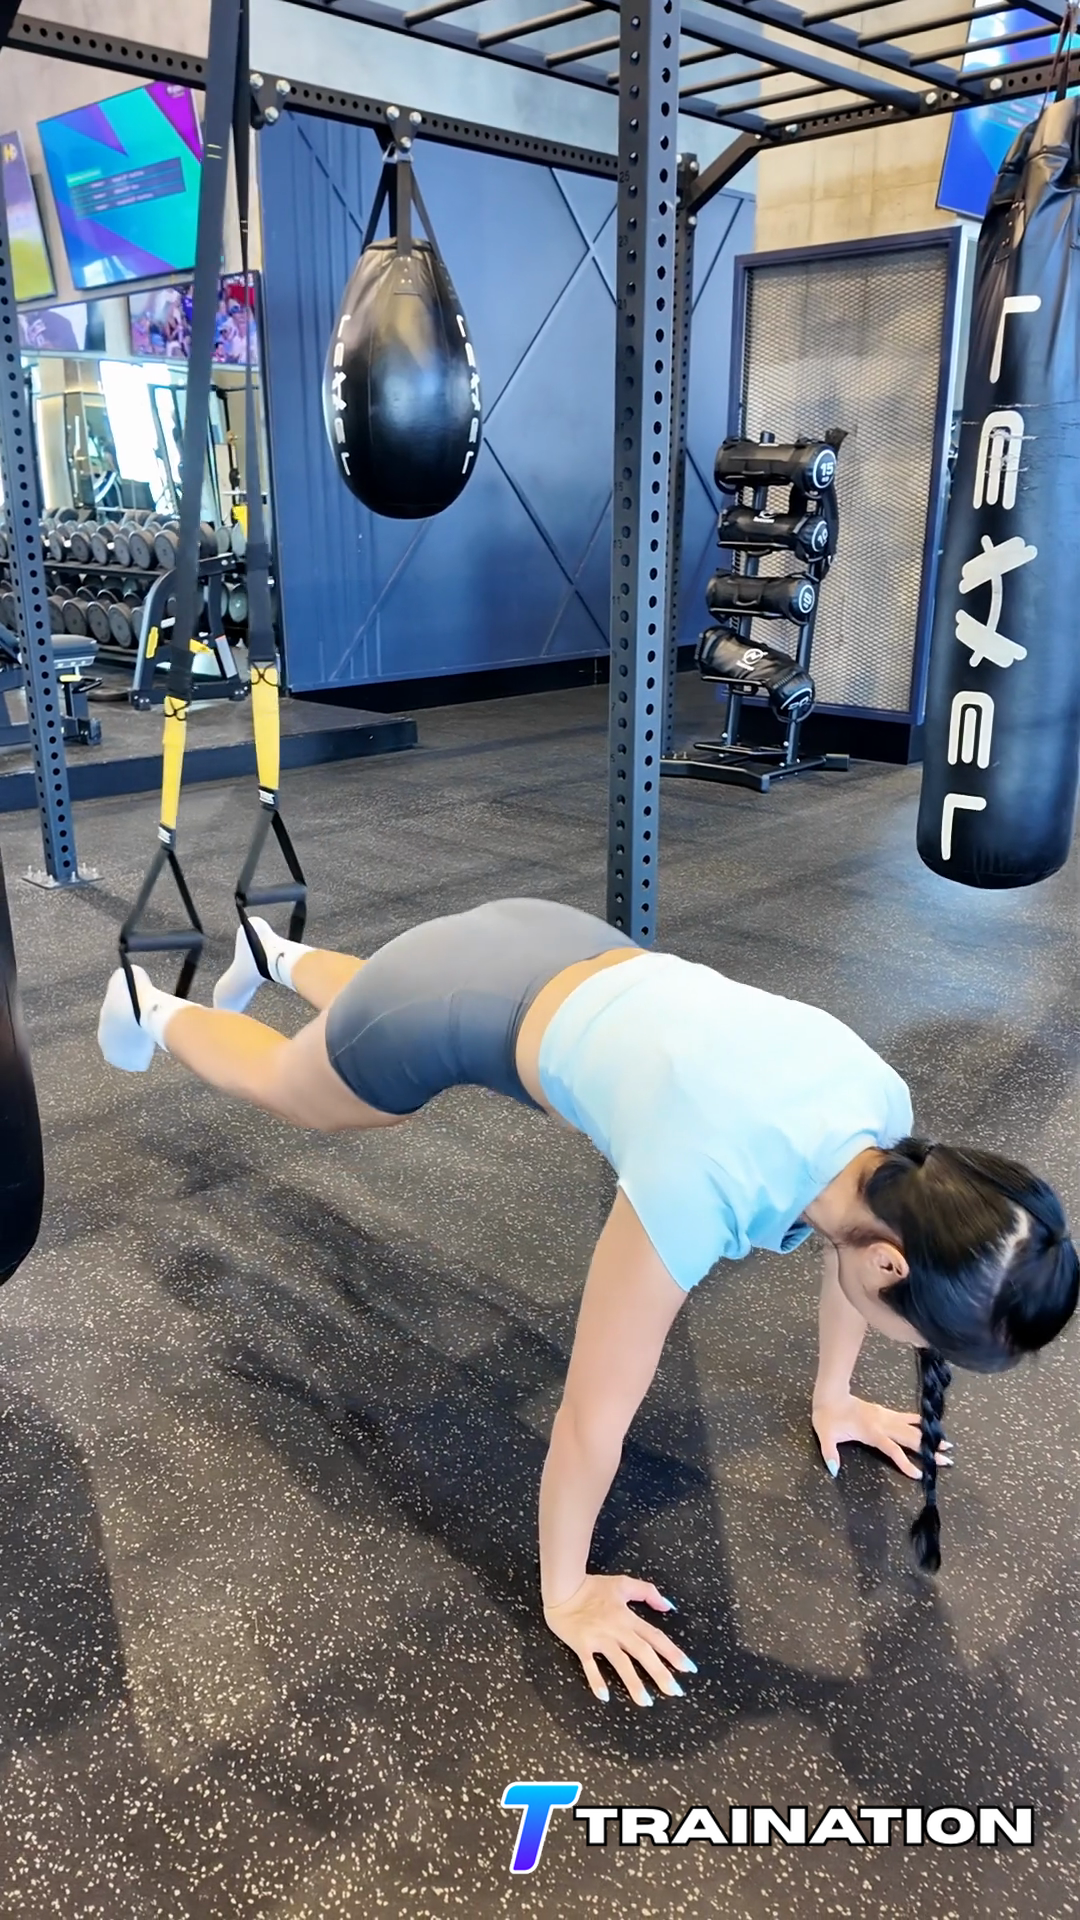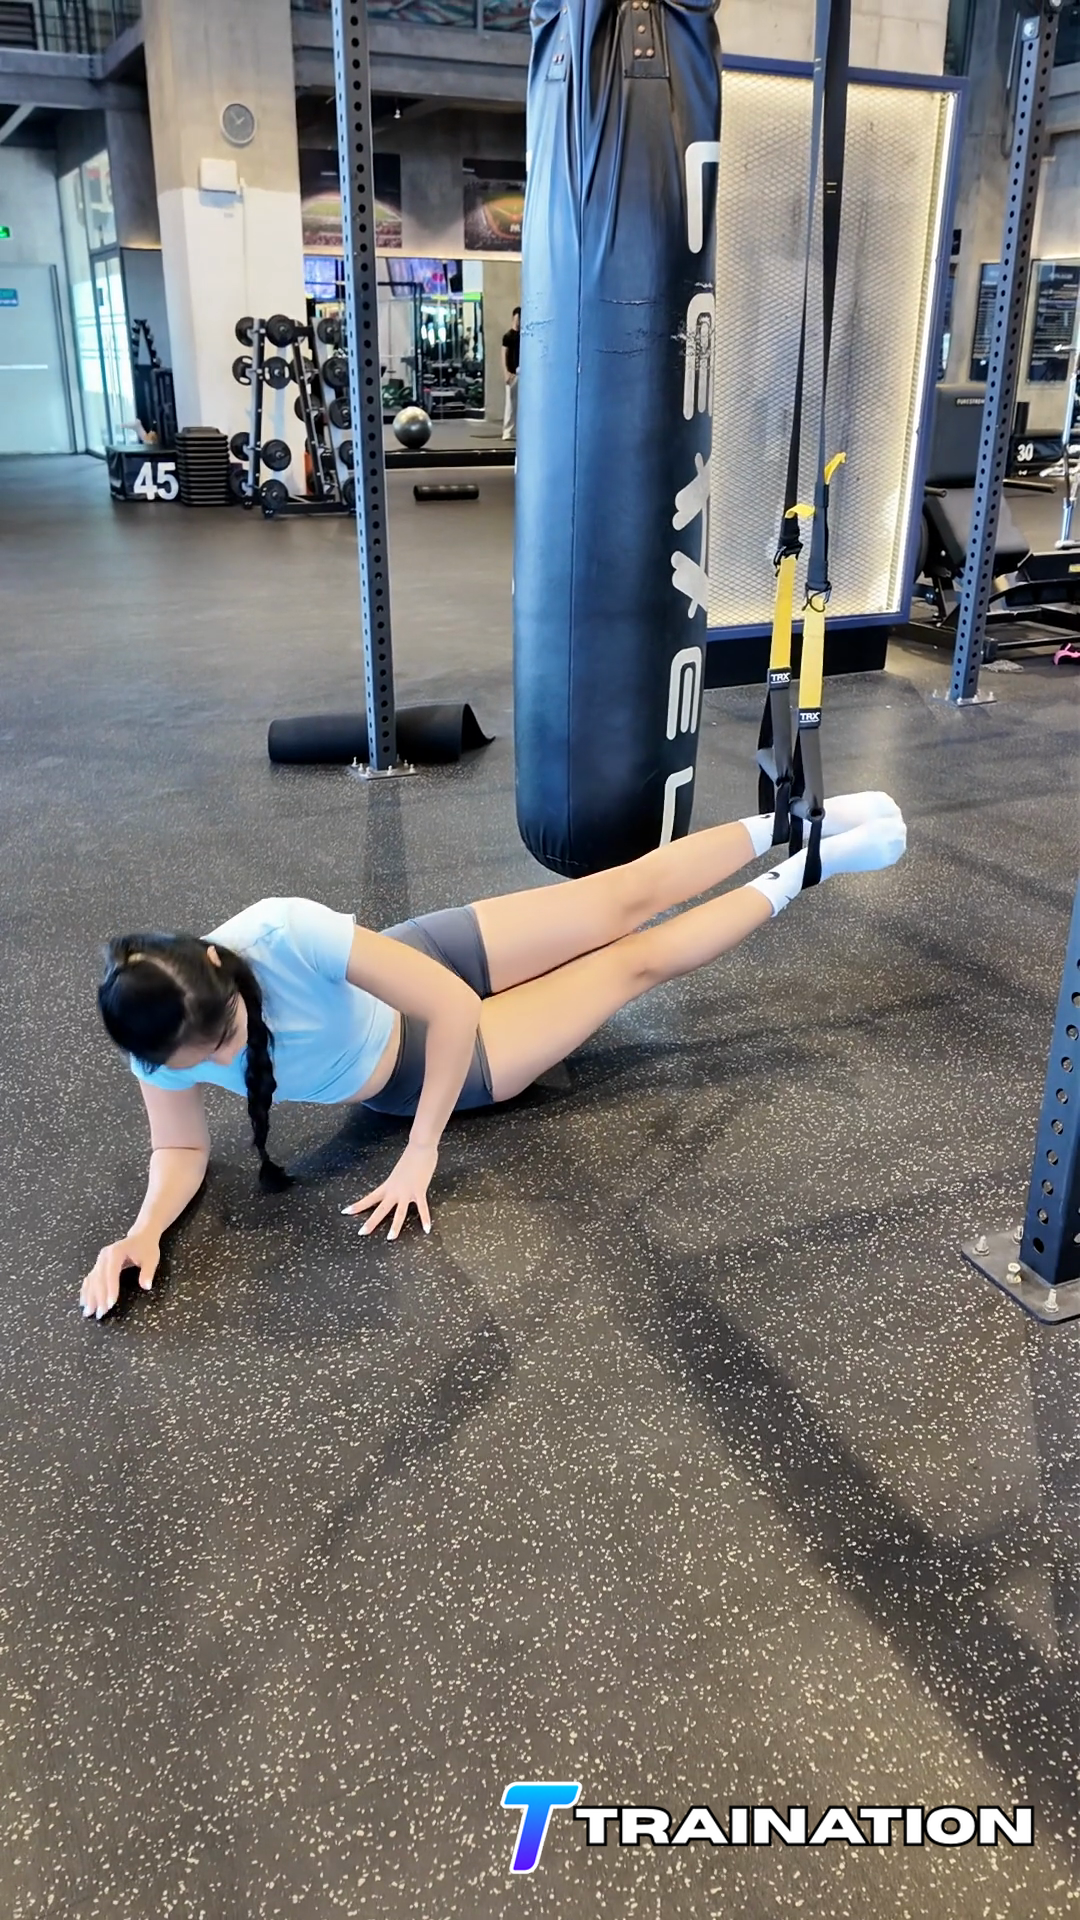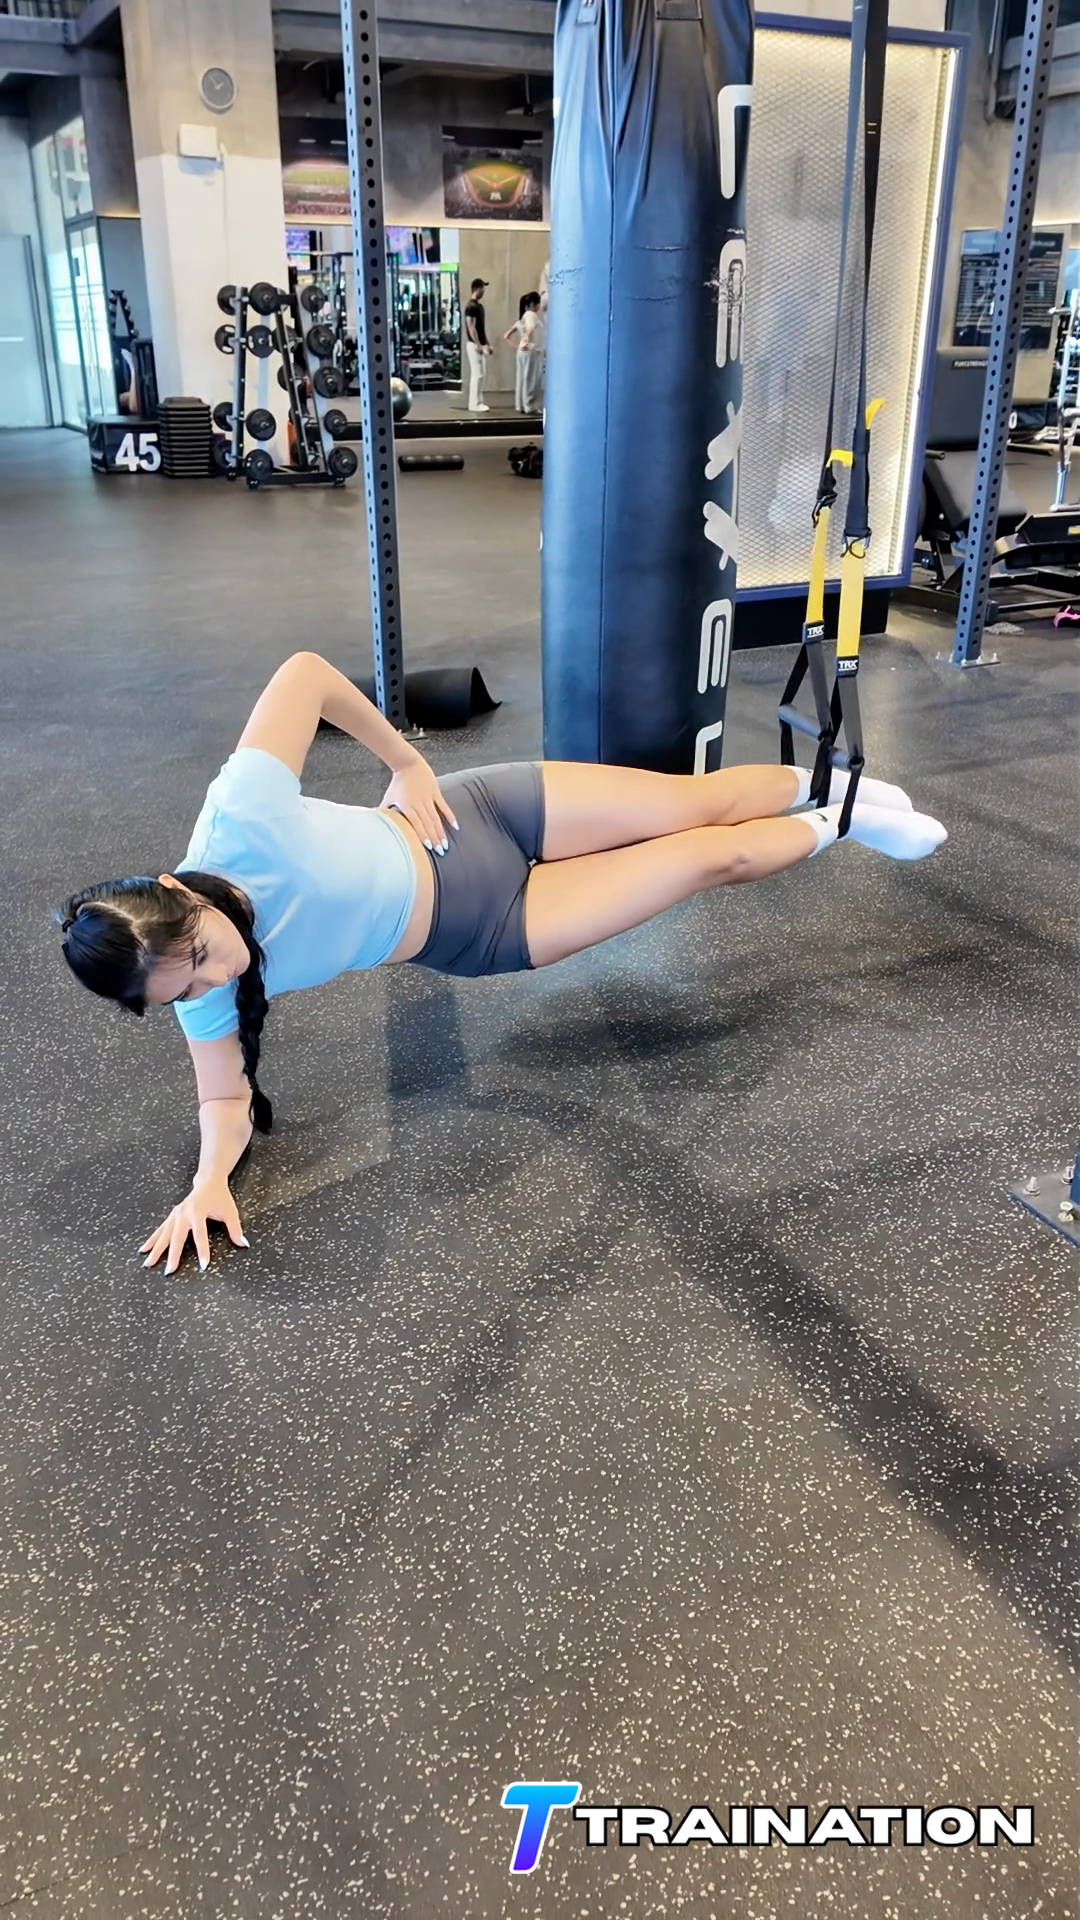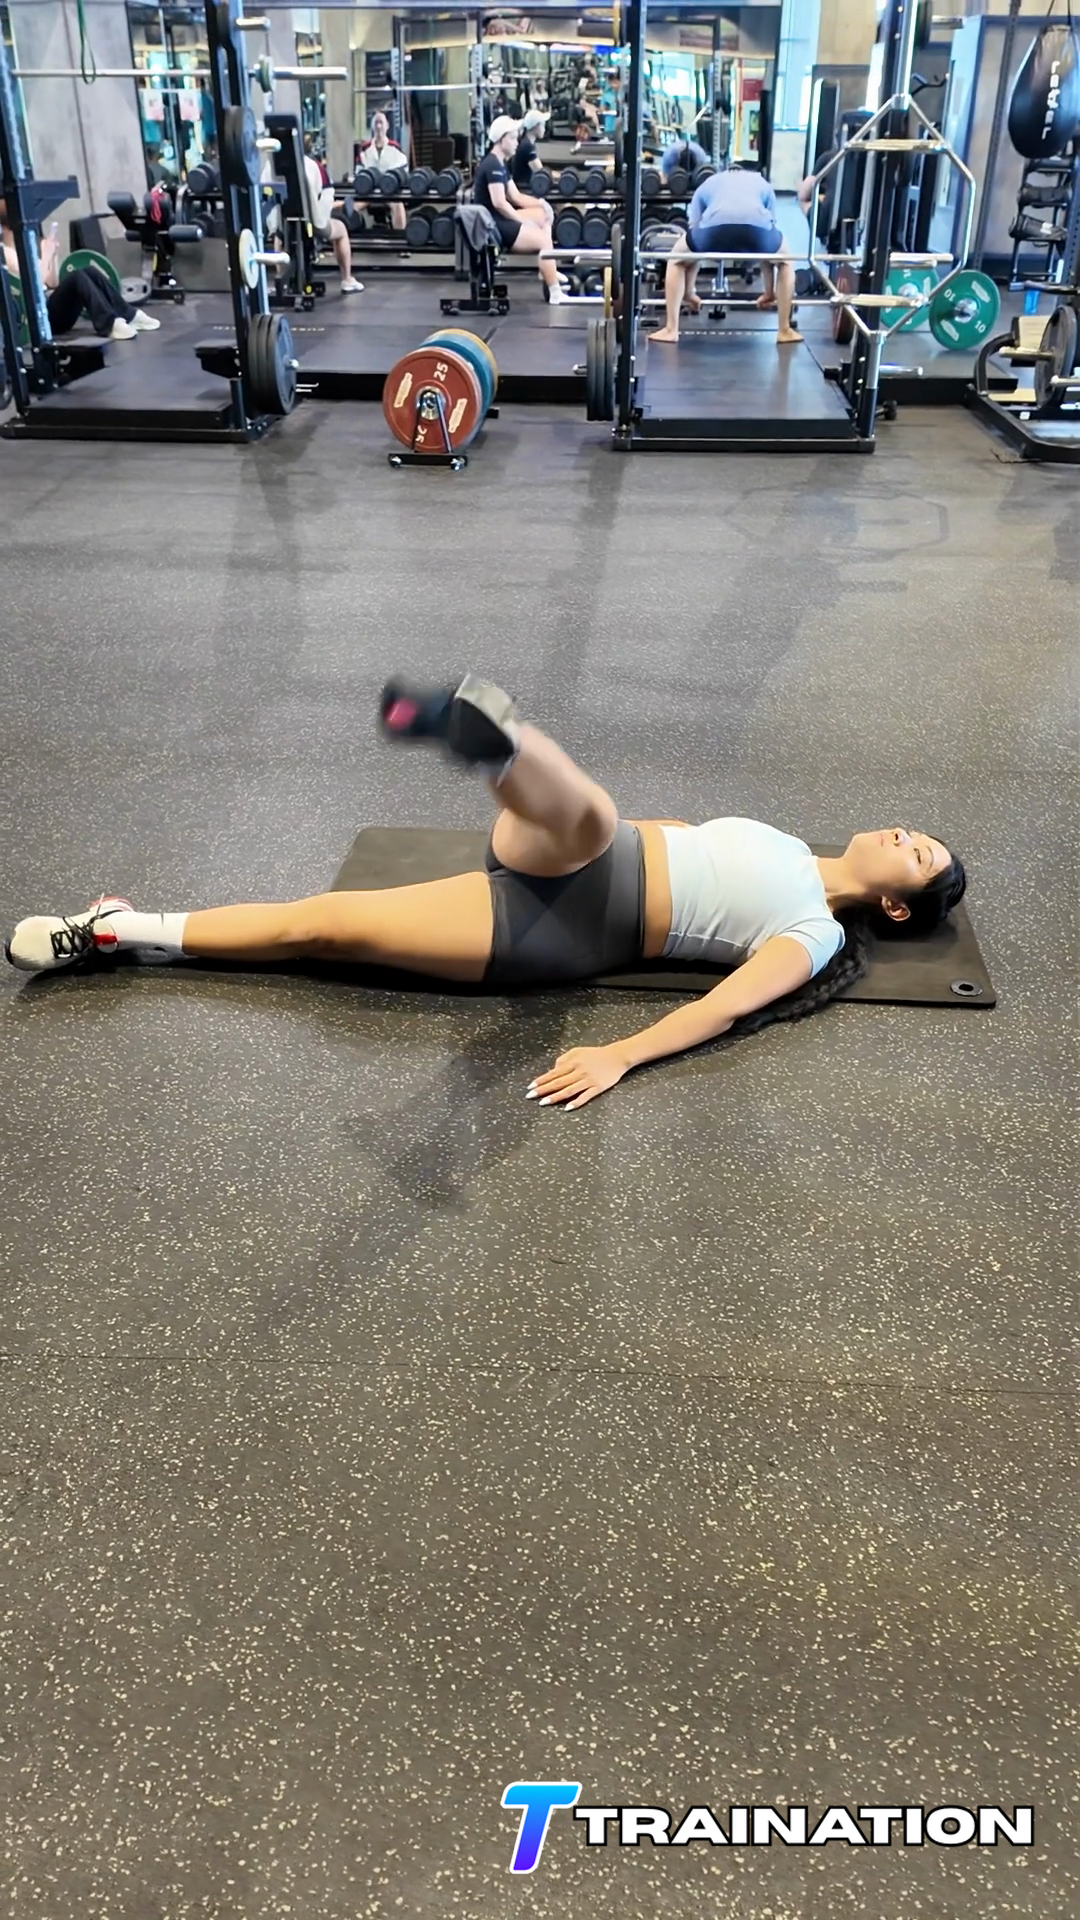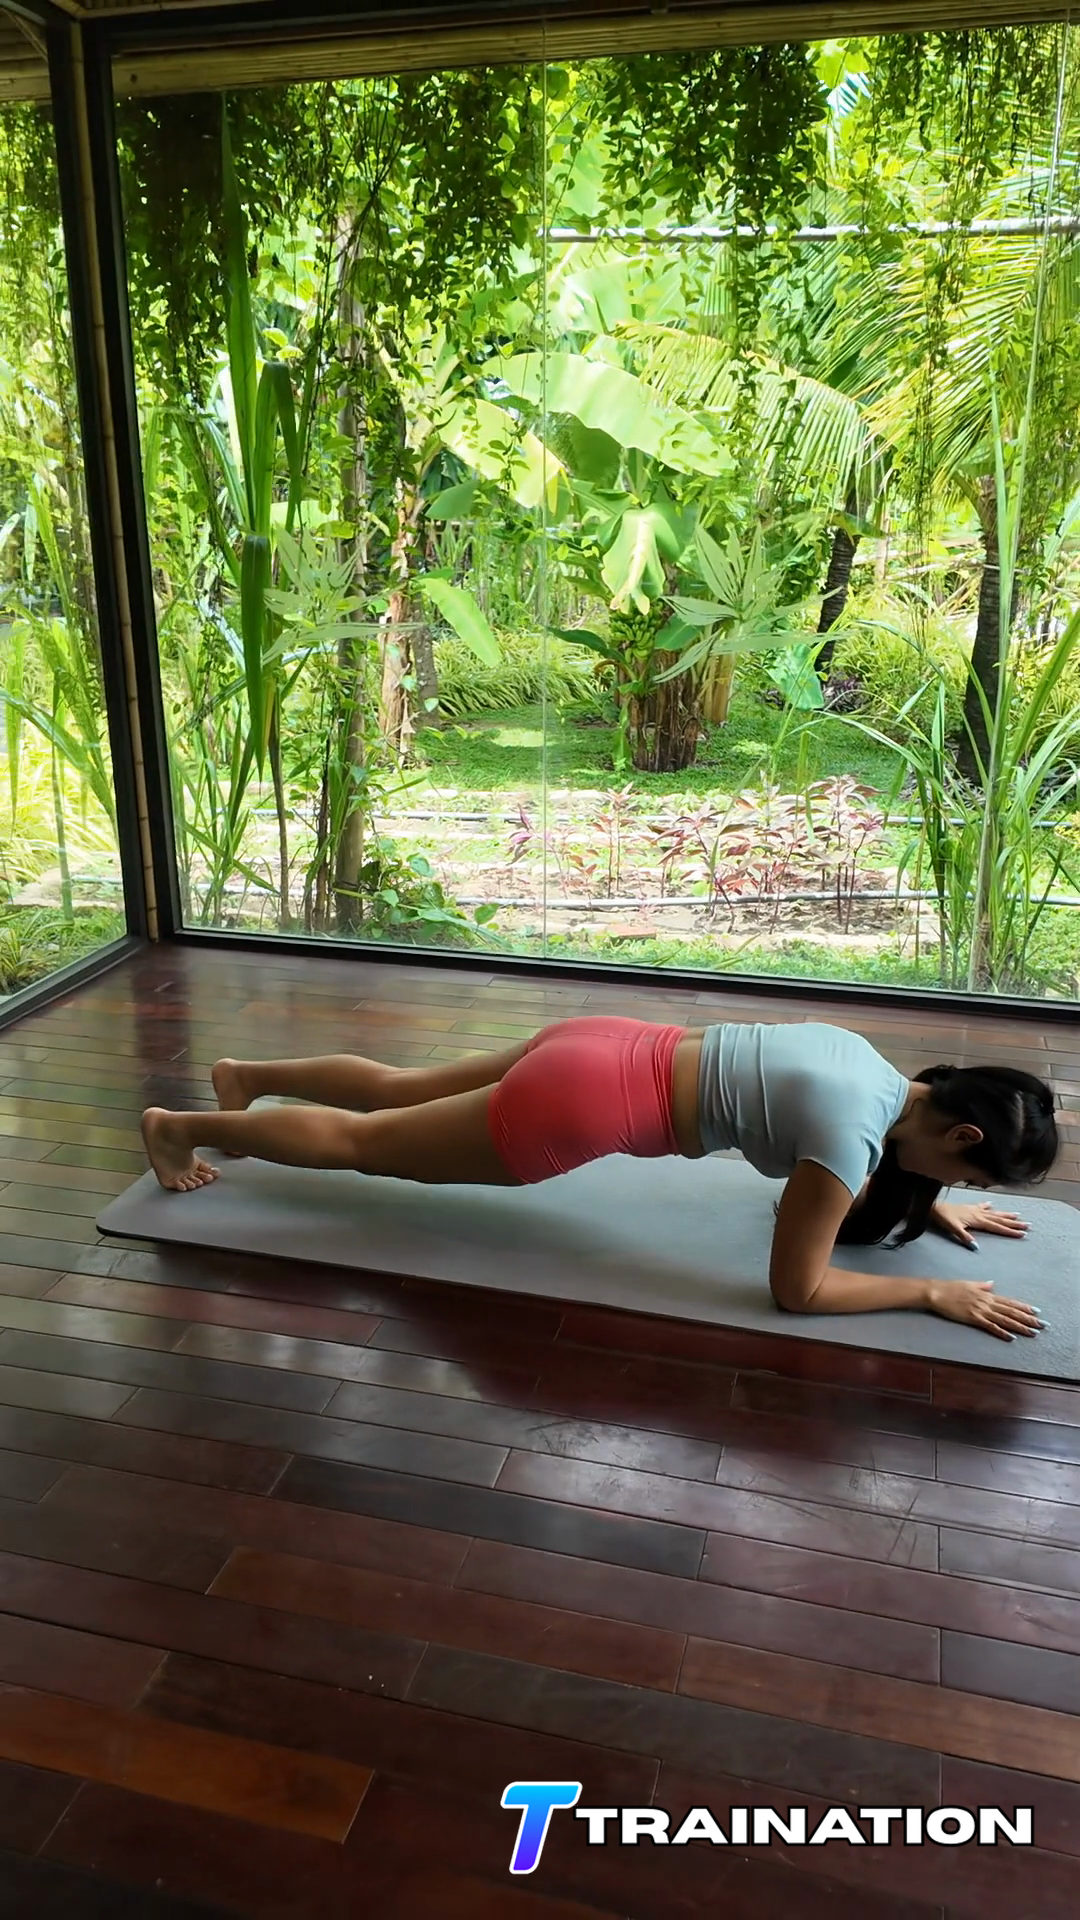
Plank

An isometric core exercise that teaches full-body tension and a strong, neutral trunk position.

Primary muscle
Abs

Primary musclesRectus abdominis, Transverse abdominis

Secondary musclesObliques, Gluteal muscles, Serratus anterior, Shoulders

Equipment
Bodyweight
← Back to exercise database

Set up for Plank

Prepare the training area

  • Use a level, non-slip surface and clear enough room for the complete movement.
  • Place any required mat, bench, or stable hand support before taking the starting position.

Position yourself for Plank

  • Establish the named start position for Plank, secure the training area, and rehearse the complete pain-free range before adding effort.
  • Arrange the support points so the shoulders and pelvis can remain stacked while you continue to breathe normally.

Choose and verify the starting level

  • Choose the easiest Plank variation that preserves the required body line and full controlled range; use elevation, support, or assistance as needed.
  • Perform one slow rehearsal repetition and change the setup if the equipment shifts, the range causes pain, or the target position cannot be maintained.

How to perform Plank

Follow the sequence in order, paying attention to the starting position, movement path, and finish described in each step.

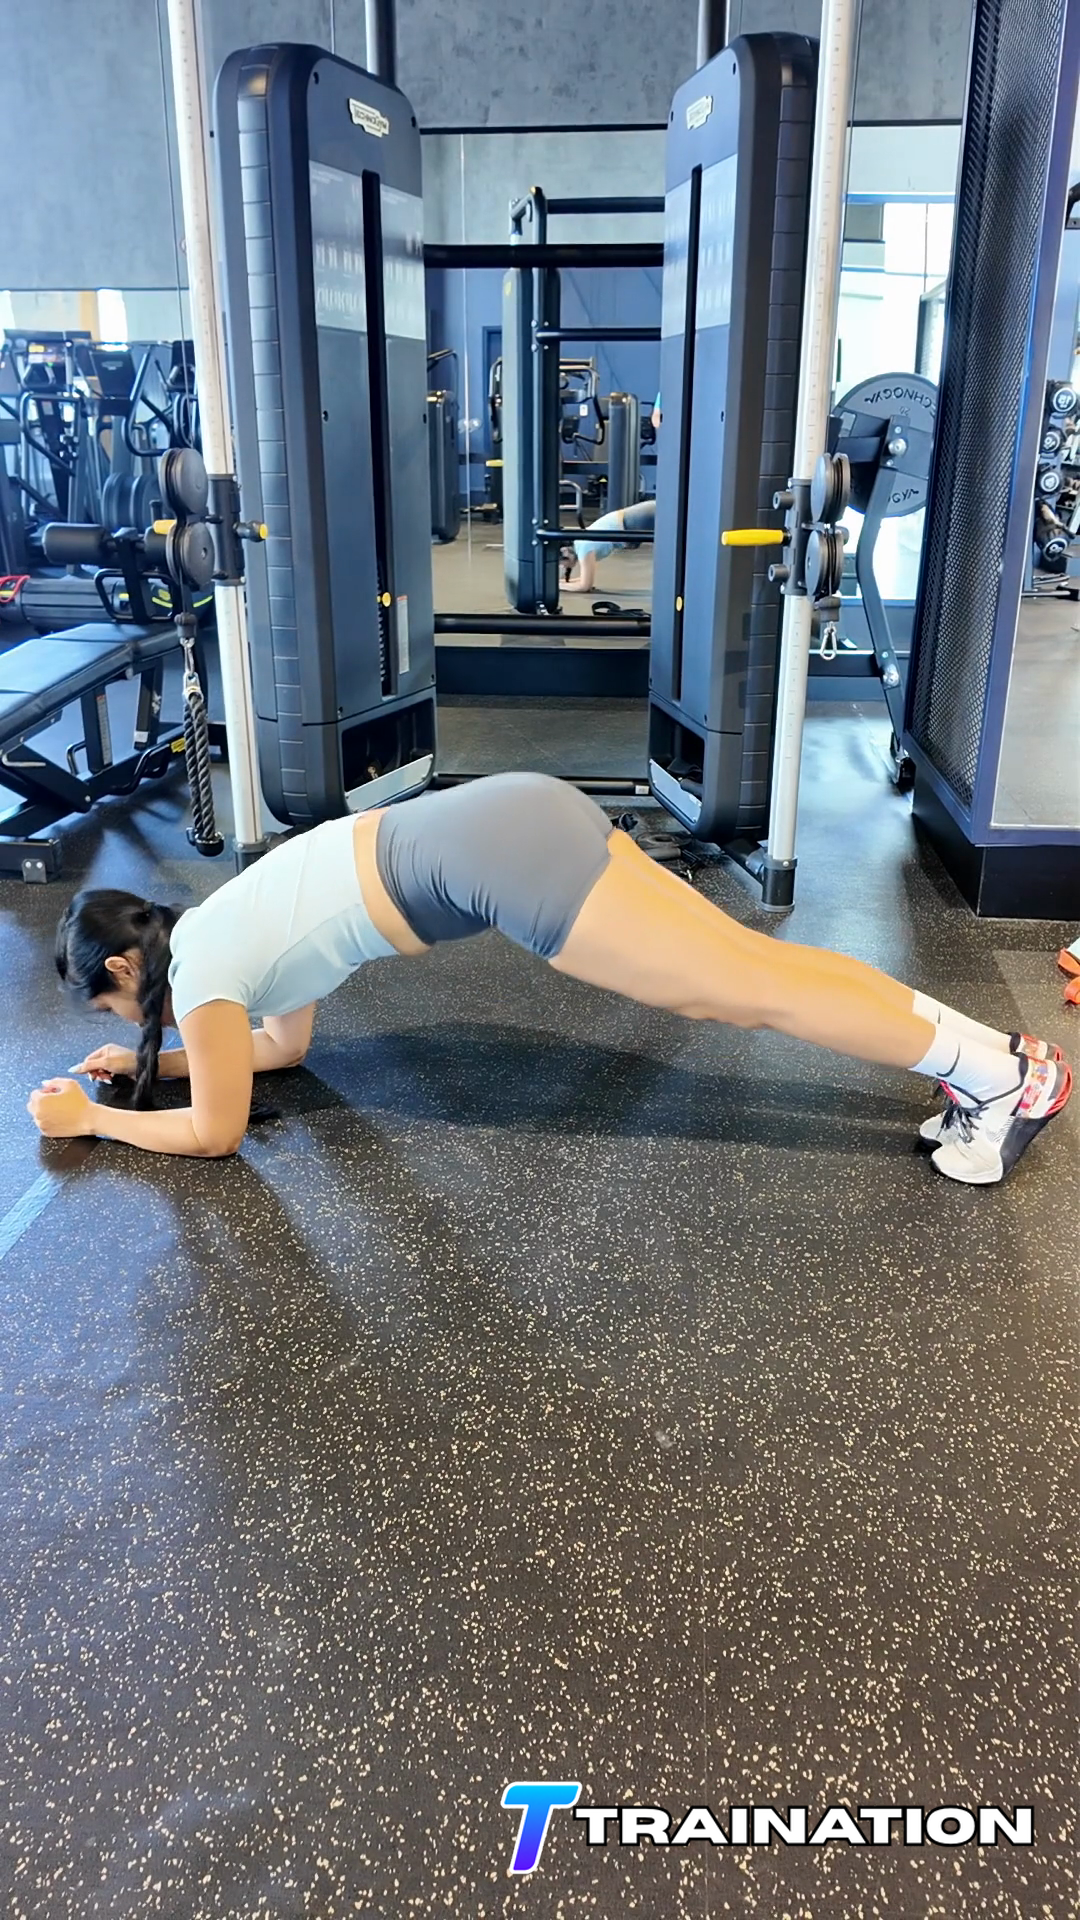
  1. For Plank, place the elbows below the shoulders and extend the legs until the head, hips, and heels form one line.

  2. Brace as if preparing for a gentle push, tighten the glutes, and remove any sag or excessive arch from the lower back.

  3. Breathe behind the brace and hold only while the original body position remains unchanged.

  4. Keep pressure even through the support points and avoid shifting work into the neck, wrists, or lower back.

  5. End the hold under control when the hips rotate, rise, or sag.

Common Plank mistakes

These are the form changes most likely to move work away from the target muscles or make the repetition harder to control.

Holding after position is lost

End the set when the hips sag, rise, rotate, or the lower back arches—not when an arbitrary timer expires.

Holding the breath

Maintain abdominal tension while taking small, regular breaths.

Collapsing into the shoulders

Press through the support points and keep the neck long.

Choosing too much leverage

Shorten the body position or use knee support if the target alignment cannot be maintained.

When to modify or choose another exercise

  • Reduce the resistance, range, lever length, or balance demand if Plank cannot be completed without compensation.
  • Stop when the exercise produces sharp, catching, radiating, or increasing joint pain rather than the expected muscular effort.
  • Shorten the hold, range, or lever if the lower back or neck takes over; choose a different core pattern if symptoms continue.

How to use Plank in a training program

Place Plank after the main compound lifts or pair it with a low-skill exercise that does not rely on a fresh trunk.

01

Where it fits in a session

Place Plank after the main compound lifts, in a focused core block, or beside an exercise that does not require a fresh trunk.

02

How often to use it

Use two to four times per week while accounting for trunk work already supplied by squats, hinges, carries, and overhead lifting.

Starting rep ranges by goal

GoalSetsReps or timeRestEffort and execution
Control / technique2–310–20 sec45–75 secStop well before position changes
Strength / endurance2–420–45 sec60–90 secFinish with 1–3 technically clean reps in reserve

How to progress it

Increase the controlled range, lever length, or hold duration before adding load. End every set when rib, pelvis, or lower-back position changes.

Pairing and sequencing

  • Pair with upper-body accessory work when neither movement depends on an exhausted trunk.
  • Avoid fatiguing the core immediately before heavy squats, hinges, carries, or overhead work.

Coach's notes

  • Begin with 2–4 holds of 10–30 seconds; stop each hold when position changes, not at an arbitrary time.
  • Progress by extending a perfect hold, increasing leverage, or adding load—only one change at a time.
  • Avoid exhausting the trunk immediately before heavy squats, hinges, or overhead work.

Regressions and progressions for Plank

Start with an easier option

Short-lever hold

Use the knees, a higher surface, or bent limbs to reduce leverage while maintaining the same trunk position.

Dead bug

Use floor support to learn rib and pelvis control with one limb moving at a time.

Progress when form is repeatable

Longer-lever hold

Move the support points farther from the trunk only while alignment and breathing remain unchanged.

Loaded or unstable hold

Add a small external or stability demand after the base hold is repeatable.

References
  1. American Council on ExerciseACE Exercise Library
  2. Mayo ClinicWeight Training: Do's and Don'ts of Proper Technique
  3. American College of Sports MedicineACSM Resistance Training Guidelines Update
  4. NHSHow to improve your strength and flexibility

Build client programs that drive retention and cut your weekly programming time in half.

Explore the workout builder →
Beta access

Become a Traination Beta User
Apply to become a beta user of the app for free in exchange for feedbacks and reviews. Your time is important! That's why we will reach out to you individually to make sure this is the right fit.